@TianBotha recently posted that he need someone to fir a rail to an AR uper that the carry handle had been taken off. Most people reckoned that the best idea was to sell it and just by a new upper. That would have been the easy option for sure. I decided that Id help him out and see what I could come up with.
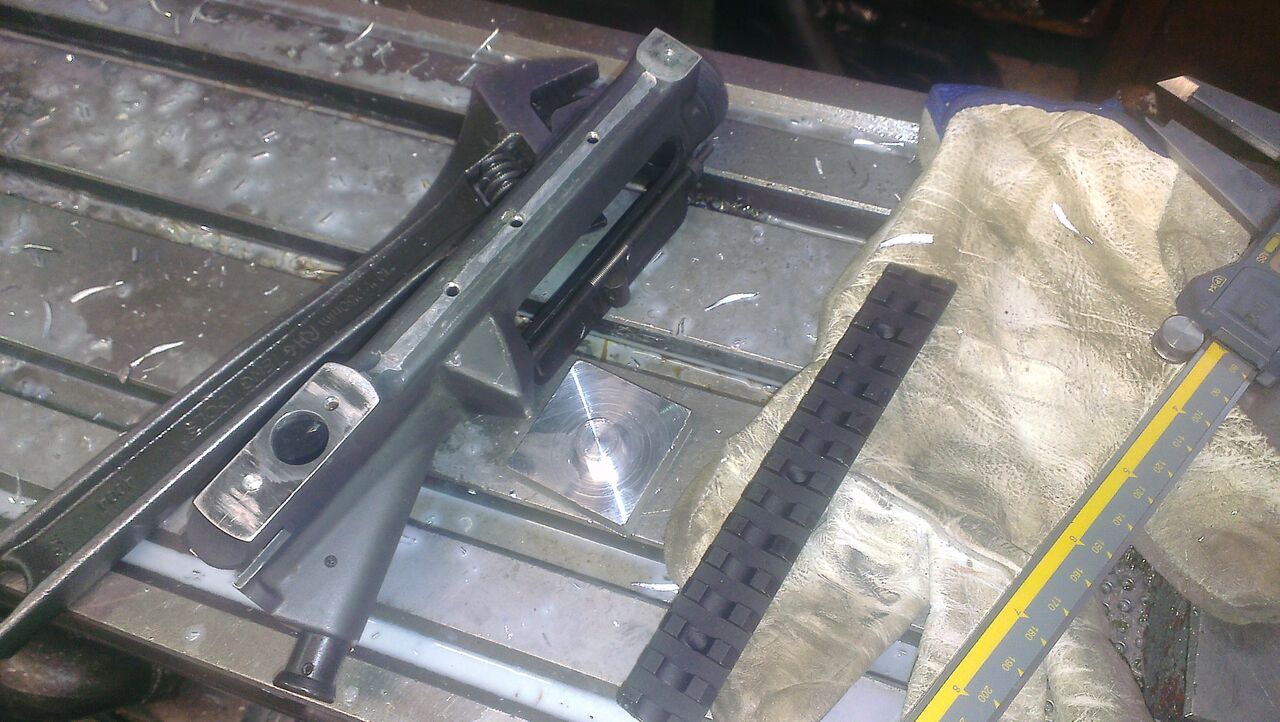
So this is what i started with
I decided that the easiest option was to raise the rail all to the same height as where the carry handle used to be.
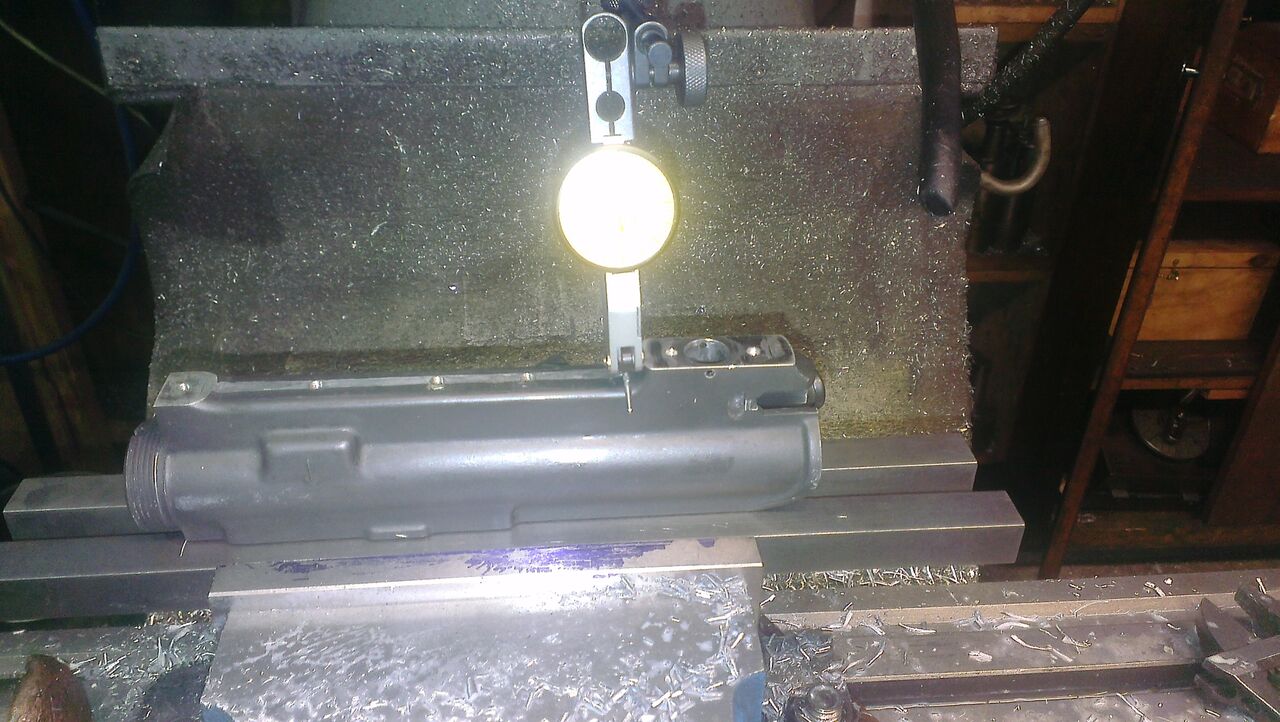
Dialed the action in in the mill.
Drilled and tapped new holes for the rail and the base as the old holes were not on center and did not match up to the base. Went to M4 screws since they are easy to find.
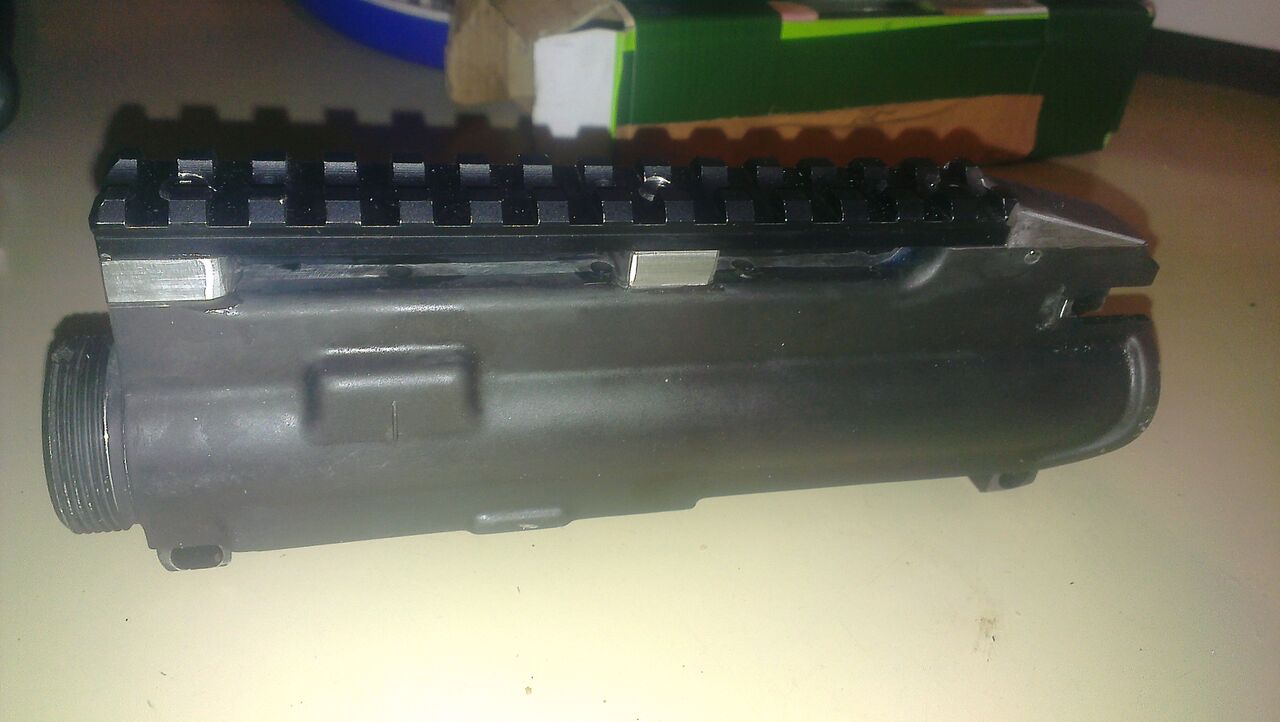
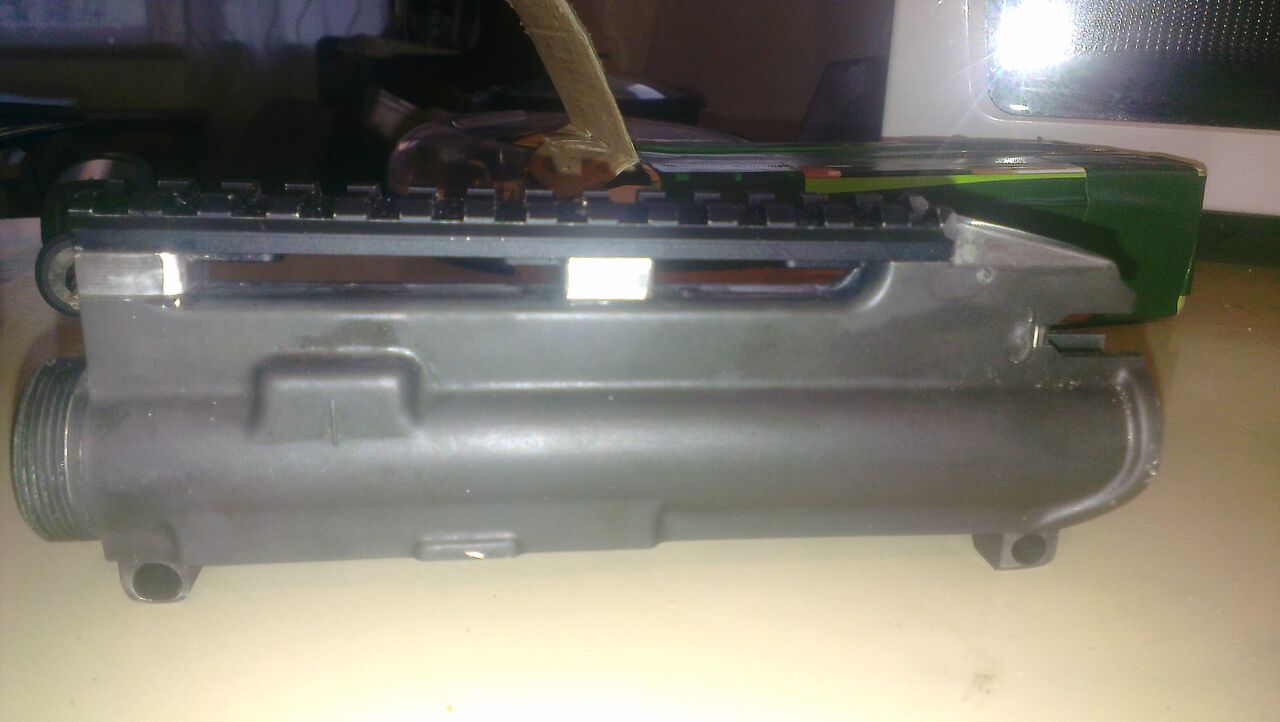
I dialed in the base and drilled and countersunk for the screws. I then made up the spacers and epoxied them to the upper. Cleaned up the overhang in the mill and then epoxied the base on top. The screws would have been strong enough as it is but the upper of the upper had a slight curve and I wanted to get the parts "bedded". Also adds a lot of strength> Like the old man always says "belt and braces".
The carry handle had a location pin on it that left the rear open above the charge handle. I figured that it would be a good idea to close that off so junk didnt get in there.
@TianBotha is planning to have it painted so the sand blast and ceracoat will clean up the finish. Should work out not to bad.
not the best pics. also a bit dirty still from machining.
Welcome guest, is this your first visit? Create Account now to join.
Welcome to the NZ Hunting and Shooting Forums.
Search Forums
User Tag List
+ Reply to Thread
Results 1 to 5 of 5
-
14-06-2016, 07:48 PM #1Member

- Join Date
- Jul 2012
- Location
- Timaru
- Posts
- 818
Tianbotha's AR upper with rail added
-
-
14-06-2016, 07:55 PM #2
Good stuff
Sent from my iPhone using TapatalkUsing Tapatalk
-
14-06-2016, 08:32 PM #3
Awesome! Love it and I'll get a lot of use out of this one! I'll tell everyone how it goes over time!
I really appreciate your time and effort Rob! You do have some miracle work there!
Sent from my iPhone using Tapatalk
-
14-06-2016, 08:50 PM #4
Good man Rob.
Quis custodiet ipsos custodes?
-
26-07-2016, 11:55 AM #5
All done! Cerakoted by stu, great job!


Sent from my iPhone using Tapatalk
Similar Threads
-
Cleaned out the Smilies and added some more
By Spanners in forum Questions, Comments, Suggestions, Testing.Replies: 7Last Post: 27-12-2011, 03:19 PM
Tags for this Thread
Welcome to NZ Hunting and Shooting Forums! We see you're new here, or arn't logged in. Create an account, and Login for full access including our FREE BUY and SELL section Register NOW!!


 15Likes
 LinkBack URL
 About LinkBacks


 Reply With Quote


Bookmarks