So made my own annealing machine that I copped off a link on the stalking directory here in the uk.
https://www.thestalkingdirectory.co....achine.143812/
I modified it some from that design. Ive tried to find the links for NZ but in some cases had no joy.
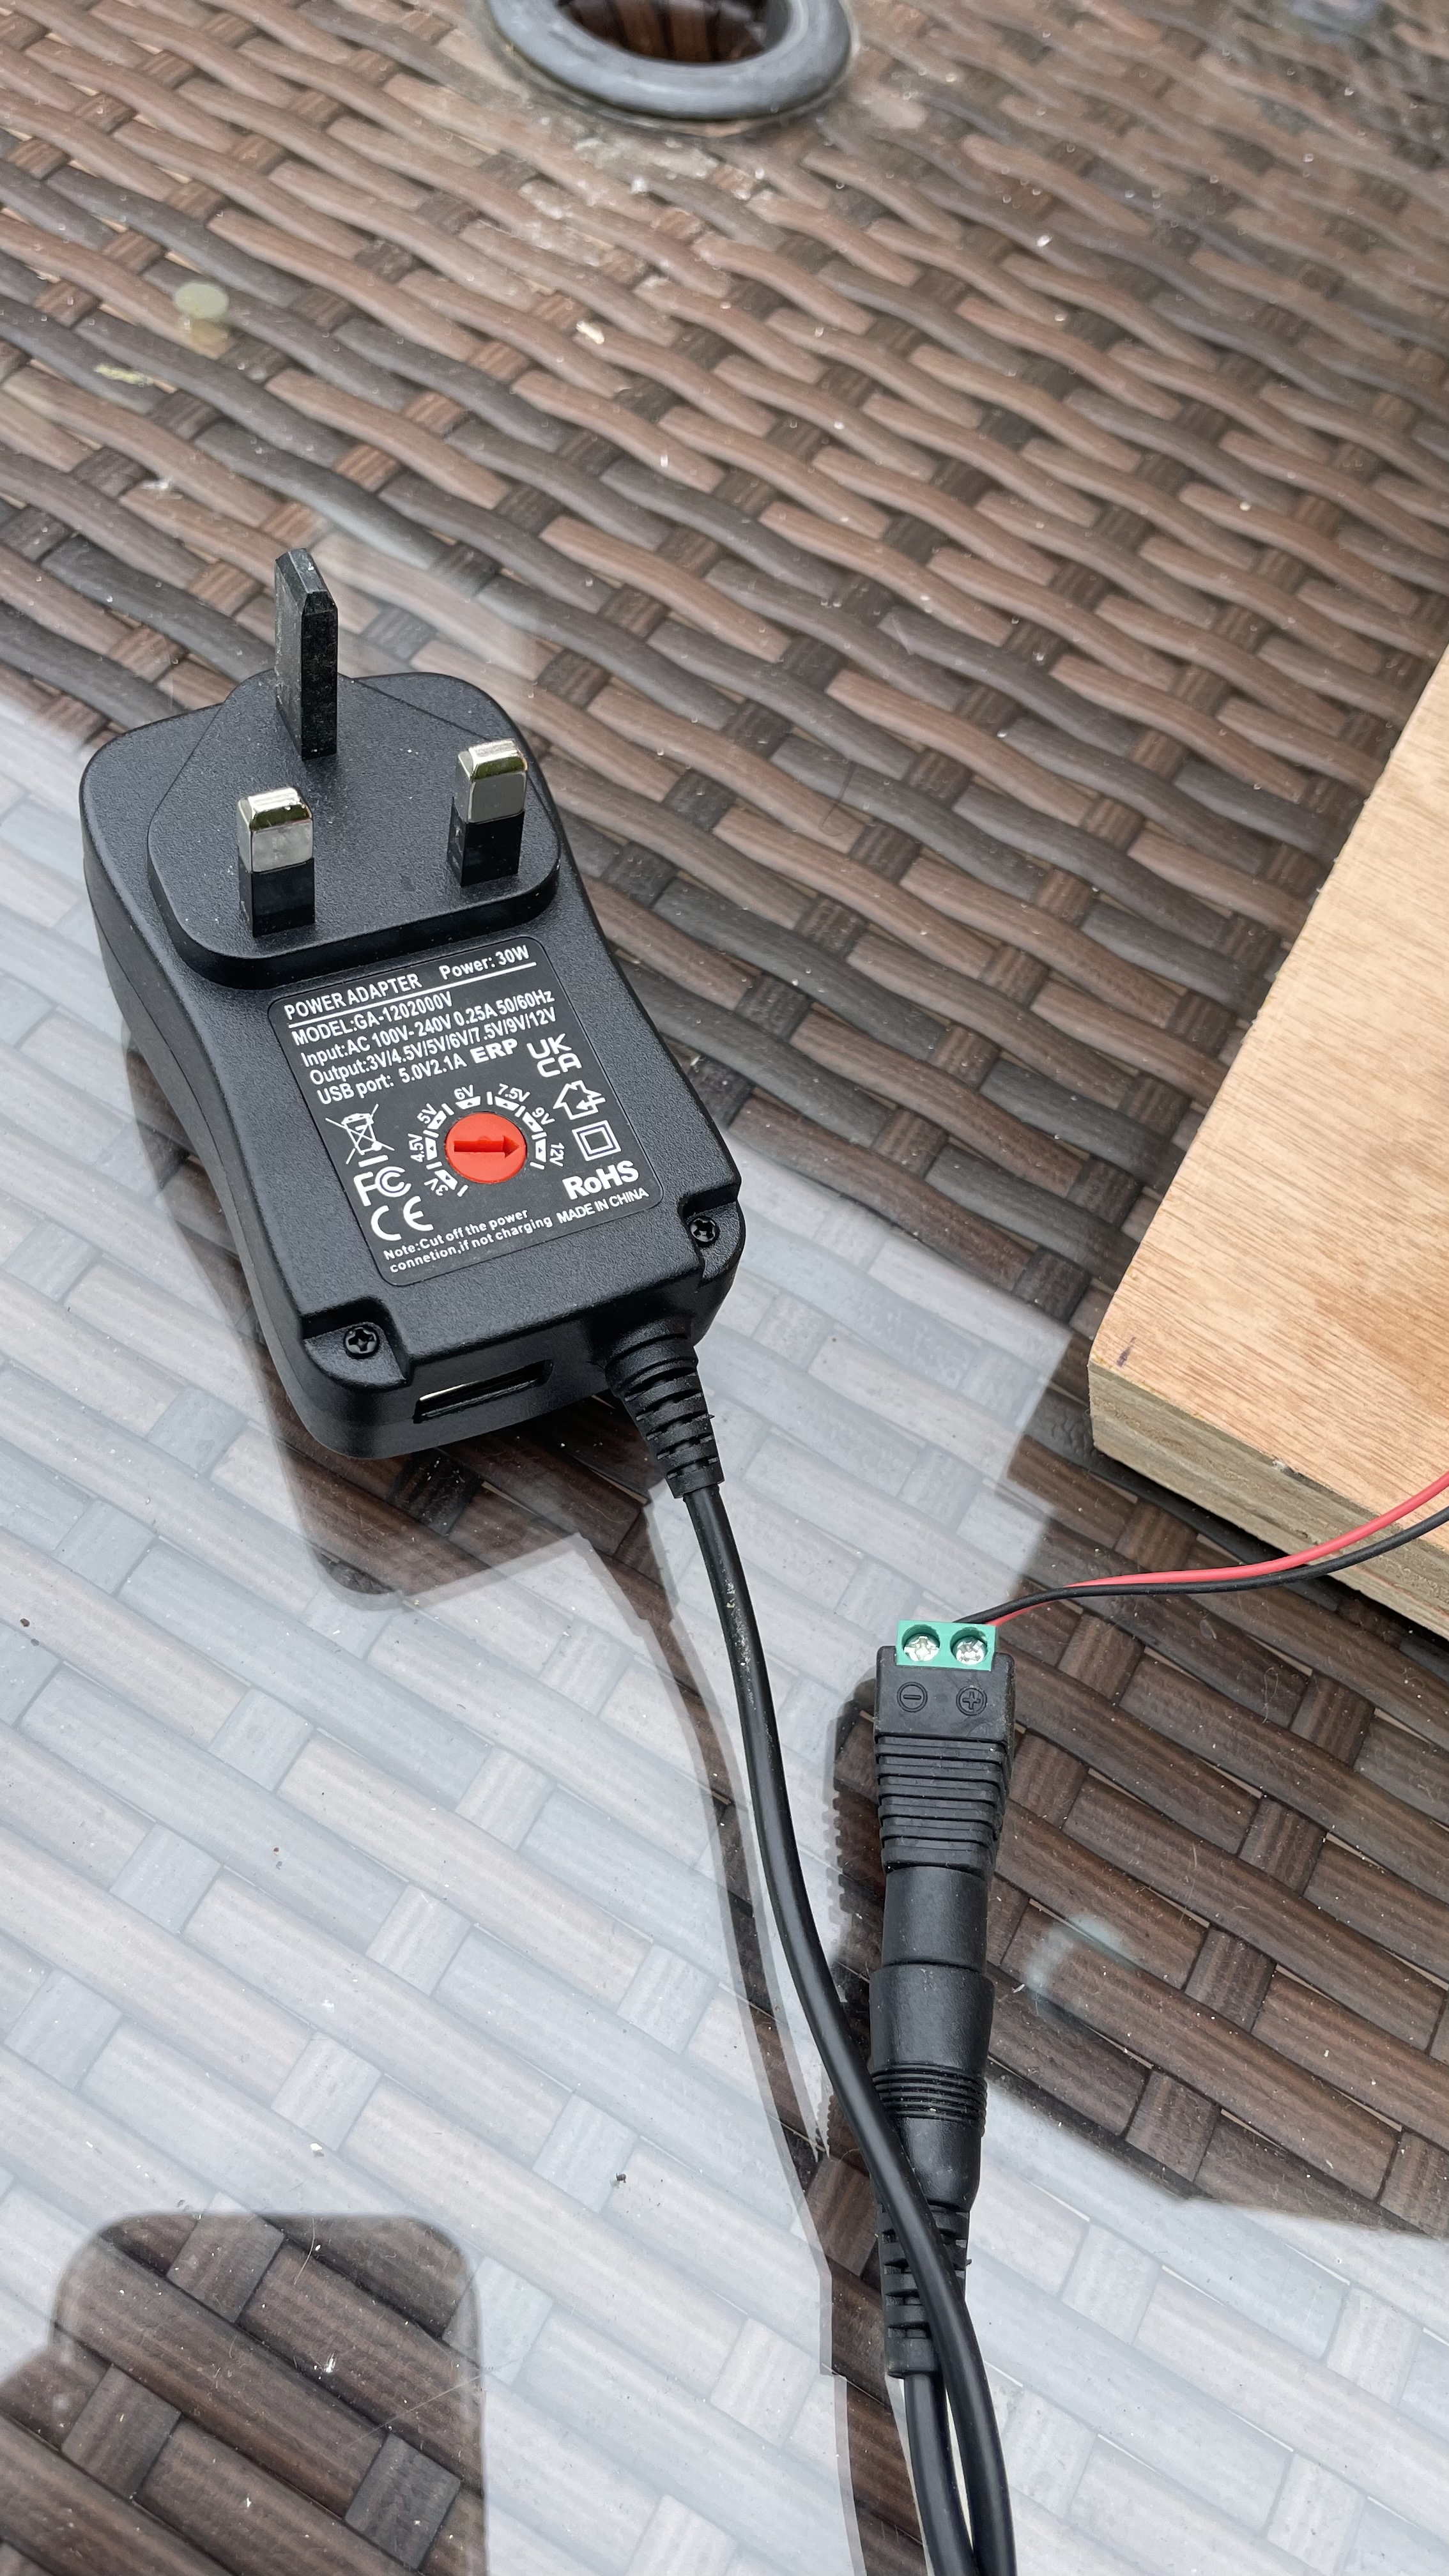
https://www.amazon.co.uk/SoulBay-Uni...90326824&psc=1
This will save you having to solder the wires. I started with the switch on the back turned way down and then increased it till I got the motor to run. Easy to wire and use.
https://www.amazon.co.uk/DollaTek-Di...ps%2C53&sr=8-2
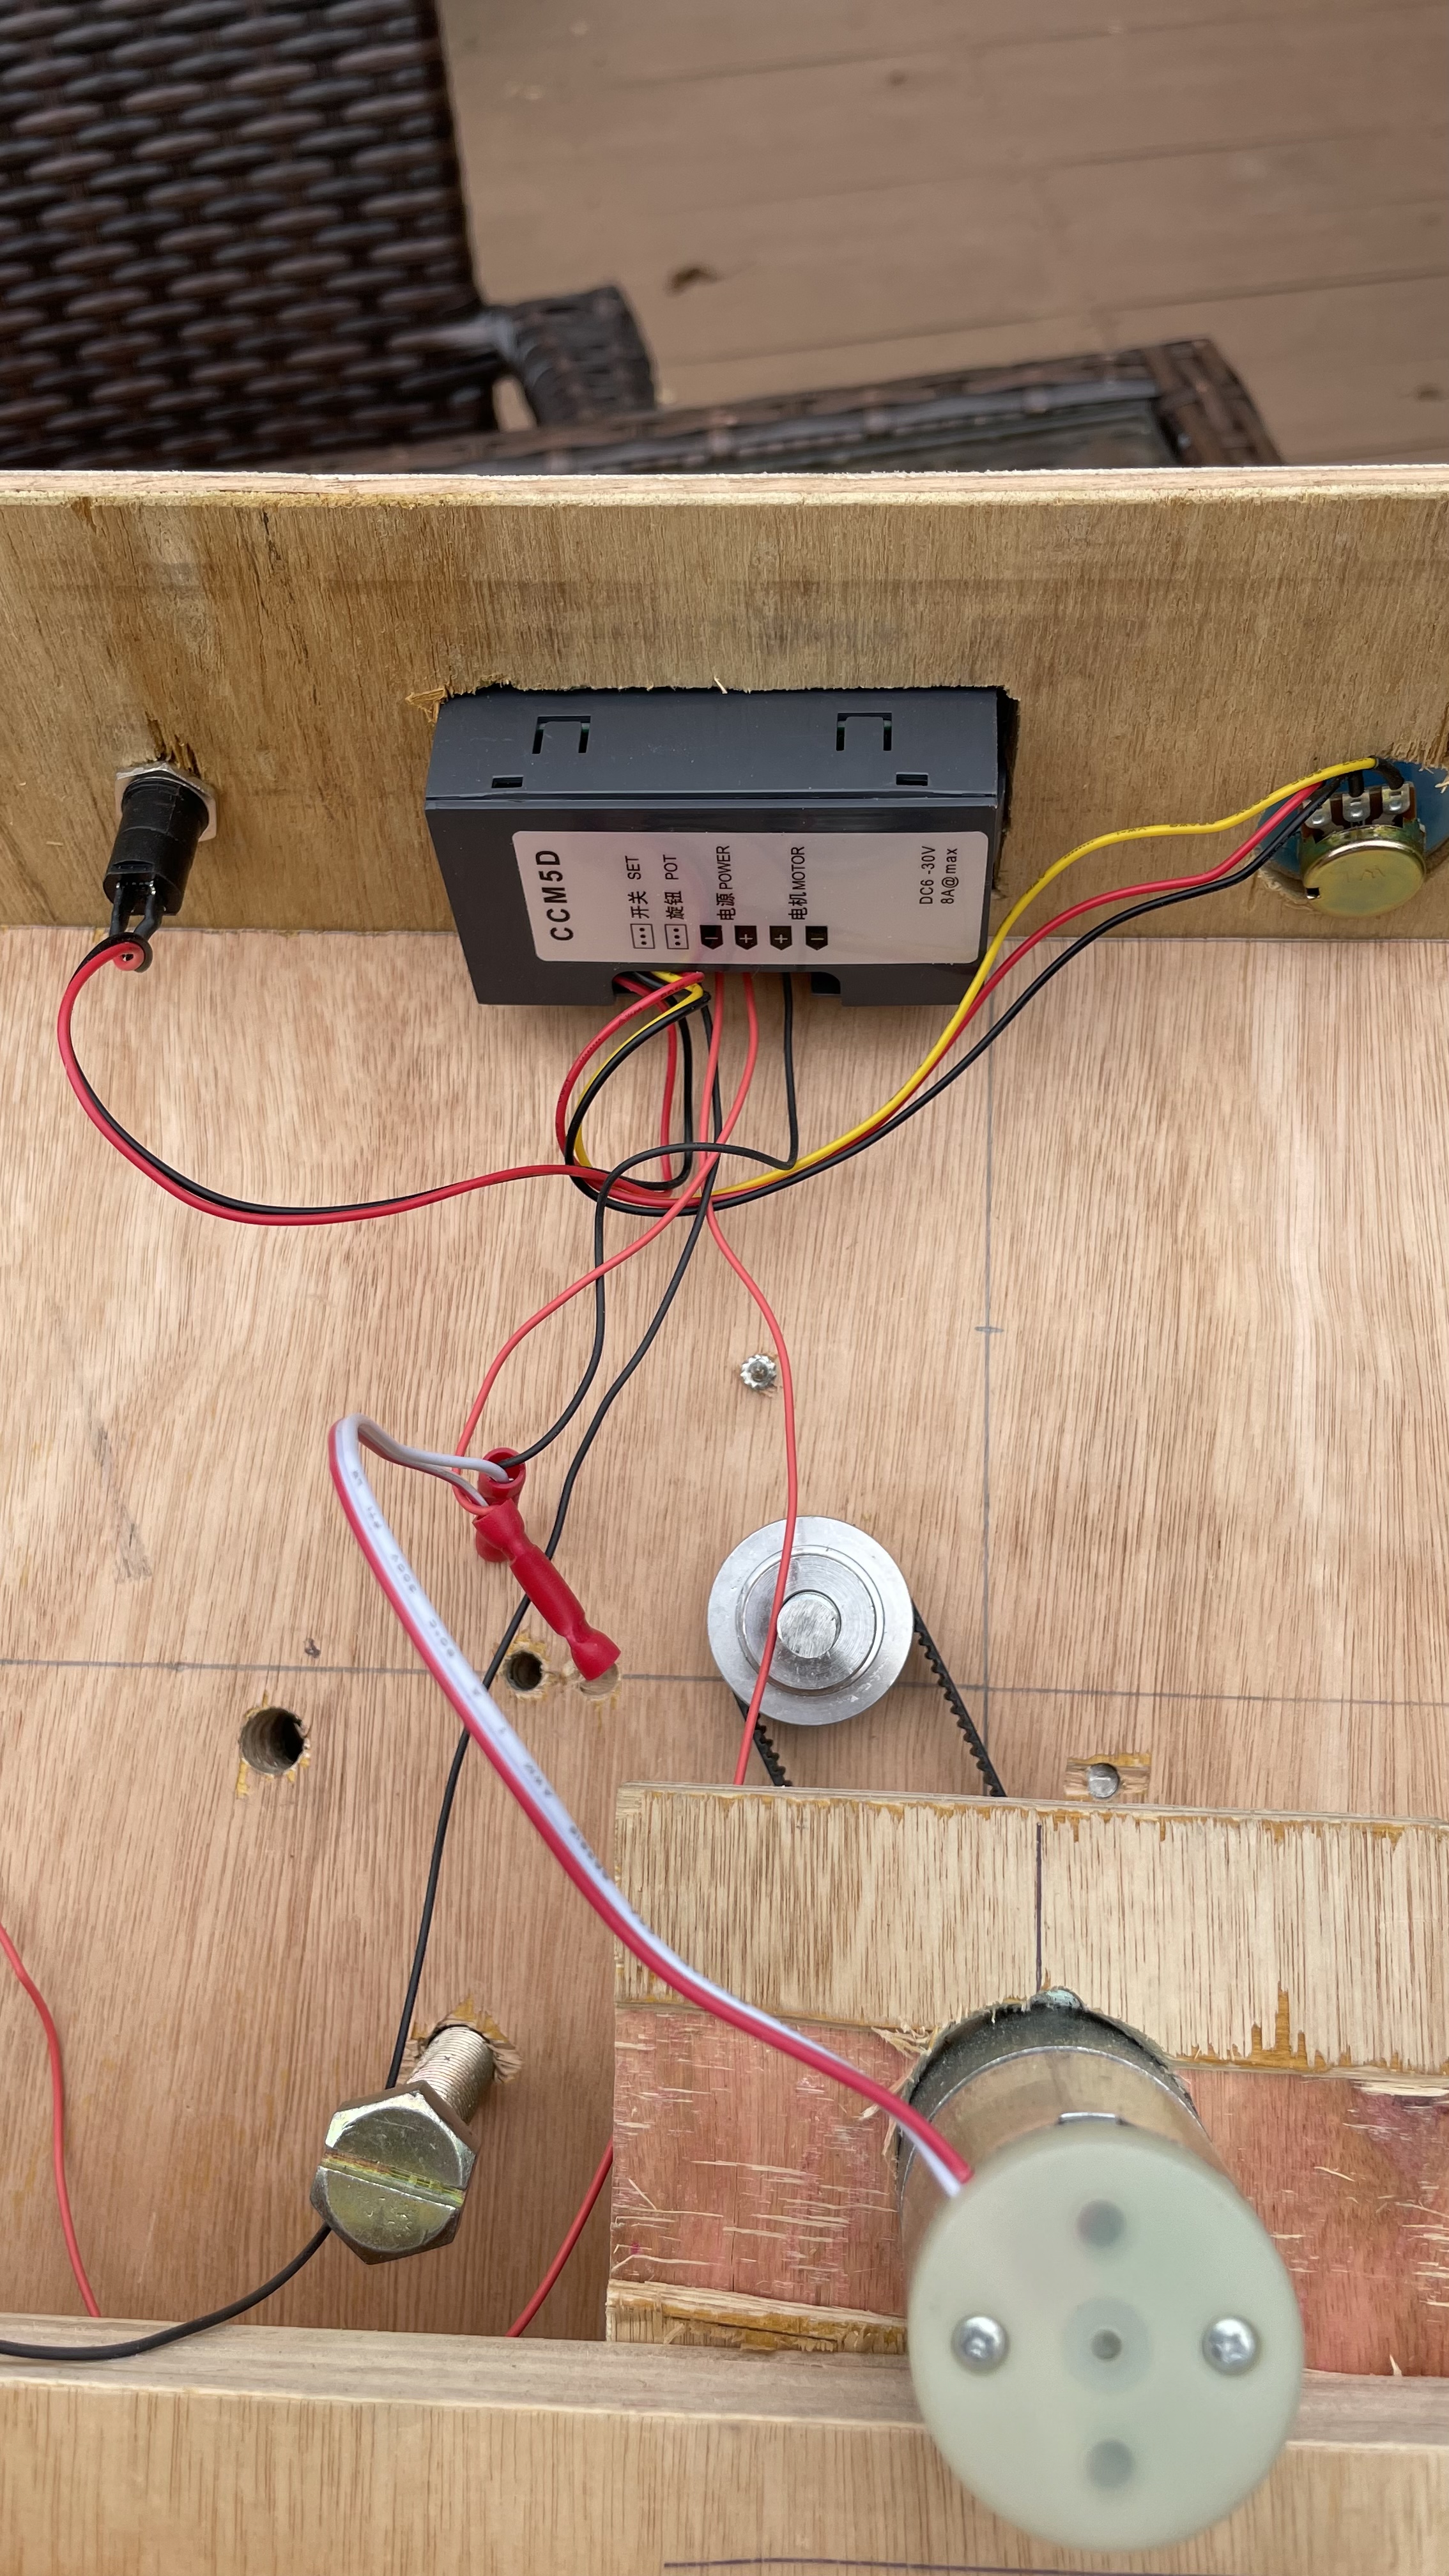
Speed controller. Again easy to wire up.
https://www.google.com/search?q=New+..._AUoAHoECAEQAA
You only need a small amount of this. 60cm diameter / length of the cartridge that you want to anneal.
https://www.amazon.co.uk/Saipor-Sync...84ZJMK9H&psc=1
https://www.amazon.co.uk/3Dman-Timin...7VQ9BXBD&psc=1
order these two together any model car shop should have them.
https://www.amazon.co.uk/gp/product/...0?ie=UTF8&th=1
https://www.amazon.co.uk/gp/product/...?ie=UTF8&psc=1
I just use my plumbing blow torch. Sure you guys can by the same in NZ. Someone I'm sure will have a link and can maybe even get the NZ links for the above items.
So to the build.
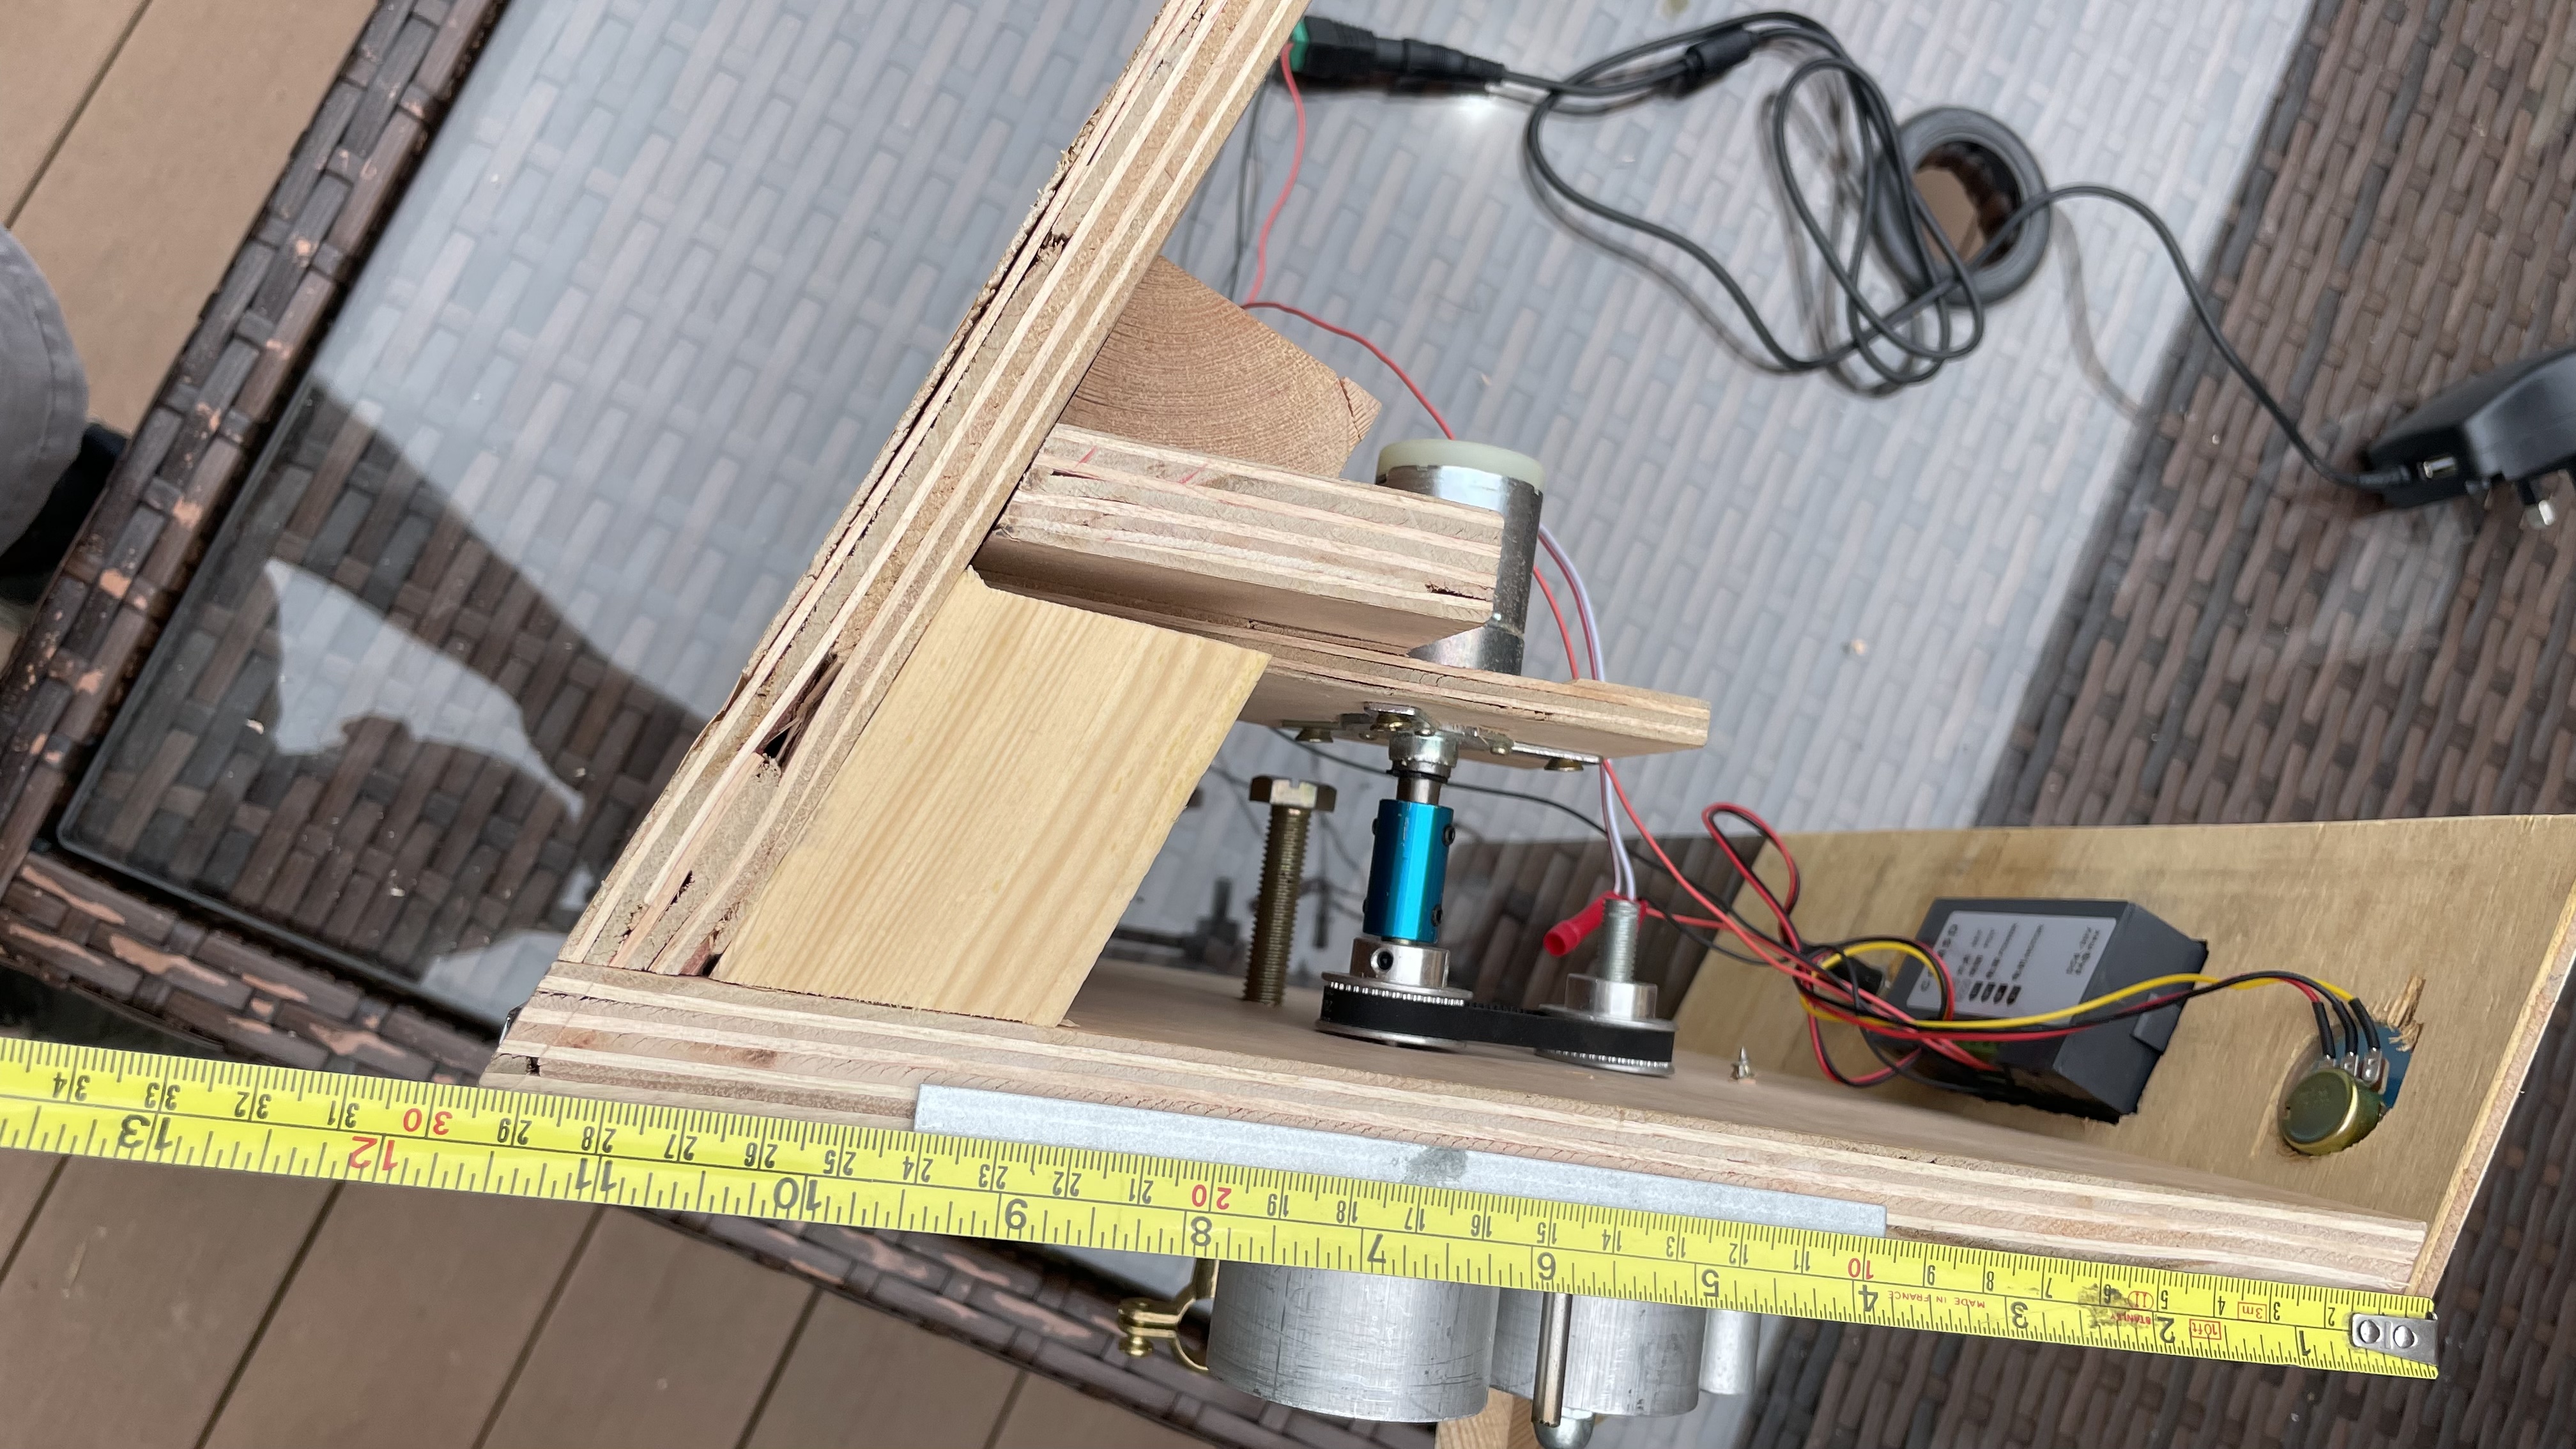
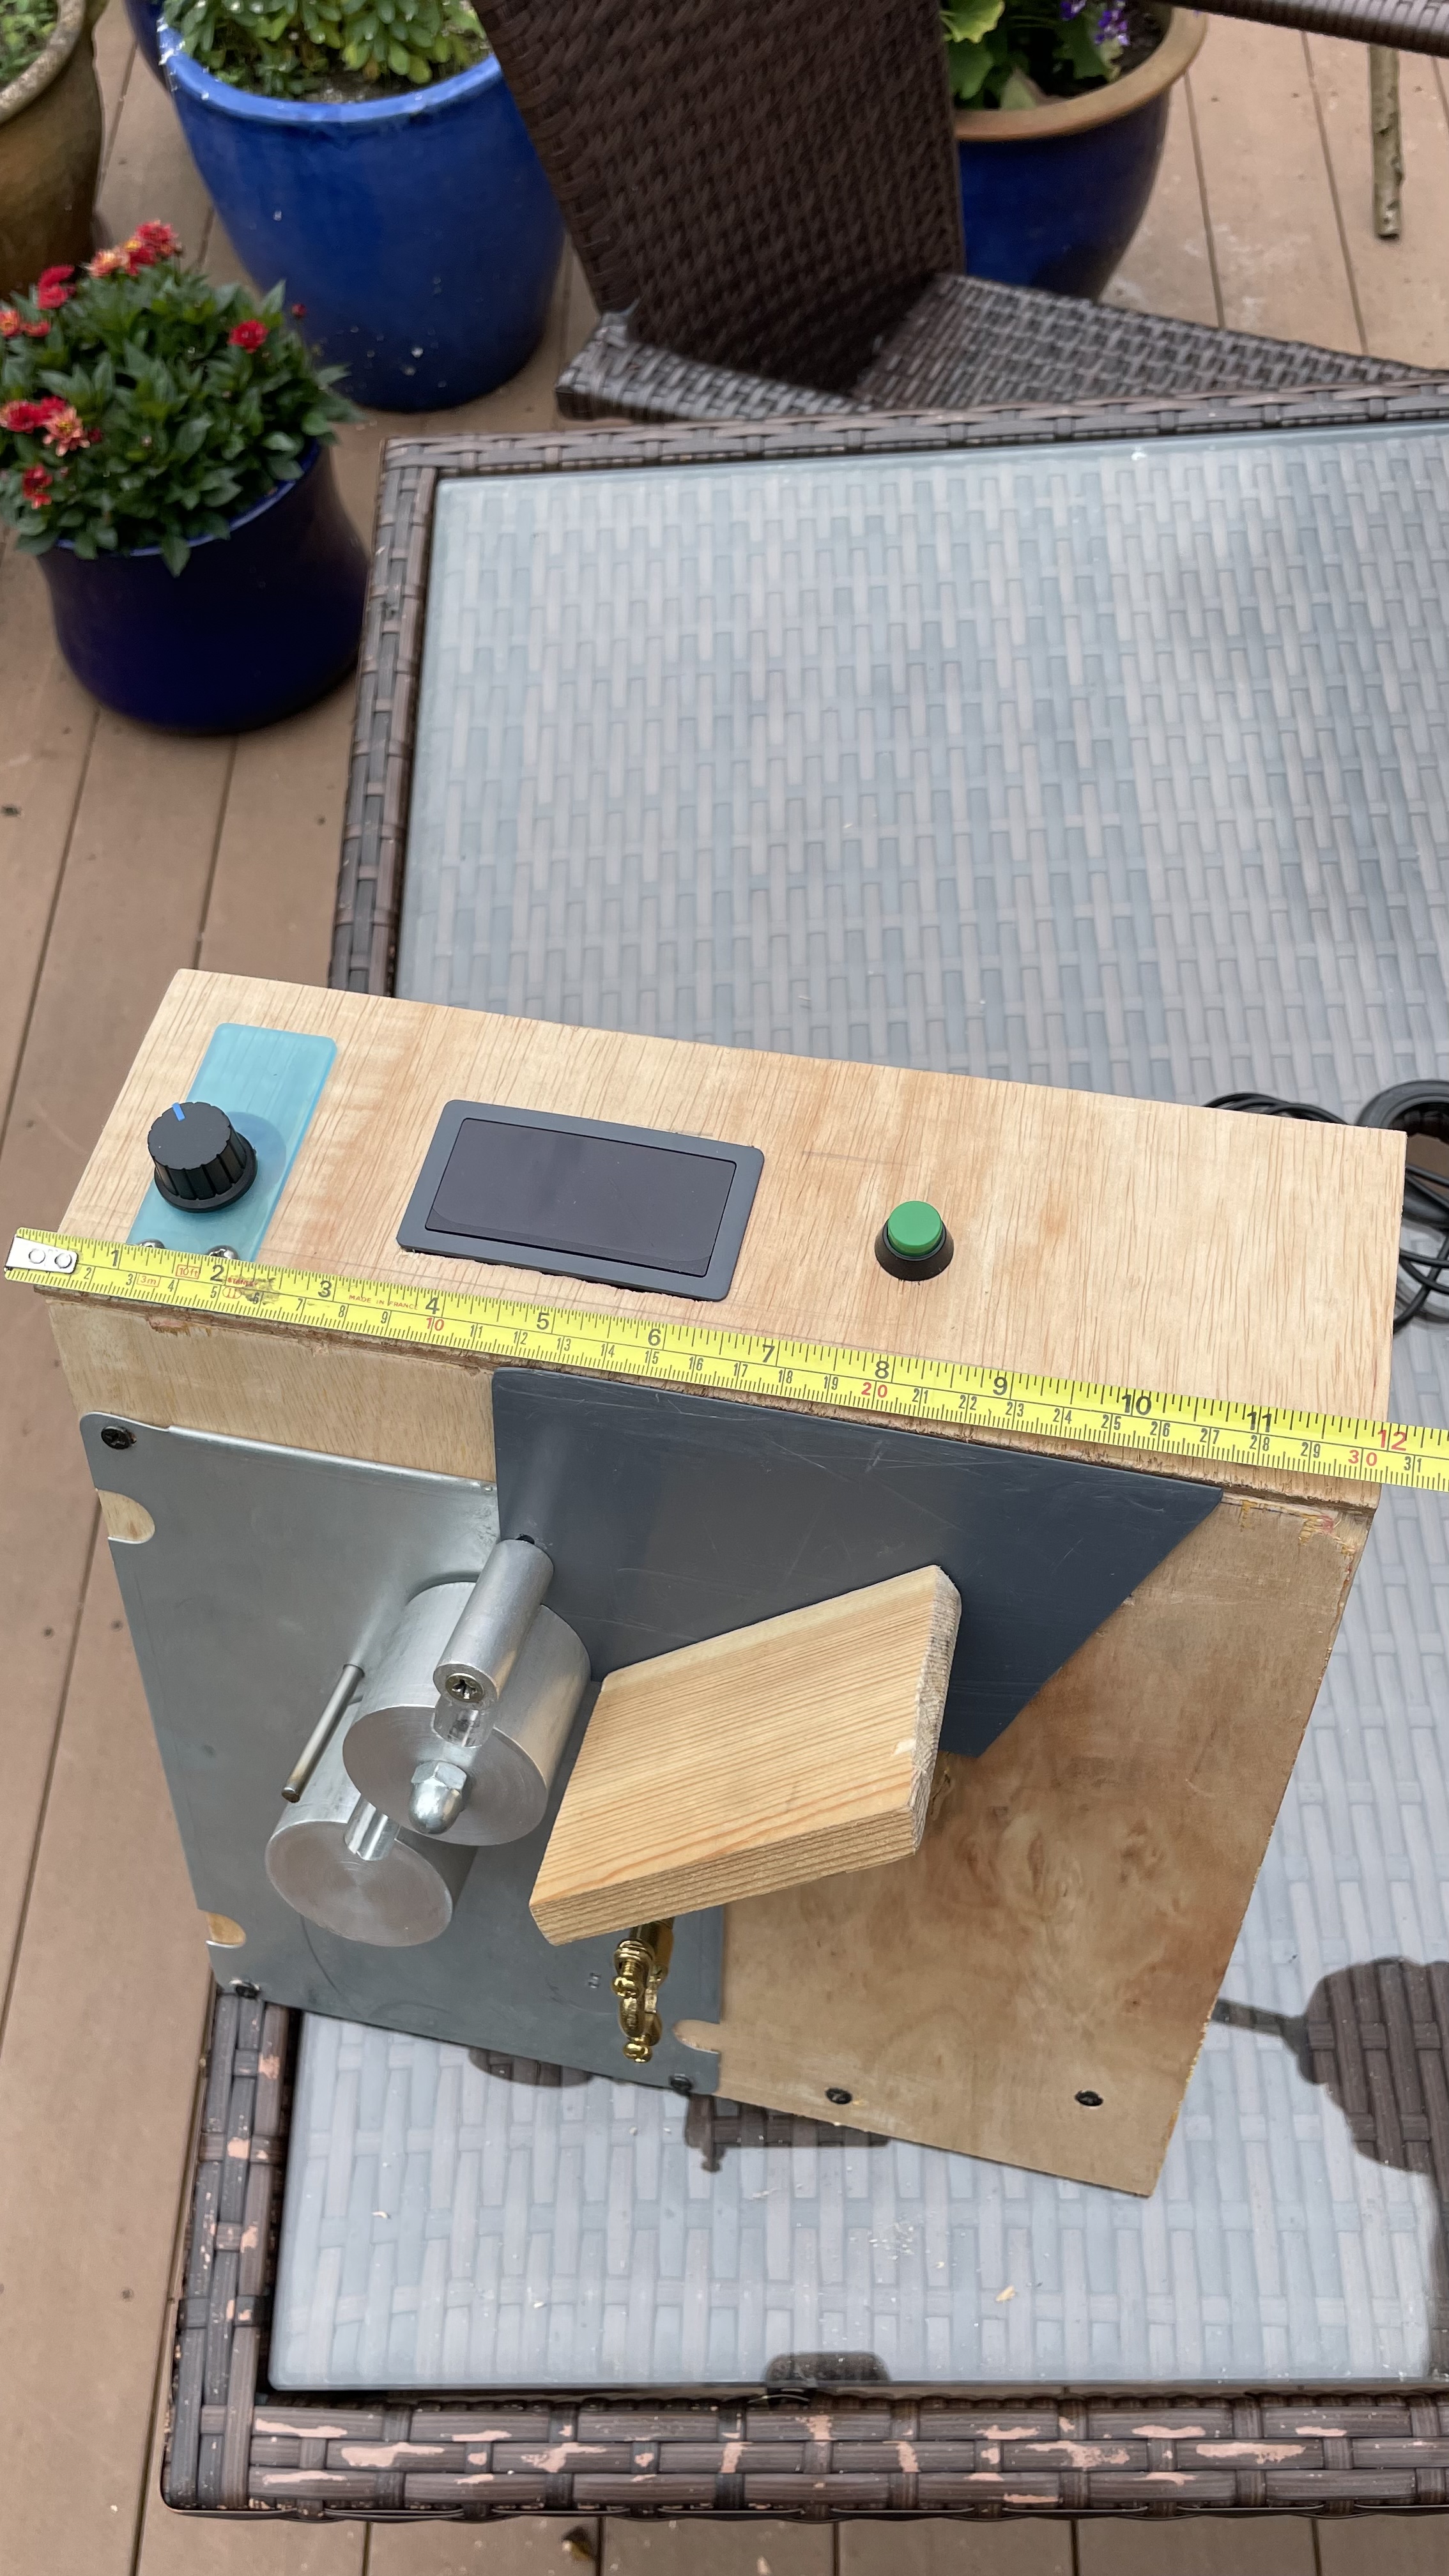
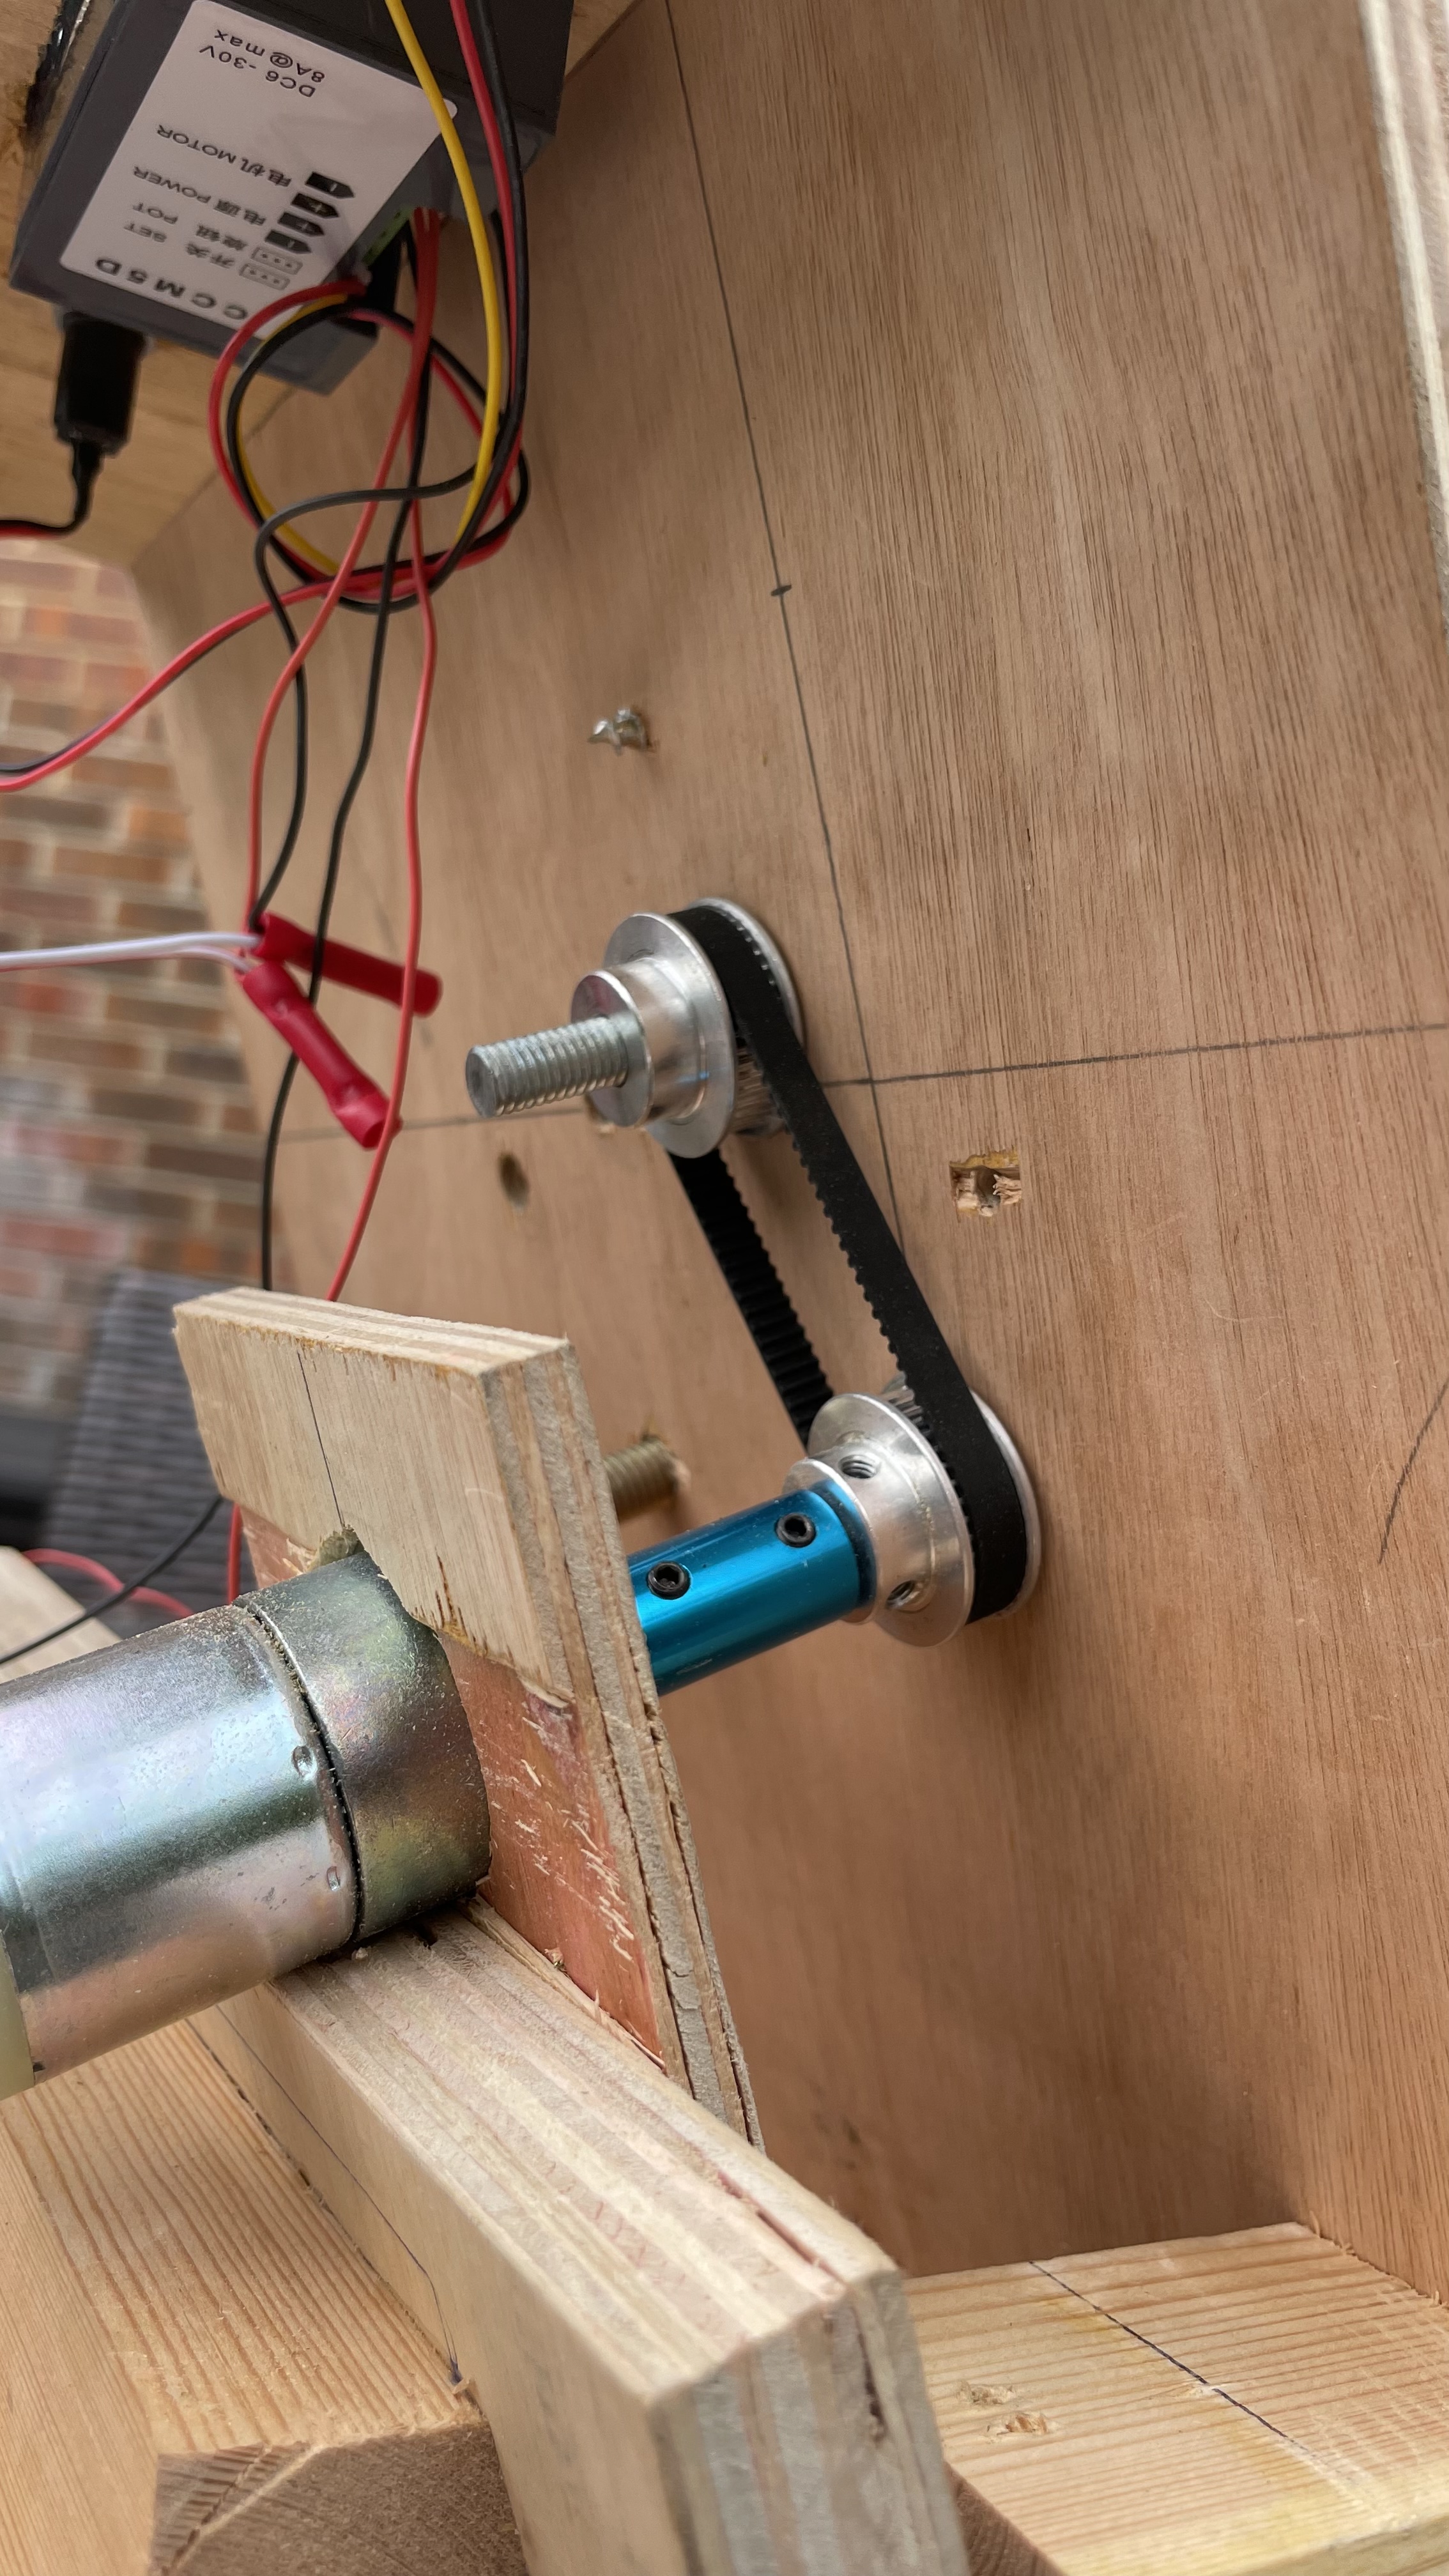
I used 18mm plywood for the front and base. But I'm sure that you could get away with a smaller. As you will see from the photos I did cover the area where the heat is with a thin metal sheet for protection.
I cut from the plywood sheet a 300mm/300mm at 22.5 degree on the bottom and top. One off cut I used for the base and the other to mount the motor on. That way the shaft lines up with the front face.
(Don't do what I did and mount the motor to one side. Id place it more centre. Mines 80mm from the Left hand edge. I'd go 100mm)
The wiring is very easy its just connect the + & - the same goes for the speed control and
Next get your 60mm rod bars. If you have a mate with a mill then he can cut and drill them. Id even have him tap and drill the centrers so that you can just screw in a M8 bolt. One for each. If you don't have this option then drill a small hole straight through the centre an increase it to the 8mm diameter. For the shell holder hole I did the same and just increased the size till I got up near the edge then opened it up with a hacksaw and finished them off with a file.
With the motor in place and the bottom wheel on I then figured out where to best place was for the top wheel.
I placed the two sprockets with the belt and then drilled the second hole for the top wheel.
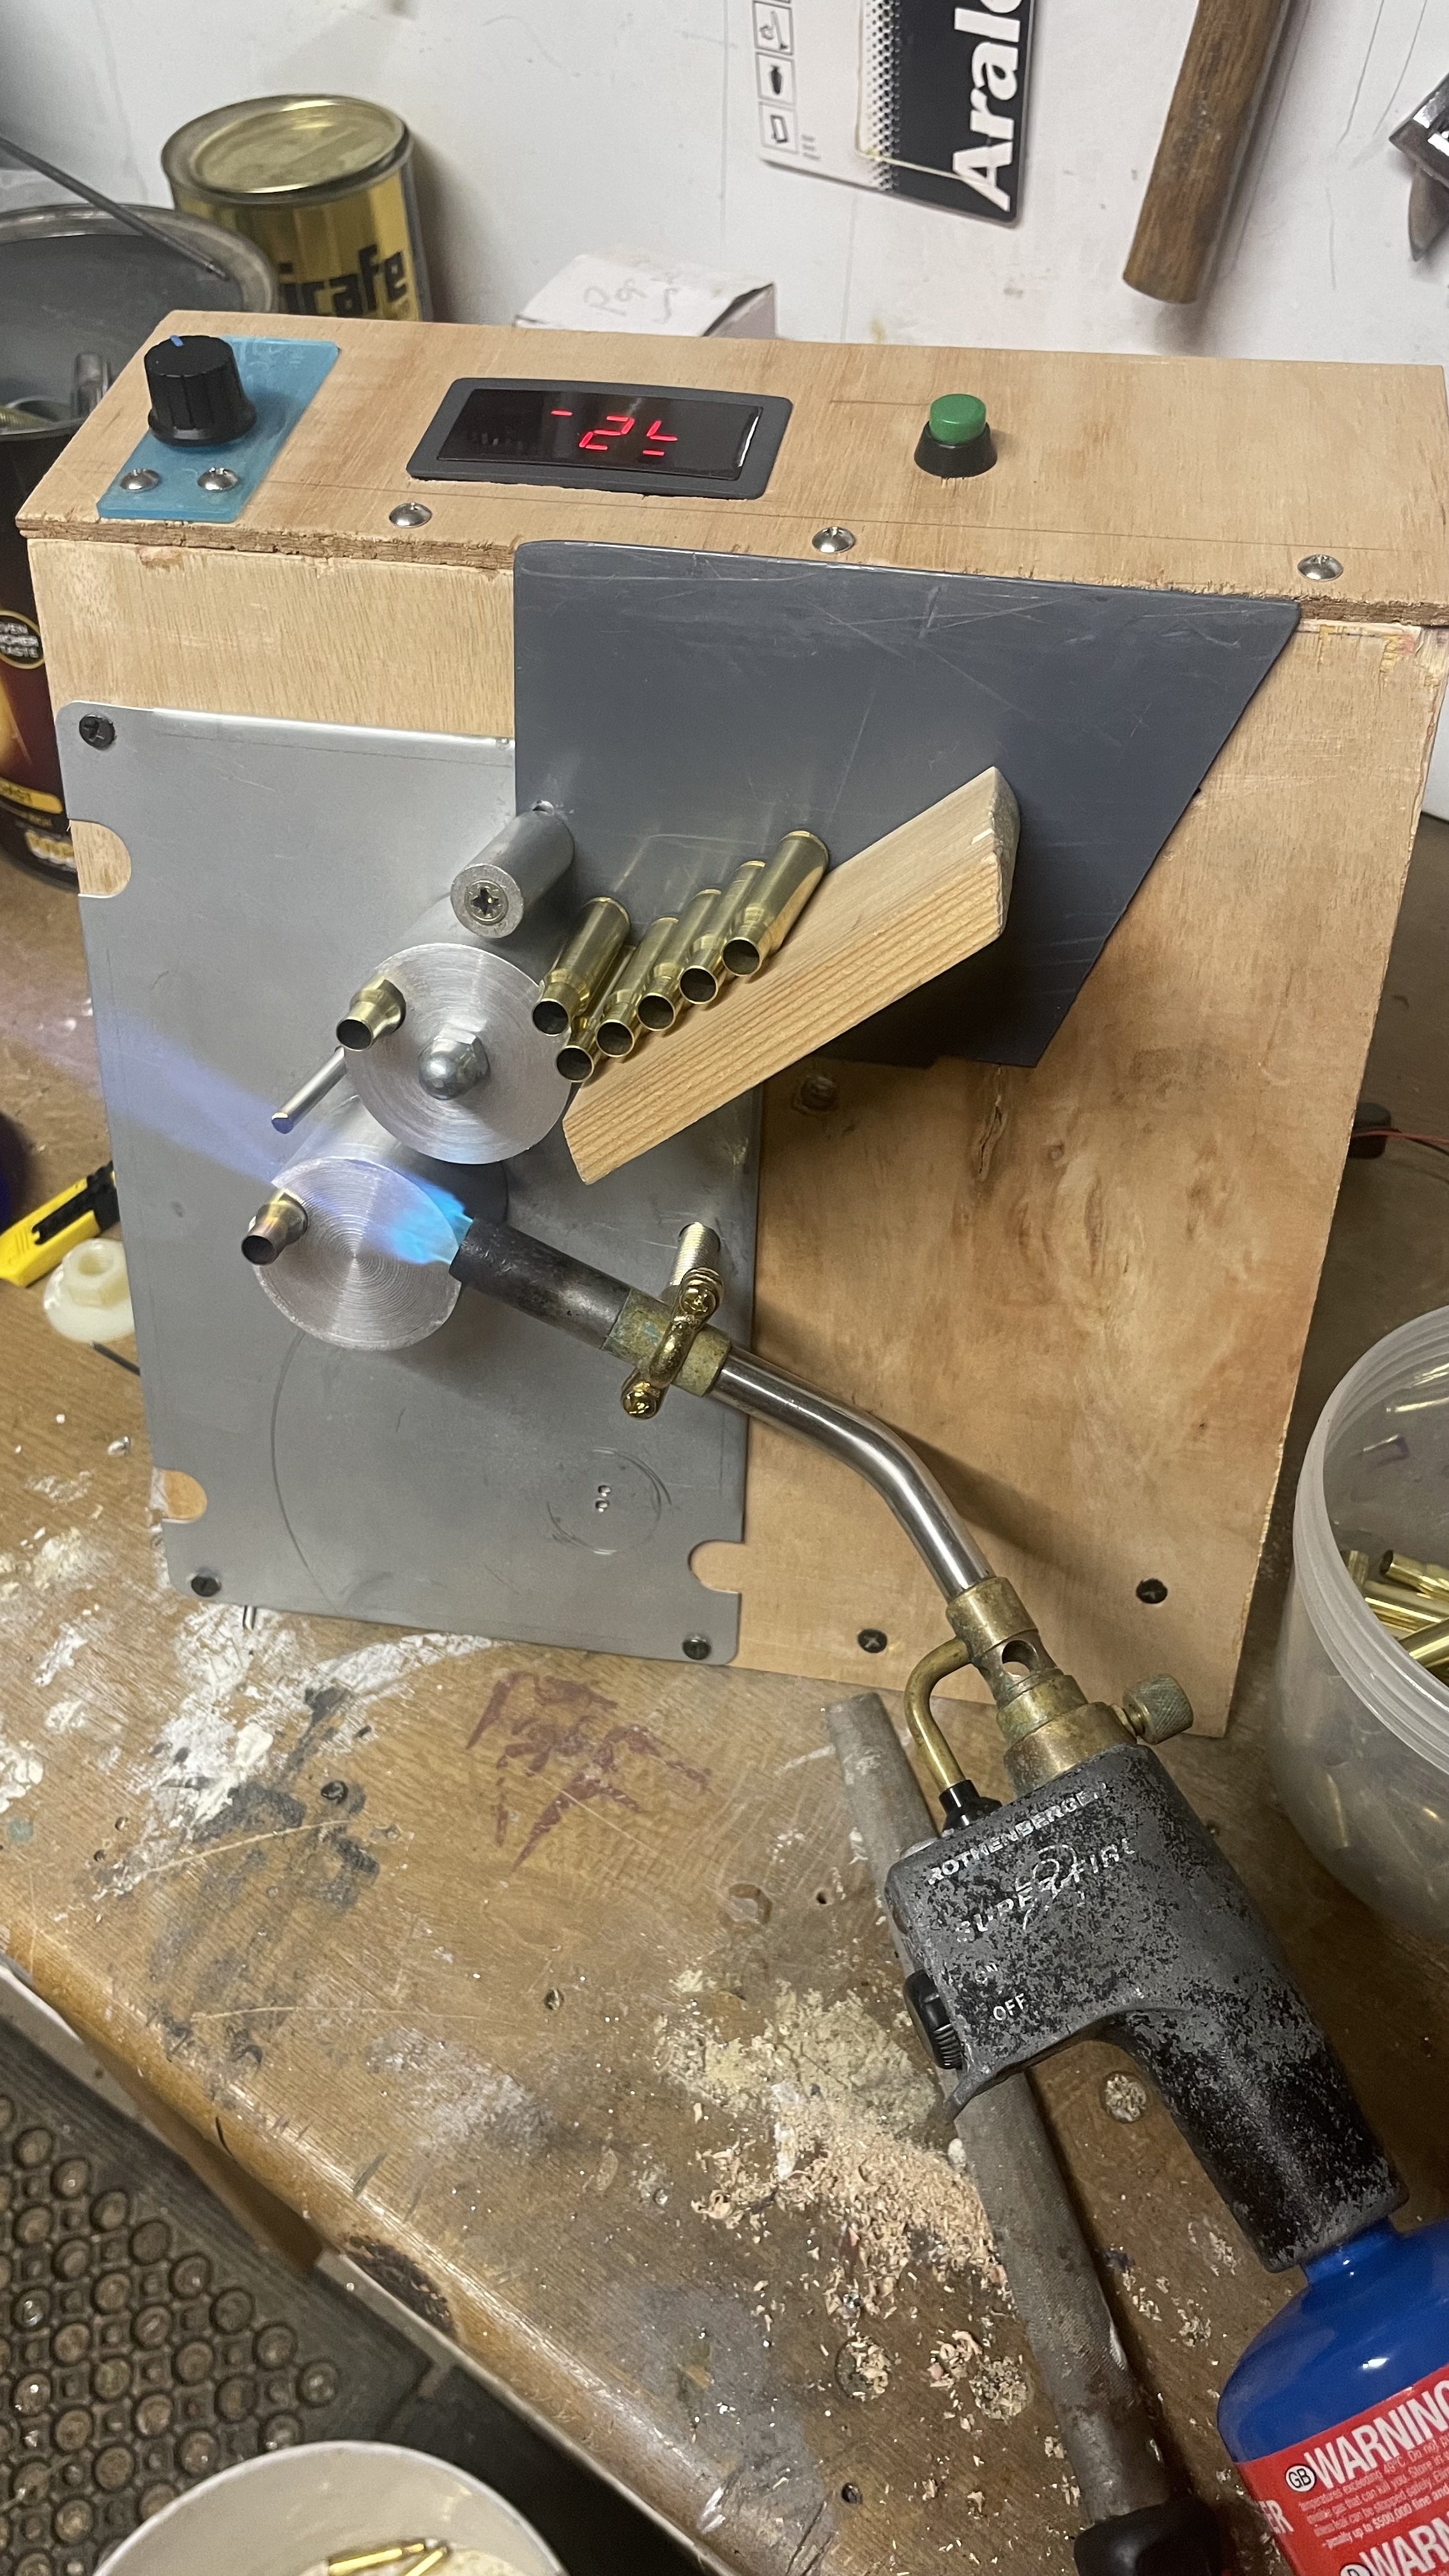
You will need to add a fixing pin so that the cartridge turns as the wheel rotates. 11oclock is about right. The only other pit fall is the cartridge stopper on the top wheel. This I needed to stop the cartridges from riding up and over the top.
Last thing was a 10mm pipe holder to hold the torch in place.
To find out the best speed versus flame. I went in the garage turned off the lights and ran a few old ones through it. As soon as the glow in the dark you have the right speed. A small metal tray is best to collect the spend brass. Not plastic......they seem to like to stick to that for some reason:

Welcome guest, is this your first visit? Create Account now to join.
Welcome to the NZ Hunting and Shooting Forums.
Search Forums
User Tag List
+ Reply to Thread
Results 1 to 10 of 10
 11Likes
Thread: Home made Annealing machine
-
19-06-2023, 01:53 AM #1
Home made Annealing machine
It's all fun and games till Darthvader comes along
I respect your beliefs but don't impose them on me.
-
-
19-06-2023, 01:57 AM #2
 It's all fun and games till Darthvader comes along
I respect your beliefs but don't impose them on me.
-
19-06-2023, 01:58 AM #3
I've gotta have a go at this at some point. Too many projects on the go, but I do have a 3D printer which would come in very handy.
-
19-06-2023, 02:21 AM #4
As you can see on the last photo what I mean about the cartridges riding up. Also Ill be using a small catching tub as my skull boiler was a bit of a drop and I dented a couple.
For those that do small cases like 223 Im sure you could make up some smaller wheels.It's all fun and games till Darthvader comes along
I respect your beliefs but don't impose them on me.
-
19-06-2023, 09:59 AM #5Member

- Join Date
- Feb 2014
- Location
- Hawkes Bay
- Posts
- 2,703
Be interesting to know the total cost of components if bought here. Value for money wise, the Ugly Annealers made in Aussie are the same concept but far cheaper than any other commercial units. Ignore the name, they're well built. I use my mate's one a lot and it's mint.
-
19-06-2023, 10:41 AM #6
Was thinking the same you could buy an ugly for under $400 including freight and not have to muck around experimenting and building. That seems pretty good to me. Of course you could also spend a lot less getting tenpointone in Wellington to aneal and tumble your cases at about $25 per 50 cases plus post if needed.
I'm currently hot salt annealing and it gives pretty good results but it is time consuming. Must admit I've considered an ugly a few times or just getting someone else to AMP anneal them. No hate for the diy guys at all, love seeing what people can turn out of their sheds.#DANNYCENT
-
19-06-2023, 11:19 AM #7Member

- Join Date
- Jun 2023
- Location
- waimakau
- Posts
- 4,413
Ugly is what I use. Nothing ugly about it very well made
-
19-06-2023, 11:24 AM #8Member

- Join Date
- Jul 2012
- Location
- Tauranga
- Posts
- 2,637
Nice work @Sideshow. By the way it's called custom built not home made

-
19-06-2023, 12:42 PM #9
-
19-06-2023, 12:55 PM #10
Not counting the wood. As that’s off cuts from a job.
Total cost was £48.00 plus my time.
Sure I could have brought one for around £150 but hey joyous guys asked and I showed. It's all fun and games till Darthvader comes along
I respect your beliefs but don't impose them on me.
Similar Threads
-
Home made annealing
By charliehorse in forum Reloading and BallisticsReplies: 14Last Post: 22-11-2020, 08:00 AM -
Another annealing machine
By chalkeye in forum Reloading and BallisticsReplies: 6Last Post: 23-05-2016, 06:45 PM
Tags for this Thread
Welcome to NZ Hunting and Shooting Forums! We see you're new here, or arn't logged in. Create an account, and Login for full access including our FREE BUY and SELL section Register NOW!!


 LinkBack URL
 About LinkBacks


 Reply With Quote


Bookmarks