hey Danny what kind of chassis black are you using?
Printable View
hey Danny what kind of chassis black are you using?
Ummm forgive me for this very untechnical answer cause it's buried in a box at the storage but it's just called "chassis black" it comes I a tin spray store sell it, does not require thinning and can be brushed on.Quote:
Originally Posted by paremata
That's about as good an answer as I can give unfortunately, till I'm out there again.
Passenger side all sealed up today, increased the heat on the mig and found it a lot better but i also put that down to me getting a little better at steering it too, still very much a novice.
Attachment 242162
Attachment 242163
Attachment 242164
Only peaked at 34c in the green house today so was almost bare able :O_O:
Next session I'll be making a panel and welding it into the last gap in the bottom of the cab as see in the pic below.
Then i need to weld up the bolt holse for the original front flares and get on to prepping the body for robliner :cool:
Baby steps but progress is progress ;)
Attachment 242165
Are you putting new flares on it?
I found the replacement flares - although they didn't use the existing holes, did cover them so just hit them with cold galv and carried on.
I don't need flares as the wheels on it fit inside the factory guards even with 35" tires i was gonna run some rubber ones just to provide a little extra incase i changed wheel offset in the future, however i have had zero luck finding any plastic or glass ones for the 60 :psychotic: would happily run factory flares if i could find a set at a semi realistic price.Quote:
Originally Posted by Ross Nolan
Couple more hours spent on the cruiser this afternoon, got the last patch panel shaped, cut out and tacked into place.
Tidied up a couple of welds on the side panels I did last visit. Will finish pulse welding the last panel in then there's a heap of grinding and sanding to tidy up my average welding :yaeh am not durnk:
I also noticed a couple pin holes I the roof along where it was chopped, so they well need some attention next visit too. Then the last panel work before prep and paint will be to weld up the bolt holes where the factory flares used to be. Making good progress every visit, so I'm happy with that.
Attachment 243478
Fully welded bottom patch....definitely needs a tidy up with the grinder but another step in the right direction
Attachment 243861
No pics today, but spent the day getting the pin holes in the roof welded up (prick of a job as it was thin).
Then got all the bolt holes where the flares would have bolted to the front guards welded up.
Good progress, next trip will be lots of sanding so I can finally start spraying the roboliner inside and out.
Was very grateful to have a more experienced mate help with welding the roof as I may have ended up with a sunroof or cabriolet if I did it :yaeh am not durnk:
Hopefully get some sanding done in the next week or 2 :cool:
I can see its a long project, good stuff Danny
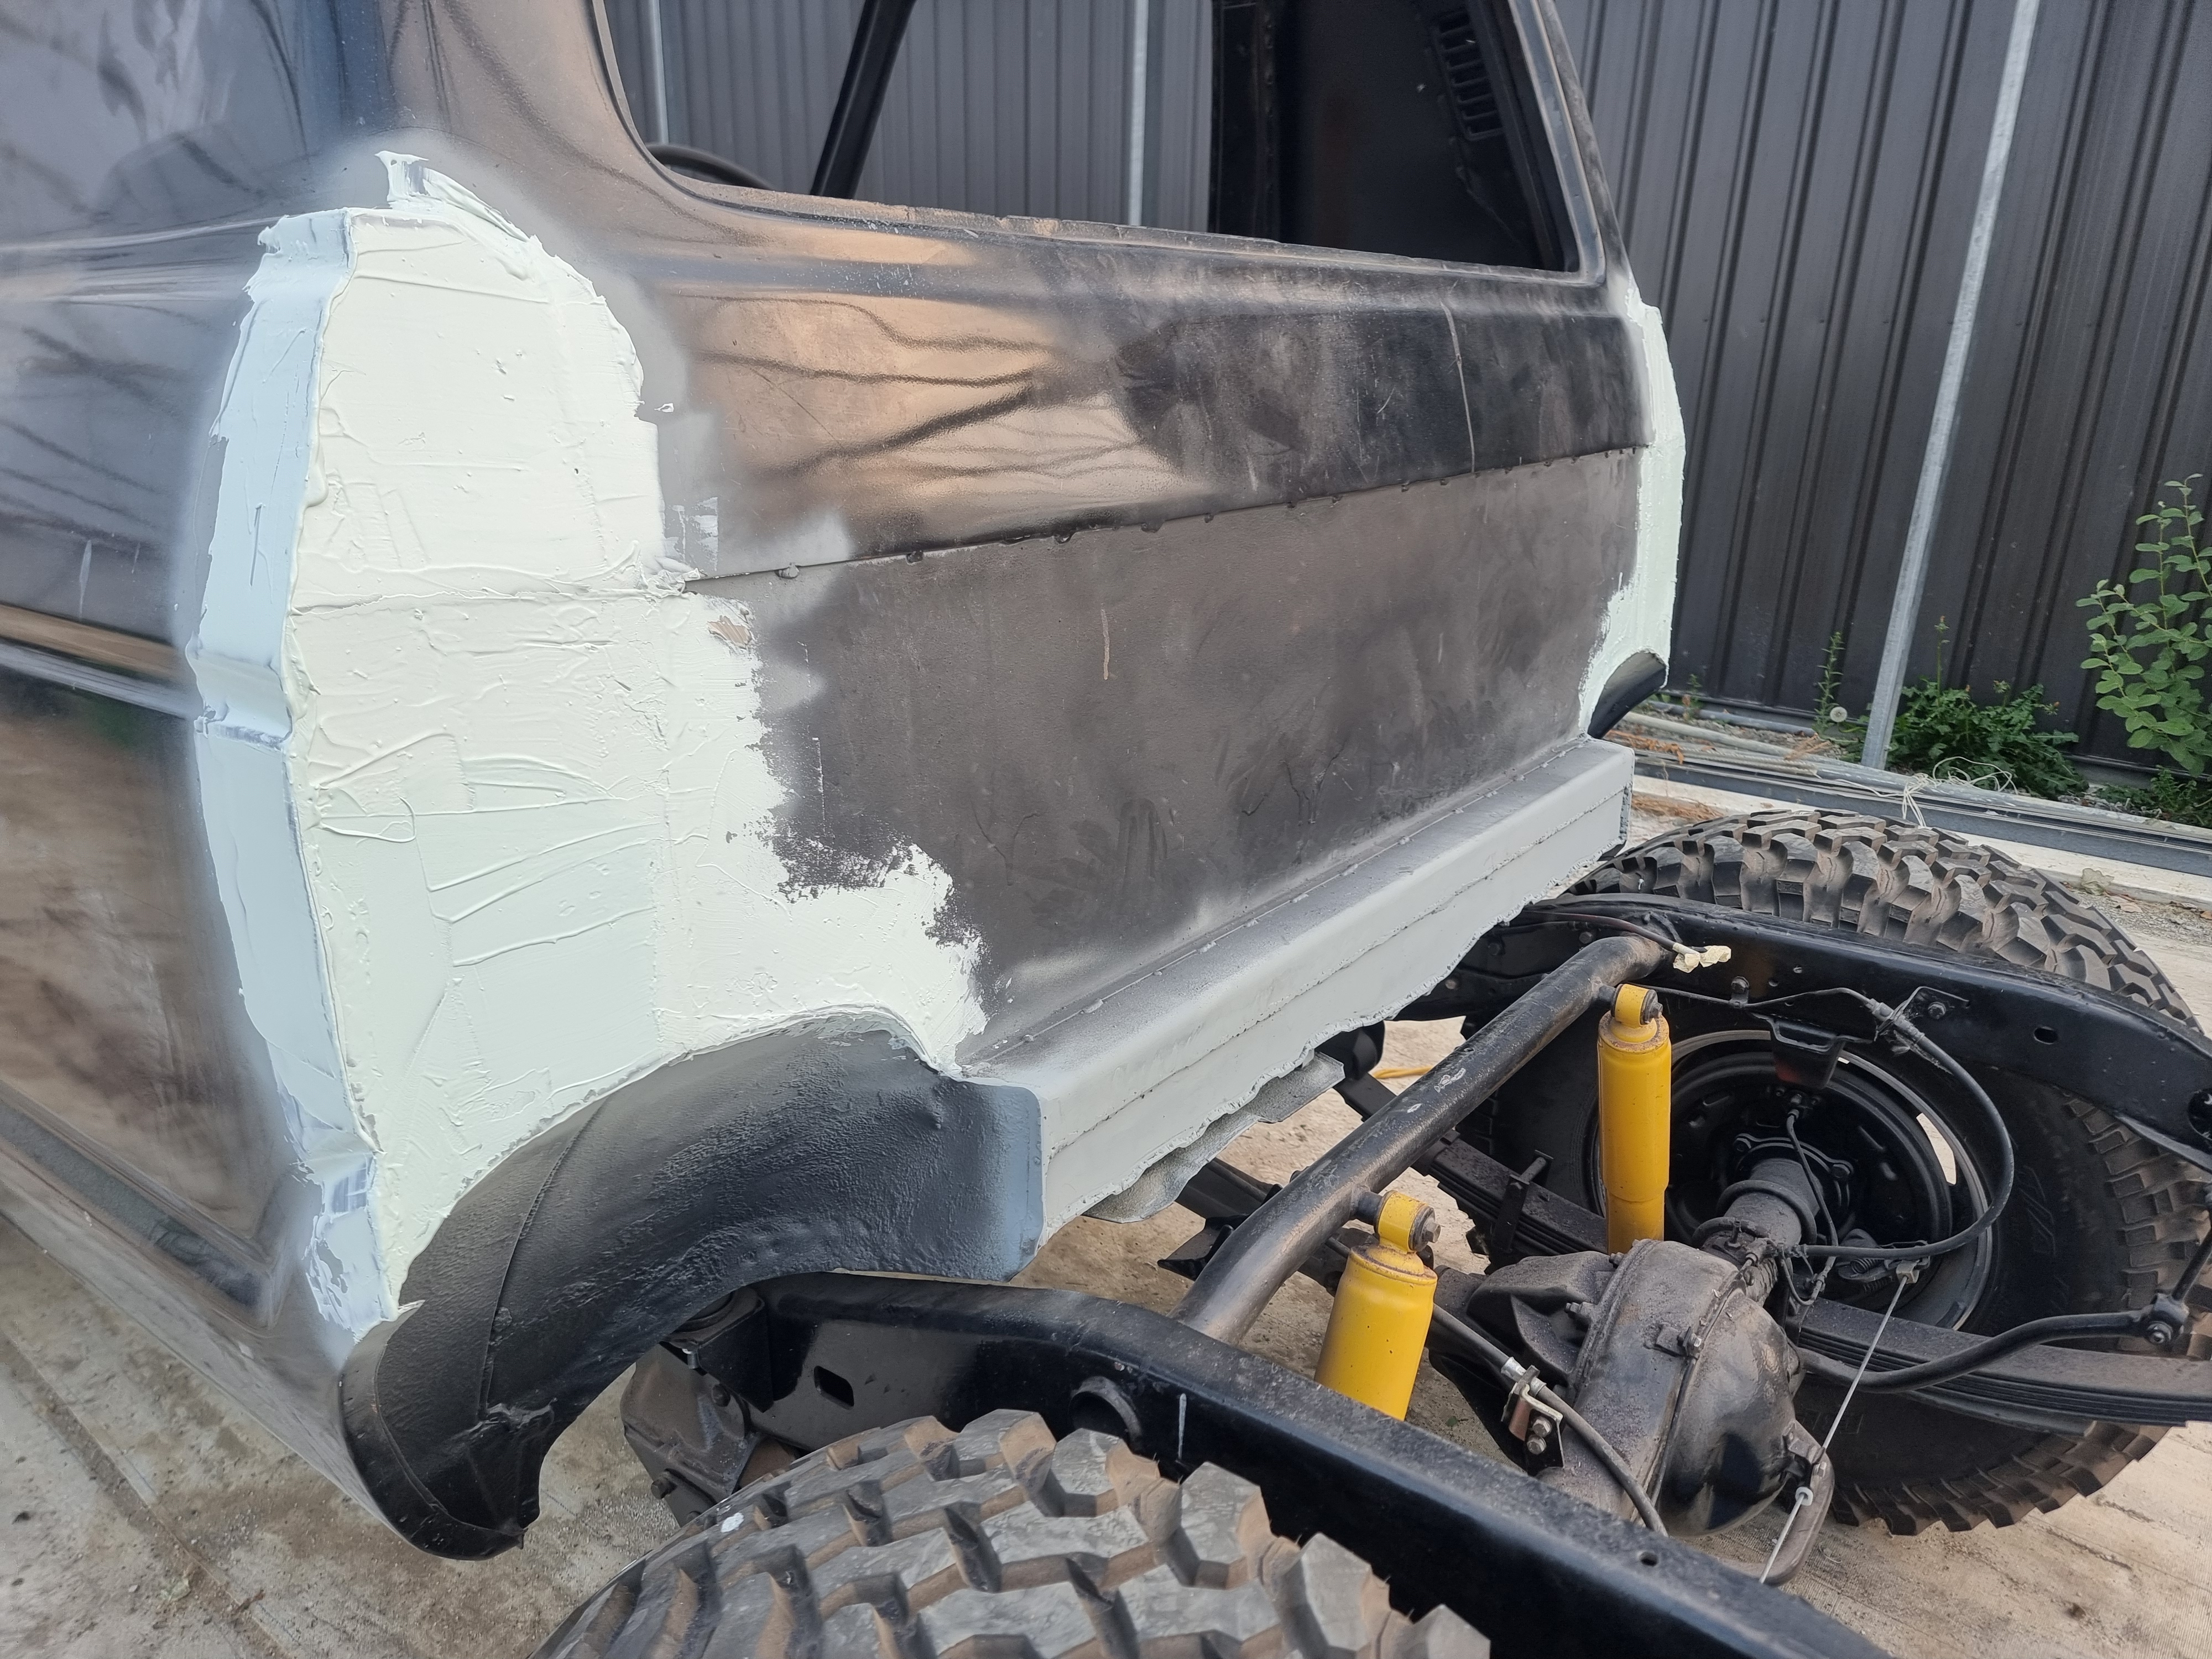
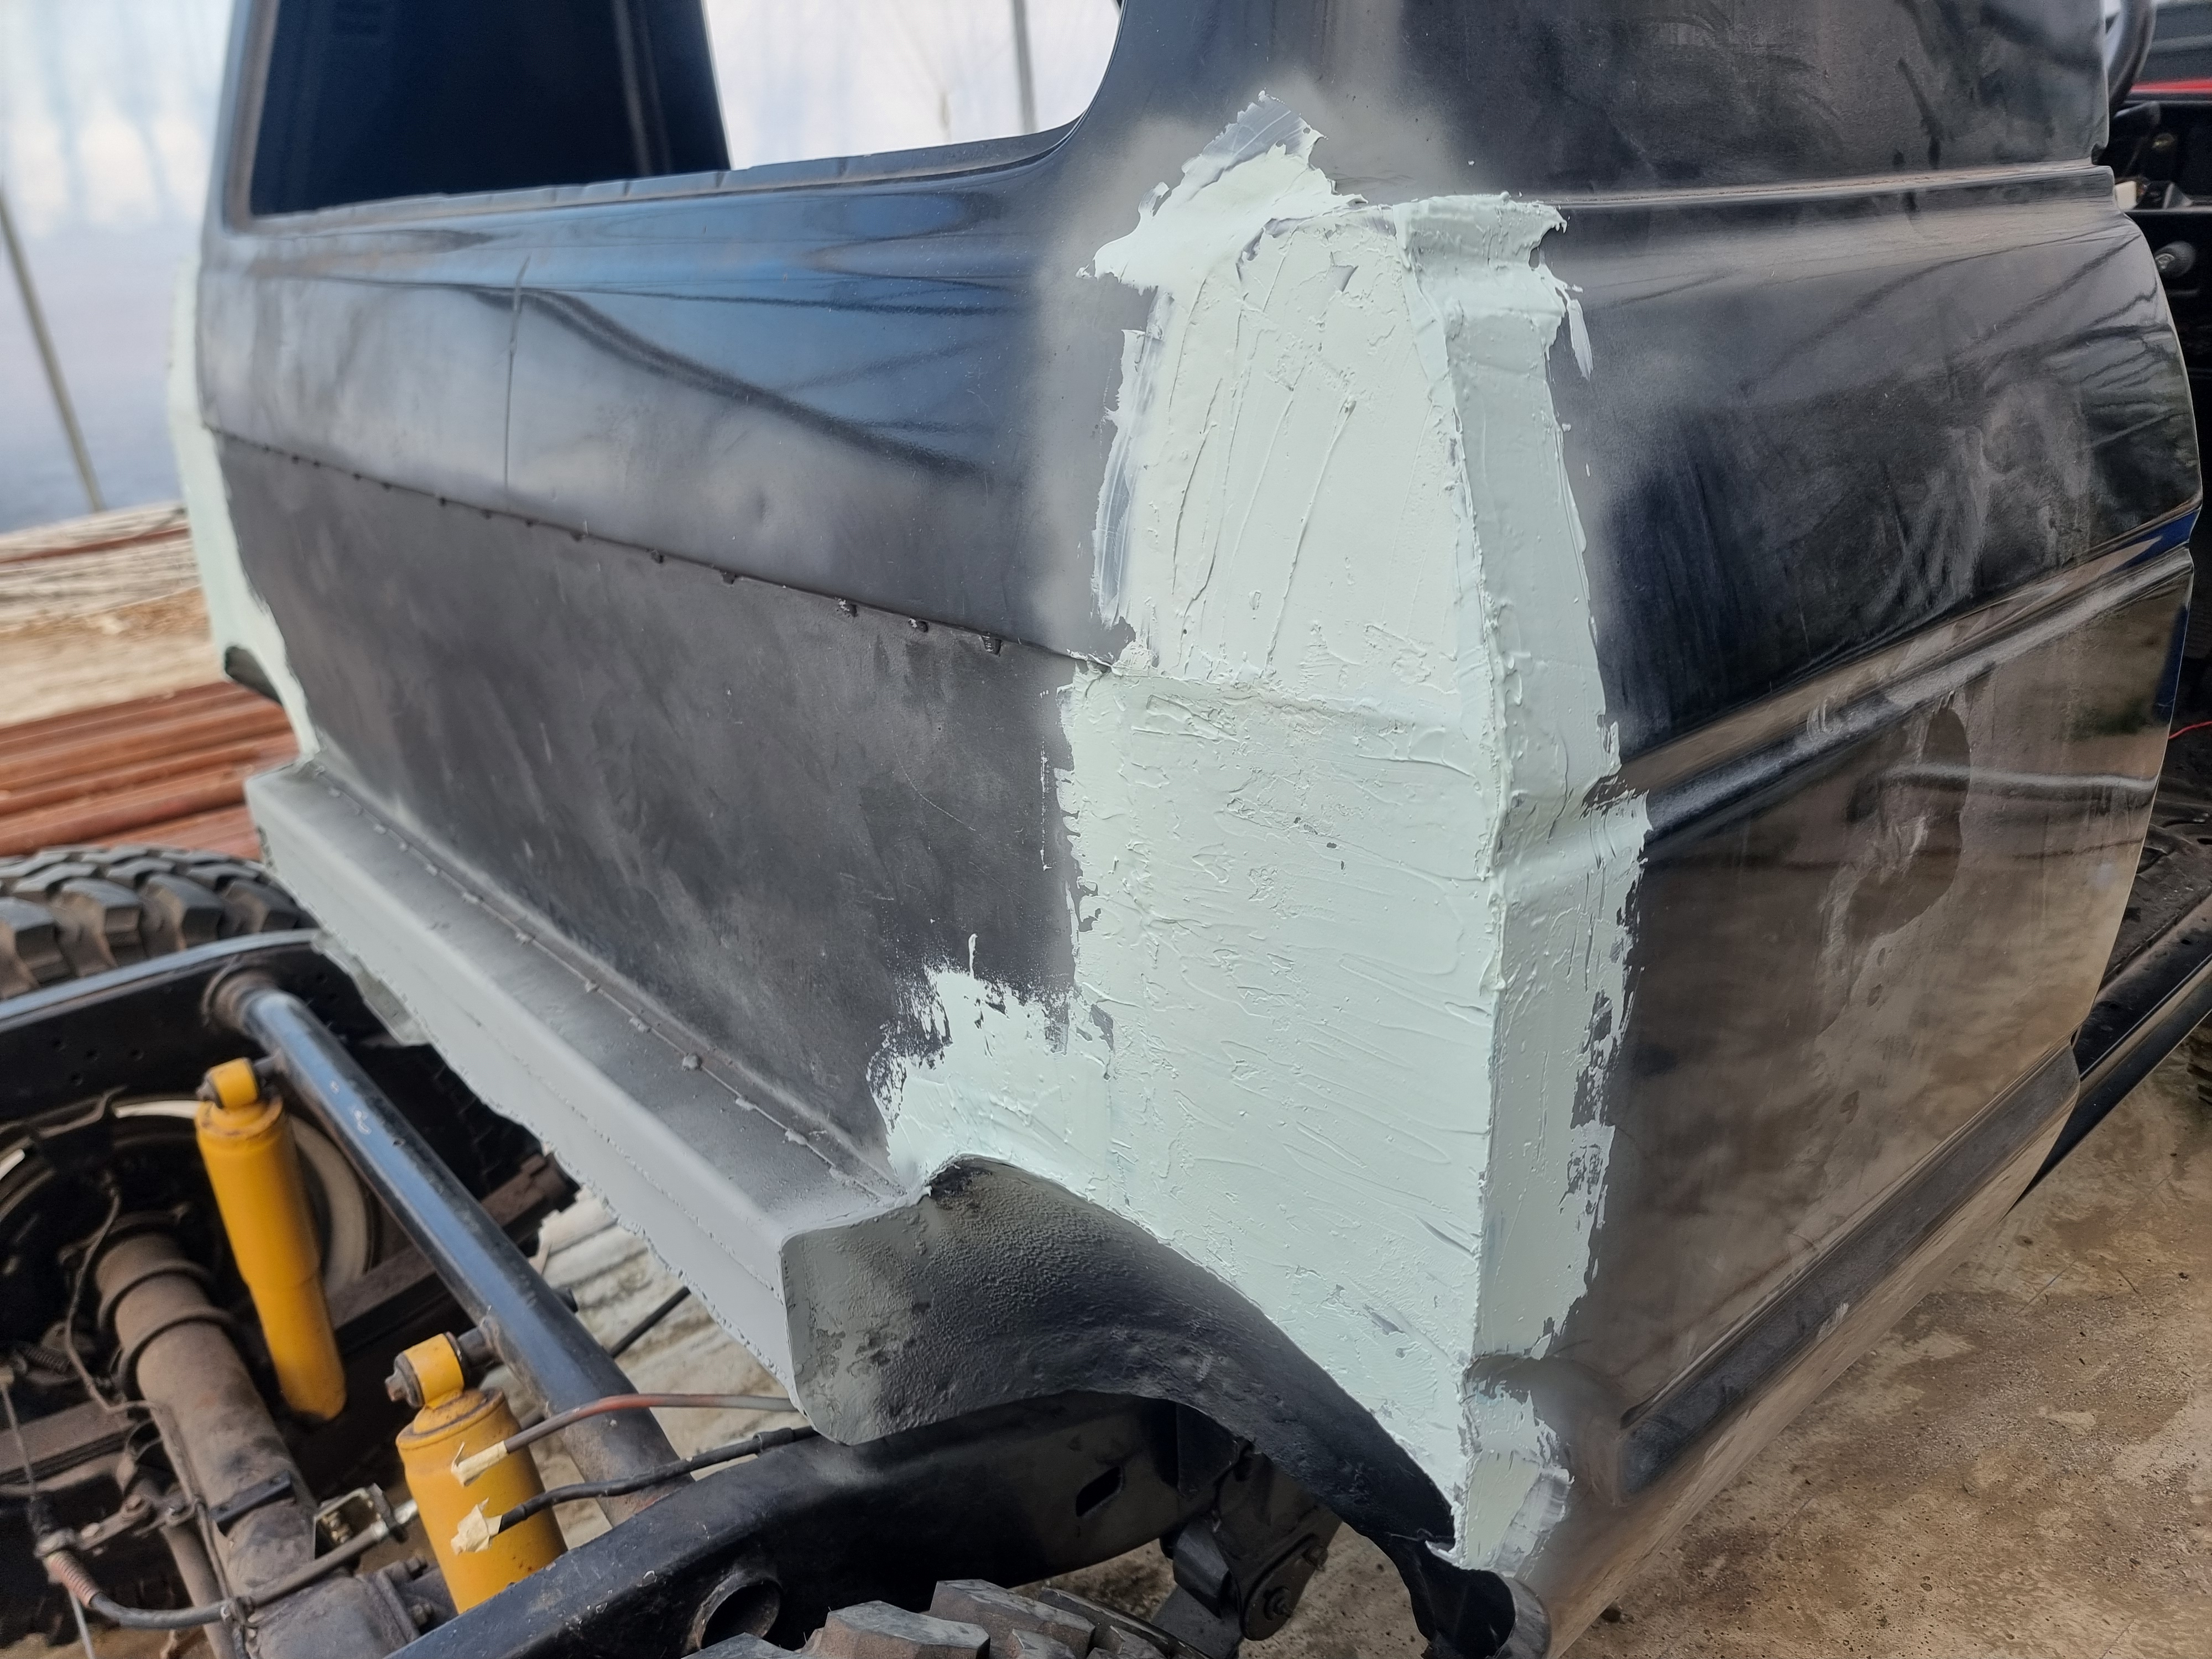
Spent some more time on the truck today, ground off a heap of sloppy welds :yaeh am not durnk: slapped on a heap of filter (most of which will be sanded off).
More good progress, next trip will sand back the filler and check for any low points, then it's on to paint prep :cool:
Will also include some pics of the guards now the flare holes have been welded up too.
Attachment 247156
Attachment 247157
Attachment 247158
Attachment 247159
Attachment 247160
Picked up a 6" air sander today, what a handy bit of gear, made quick work of removing most of the filler, had to finish a few bits by hand but overall happy with progres. I have a bit more asthetic stuff to tidy up with the grinder around the bottom of the cab but that's not a big job. Next chance I get a day off and the weather isn't shit It's getting trailered to the certification guys in Christchurch for a progress check. Once that's done it'll be all hands on deck for paint prep :cool:
No pics today but I took a quick 20sec video and loaded it up on YouTube link below.
https://youtu.be/Cao_YiD4oN4?si=ylMKPi5hZChKeQ3E
Paint is a bit wet still hence it looks patchy, just chucked it on to protect the bare metal from rusting.
Spent a day working working on the cruiser after a long break. I have been busy with work but scored a couple mid week days off :cool:
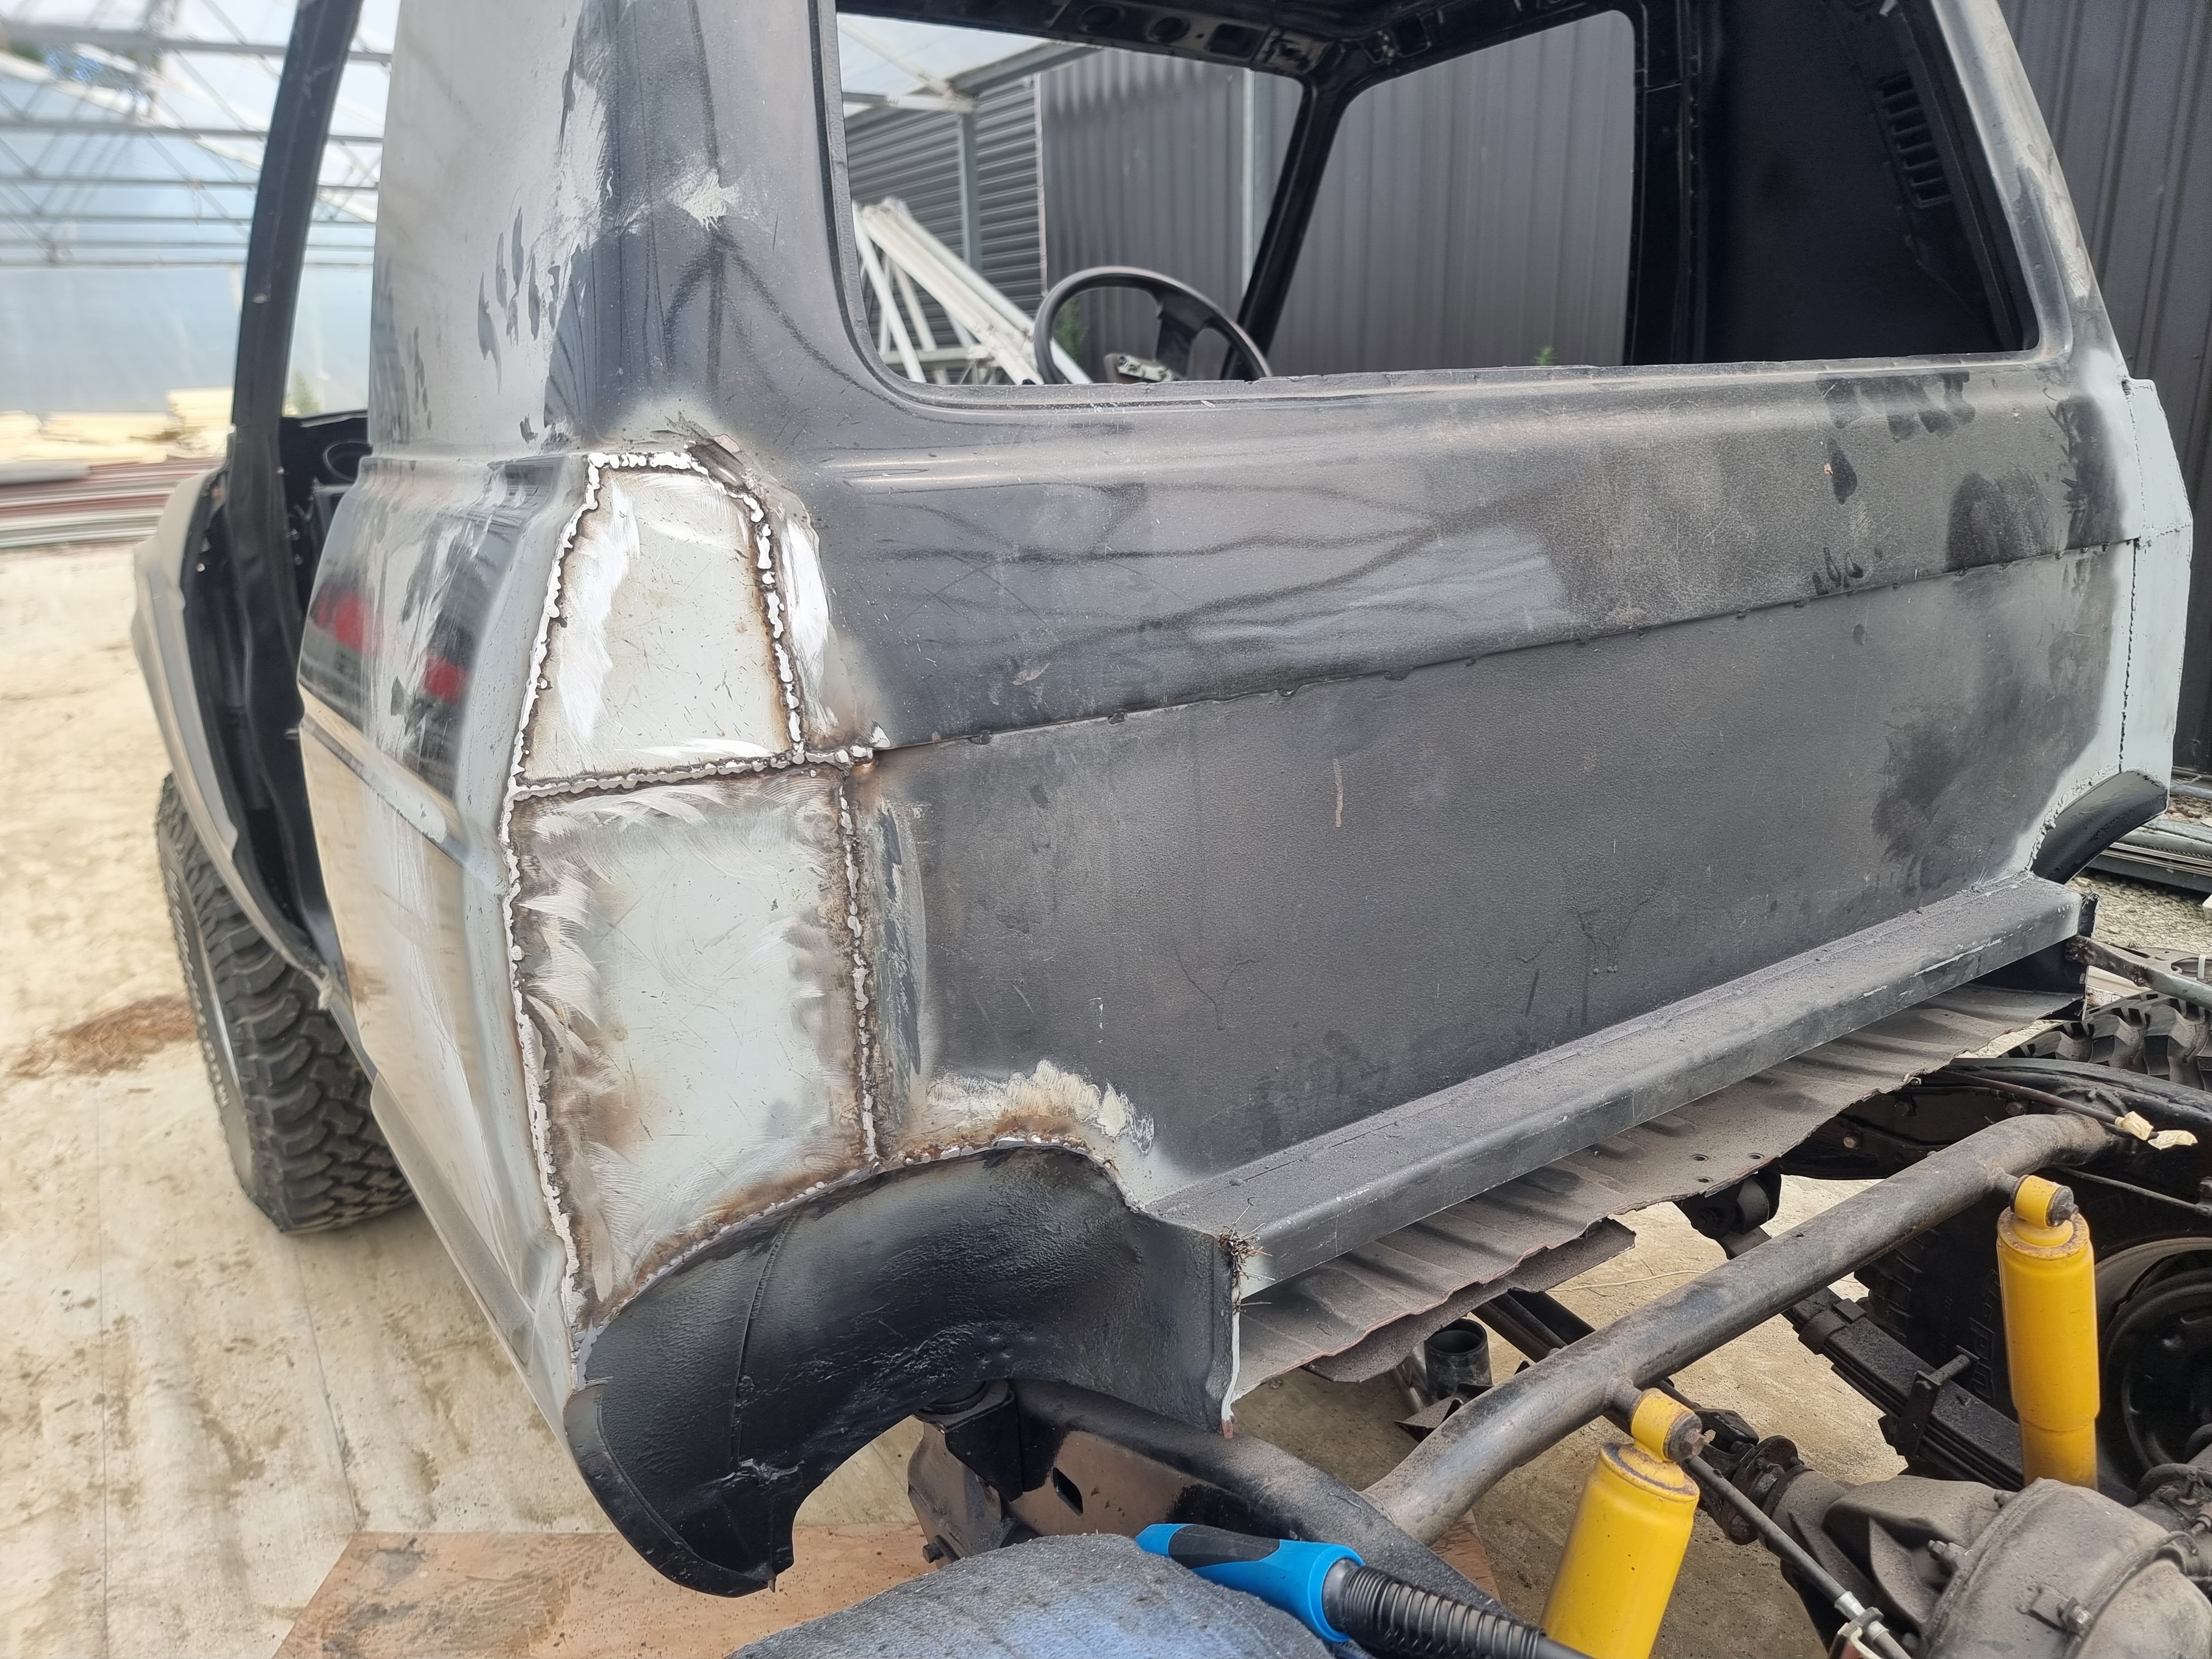
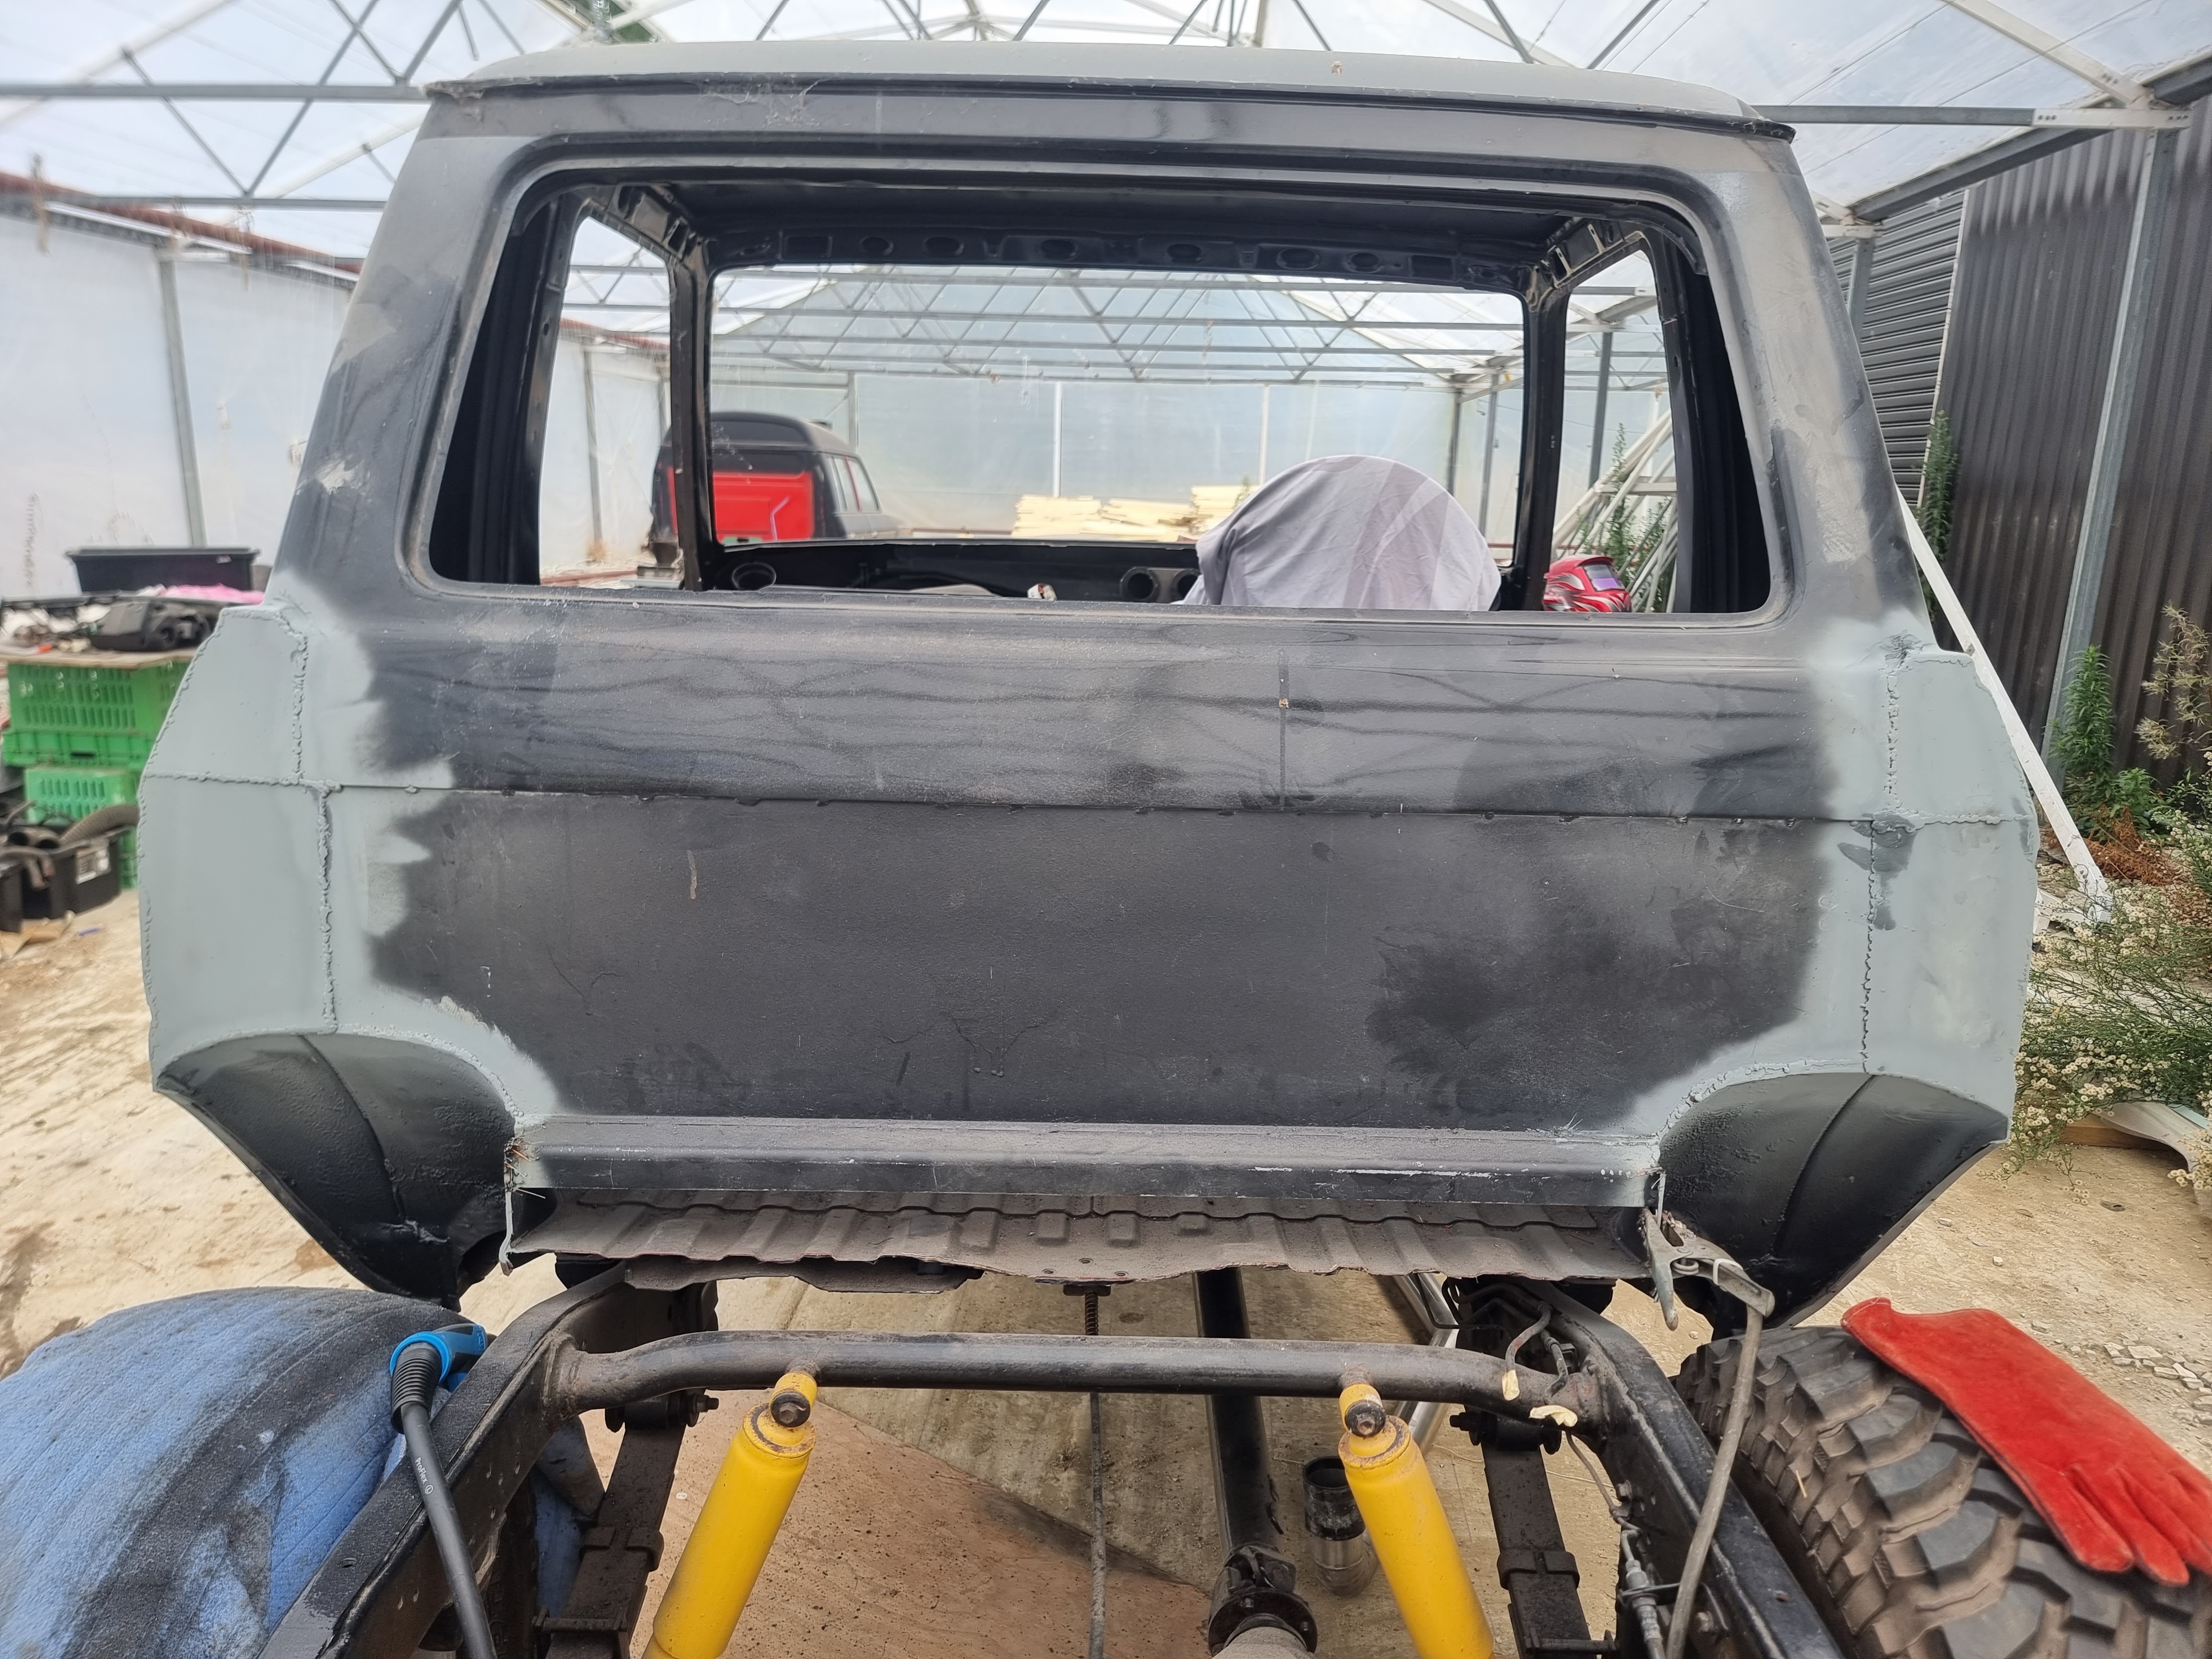
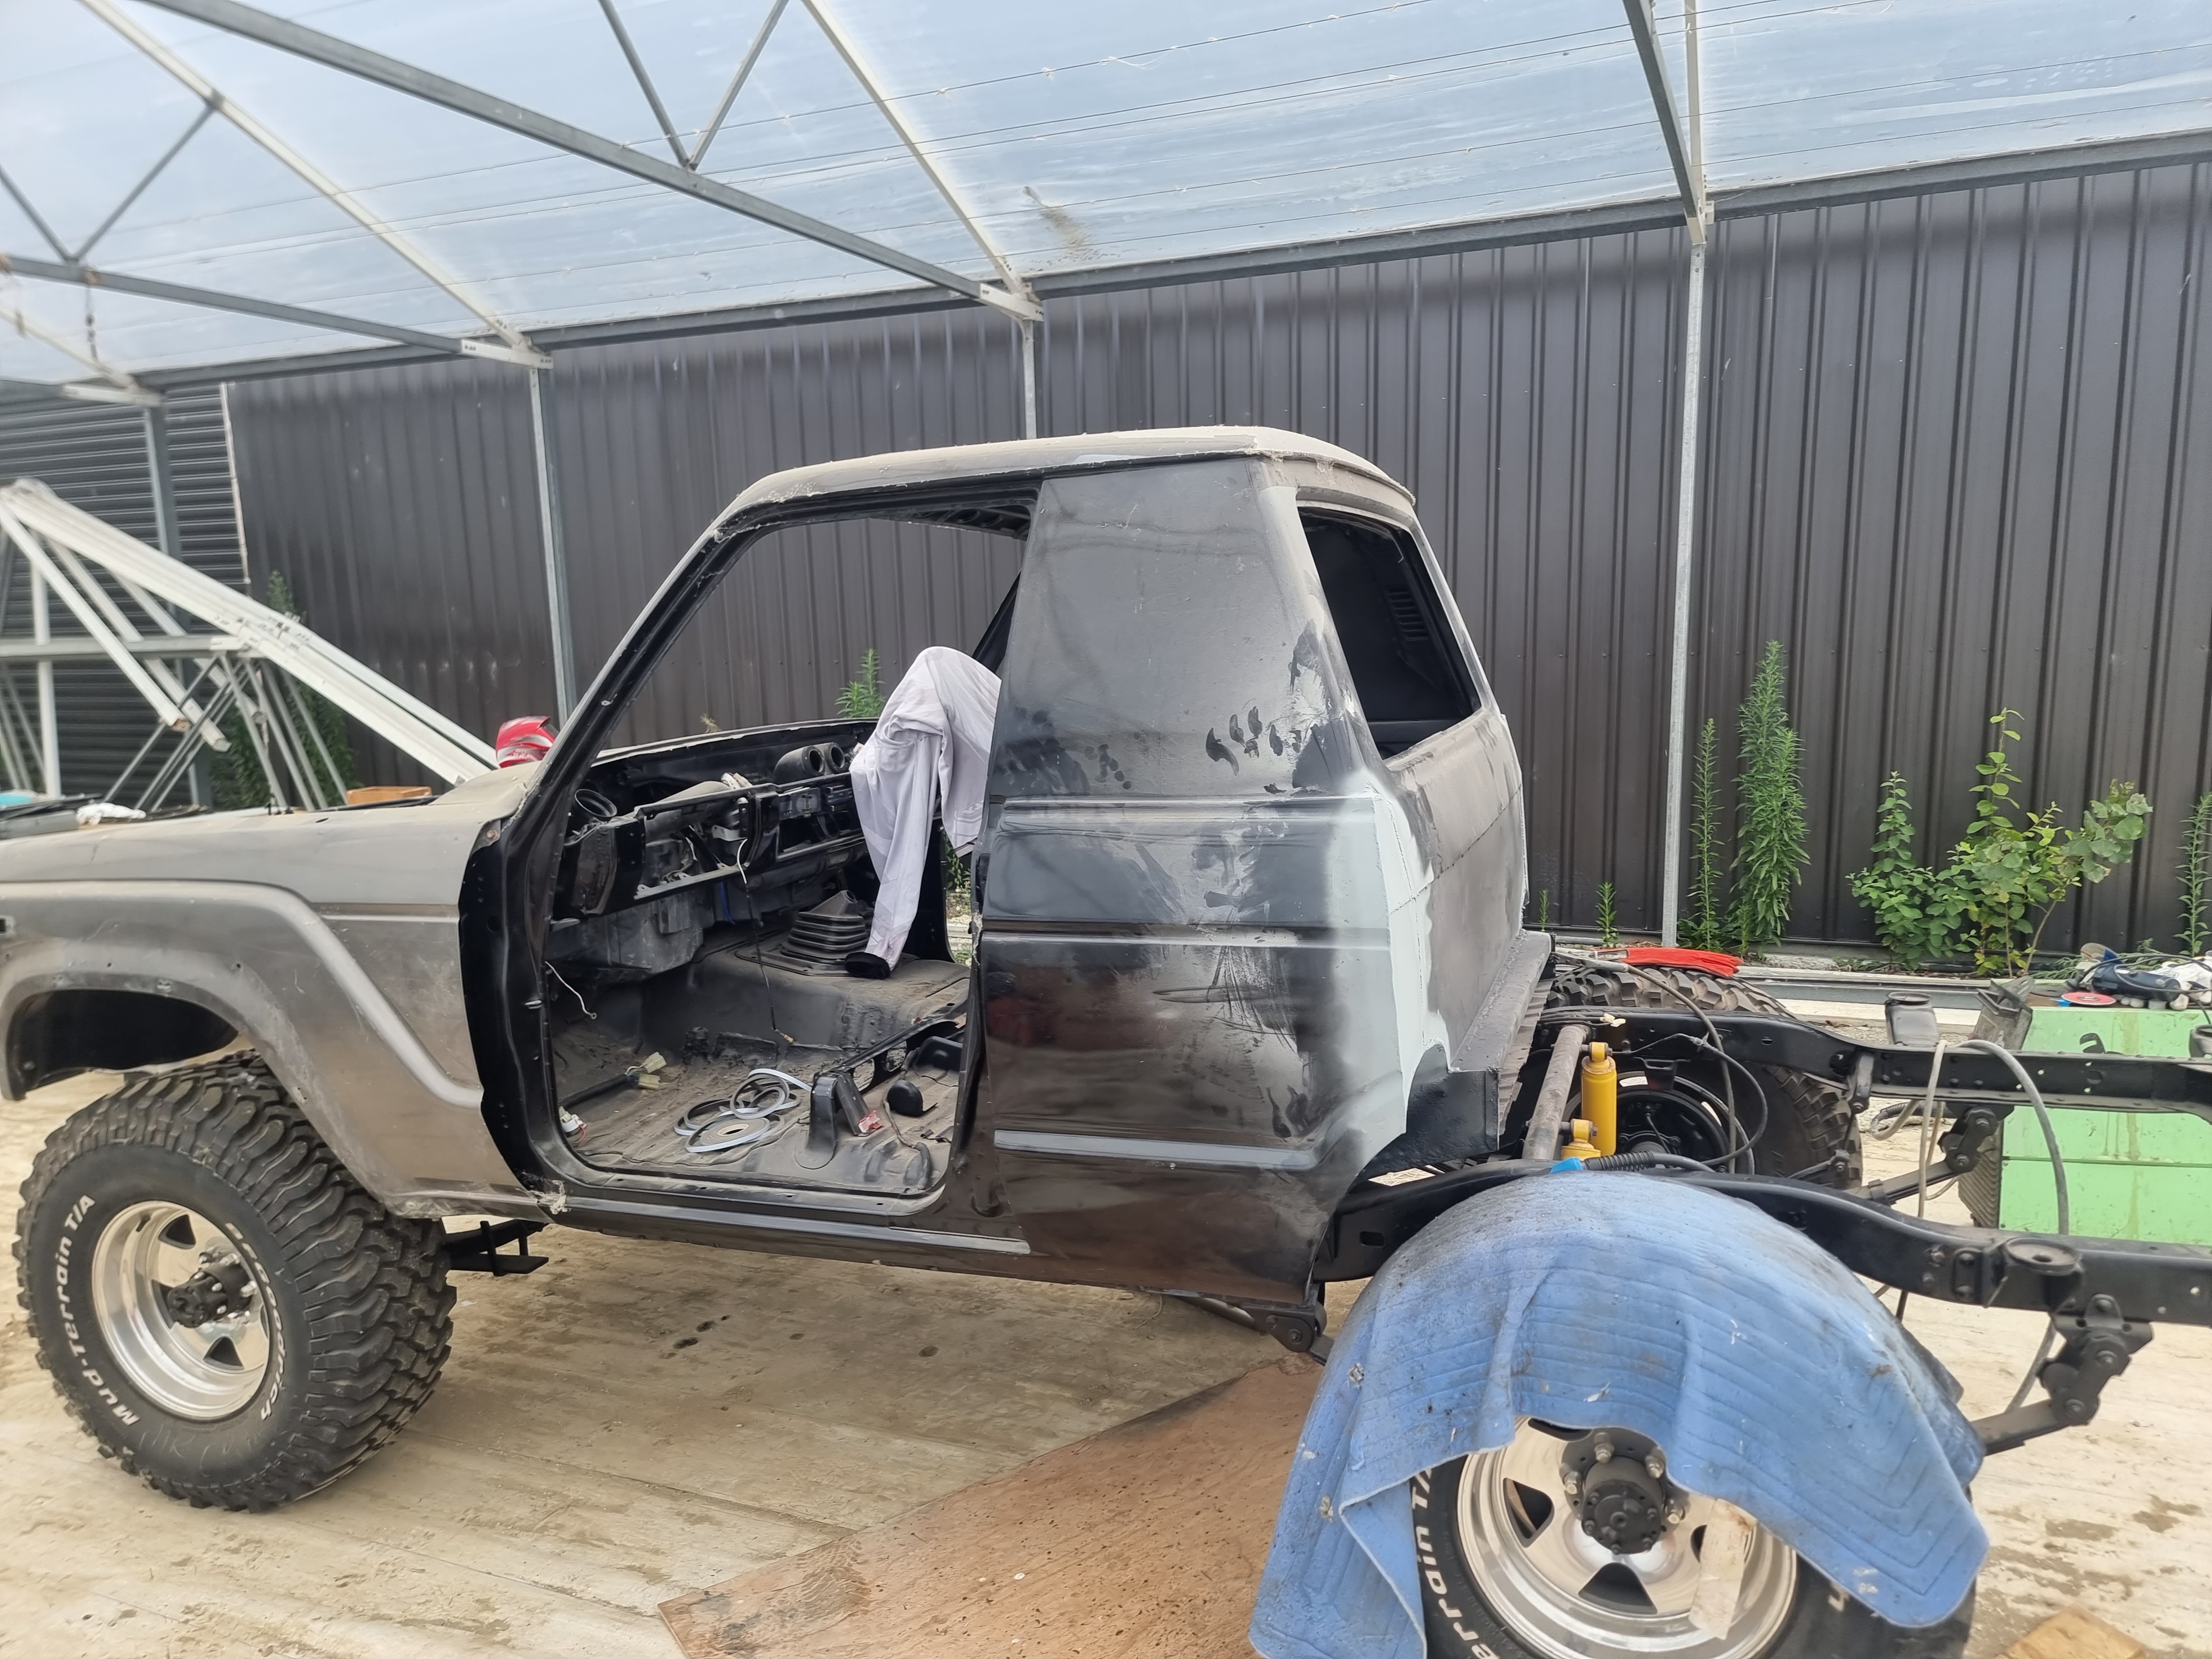
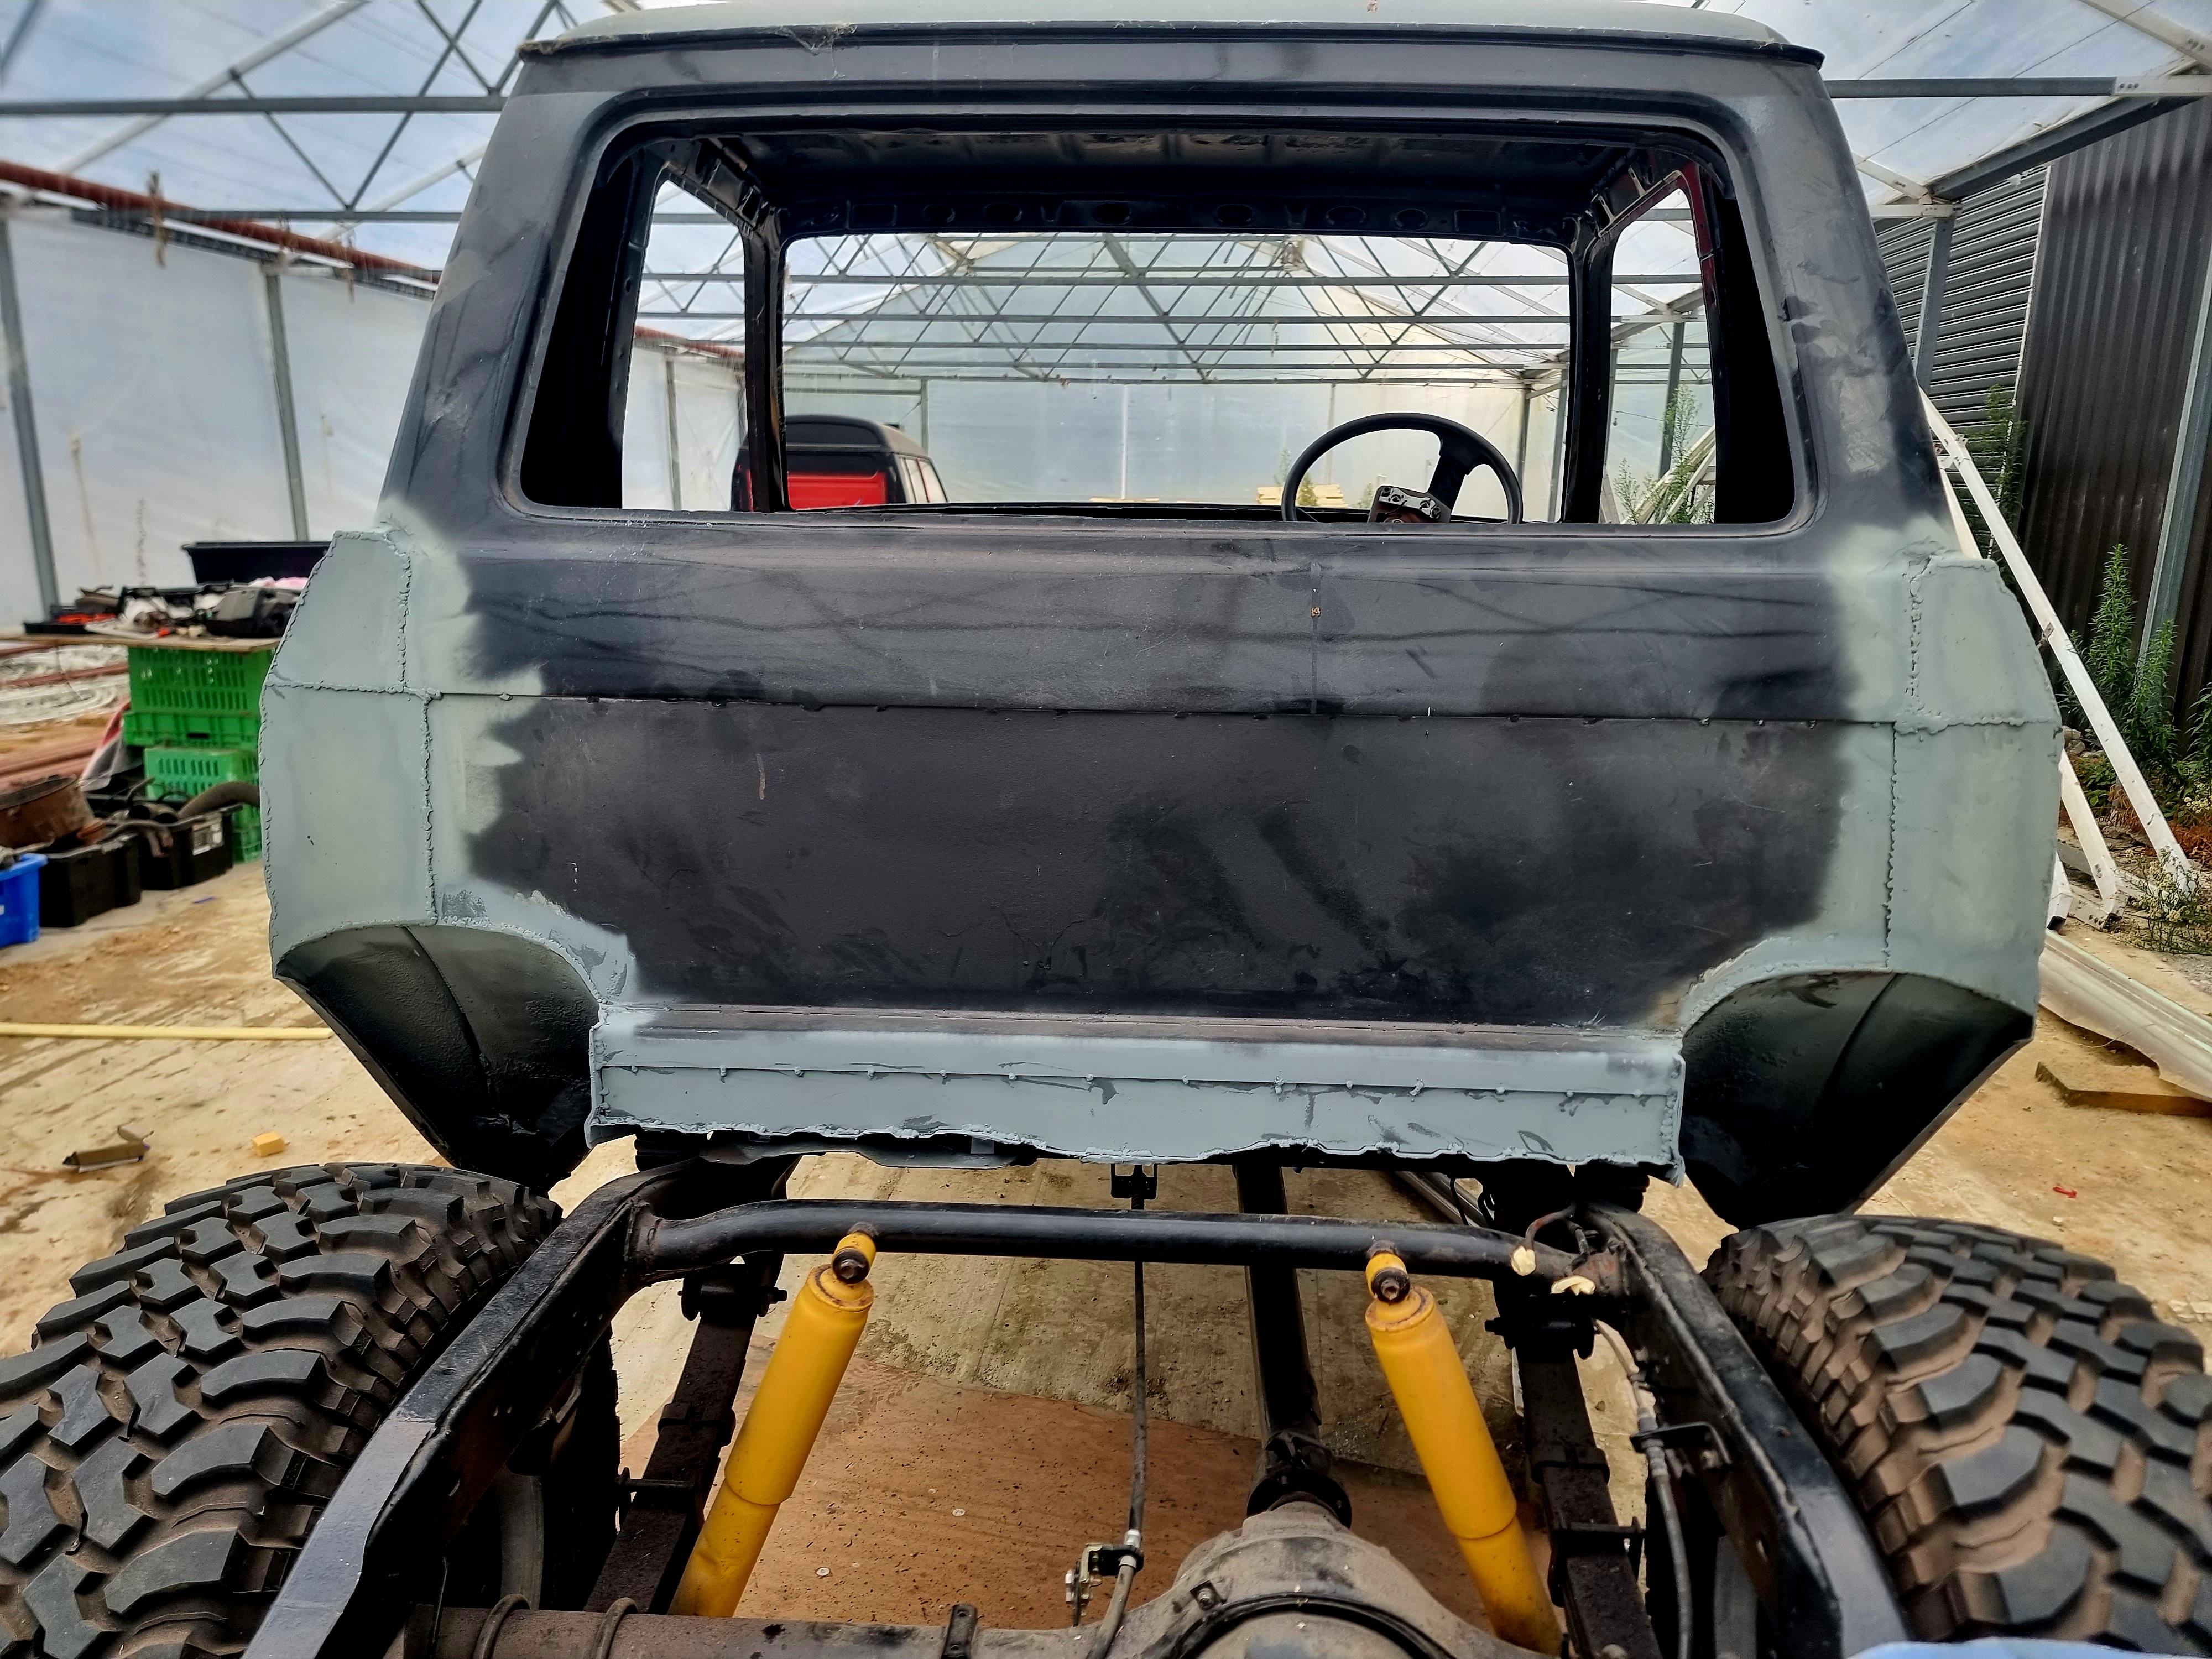
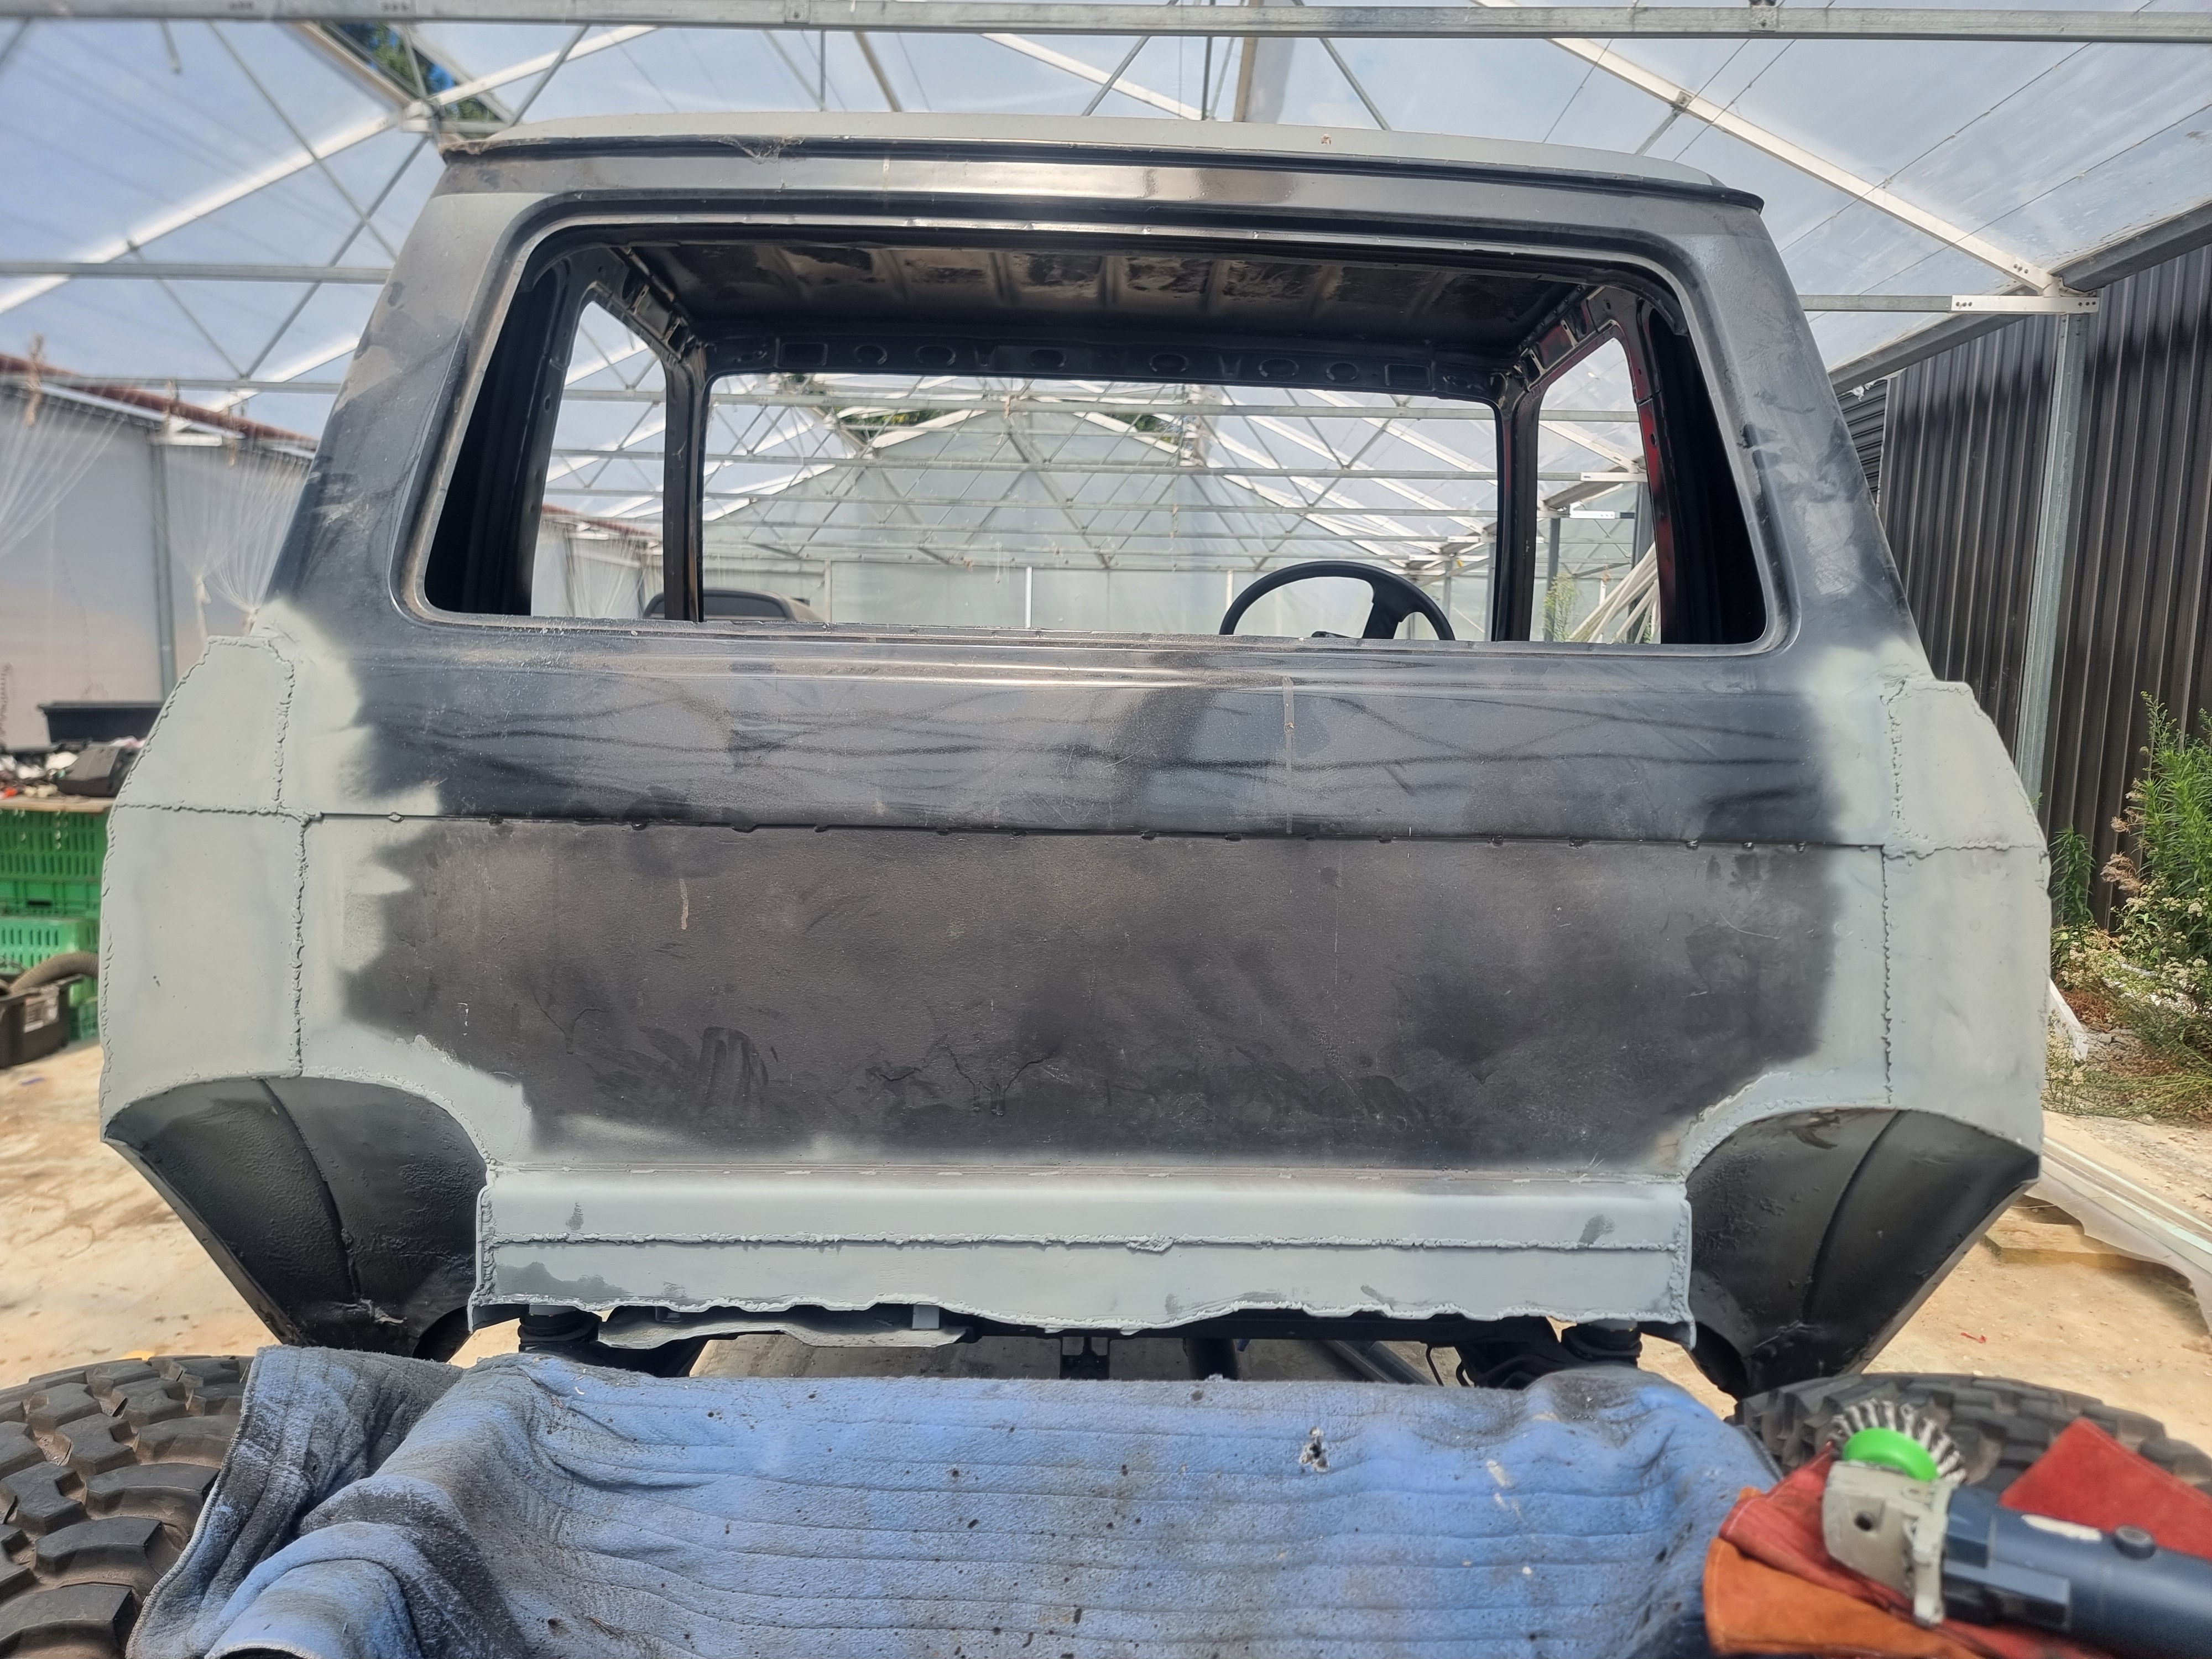
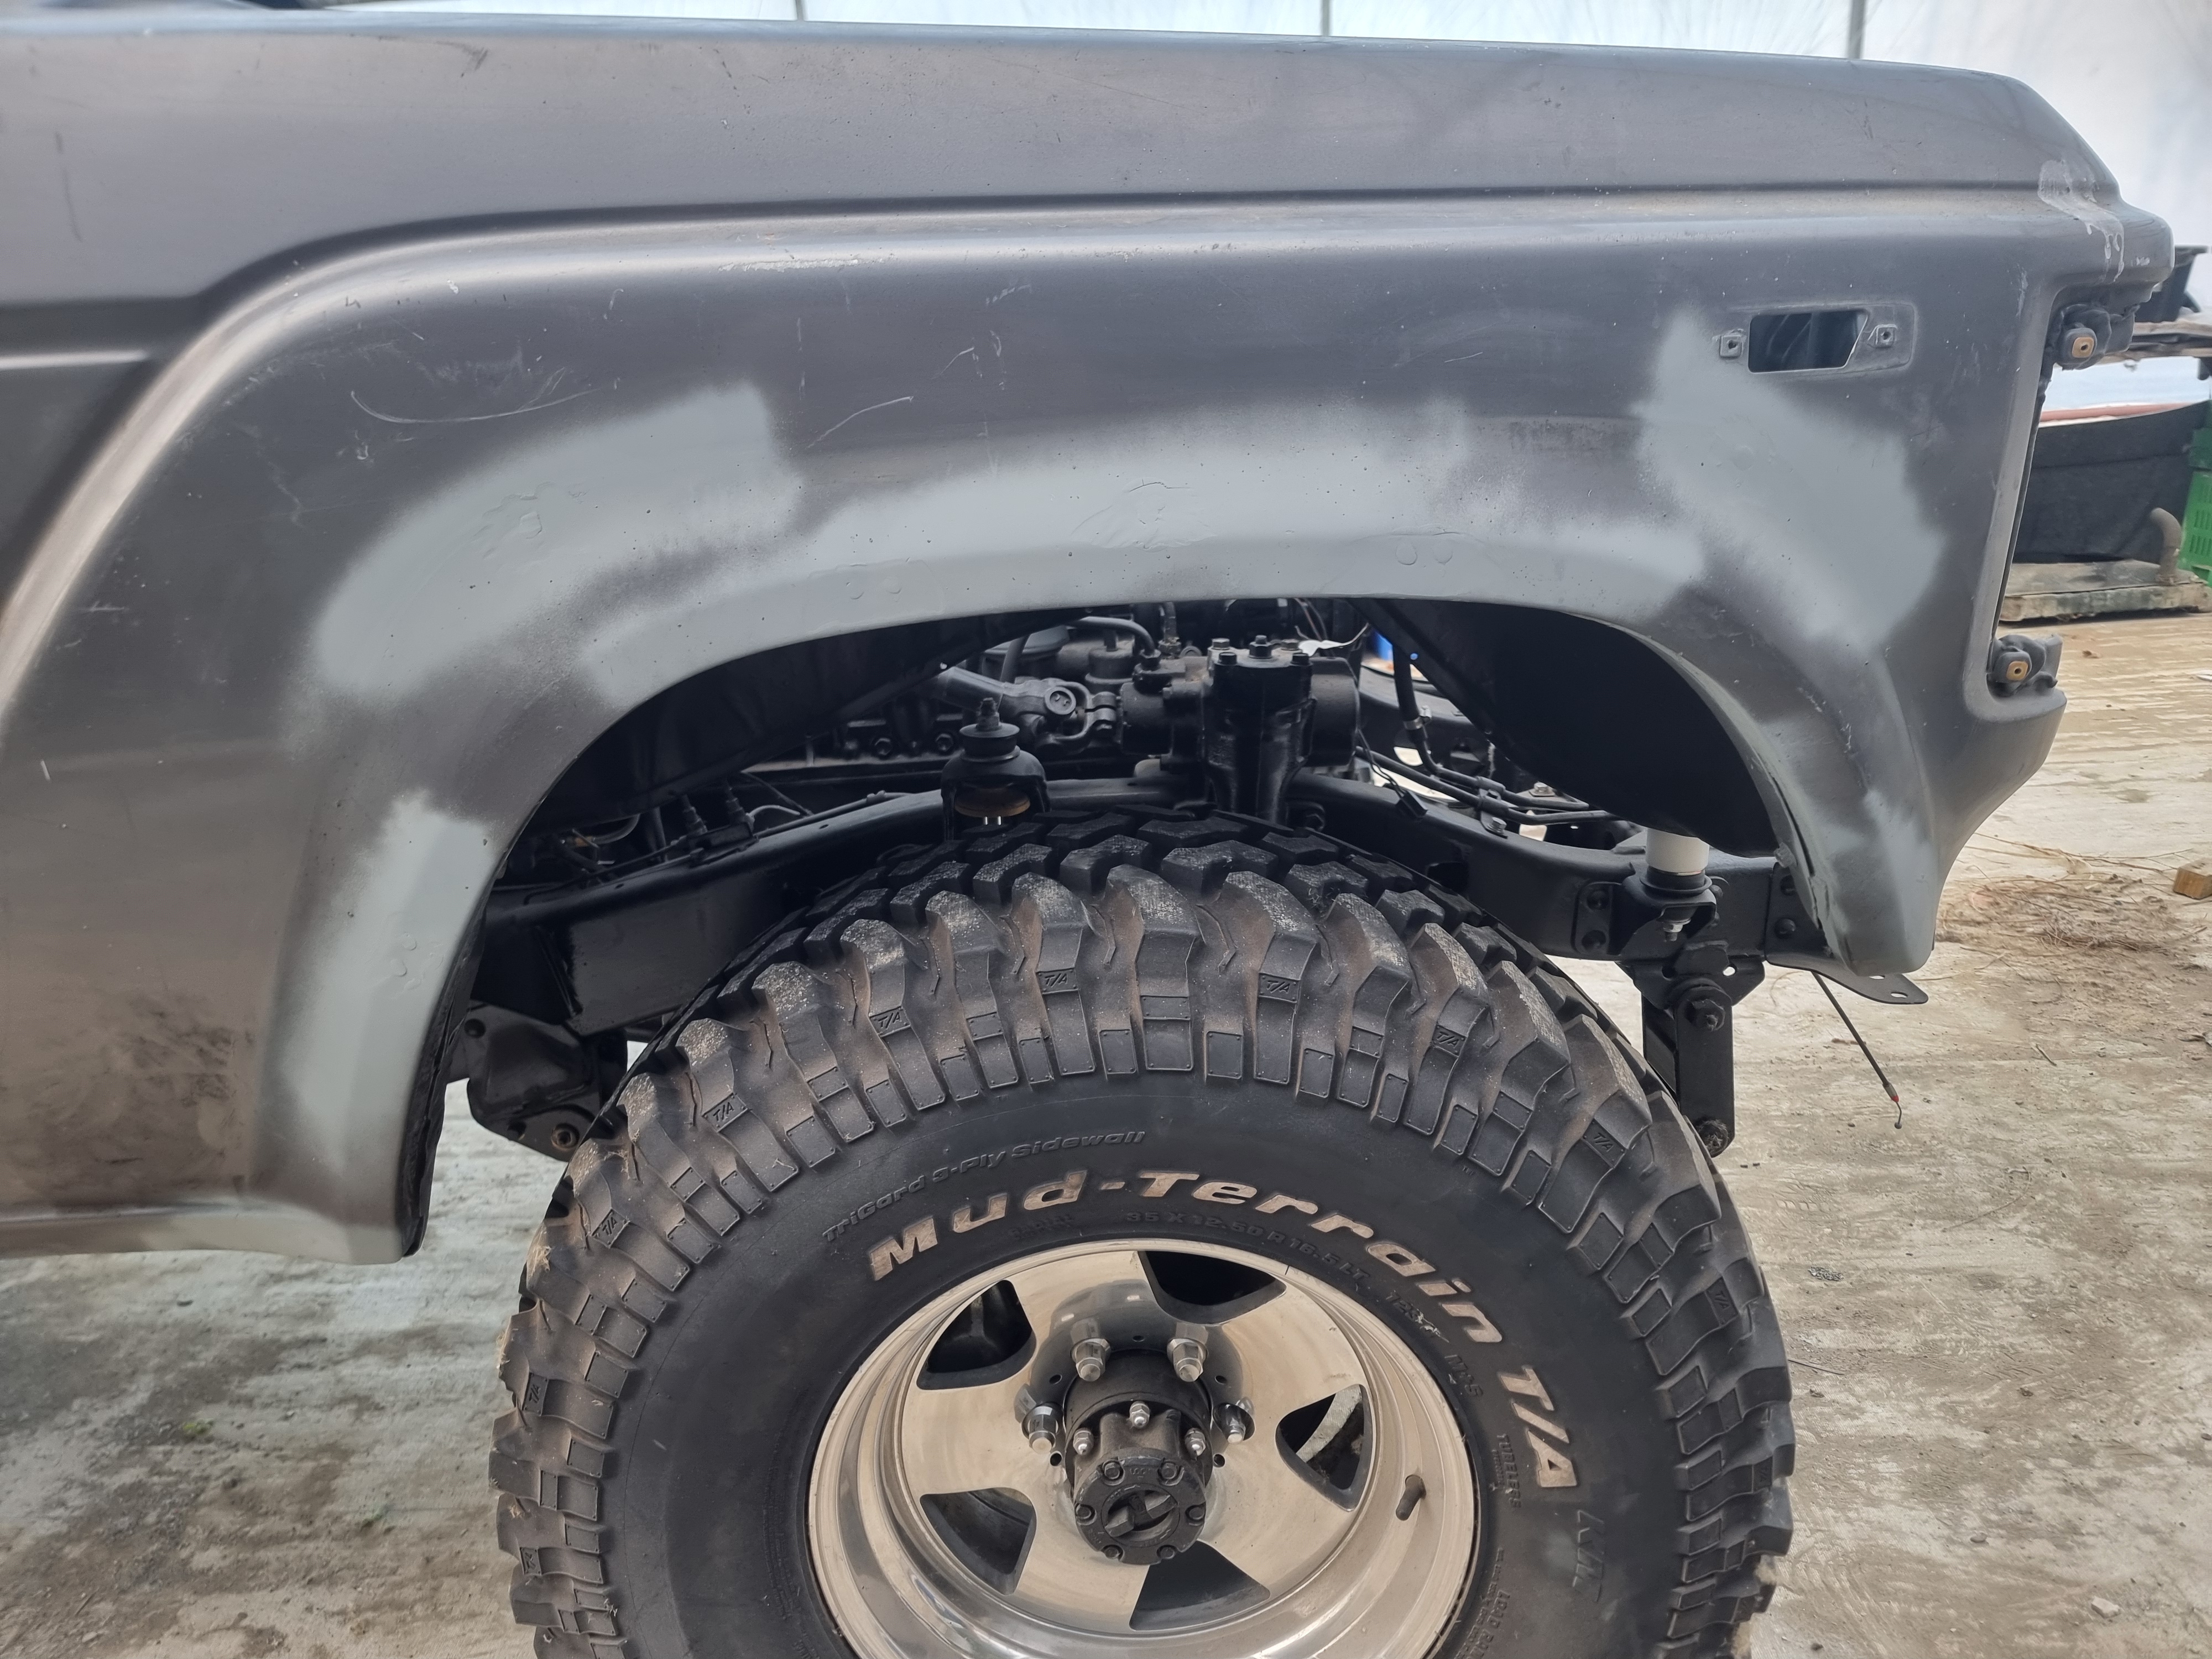
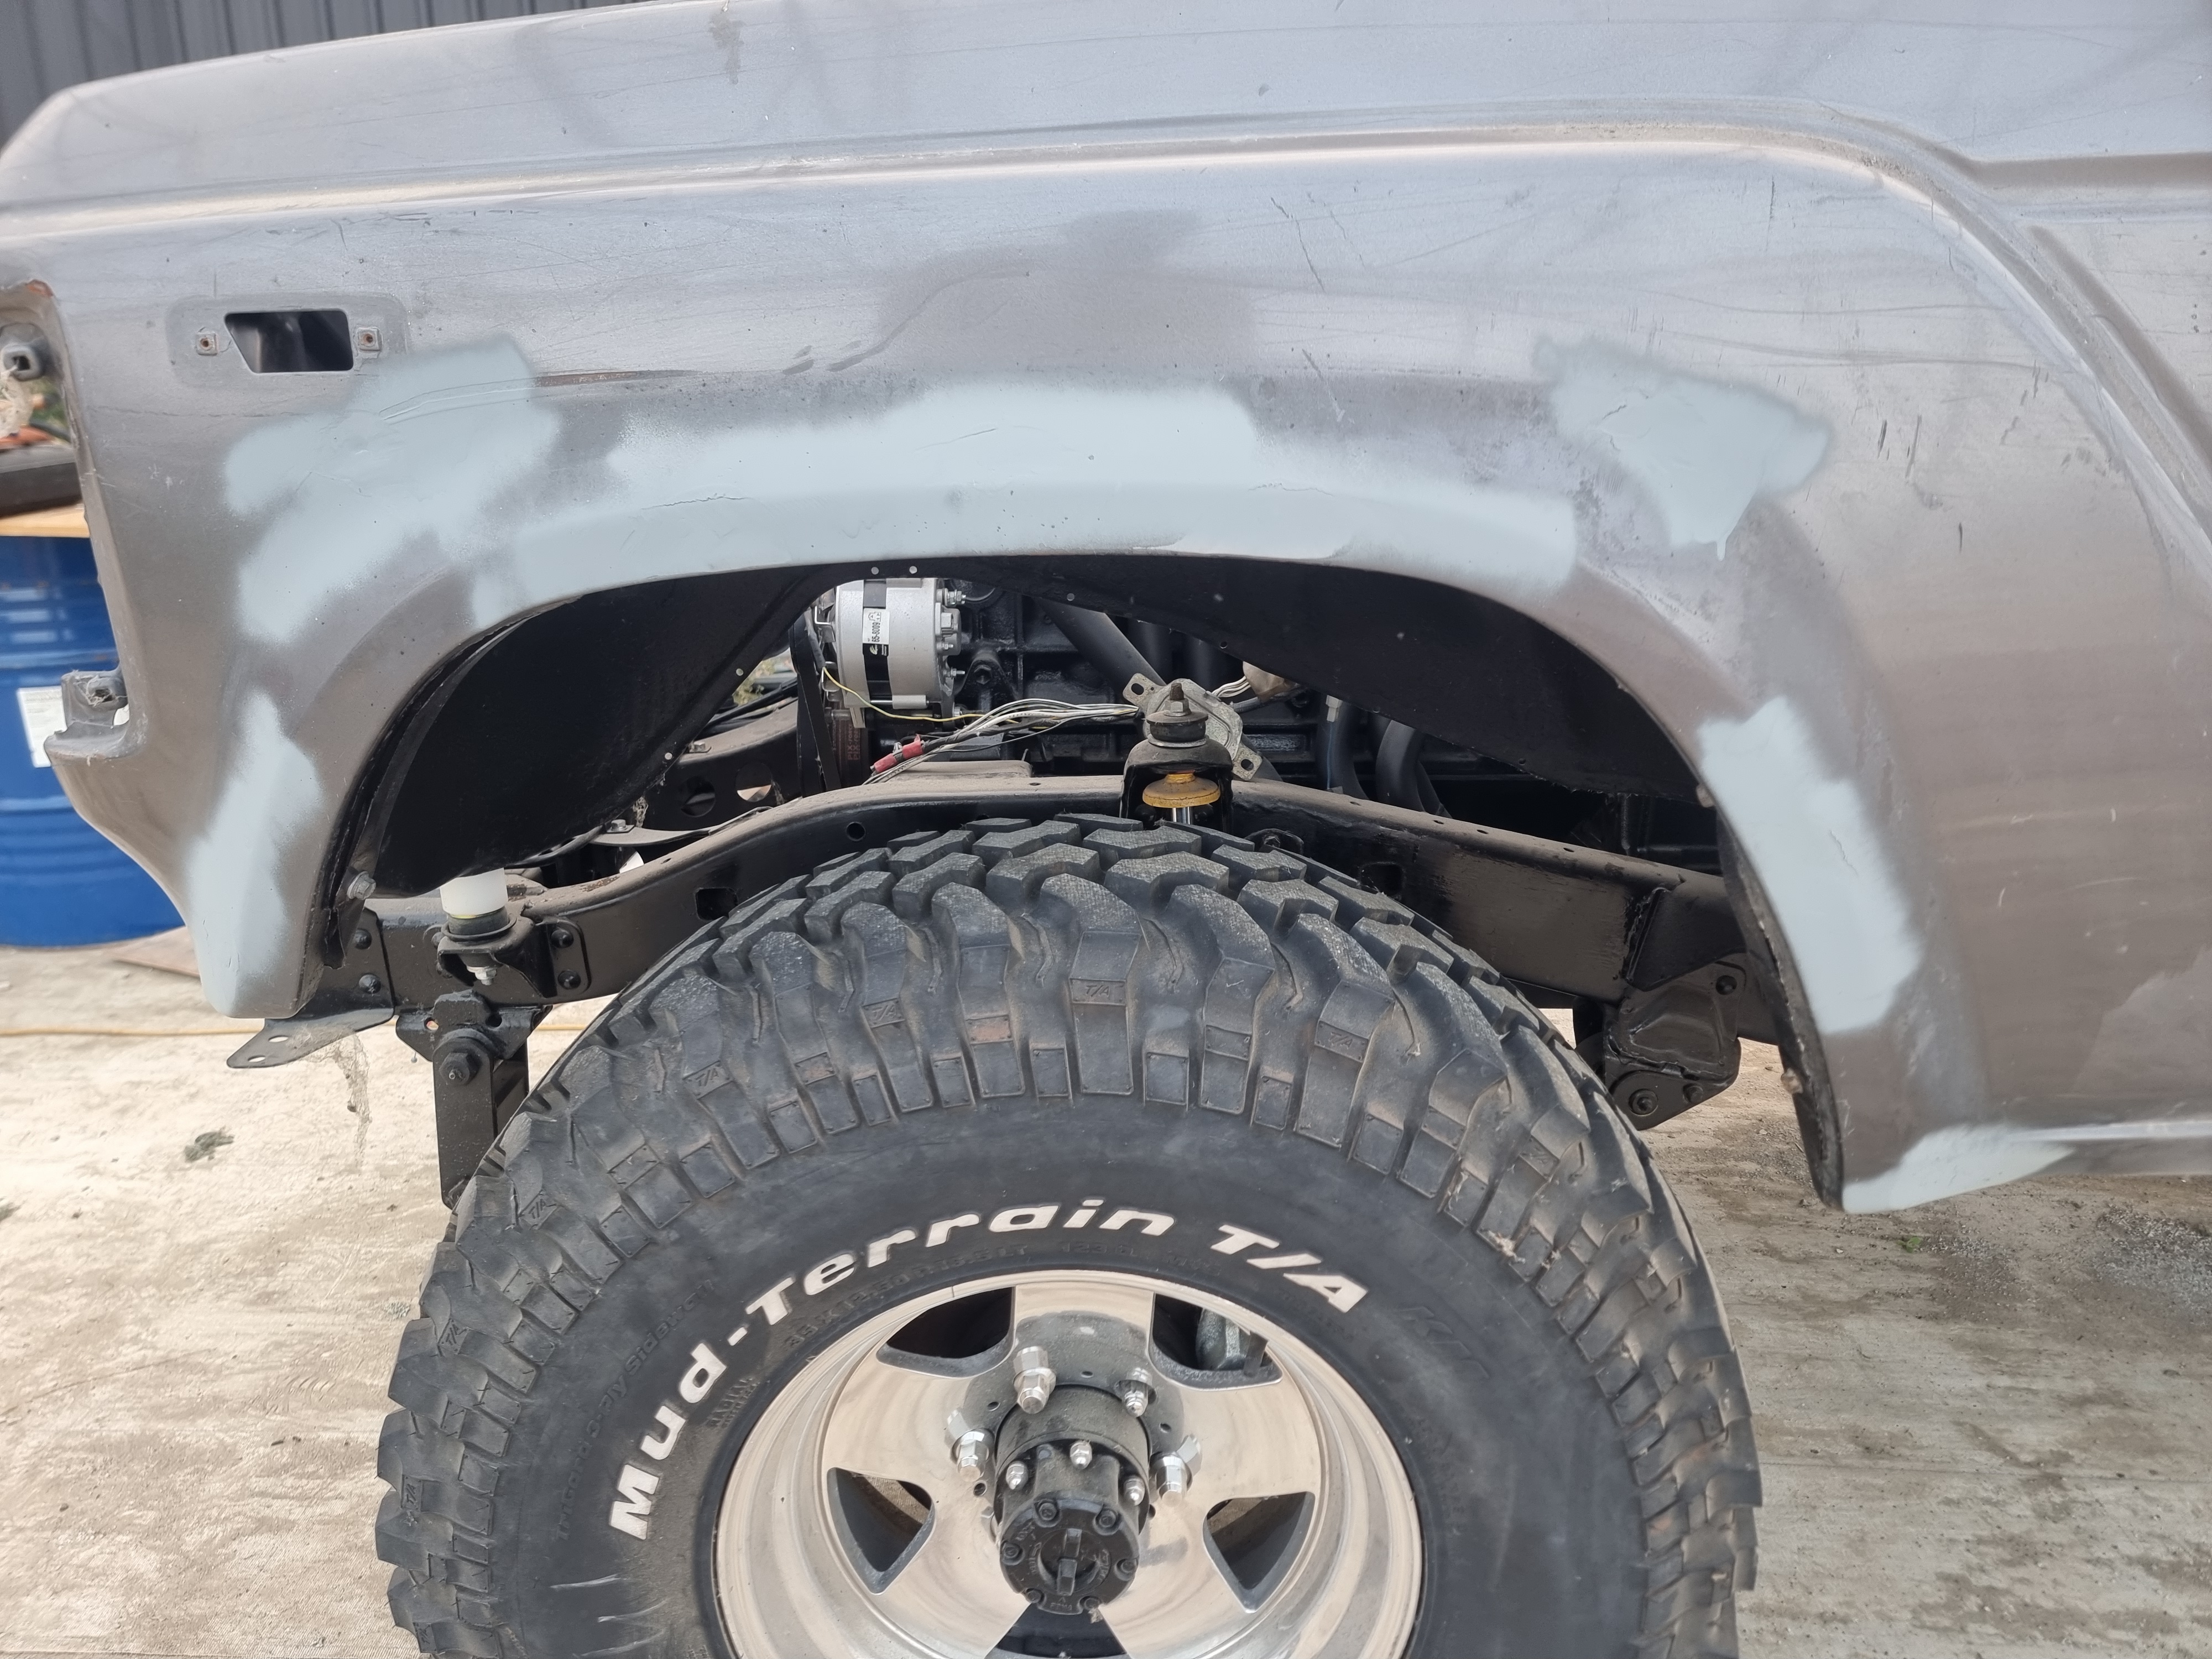
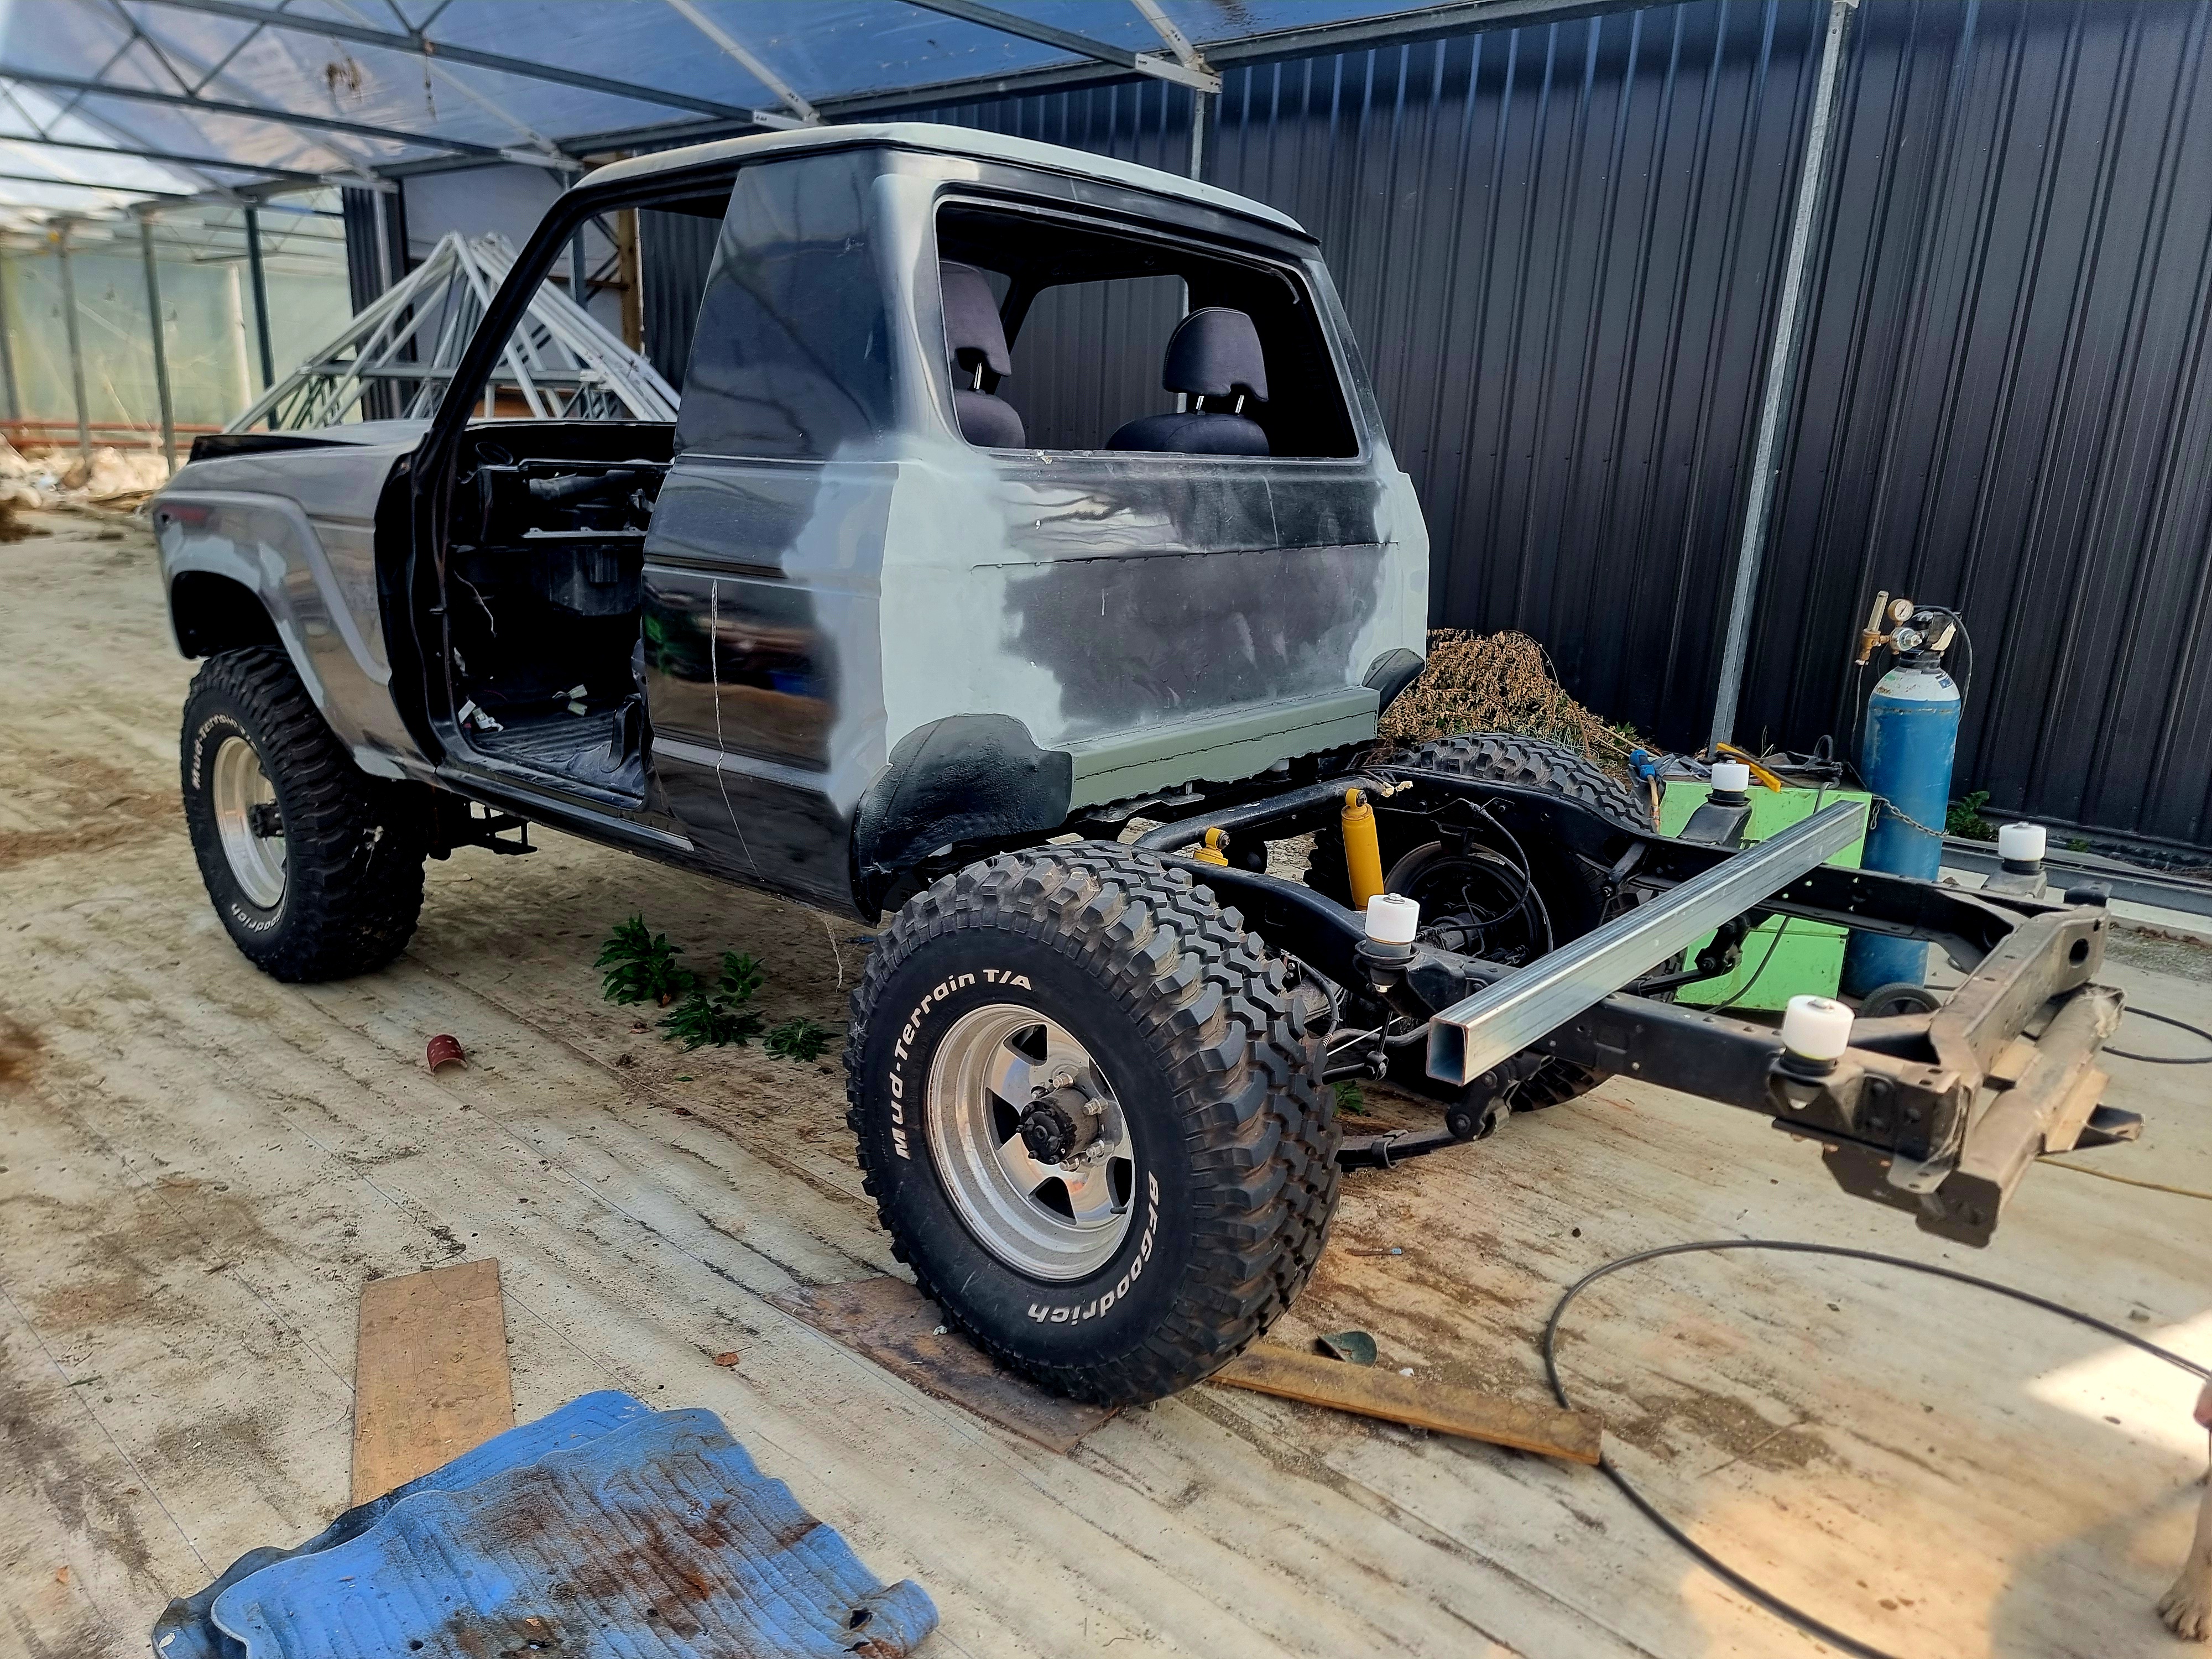
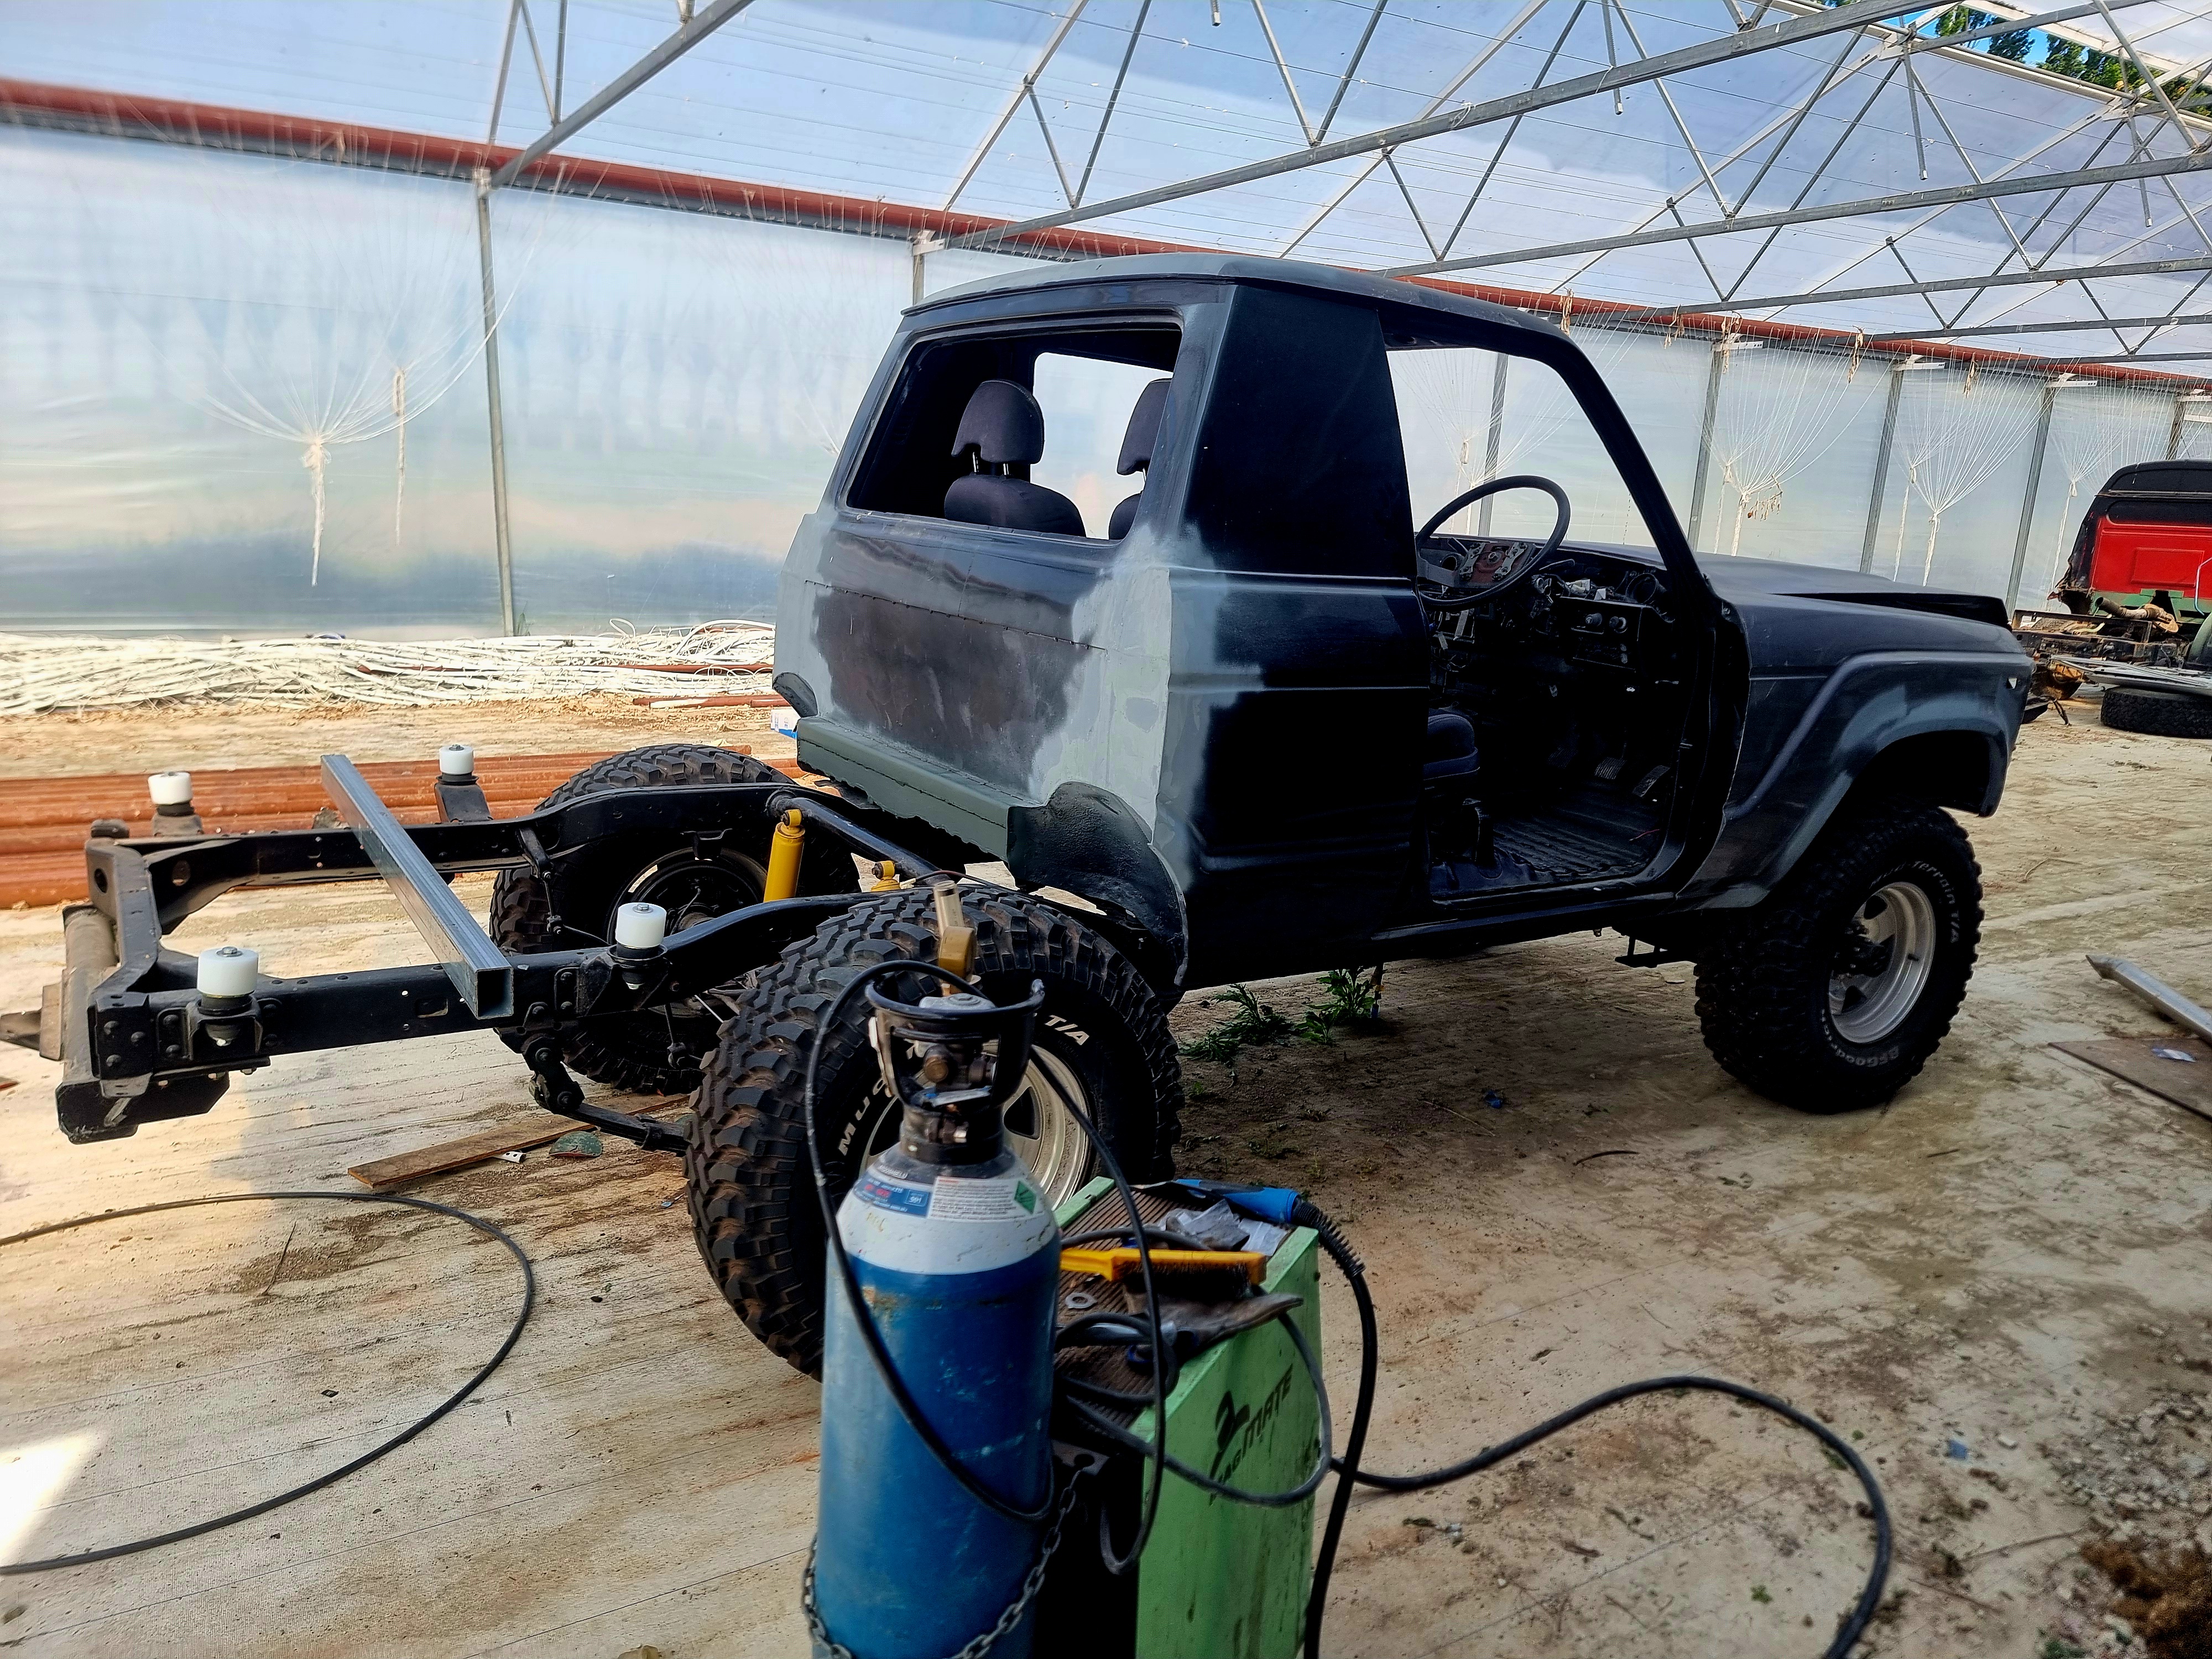
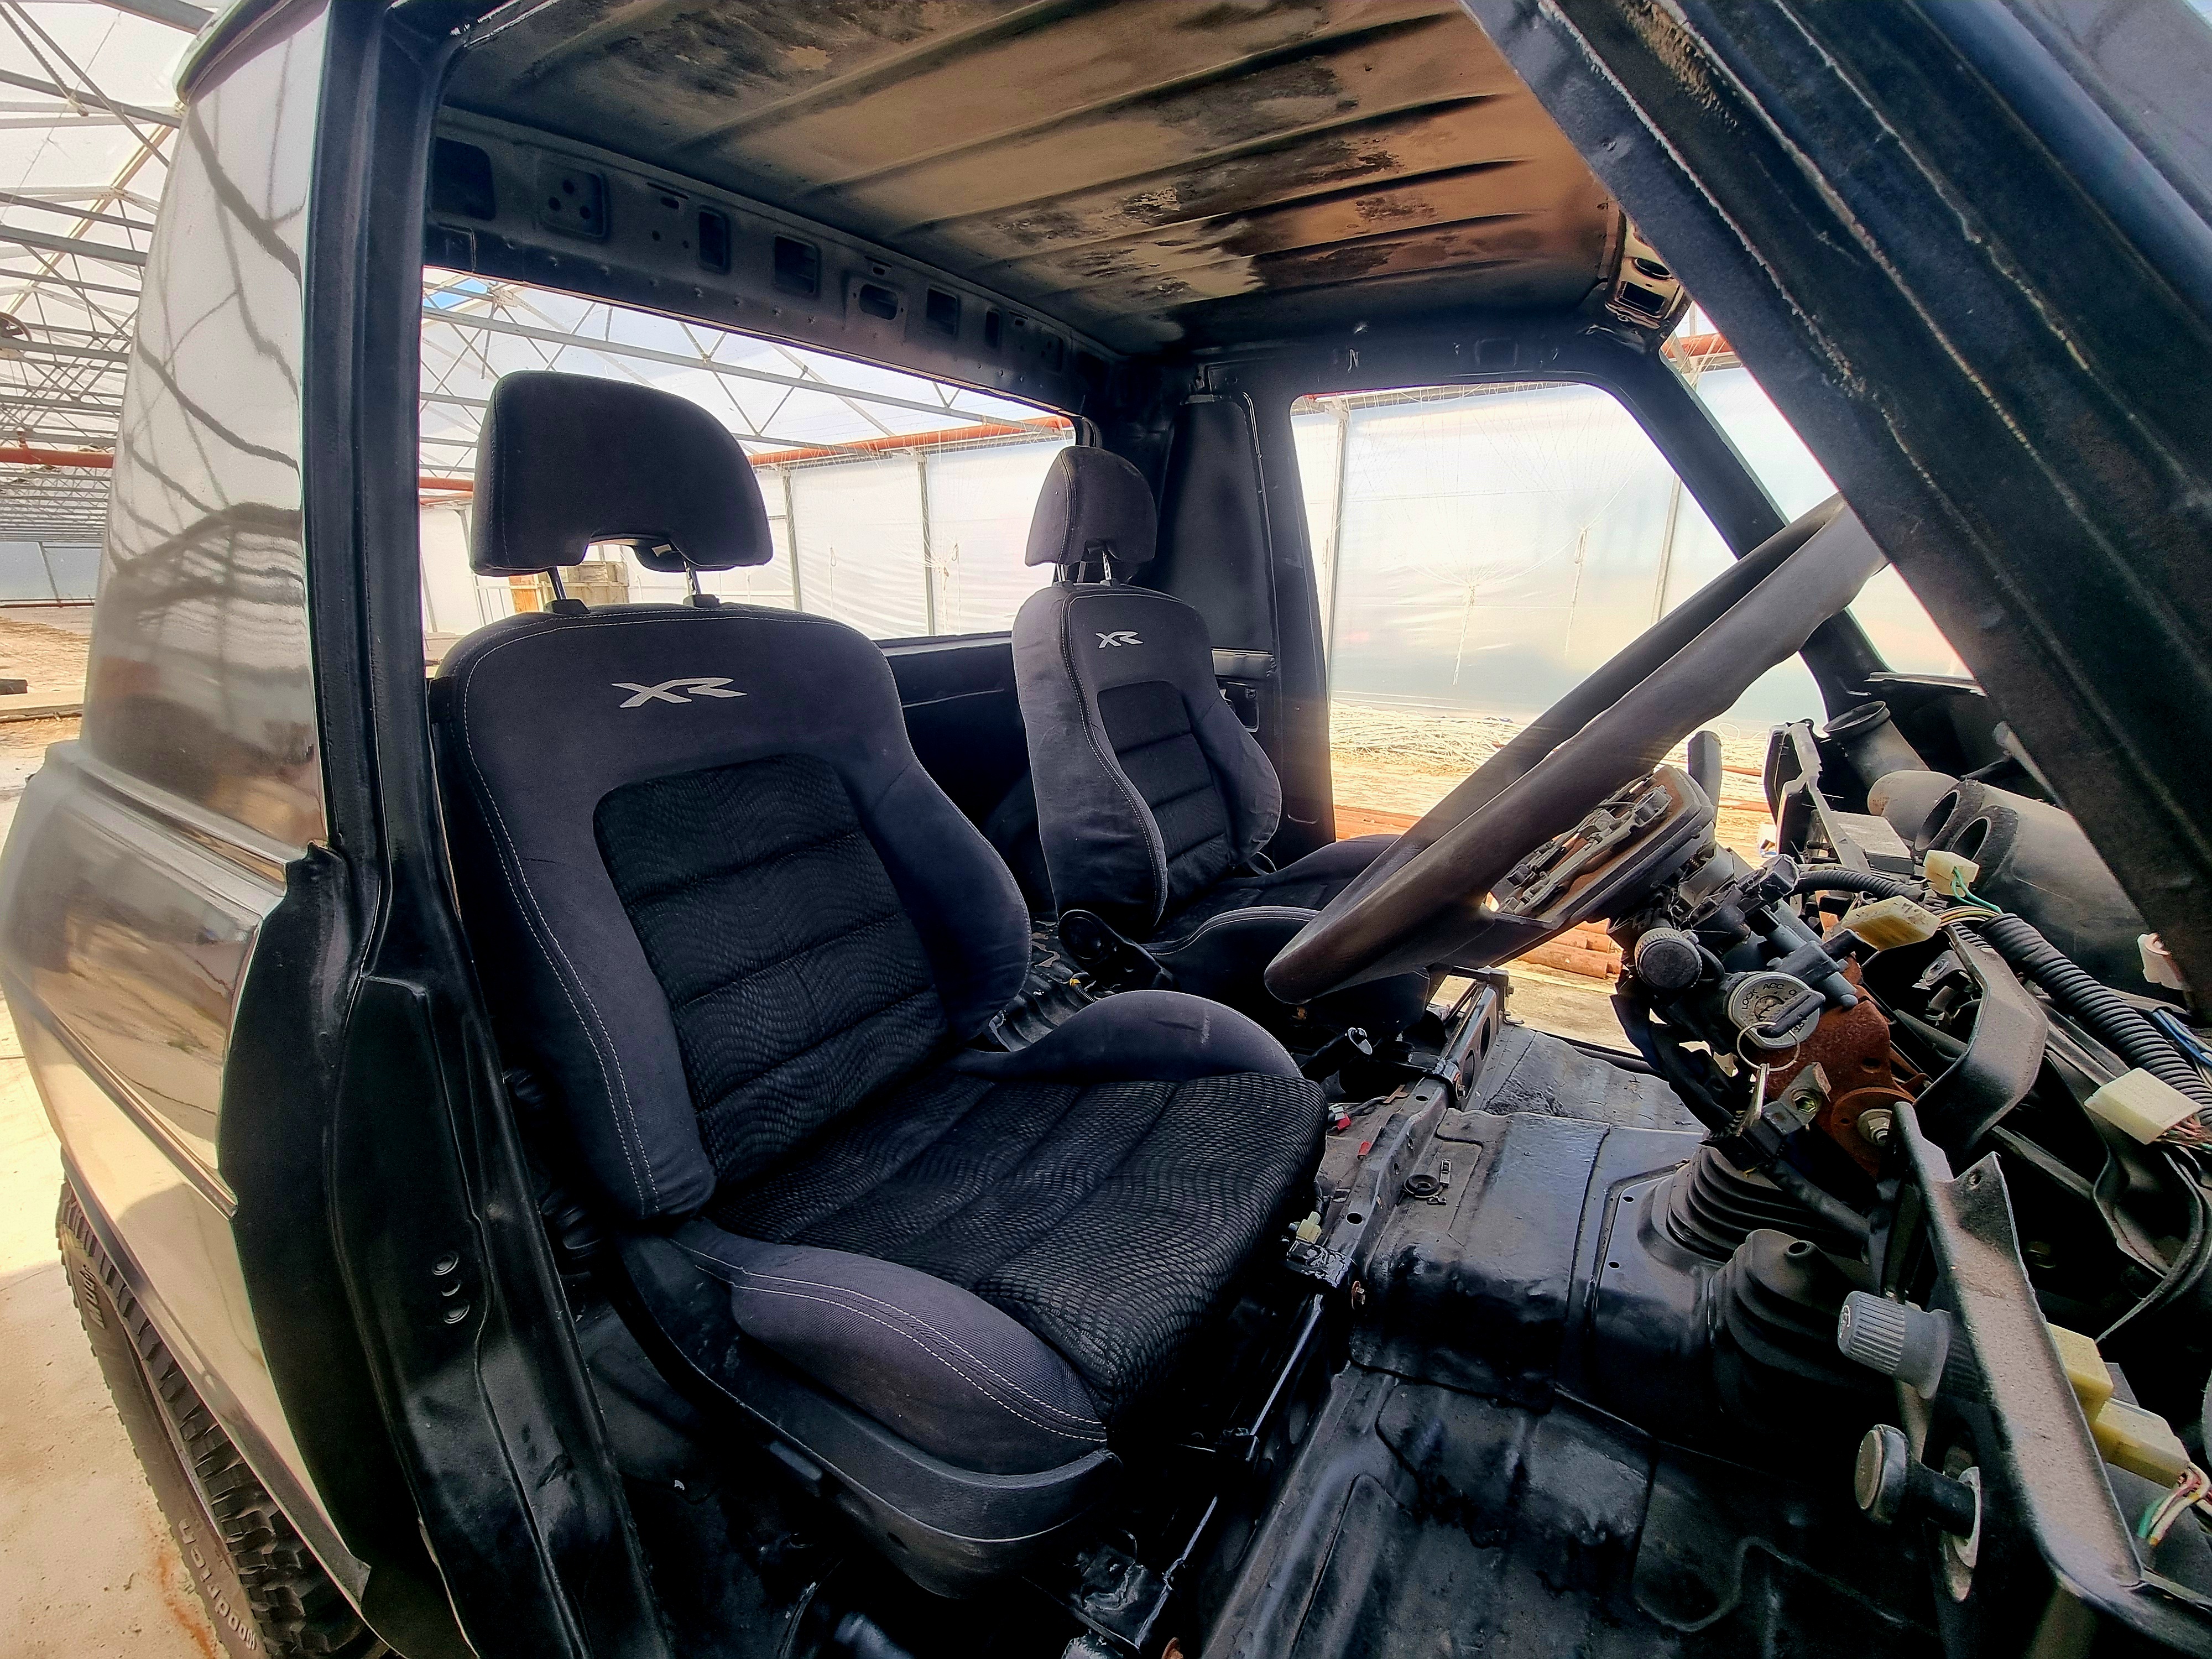
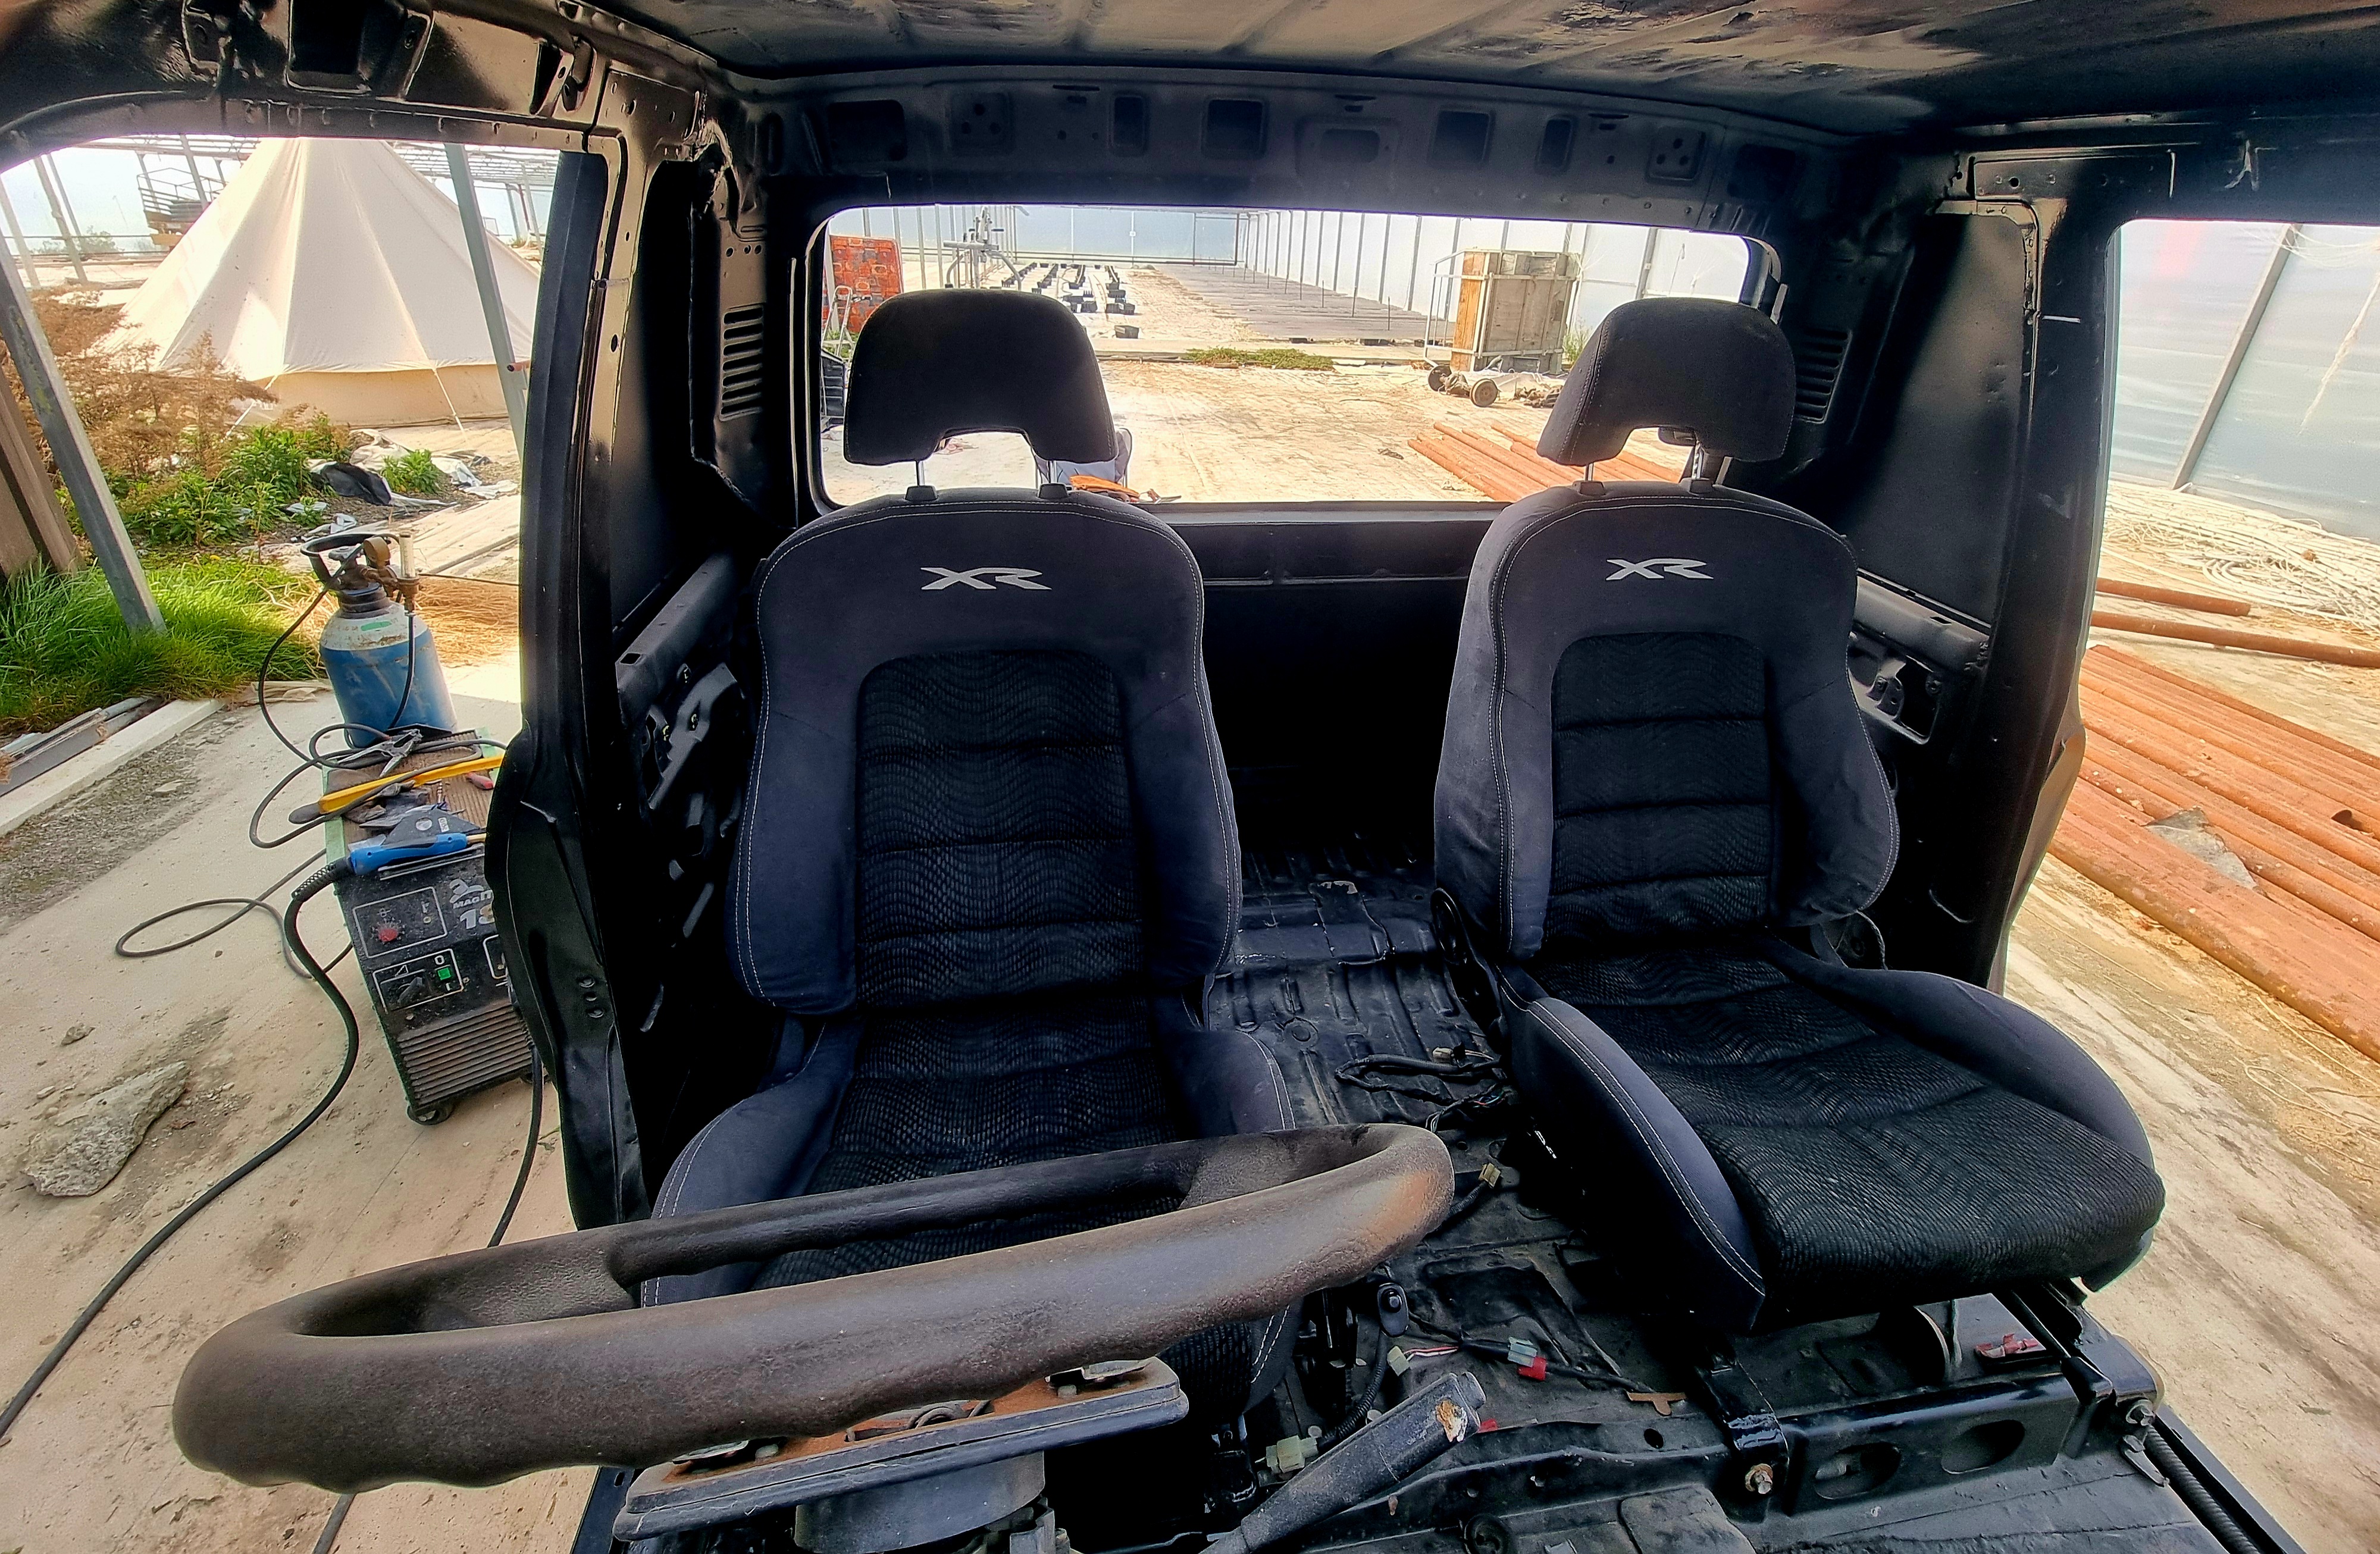
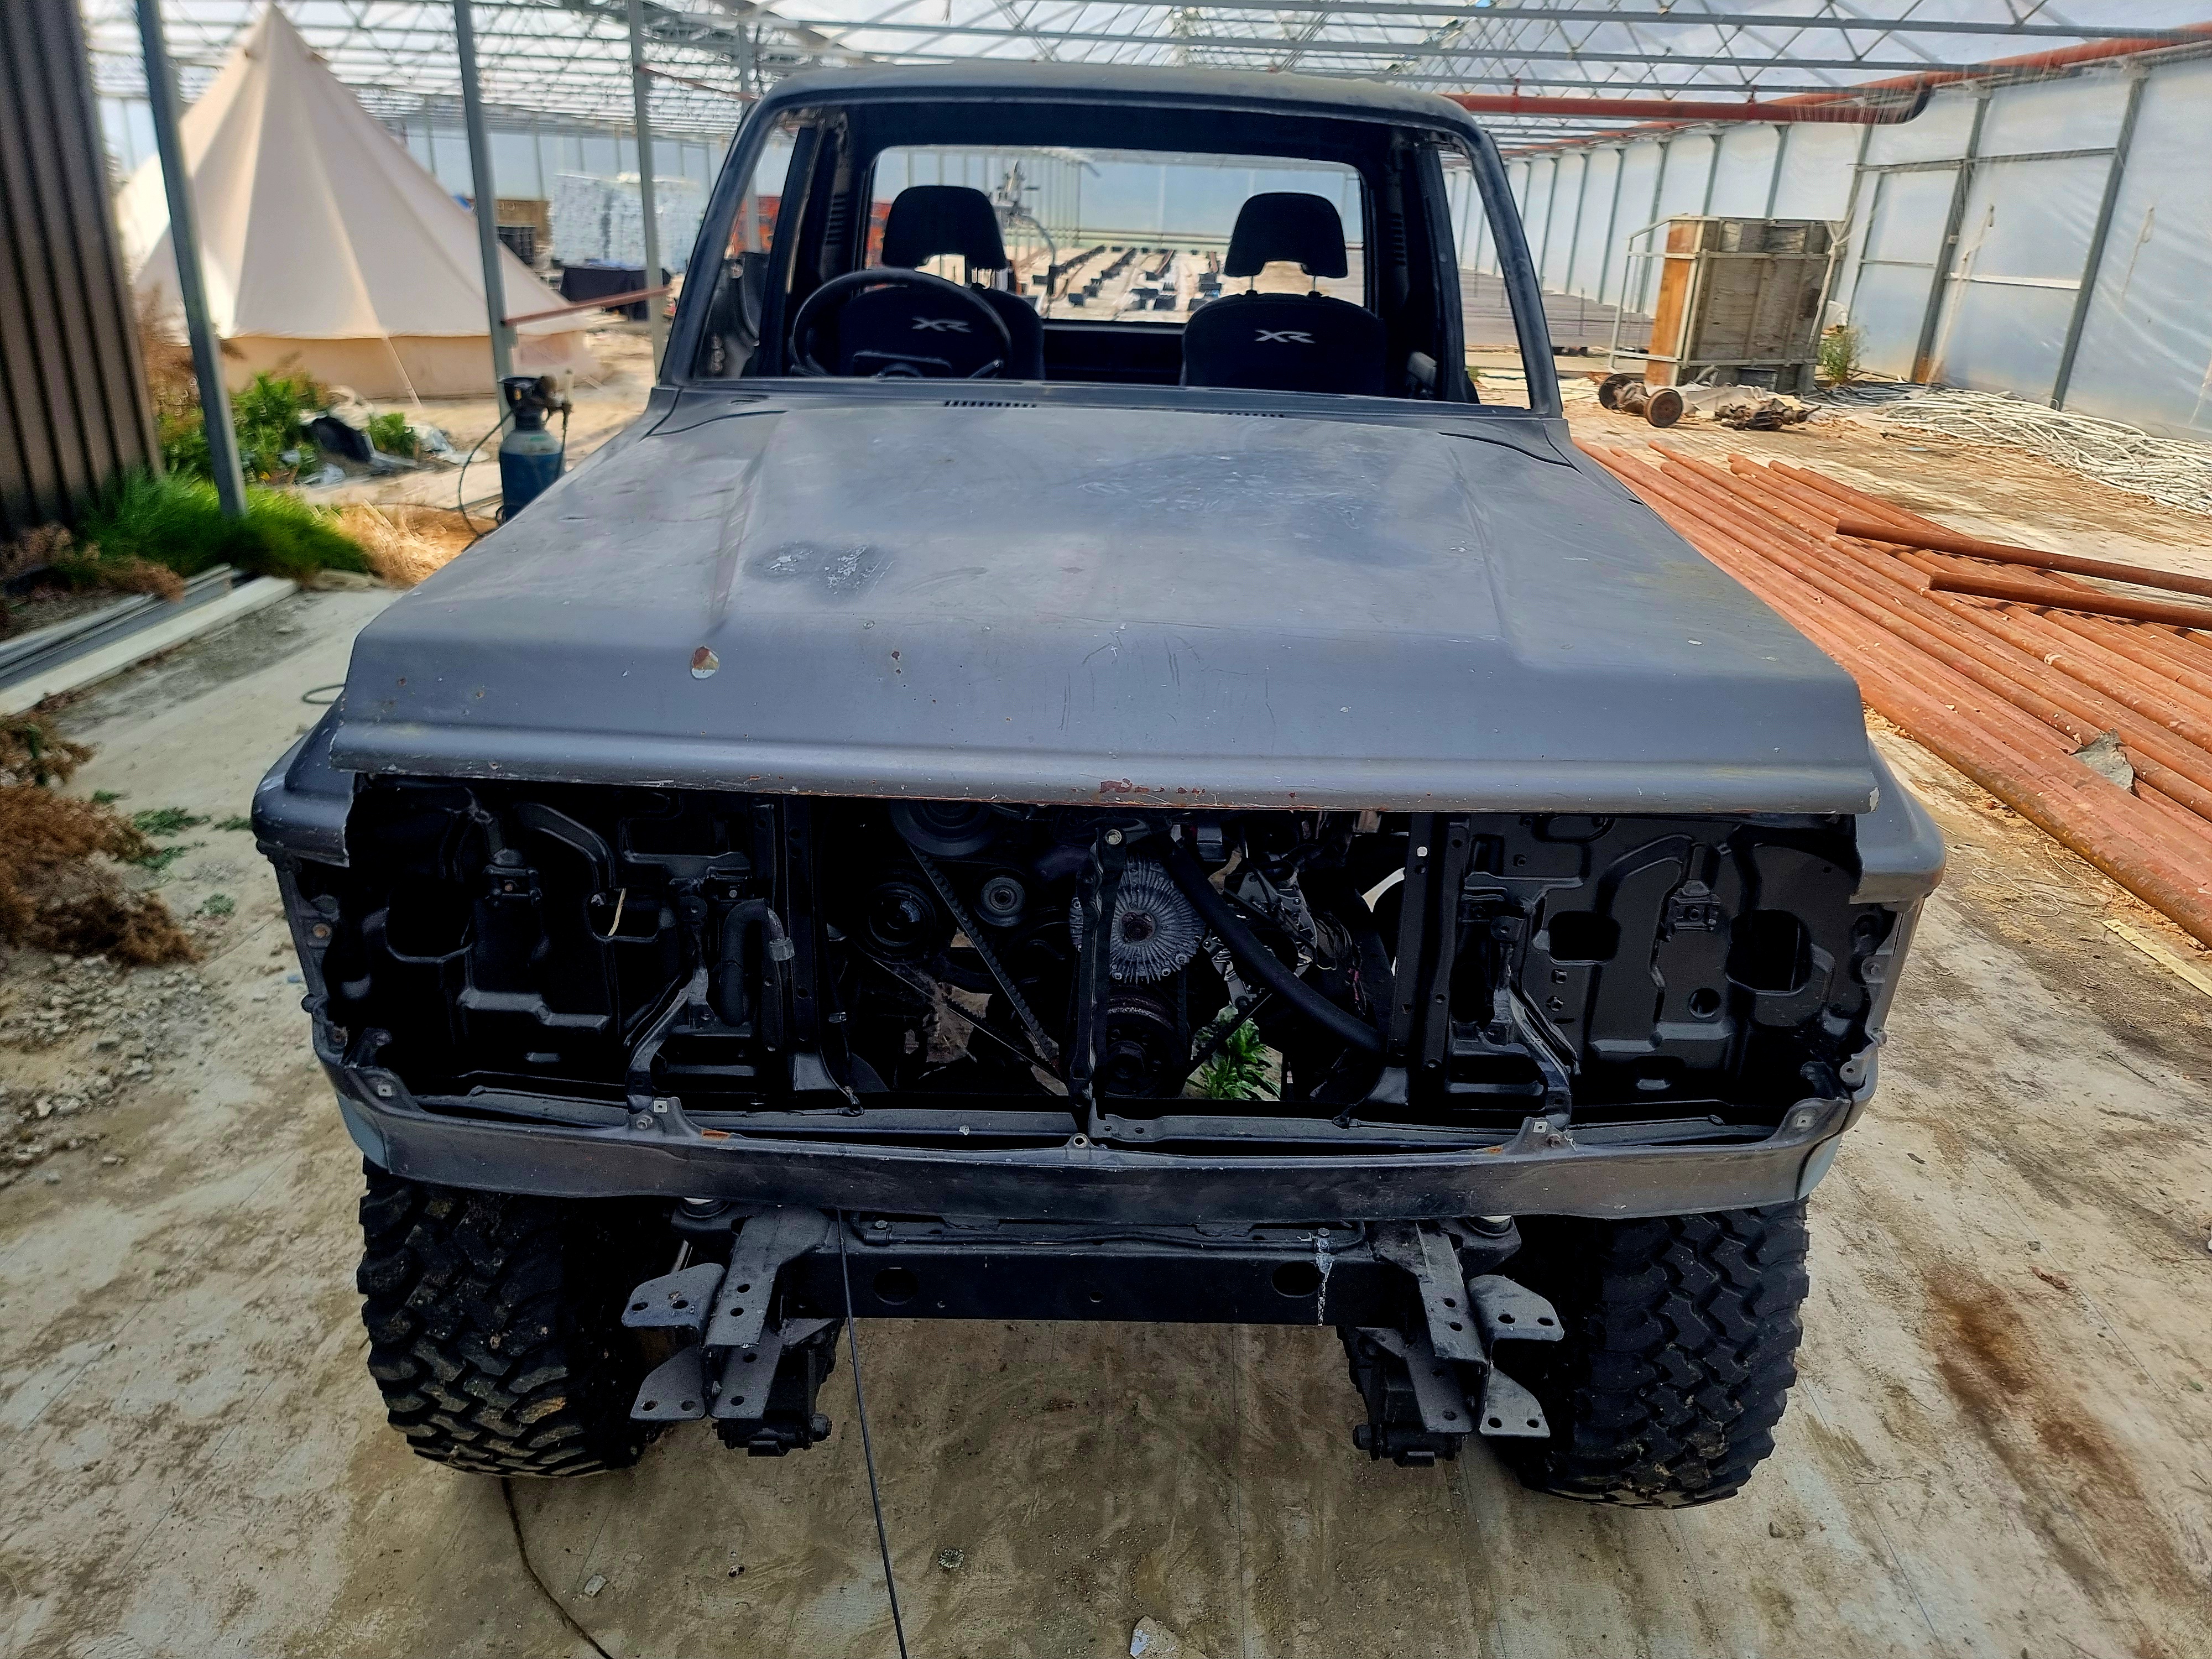
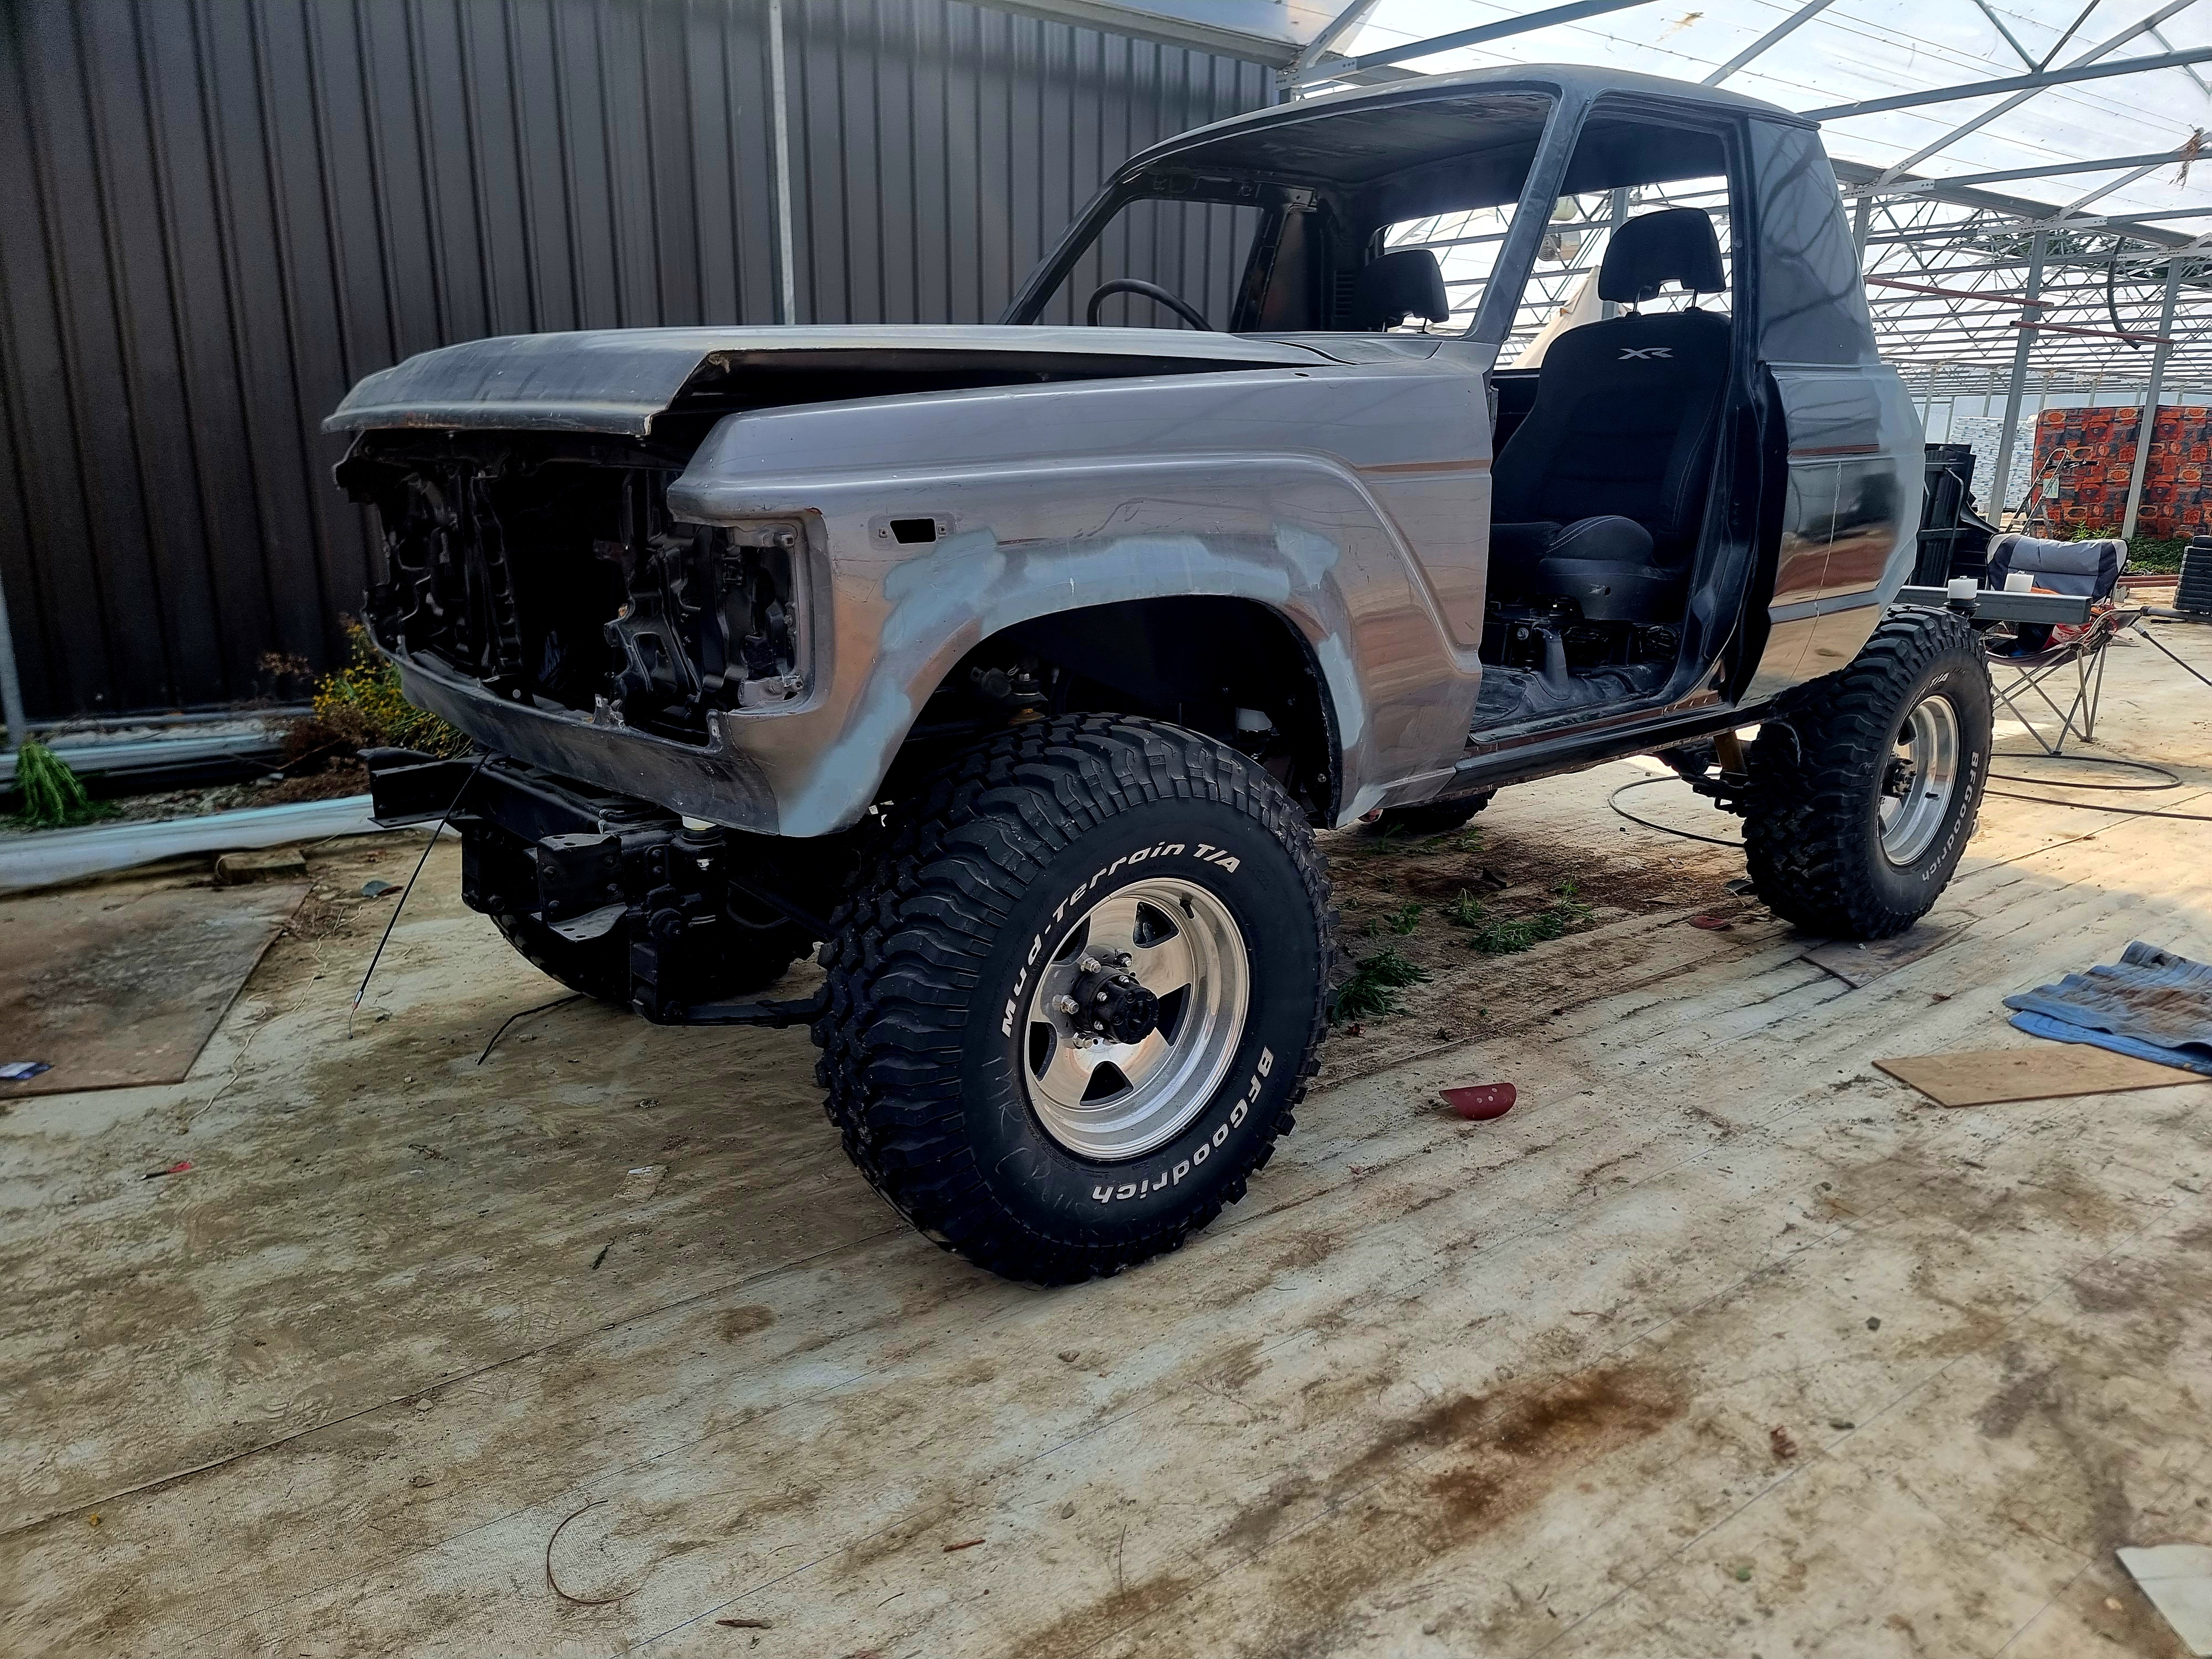
Got the last welding done to seal up the back of the cab, fitted the seats and rails back in, etch primed any bare metal. She's ready to go see the cert guys for sign off on the ute cab chop structure before the whole thing gets a link roboliner (like raptor coat but for men).
Then I can get on to putting it all back together and actually getting it running :D took a bunch of pics I'll load em up shortly :thumbsup:
Attachment 261507
Attachment 261508
Attachment 261509
Attachment 261510
Attachment 261511
Attachment 261512
Attachment 261513
Attachment 261514
Attachment 261515
Attachment 261516
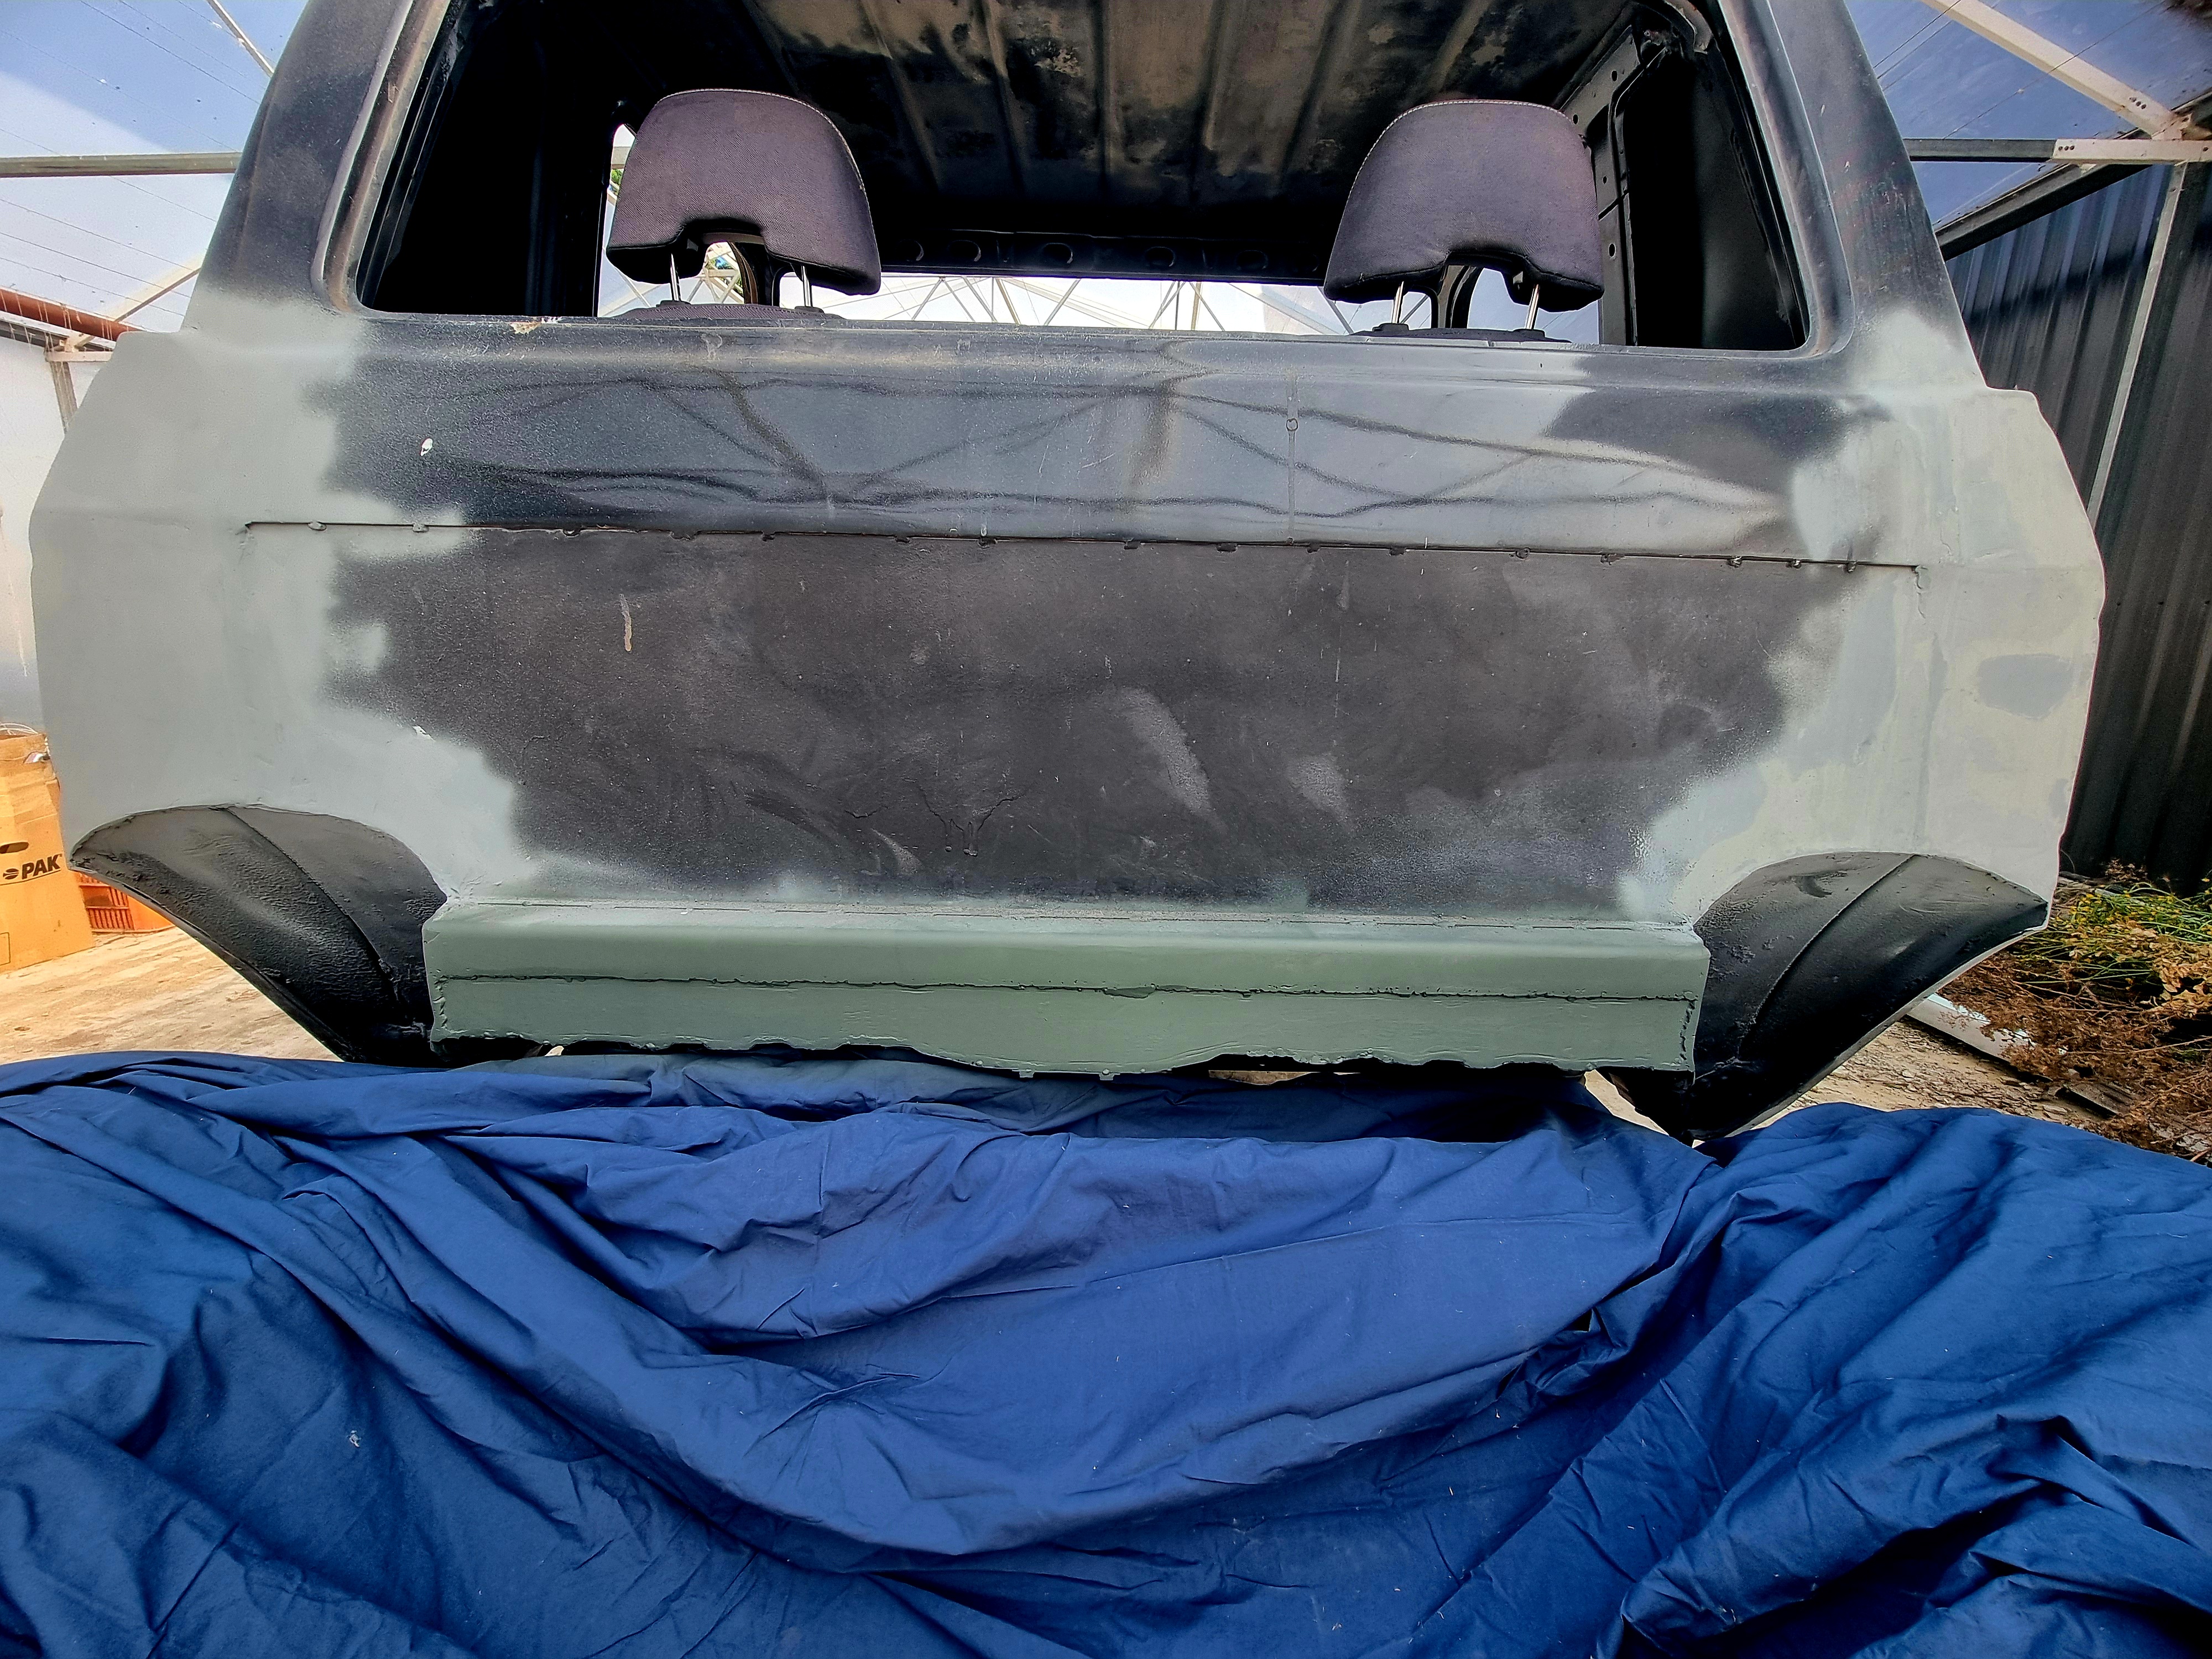
Yup looks a little rough still, but once it's been signed off for the structural mods (cab chop, seat mounts, body lift and extended shakles). Then I have to strip seats back out, prep for paint and paint the whole truck inside and out with Roboliner. Big step in the right direction.
Nice. Be interesting to see what the requirements are for cert for a chop down to a single cab nowadays, last time I had anything to do with this it was mid 2000's and a Safari LWB getting shortened down to a single cab ute. The back half had a tree lean on it (gently) and it basically wasn't worth repairing the body so insurance wrote it off. The difference between buy-back of the insurance outfit and their payout made the conversion almost free...
The top half of the back of the cab is made from the rear hatch cut and shut to the body and fully seam welded, the bottom half is 3mm sheet steel, with a heavy c section running the entire width of the cab about halfway way up what's left of the rearwheel arches. I am confident it will be very strong. Even if my welds are ugly they are solid. Once the welds and structure are given the all clear I'll run a bead of urethane over them just to tidy things up asthetically. There is definitely no pin holes but even if there is I have treated with crc rust converter and a few decent coats of crc etch primer. The urethane will be just an extra bit of insurance and make it look neater.Quote:
Originally Posted by No.3
Once cert guys have inspected it I will have a better idea if it's strong enough, there's plenty of scope to add more reinforcement if needed but I think it'll be OK.
Ahh that makes a lot of sense, the Safari was a single cab with two rear doors that were locked permanently as the tray was preventing them from being opened. Basically, the rear ring (pillar sill and roof curve) were ground off and welded back onto the body with a bit of a provision for the chassis rails and a revised mounting setup. If I have it right, the rear mounts were welded into place in front of the rear sill and the mounts were cut off the rear of the chassis and made into bolt on ones...
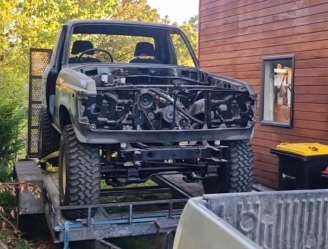
Been a while between updates, I've been flat out last couple months renovating my bathroom, kitchen is being started this weekend, so I thought I better get the cruiser down to the cert guys for a progress inspection so I can get it painted once approval has been gained.
Got a list of mods to discuss and no doubt will return with a list of stuff to do.
But progress is progress :cool:
She's all loaded up on the trailer ready to go.
Attachment 267422
The real question is is it going to be ready for the roar/croak
No chance, but that's ok we'll have Ants 80 series and caravan :cool: maybe next year's roar croak :cool:Quote:
Originally Posted by Padox
These things can't be rushed ;)
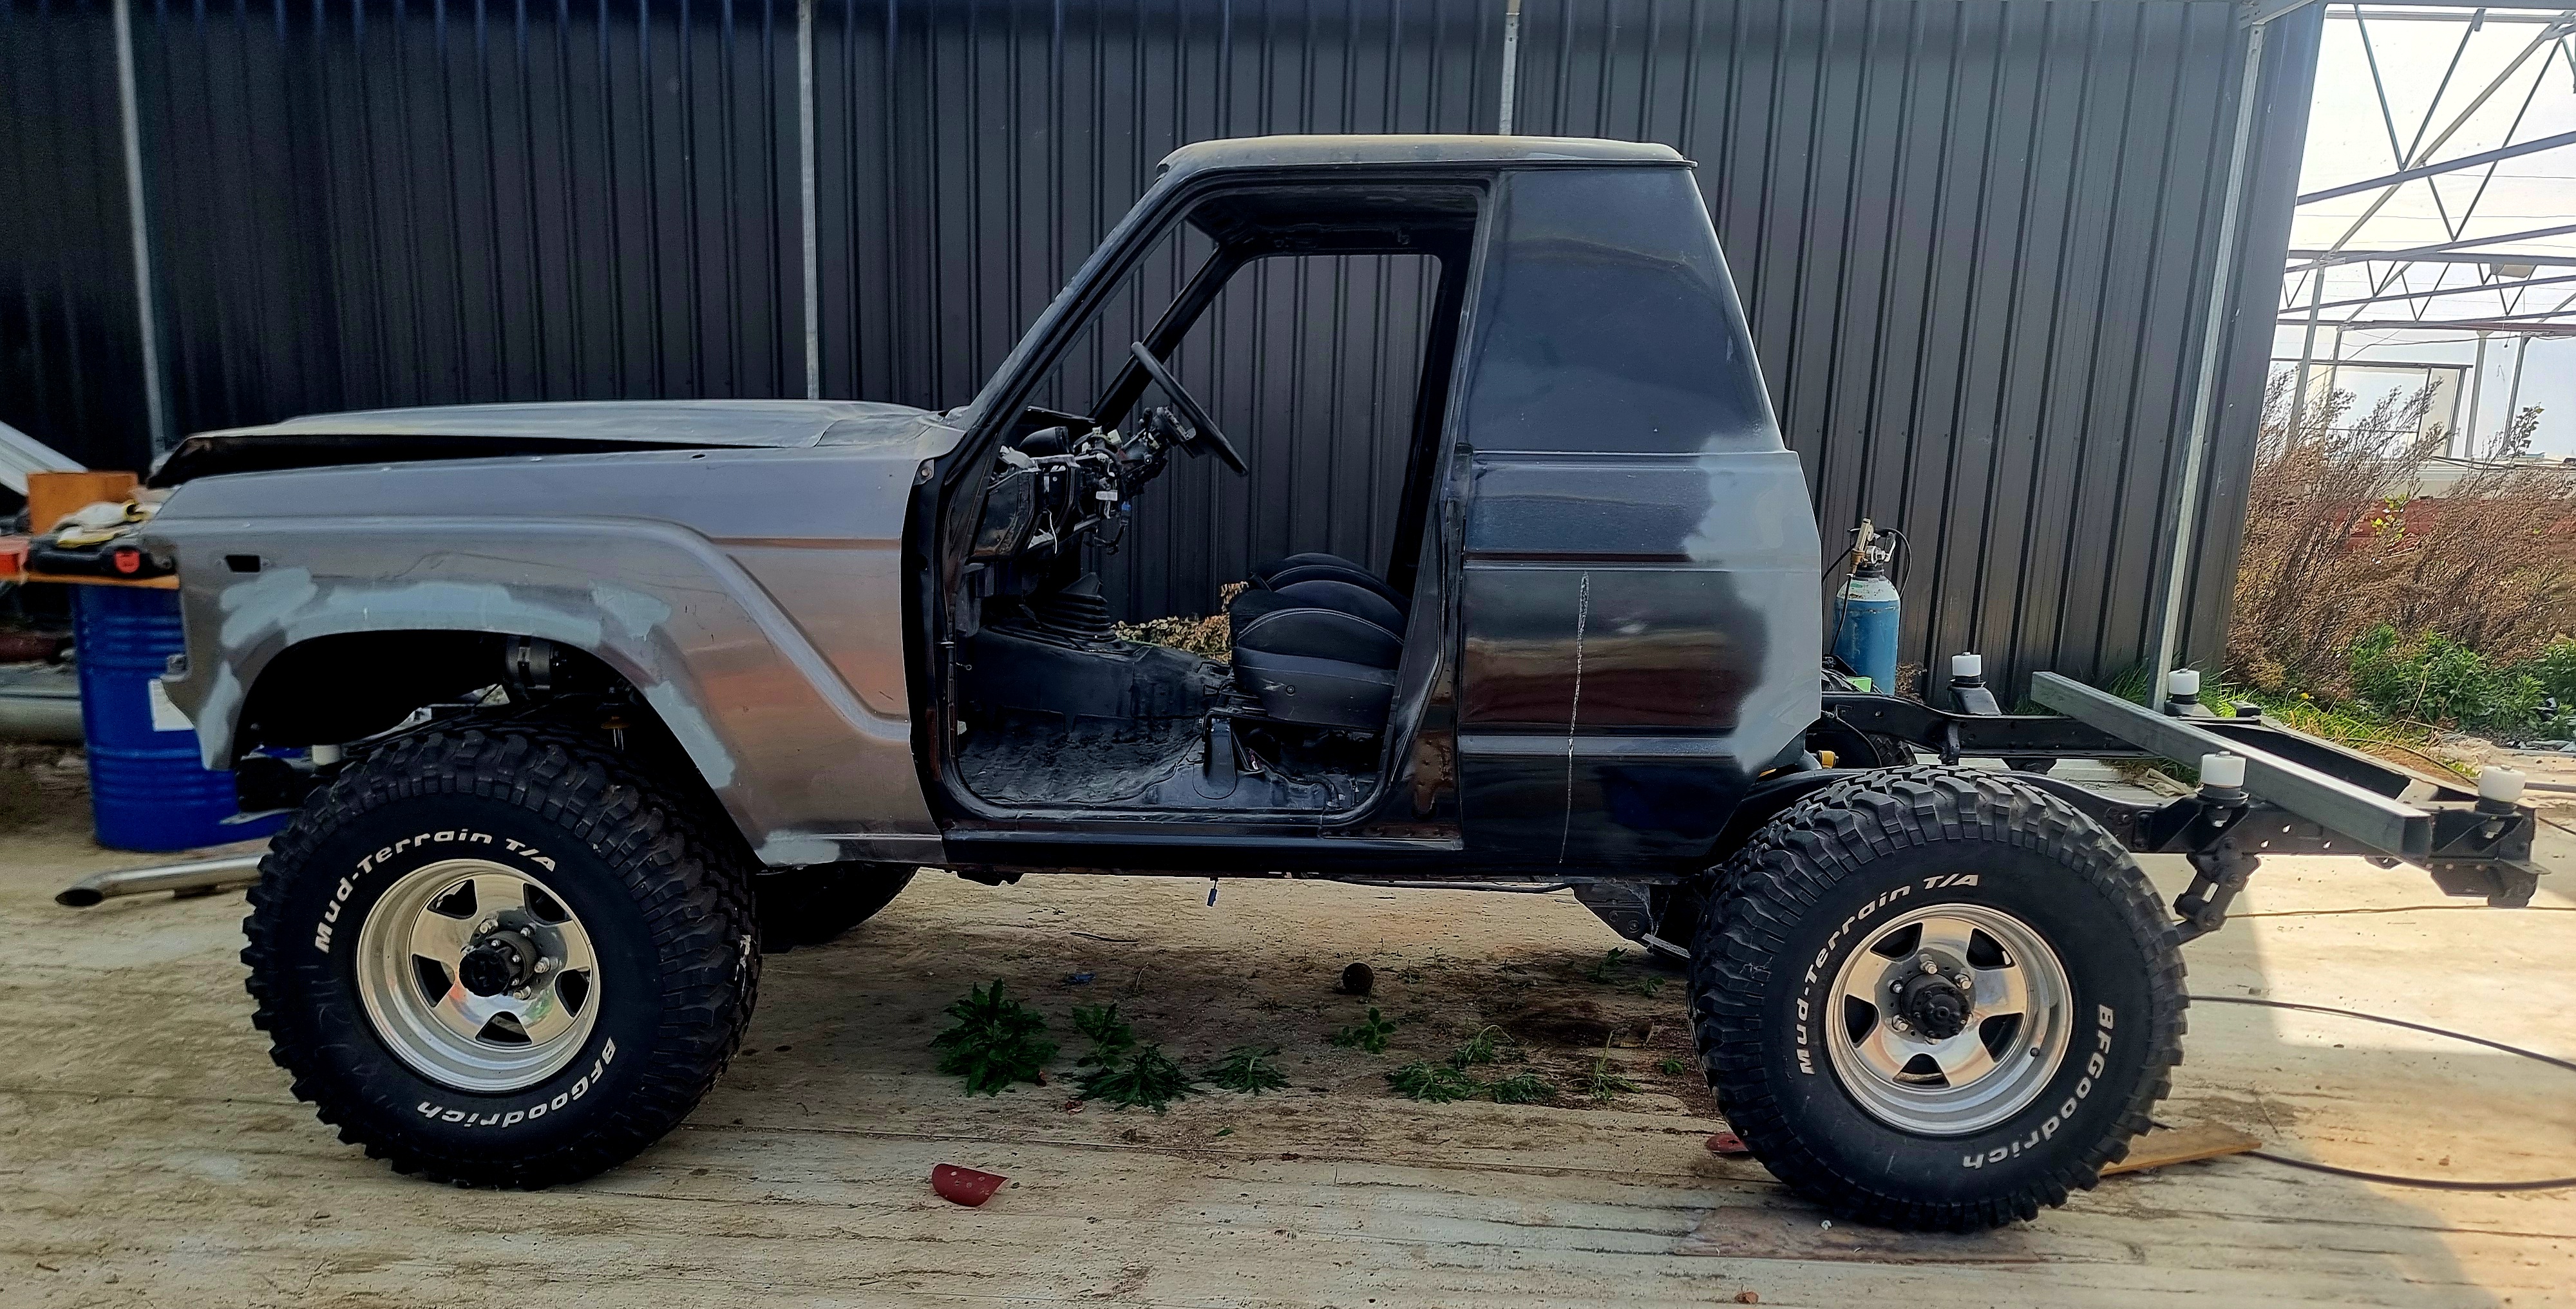
Cert progress inspection went really well, they were happy my body chop was really solid, body lift blocks were compliant, custom seat rails way stronger than required. We discussed the chassis chop I want to do at the rear to improve departure angle and that seems like it's going to be very straightforward as well.
I have been given the all clear to paint and get stuck into reassembly. Quite a relief really.
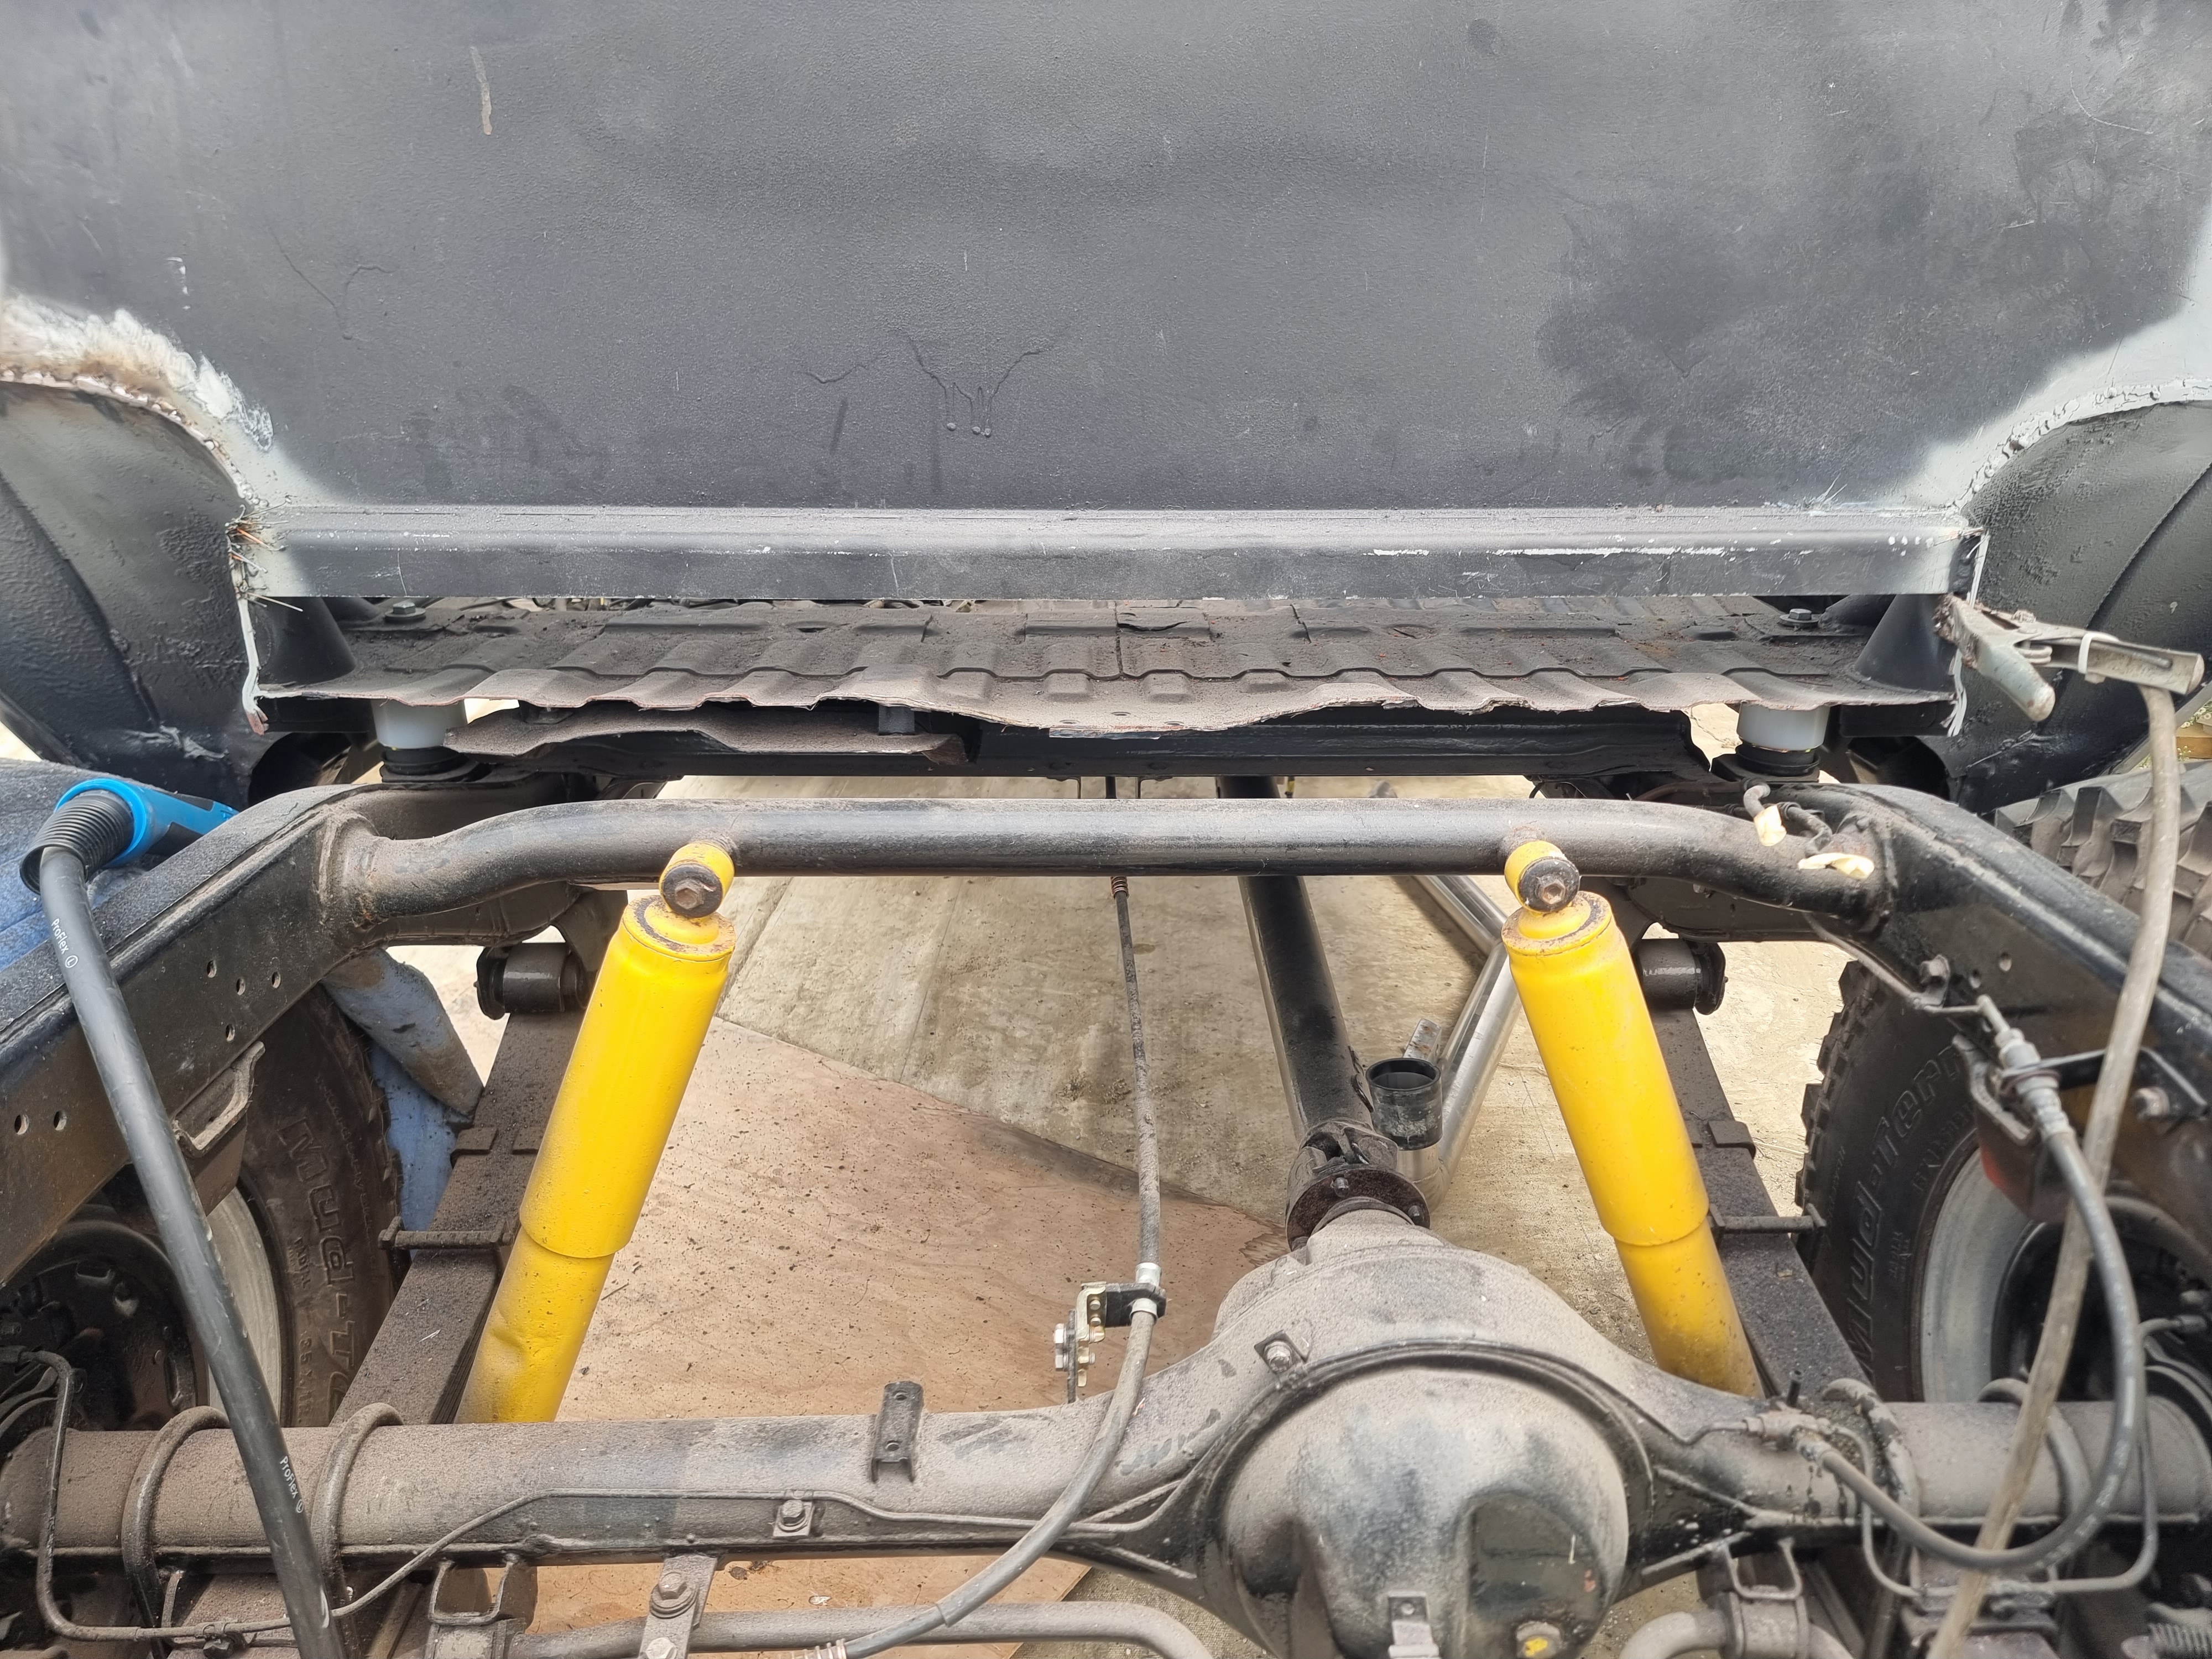
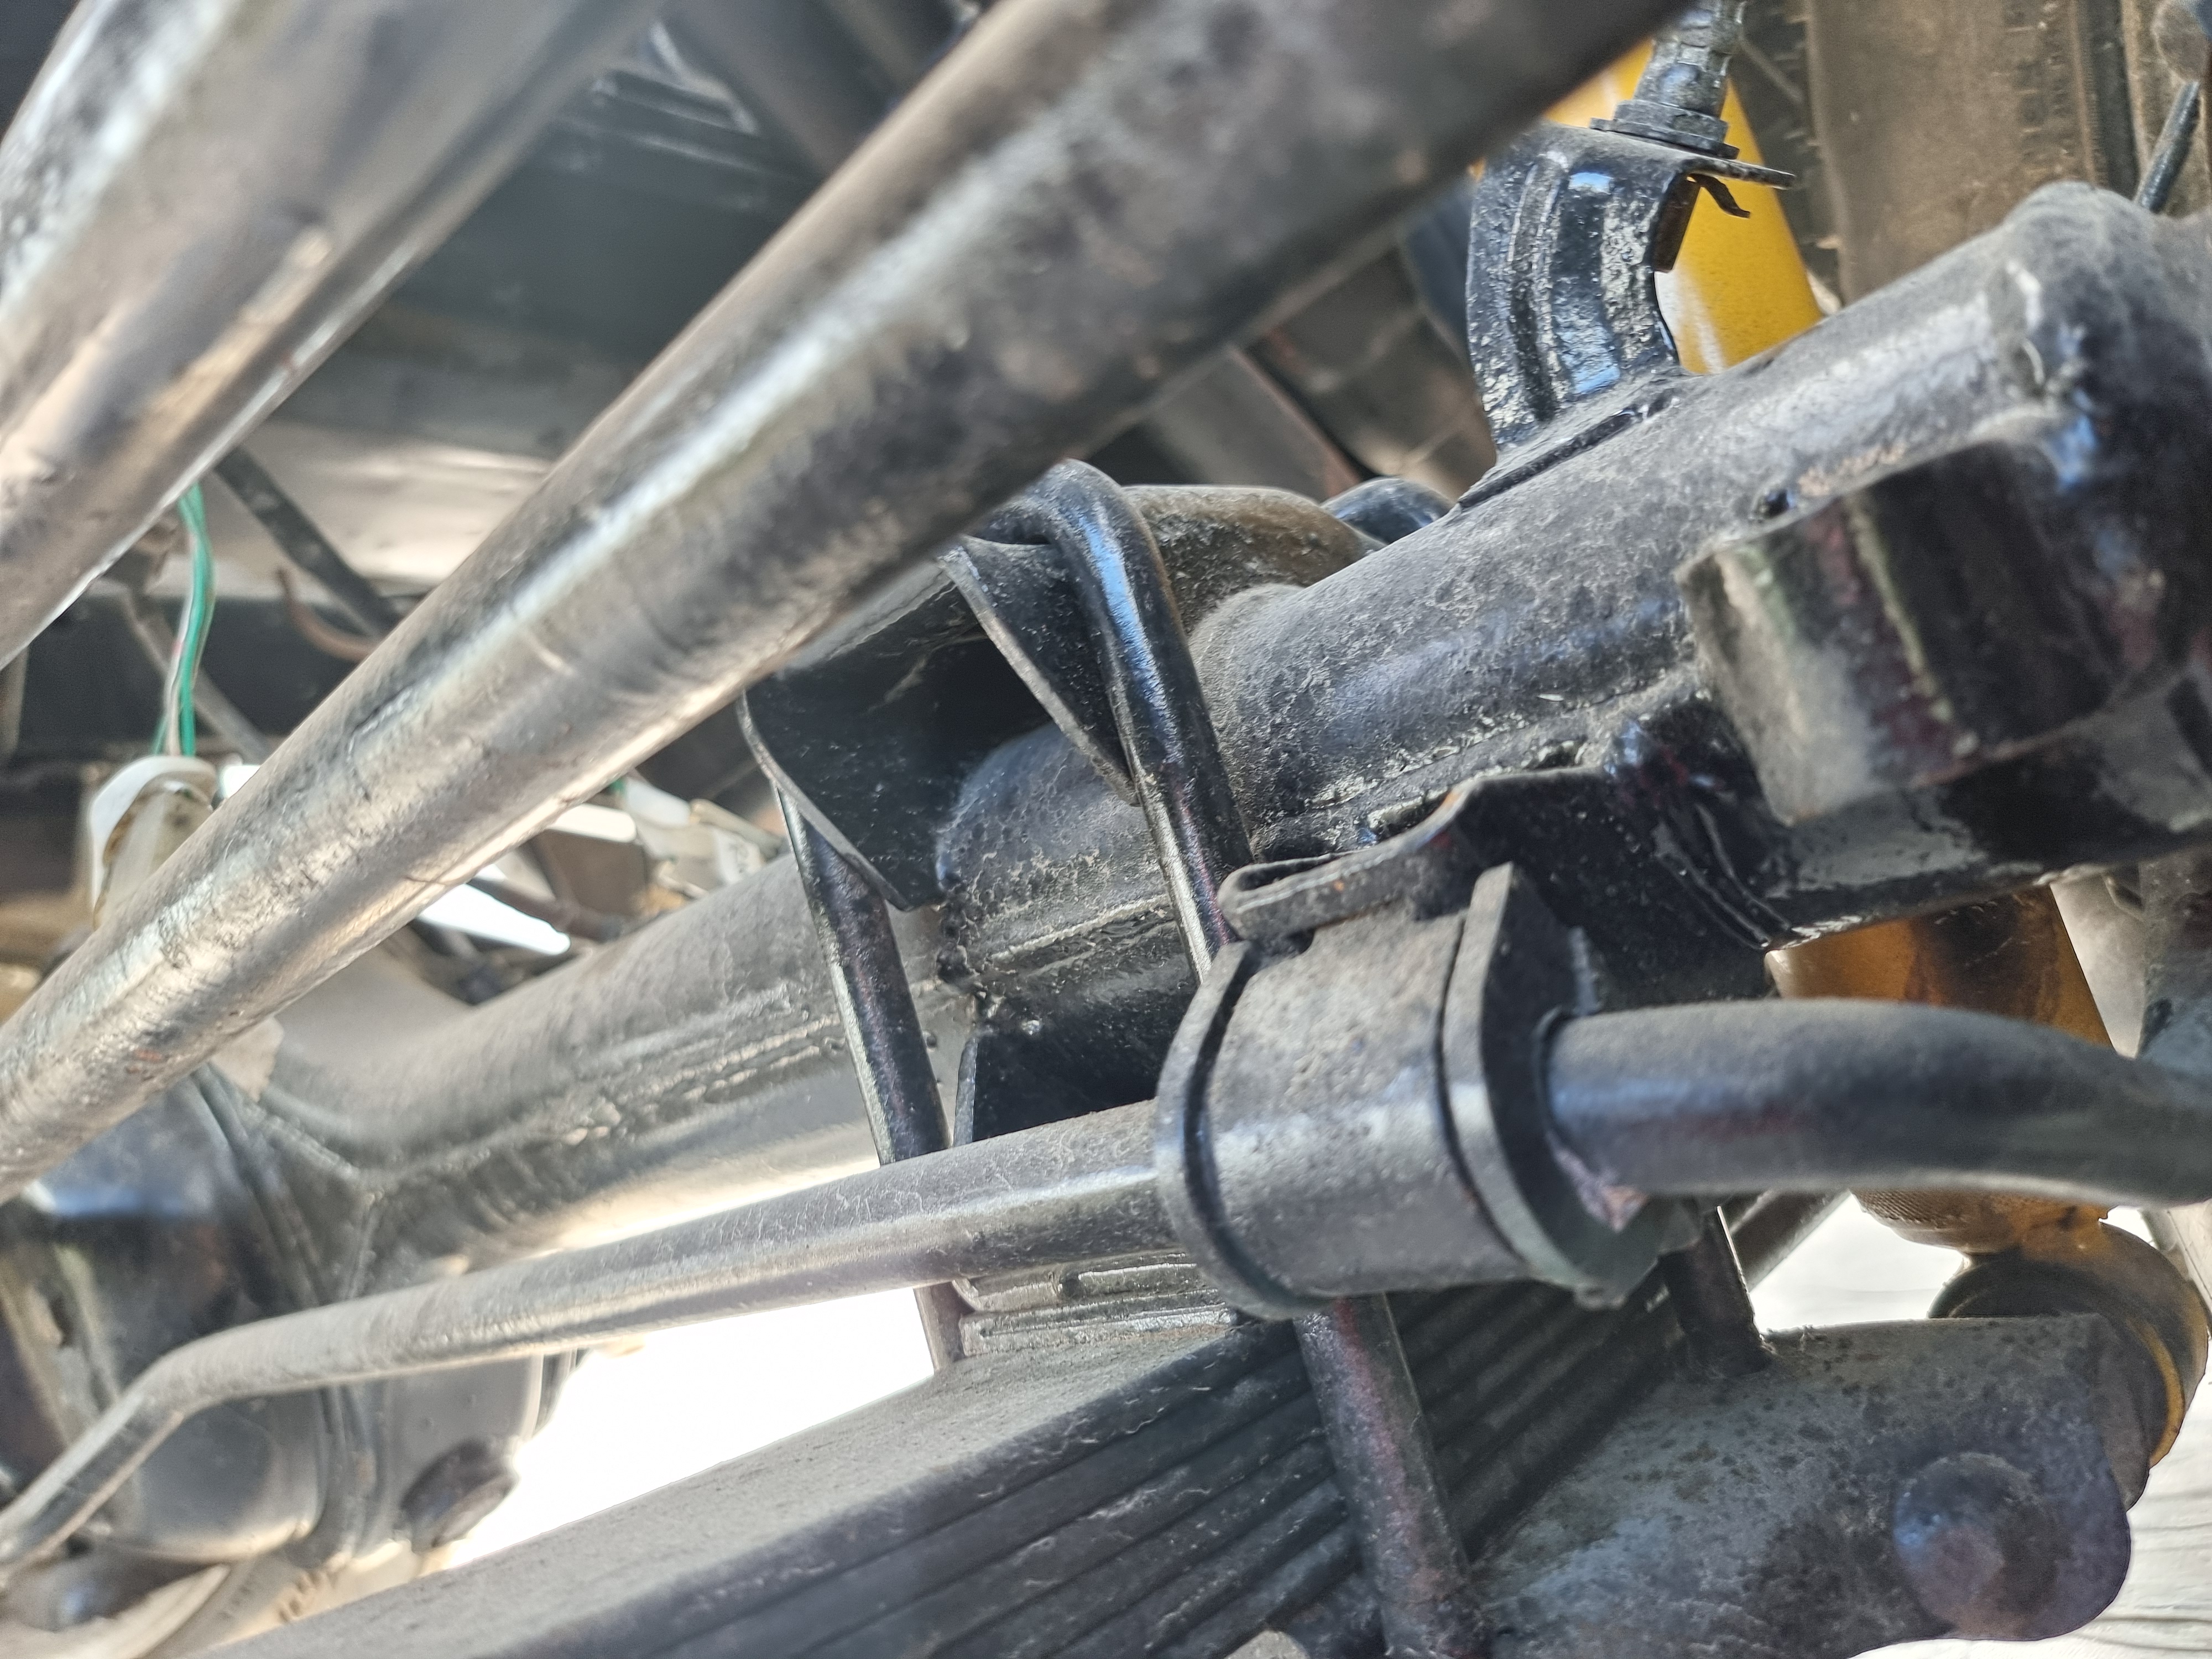
1 issue that has cropped up is that with the extended shackles I'm running I will need to correct my castor as with the amount of lift I have it rotates the diff housings which can cause unwanted traits like death wobbles, skittish steering, driveline vibrations and generally poor handling under braking etc.
So there appears to be 2 options to correct the castor.
1: cut the leaf mounts off the diff housing and rotate the diff then re weld leaf mounts back on.
2: run castor correction wedges
Both methods require getting a wheel alignment first to see how far out my castor is so I can correct it back to factory tolerance. I'm waiting to hear if castor wedges are appropriate and legal for my application as this will also likely dictate which method I use.
Anyone done this ?
I won't be attacking this till the truck is painted and running, as it's a pain in the arse pushing it around and loading/unloading it on the transport trailer with no propulsion :x_x:
Looking forward to painting it and then getting stuck into final assembly :cool:
Attachment 267461
Attachment 267462
Tucked back away in the greenhouse for now :cool:
He will be retired with plenty of spare time (how come retirees always seem to be busier than the working age!!) once he's finishedQuote:
Originally Posted by Happy Jack
Try the guys in Ashburton ERL they fit out fertilizer sowers,they fit rubber flares to them...they will know where to get it from.about 2"? Wide and very robust.
Make sure you use neutral cure urethaneQuote:
Originally Posted by dannyb
Can you go back to standard shackles and go spring over axle like a Hilux? That would keep your caster the same.
Another option is drop mounts the same as shackles. This is how some do it on a Hilux for big lifts especially with longer springs. Or if you need to change drive shaft angles then chop and reattach the knuckles.
Myself, I went with caster wedges for a 35mm forward diff push. With only a 50mm lift, ome springs. One day I might consider doing more, but where does it end :thumbsup:
Wedges is by far the easiest option, if it will pass cert with Wedges that is what I'll do.
Just have to wait for a response from the certifier.
What tyre size are you going for? With my skinny 33s factory caster wasn't enough at about 2deg from memory. Failed cert on tracking. You really had steer out of a corner. 3deg wedges were just enough to pull straight again and the certifier was happy. From what I've read some people go up to 7 deg with massive wheels. Tom from Toms off-road is in your neighborhood. Pretty sure he told me to aim for 5 when I rang for advice.Quote:
Originally Posted by dannyb
Drive shalf universal angles are something you need to keep an eye on. Google is your friend on info to check. Flanges need to be within a couple of degrees parallel of each other for smooth running.
Sent from my SM-S906E using Tapatalk
I'm running 35s, I found trundles have a wedge kit tooQuote:
Originally Posted by Hahn
https://trundlesautomotive.co.nz/pro...CJyMw6M7QHTVnc
I'll try Toms as well, thanks for that :thumbsup:
Exactly the ones I have. Make sure you get the longer bolts too.Quote:
Originally Posted by dannyb
https://trundlesautomotive.co.nz/pro...pr_seq=uniform
Excellent, I'll need to get my caster measured first so I know what size wedges to get.Quote:
Originally Posted by Hahn