This is kind of a carry on from the magazine thread which has kind of ground to a halt while this bit gets done. For starters the hardest bit has been getting the barrel out of the receiver, that was tight and the thread had kind of picked up on itself.
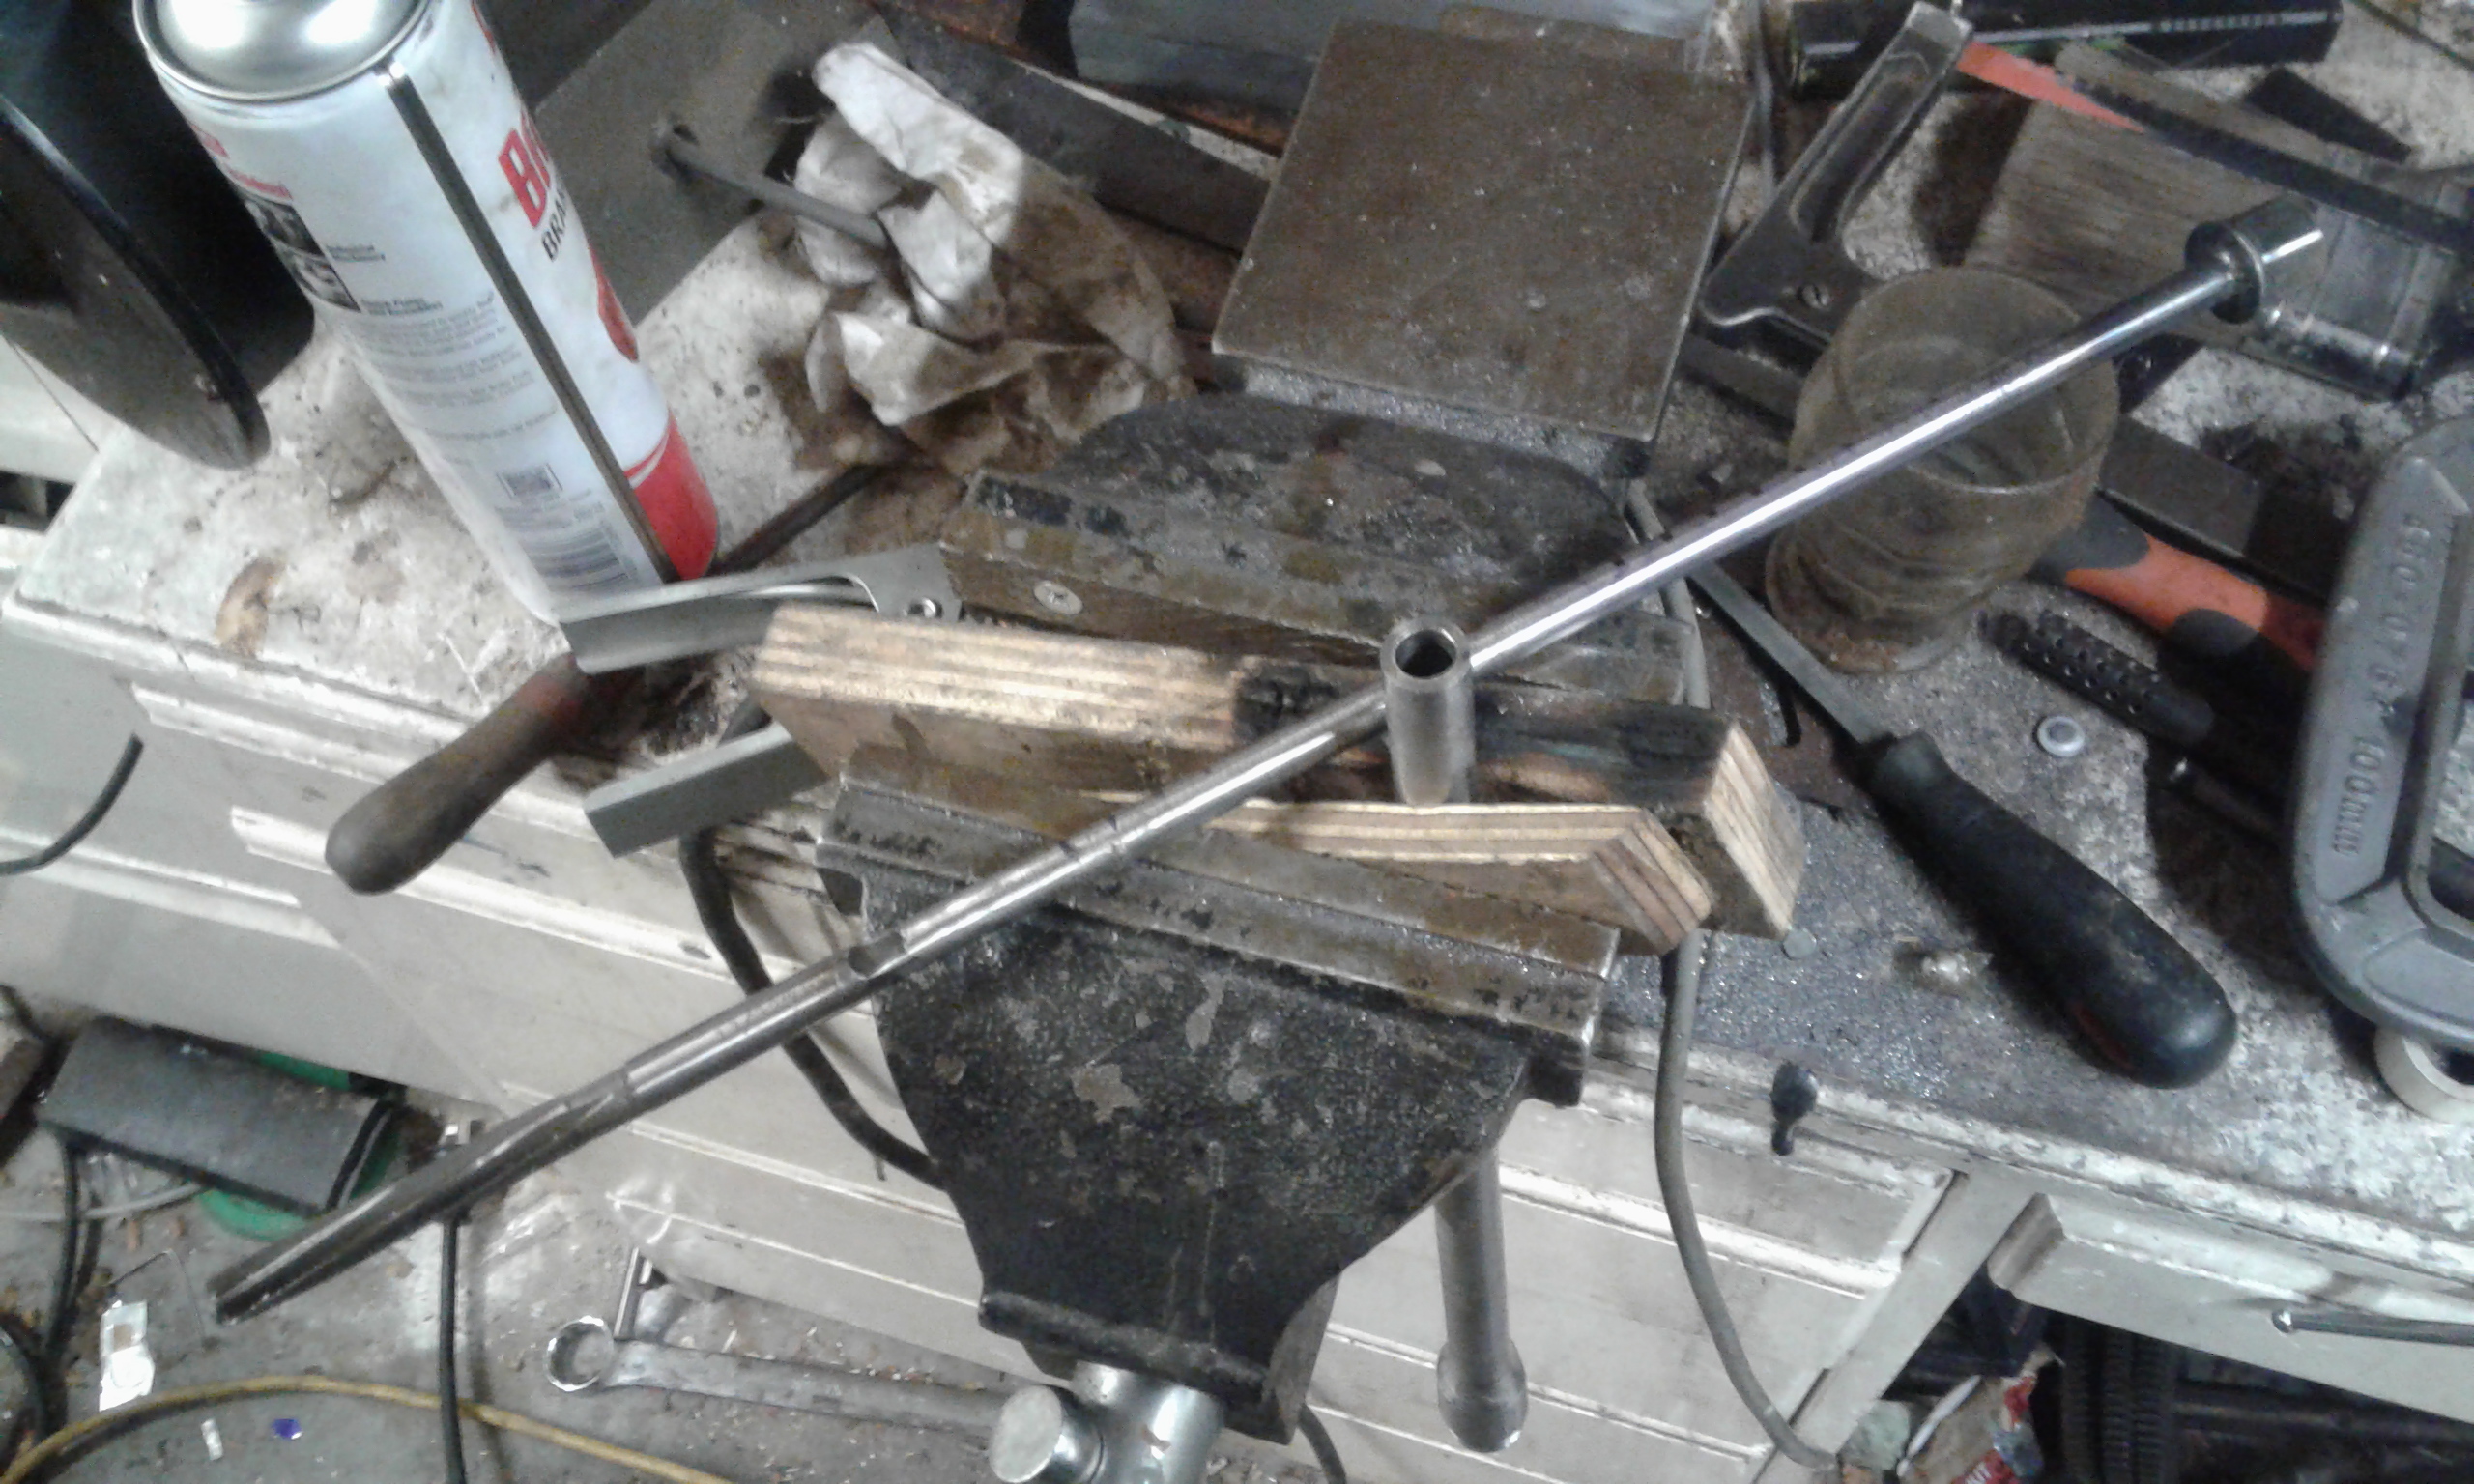
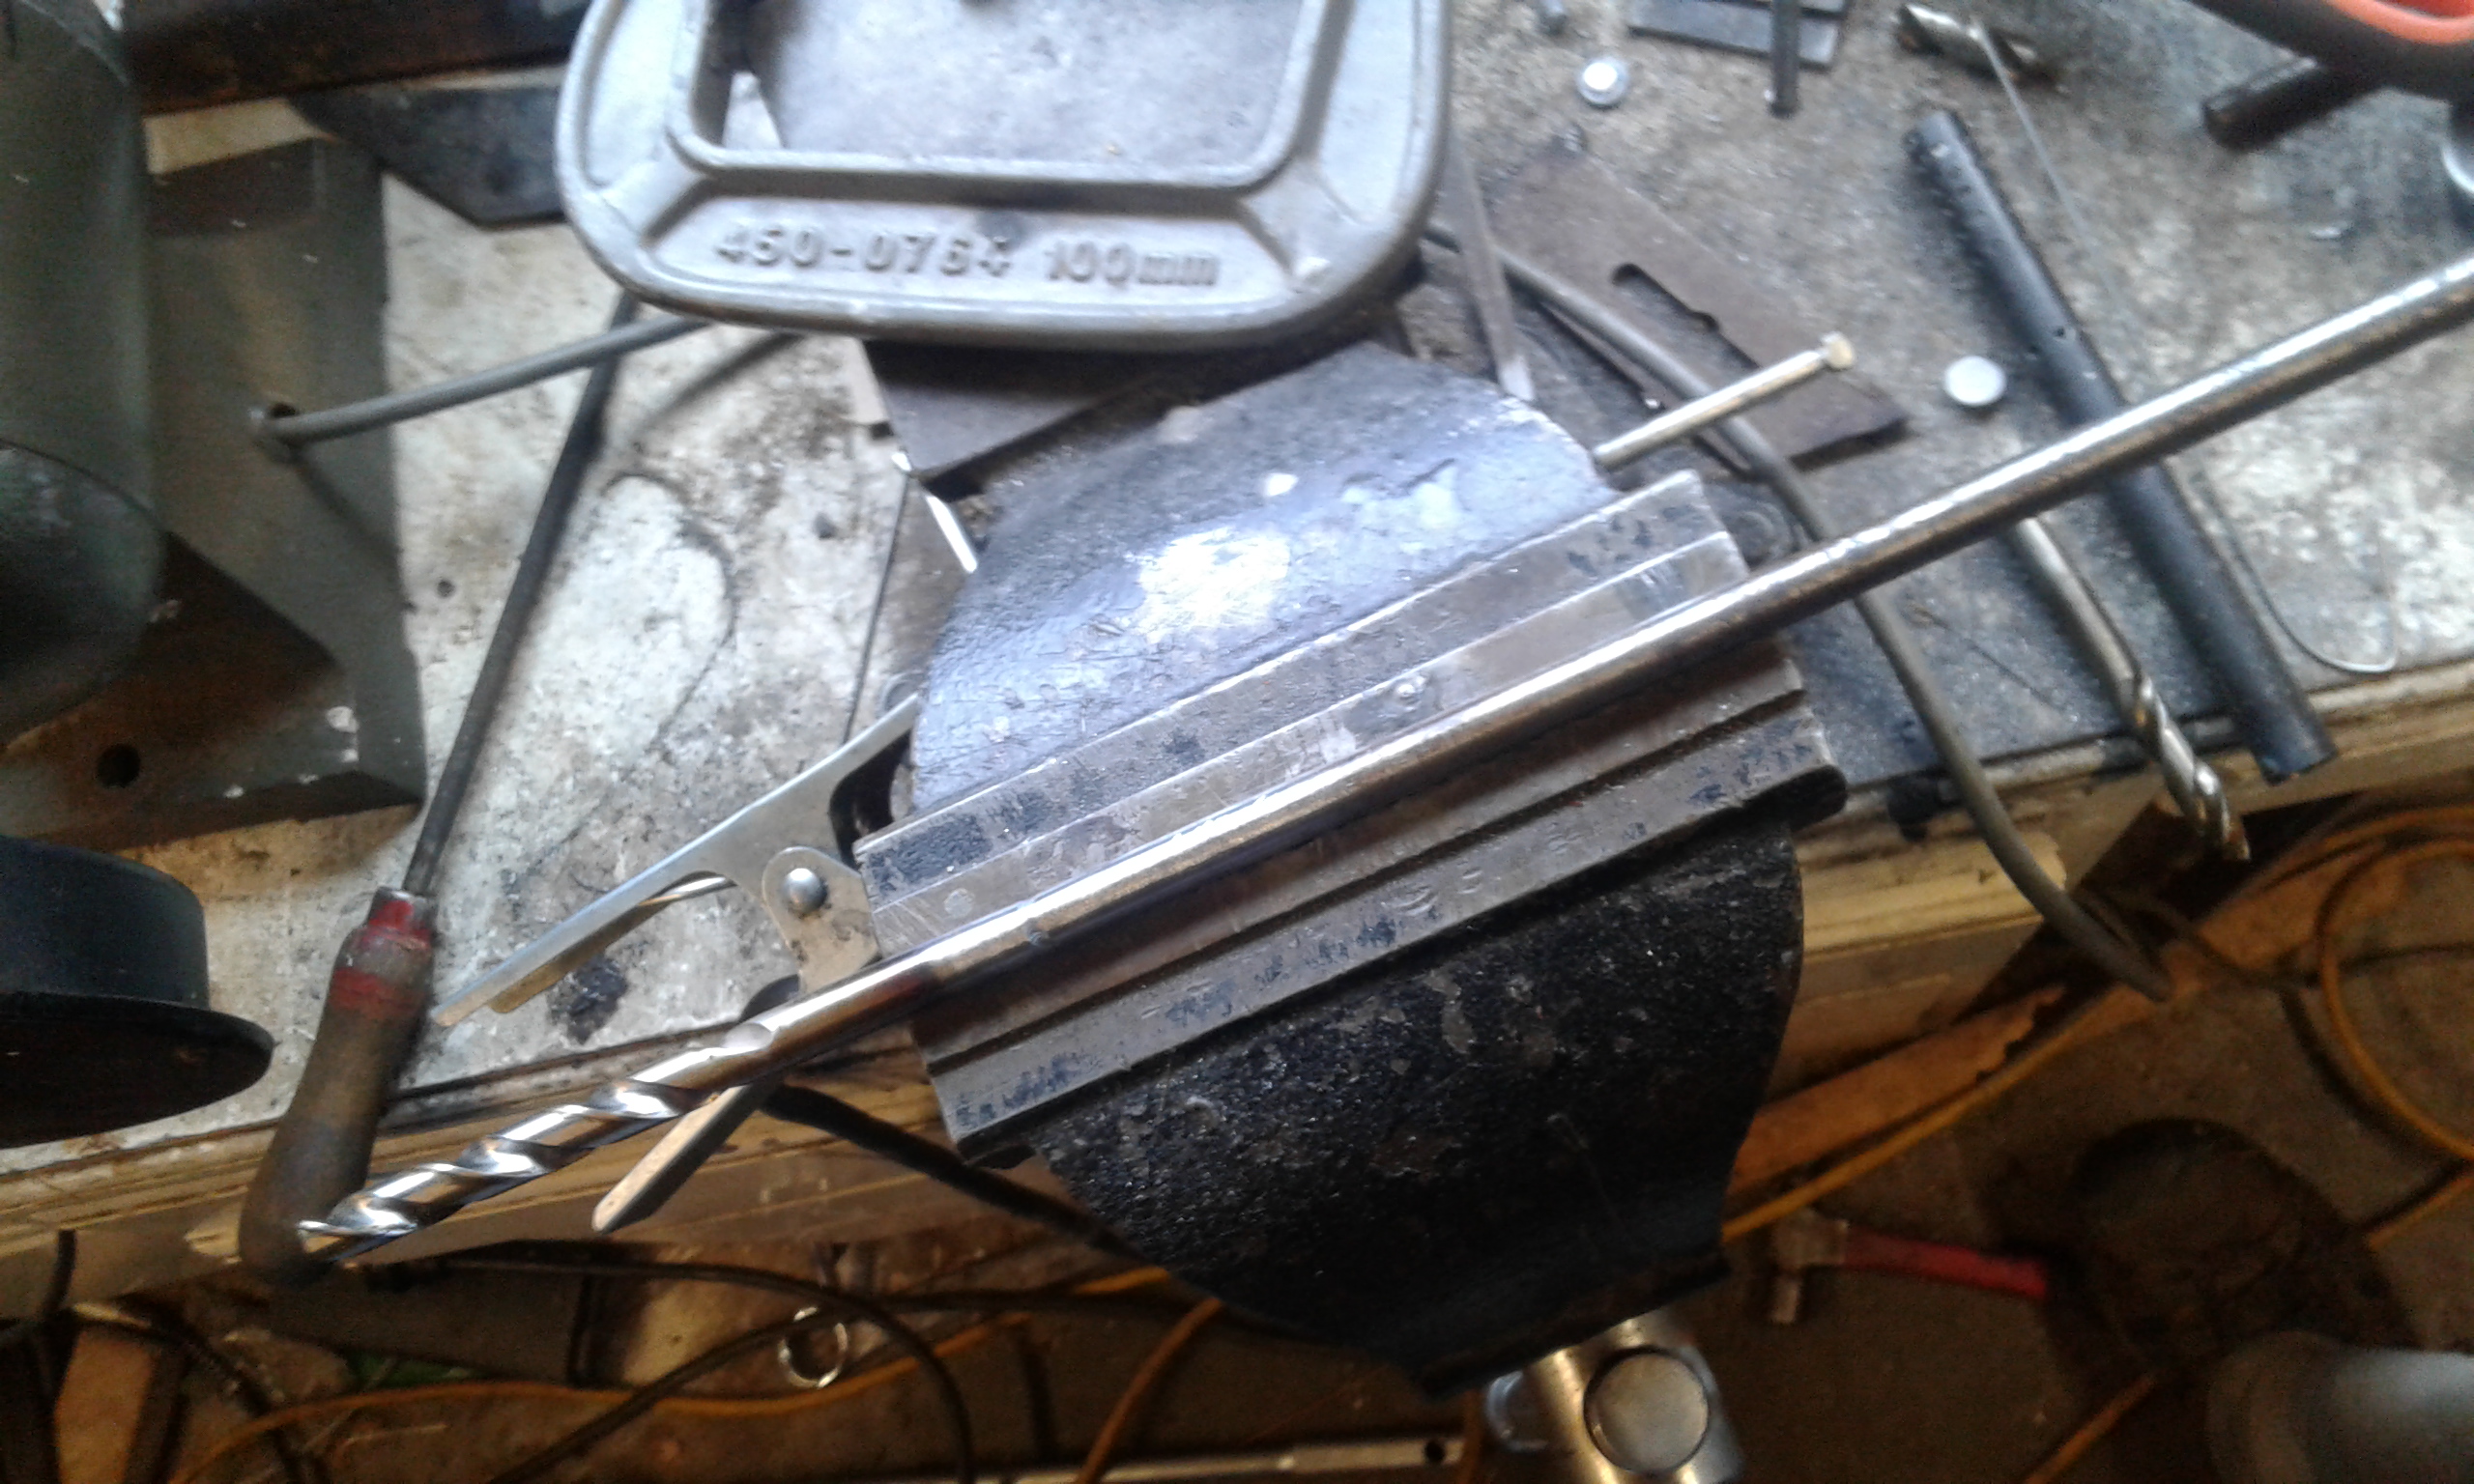
Anyway the first step was to cut the barrel down a bit and drill a bigger hole through it, I was all ready to make a D-bit but a 10mm jobber drill very carefully welded to a rod worked fine
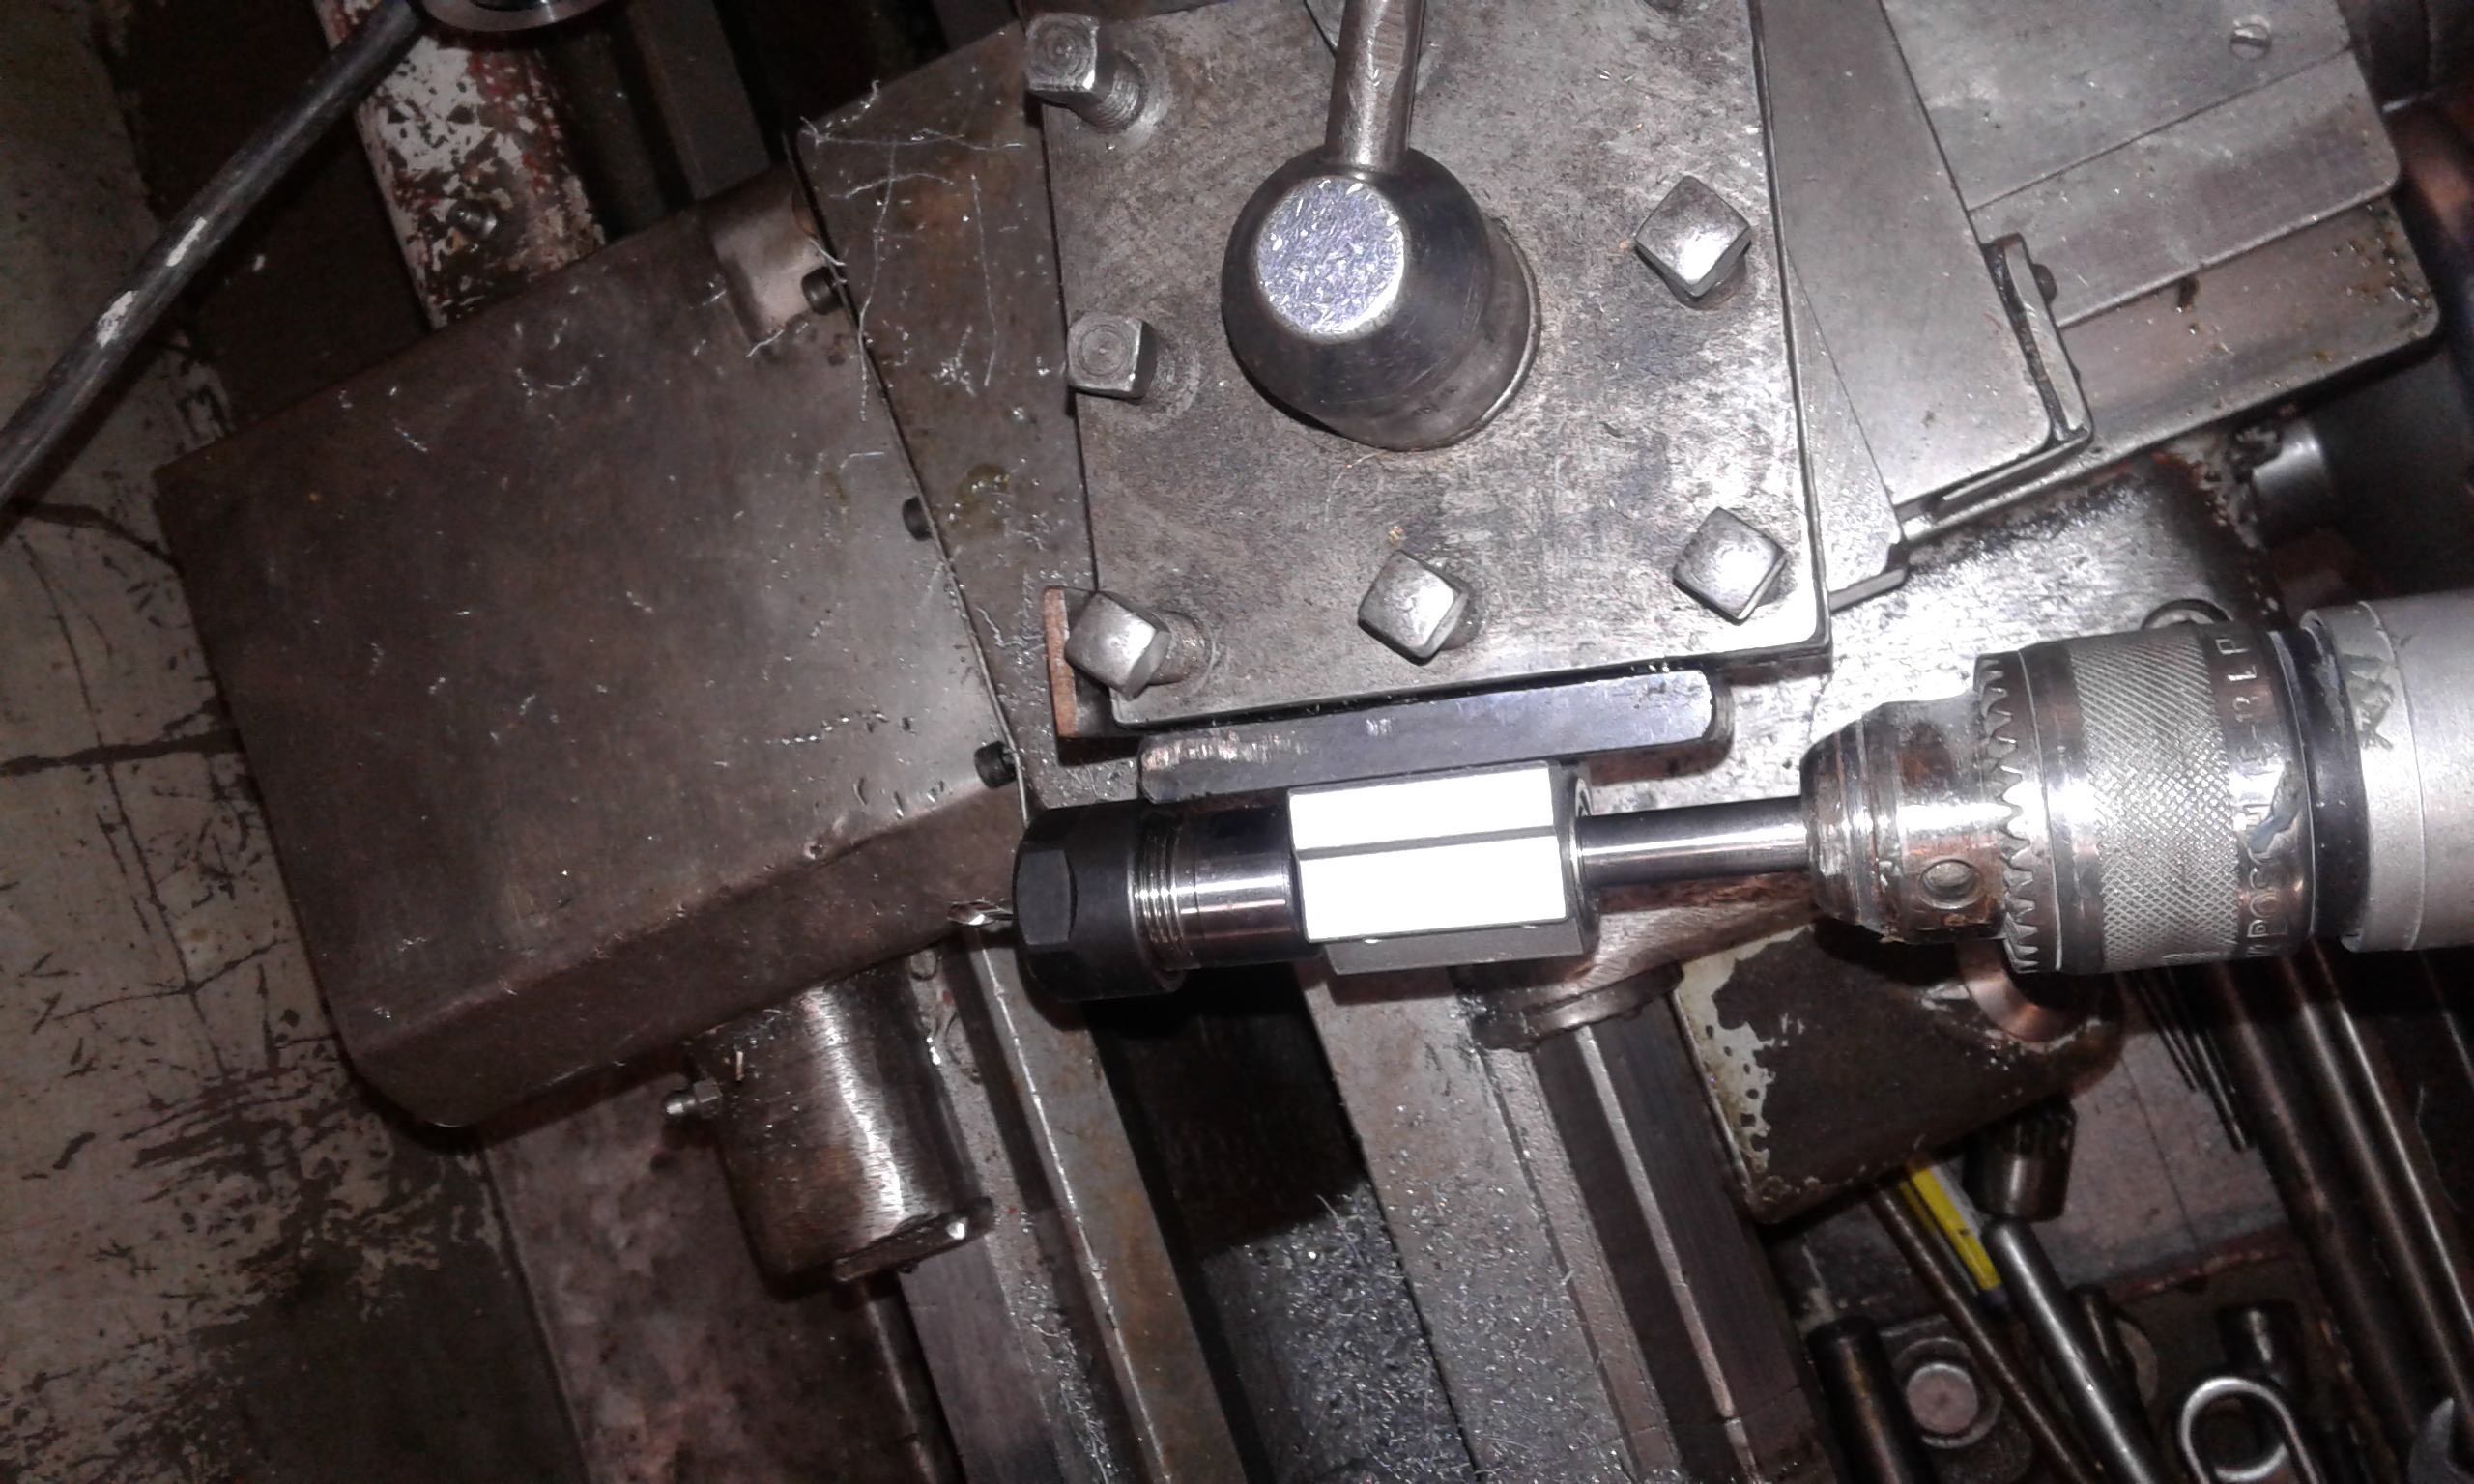
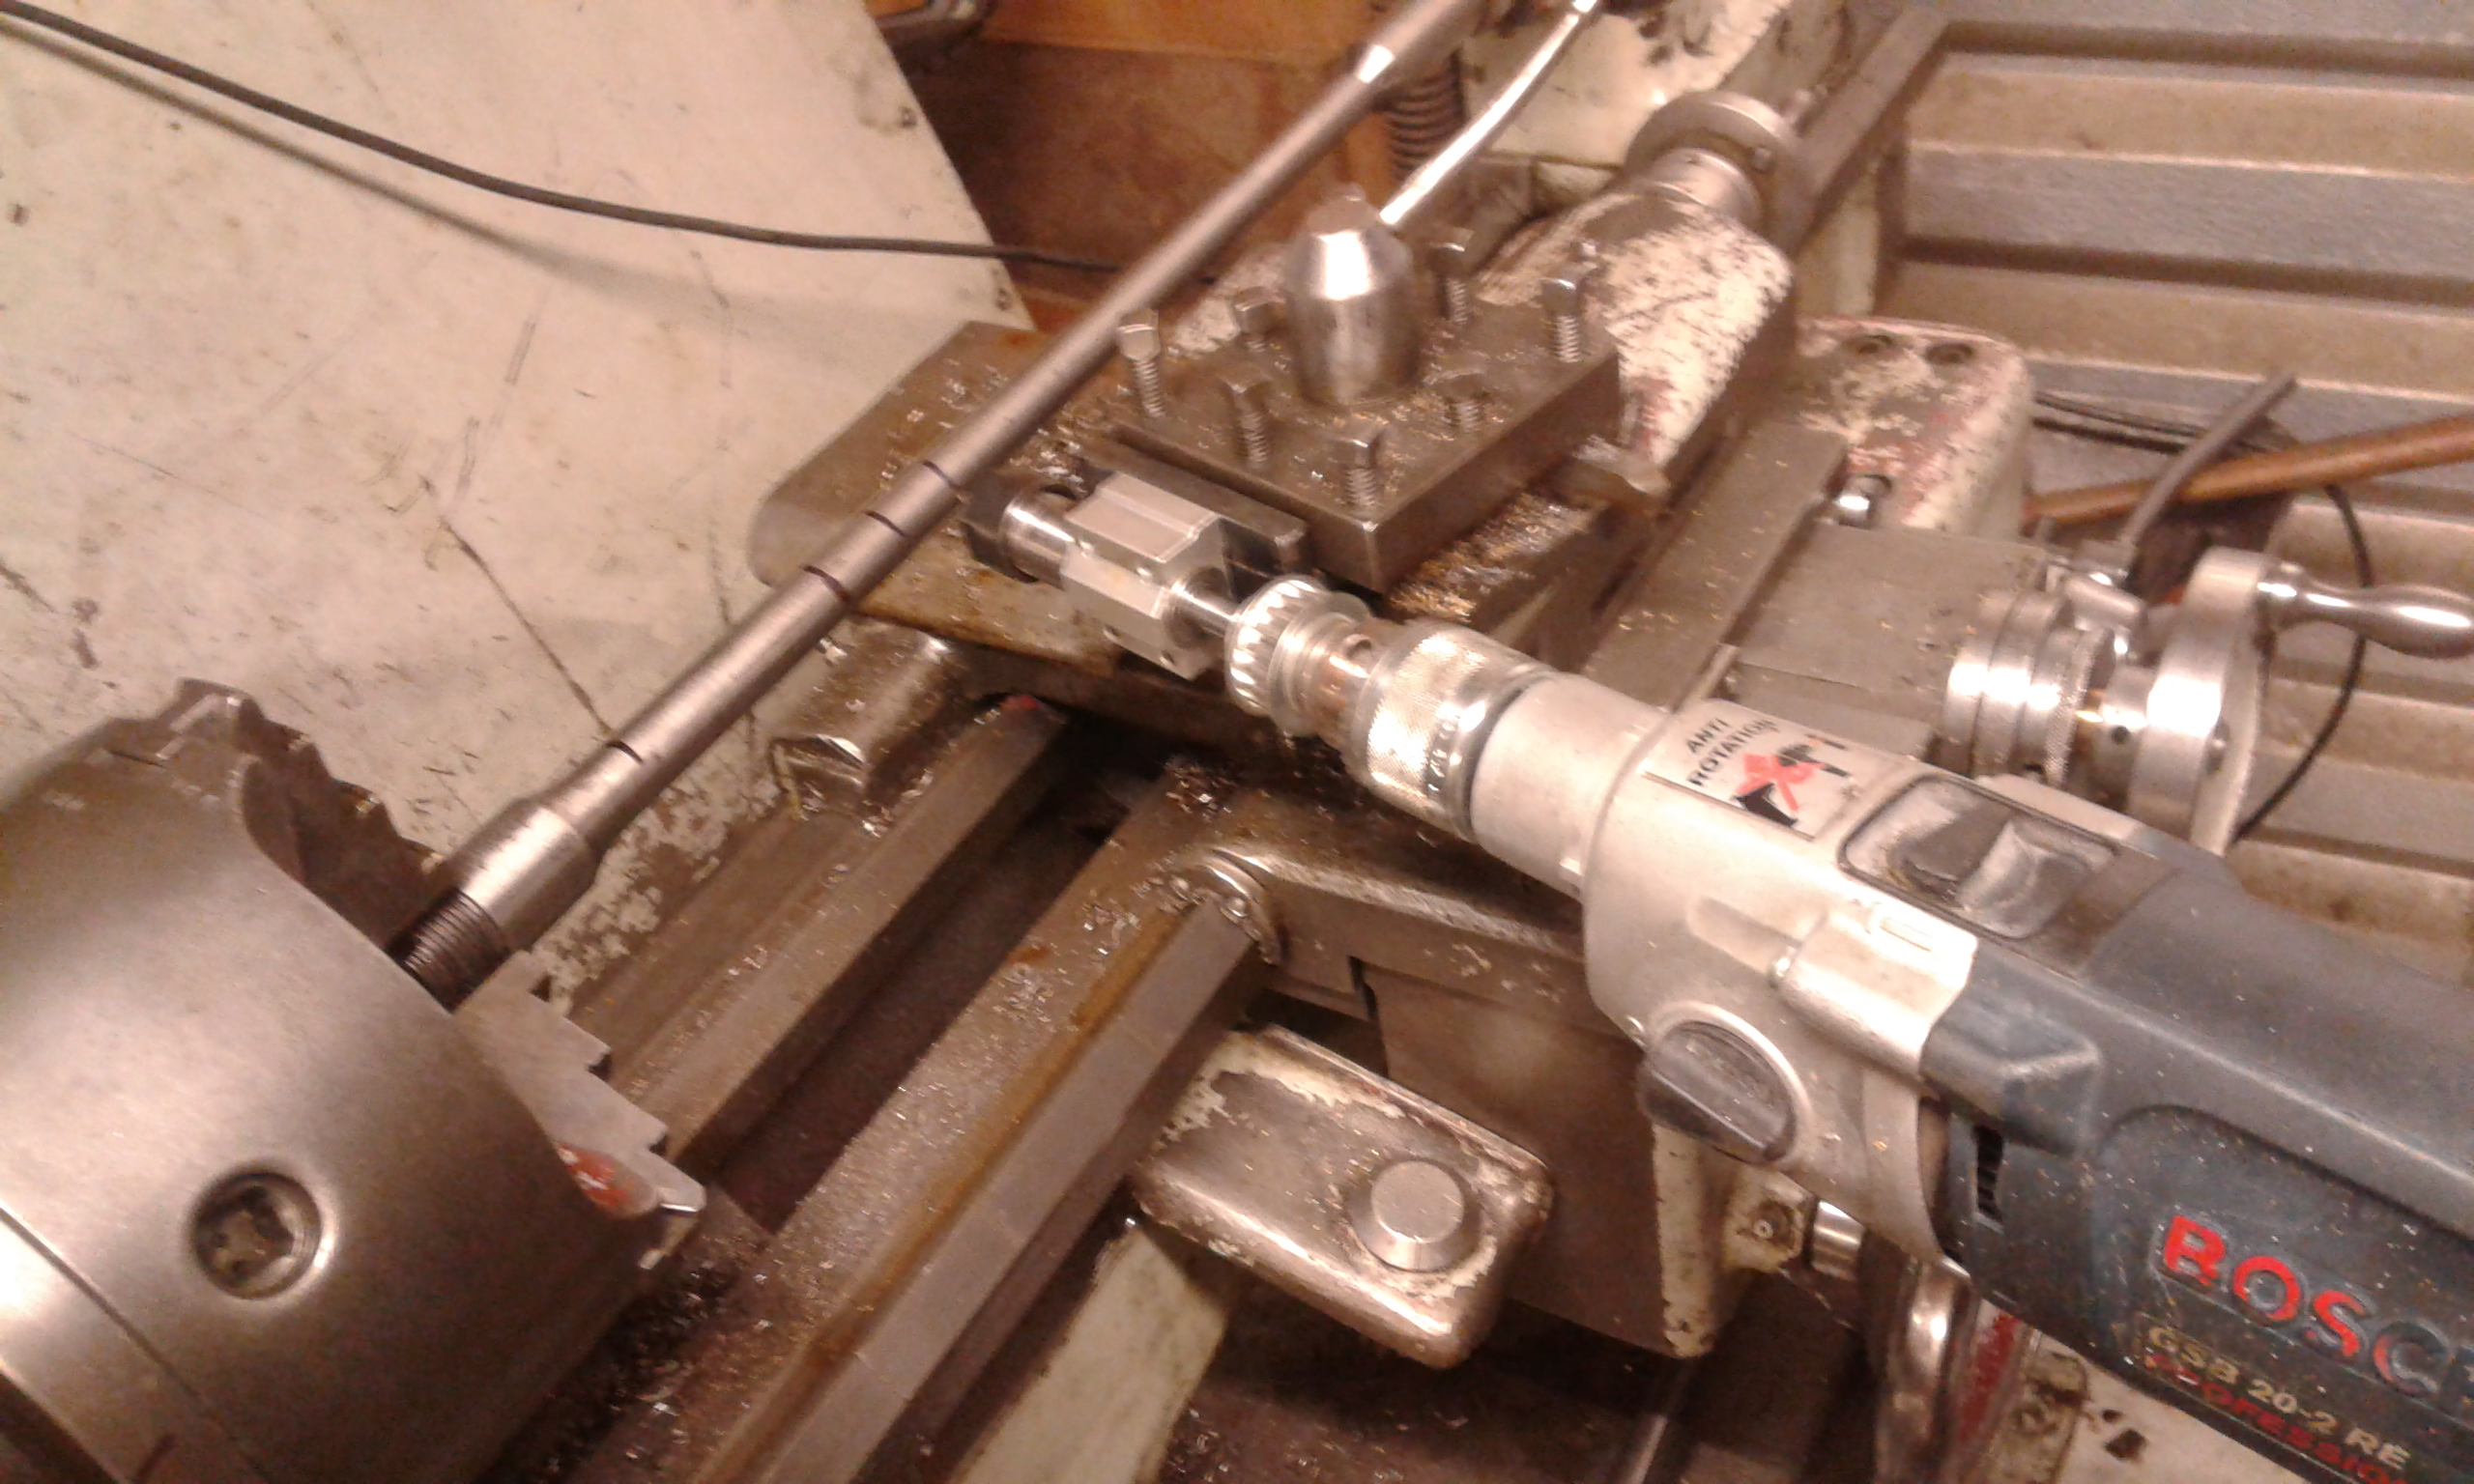
The next step was to port the barrel, I ended up doing 7 rows of 3.3mm holes, the 3.3mm panel drills were the cheapest way to go here, I only broke 3 ends as well. I drilled the holes with the barrel in the lathe (in low gear its pretty much locked up), that is why there is 7 rows as the hi low gear has 98 teeth, not the most useful number. The drill bit was held with an Aliexpress ER16 chuck that came with a little block with some bearings that I mounted in the tool post, the holes are also angled back at 75 degrees to the barrel axis.
Next was reaming to close to size, a 13/32 reamer takes it out to .406, I had to weld a rod to the reamer and welded the top of an old spark plug socket to that so I could use a 3/8 ratchet
Welcome guest, is this your first visit? Create Account now to join.
Welcome to the NZ Hunting and Shooting Forums.
Search Forums
User Tag List
+ Reply to Thread
Results 1 to 15 of 43
Thread: 410 Enfield
-
07-06-2018, 09:24 PM #1Member

- Join Date
- Jan 2016
- Location
- Omaru
- Posts
- 565
410 Enfield
Last edited by Chilli_Dog; 07-06-2018 at 09:39 PM.
-
-
07-06-2018, 10:03 PM #2Member

- Join Date
- Jan 2016
- Location
- Omaru
- Posts
- 565
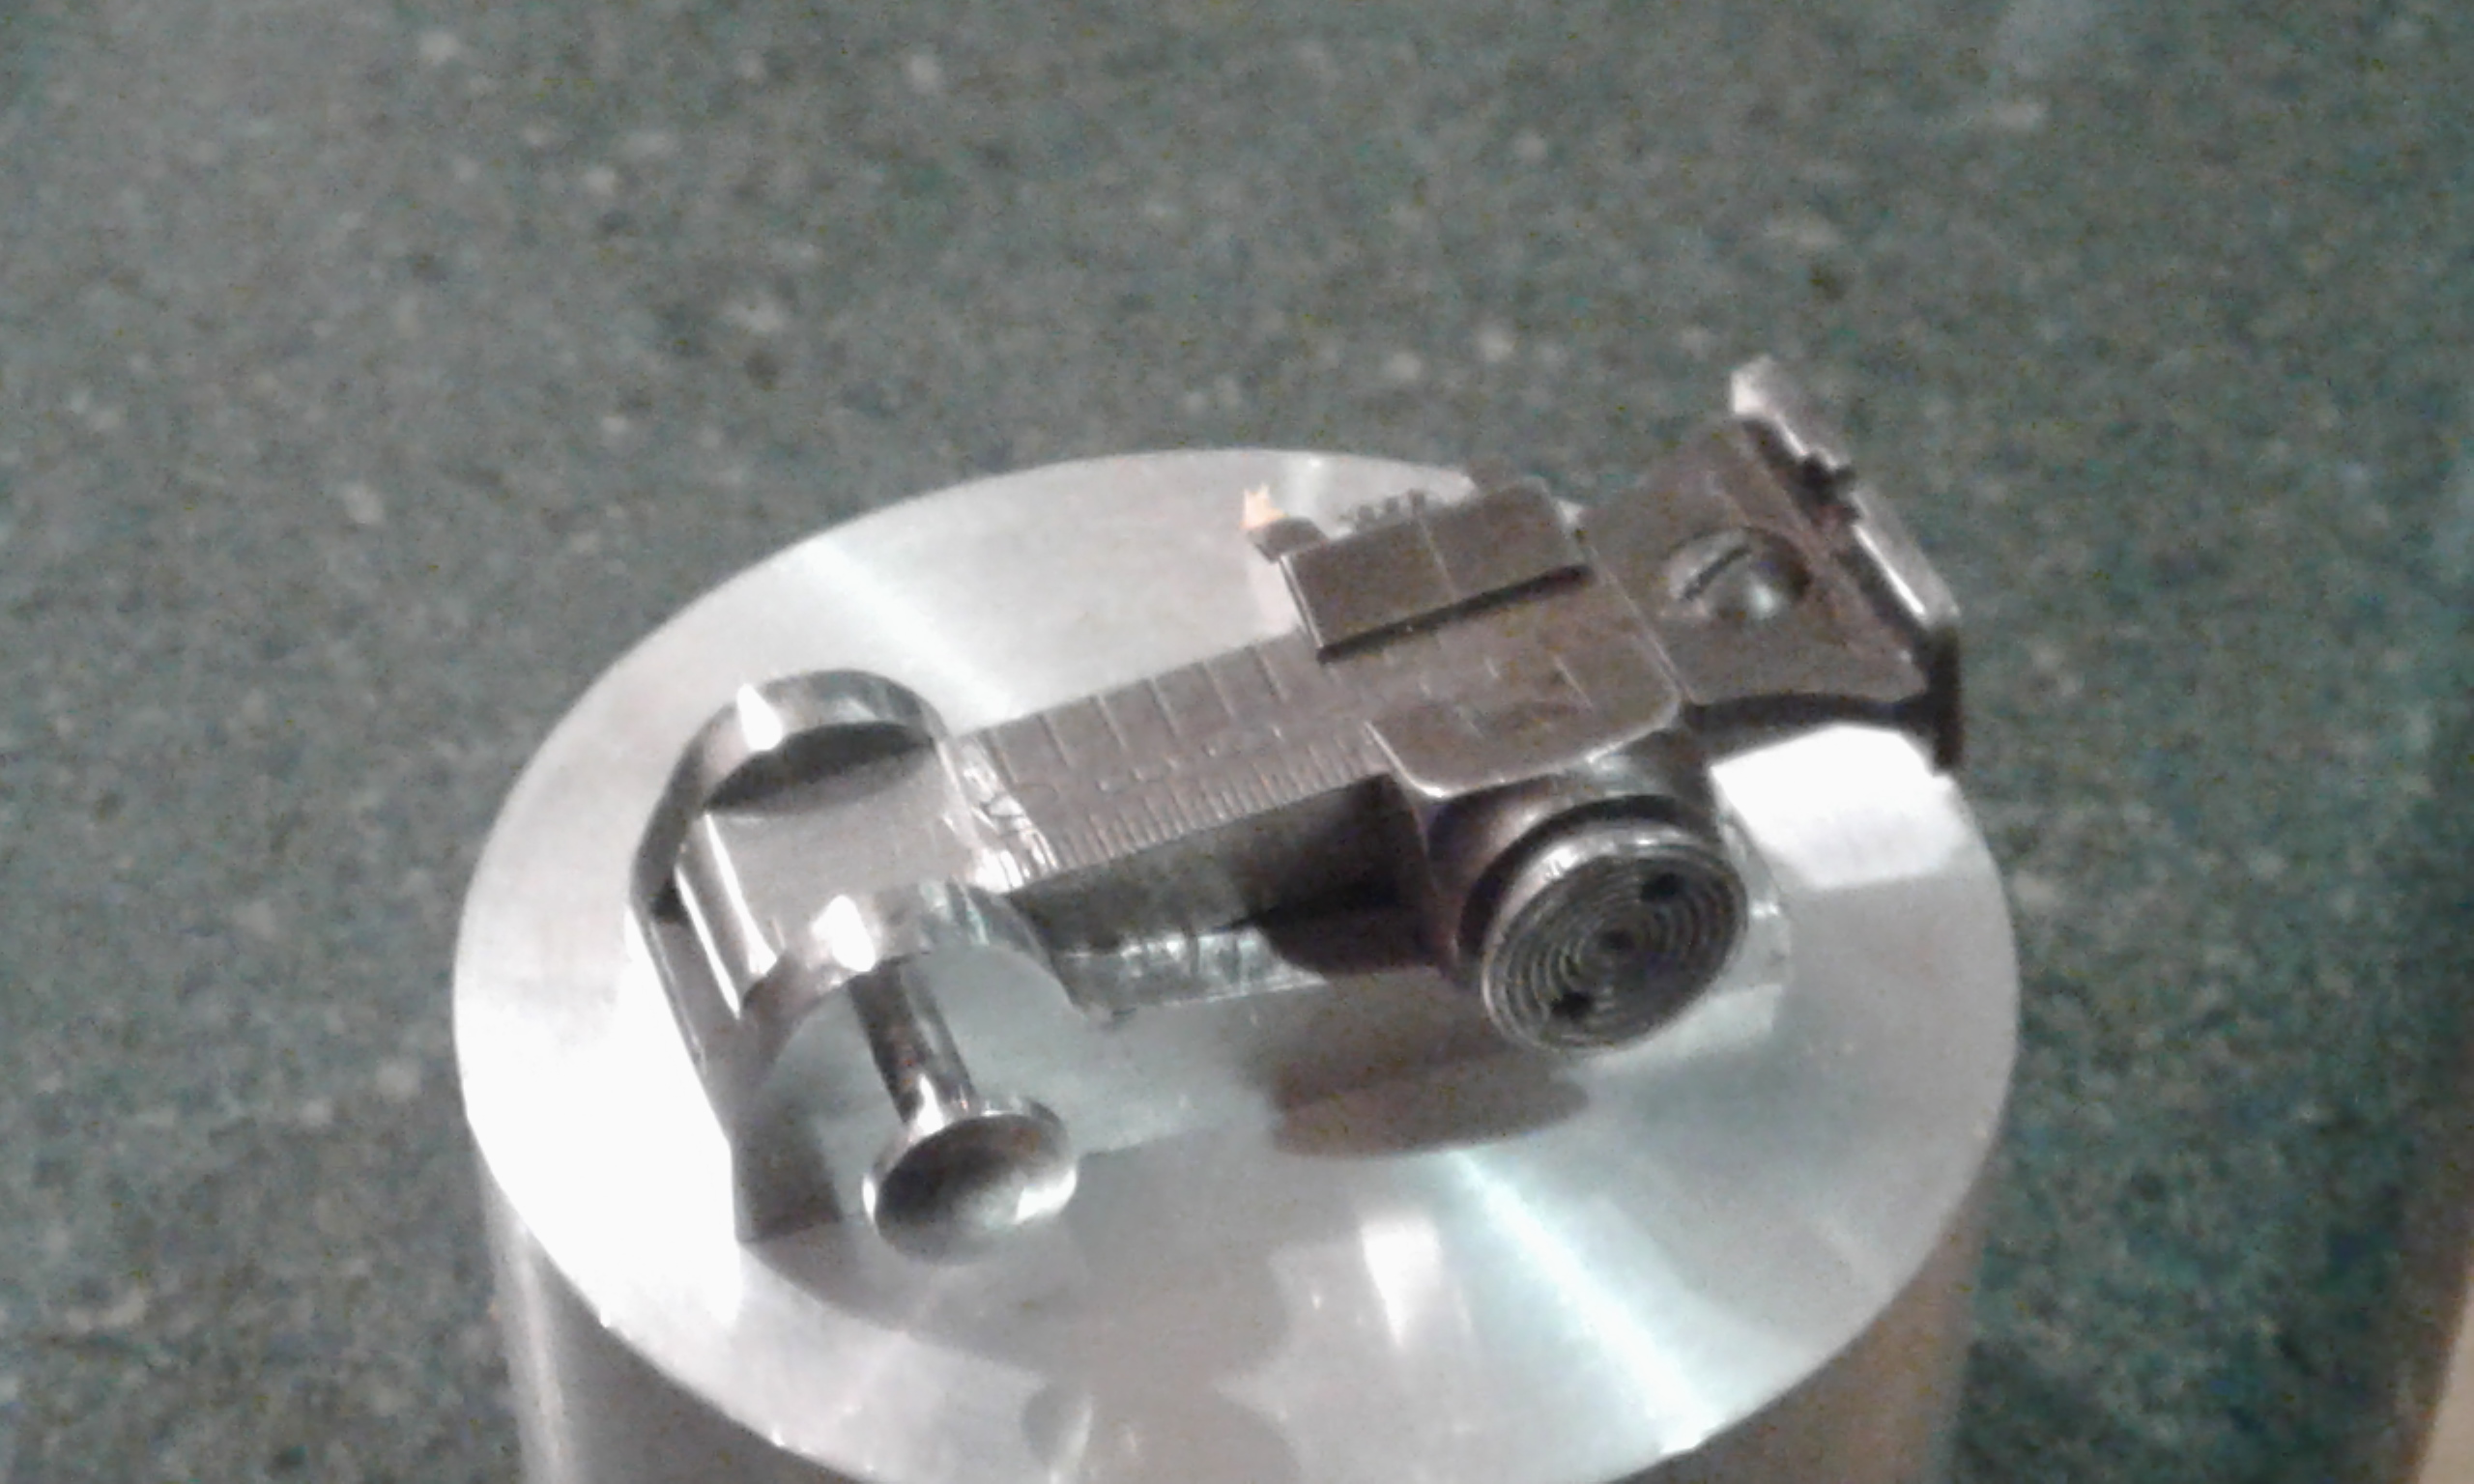
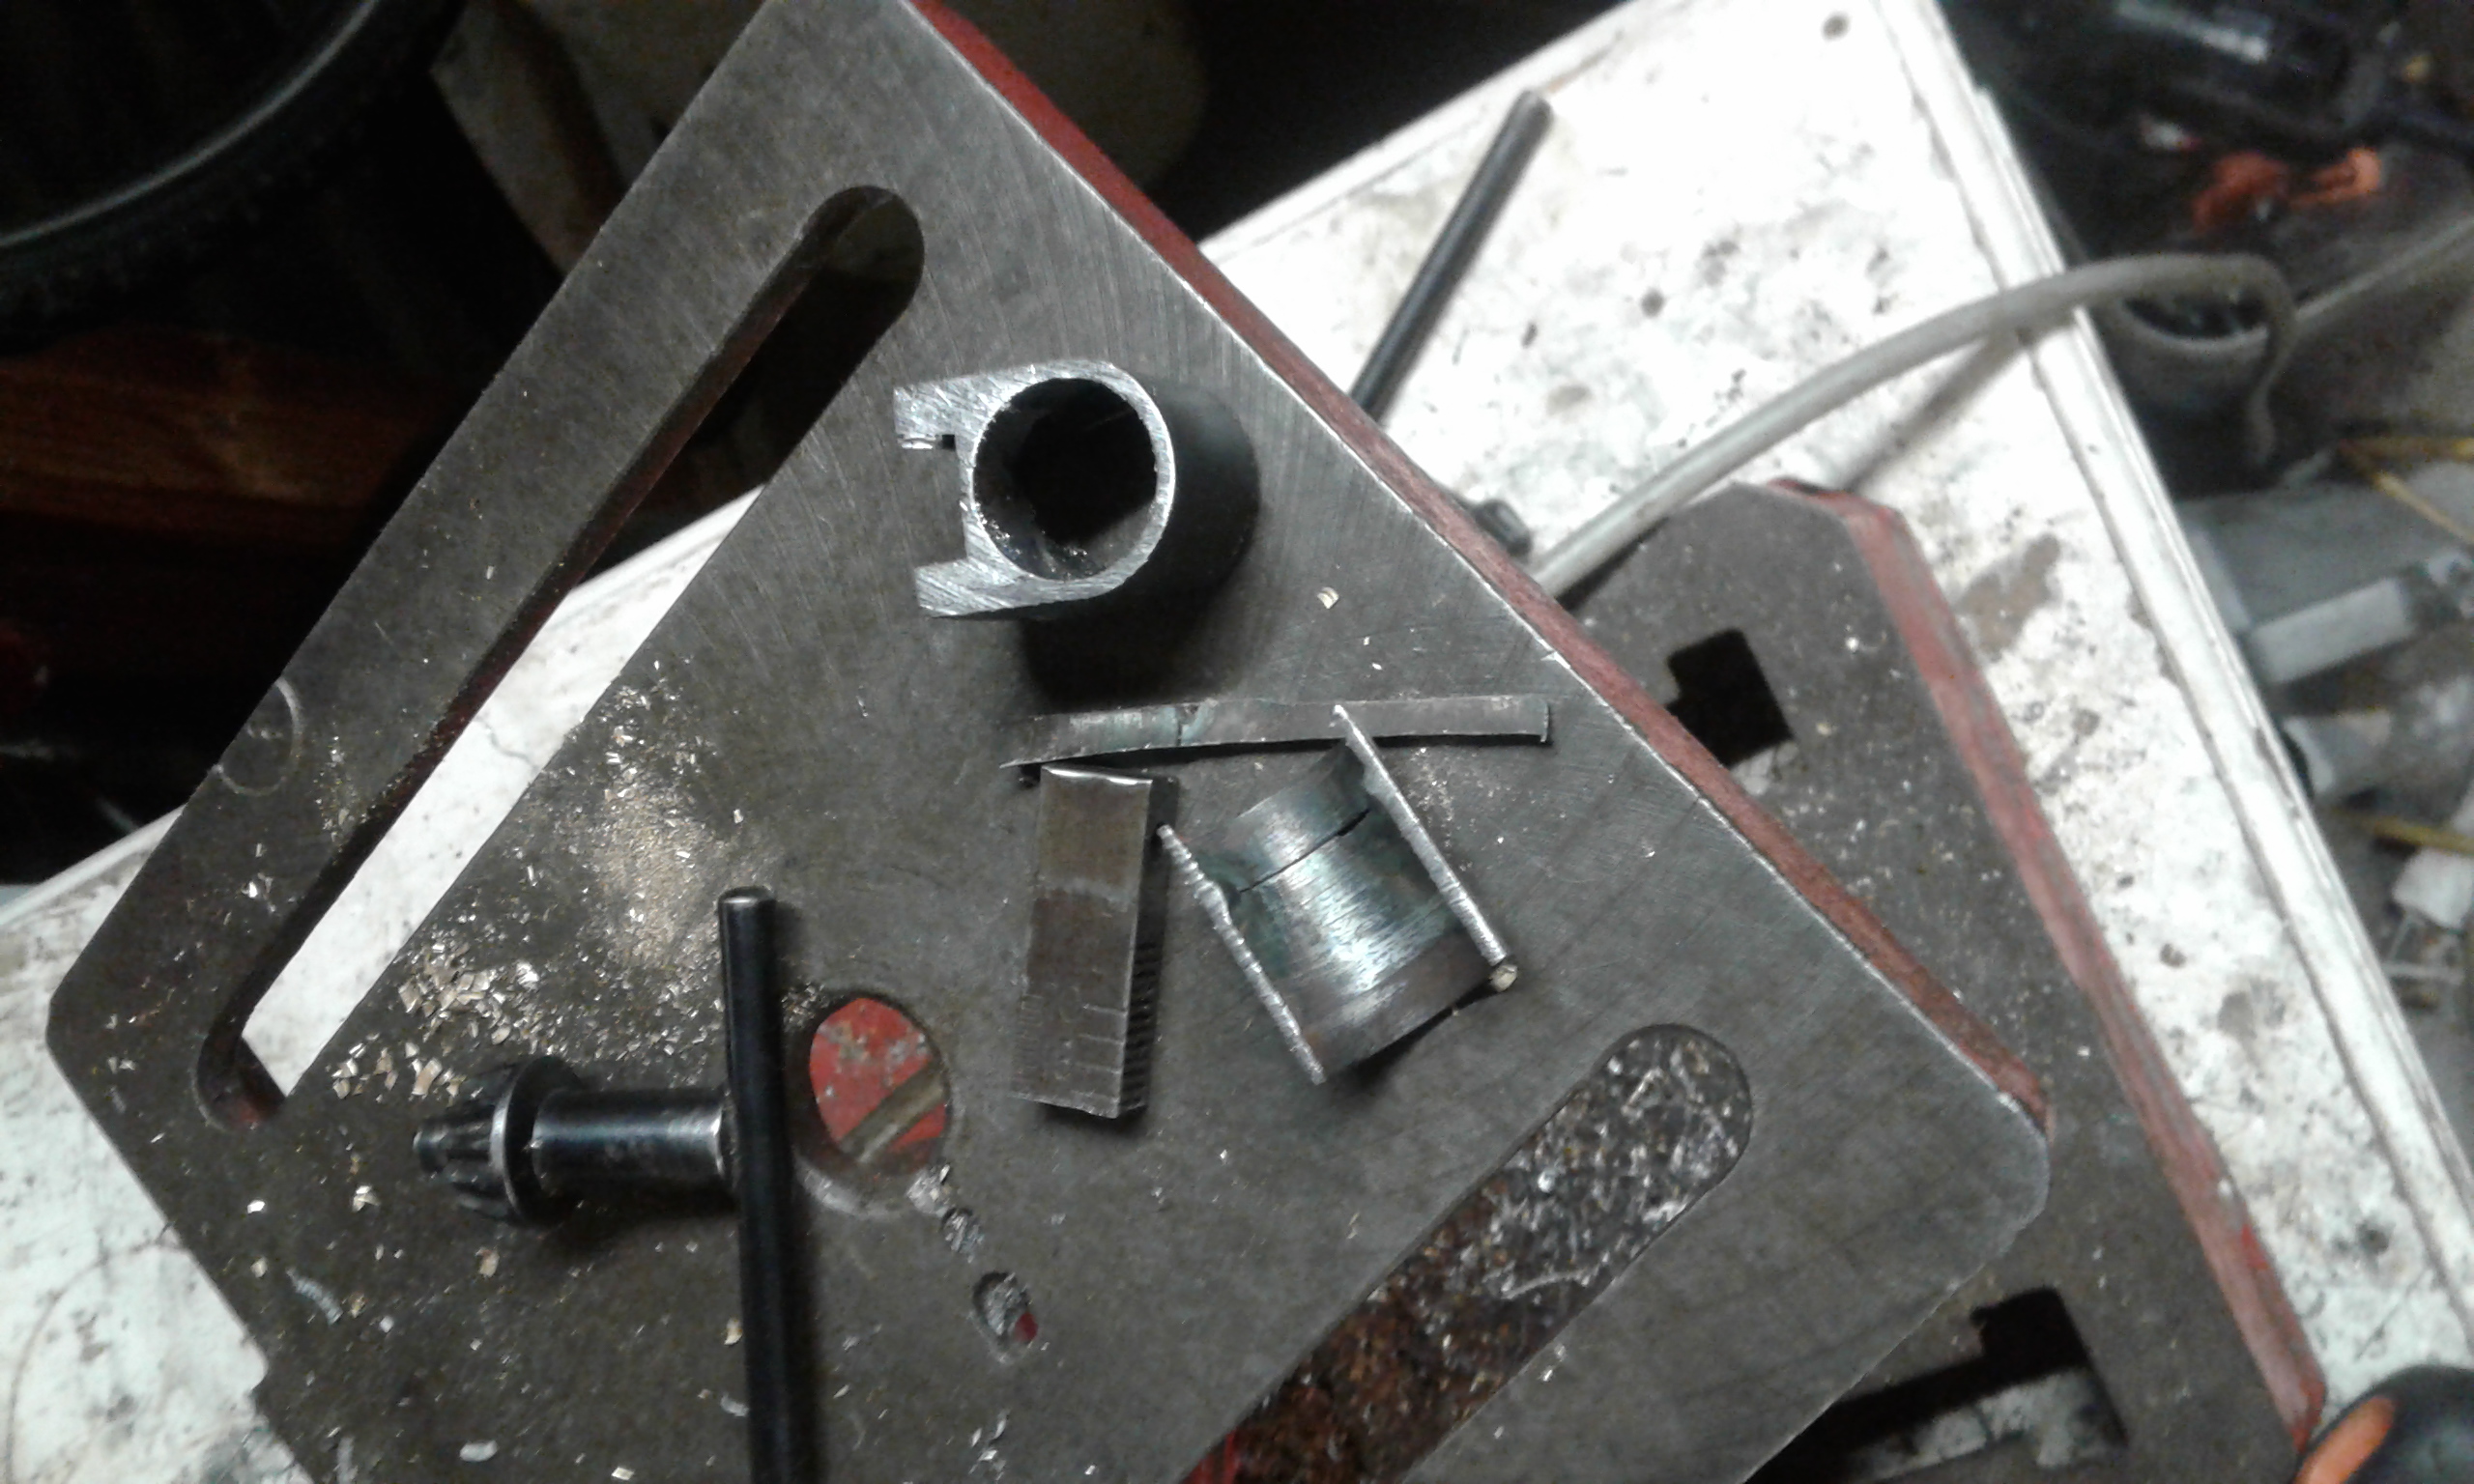
Due to not having a good supply of old gun bits I had a go at shrinking the Enfield rear sight down to something useful, it is probably a bit big still but Ill use it for now
and the spare bits
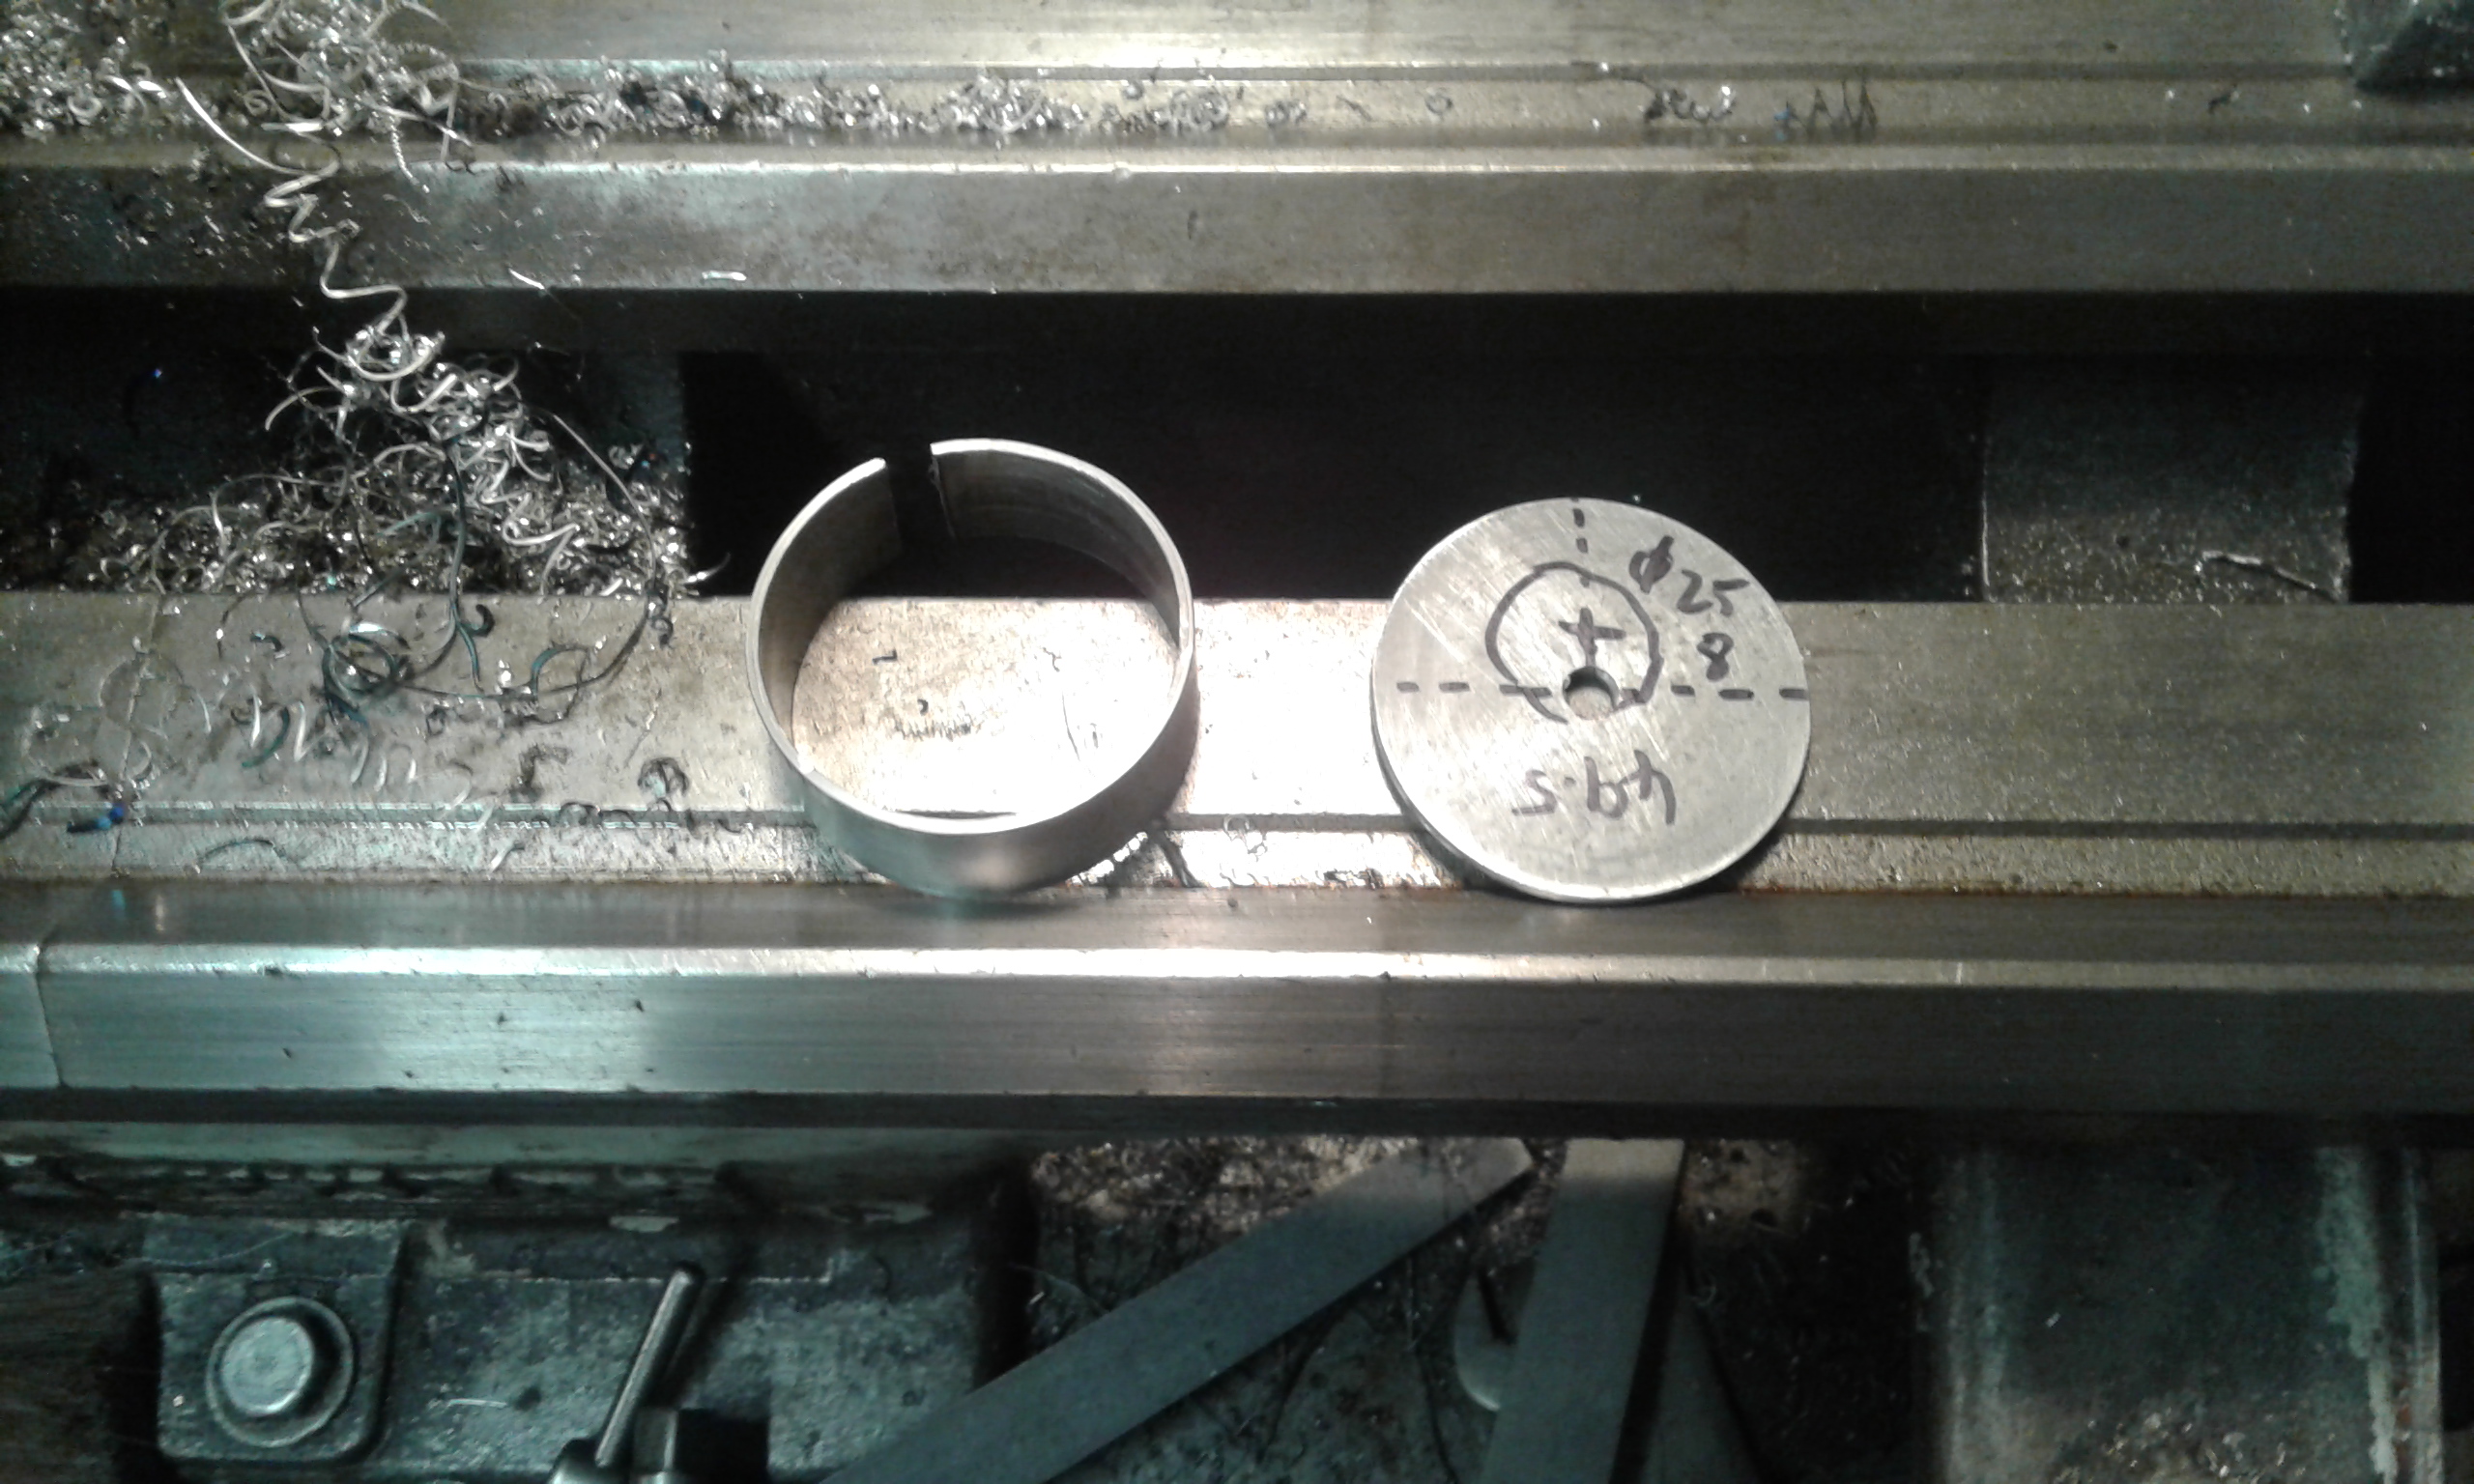
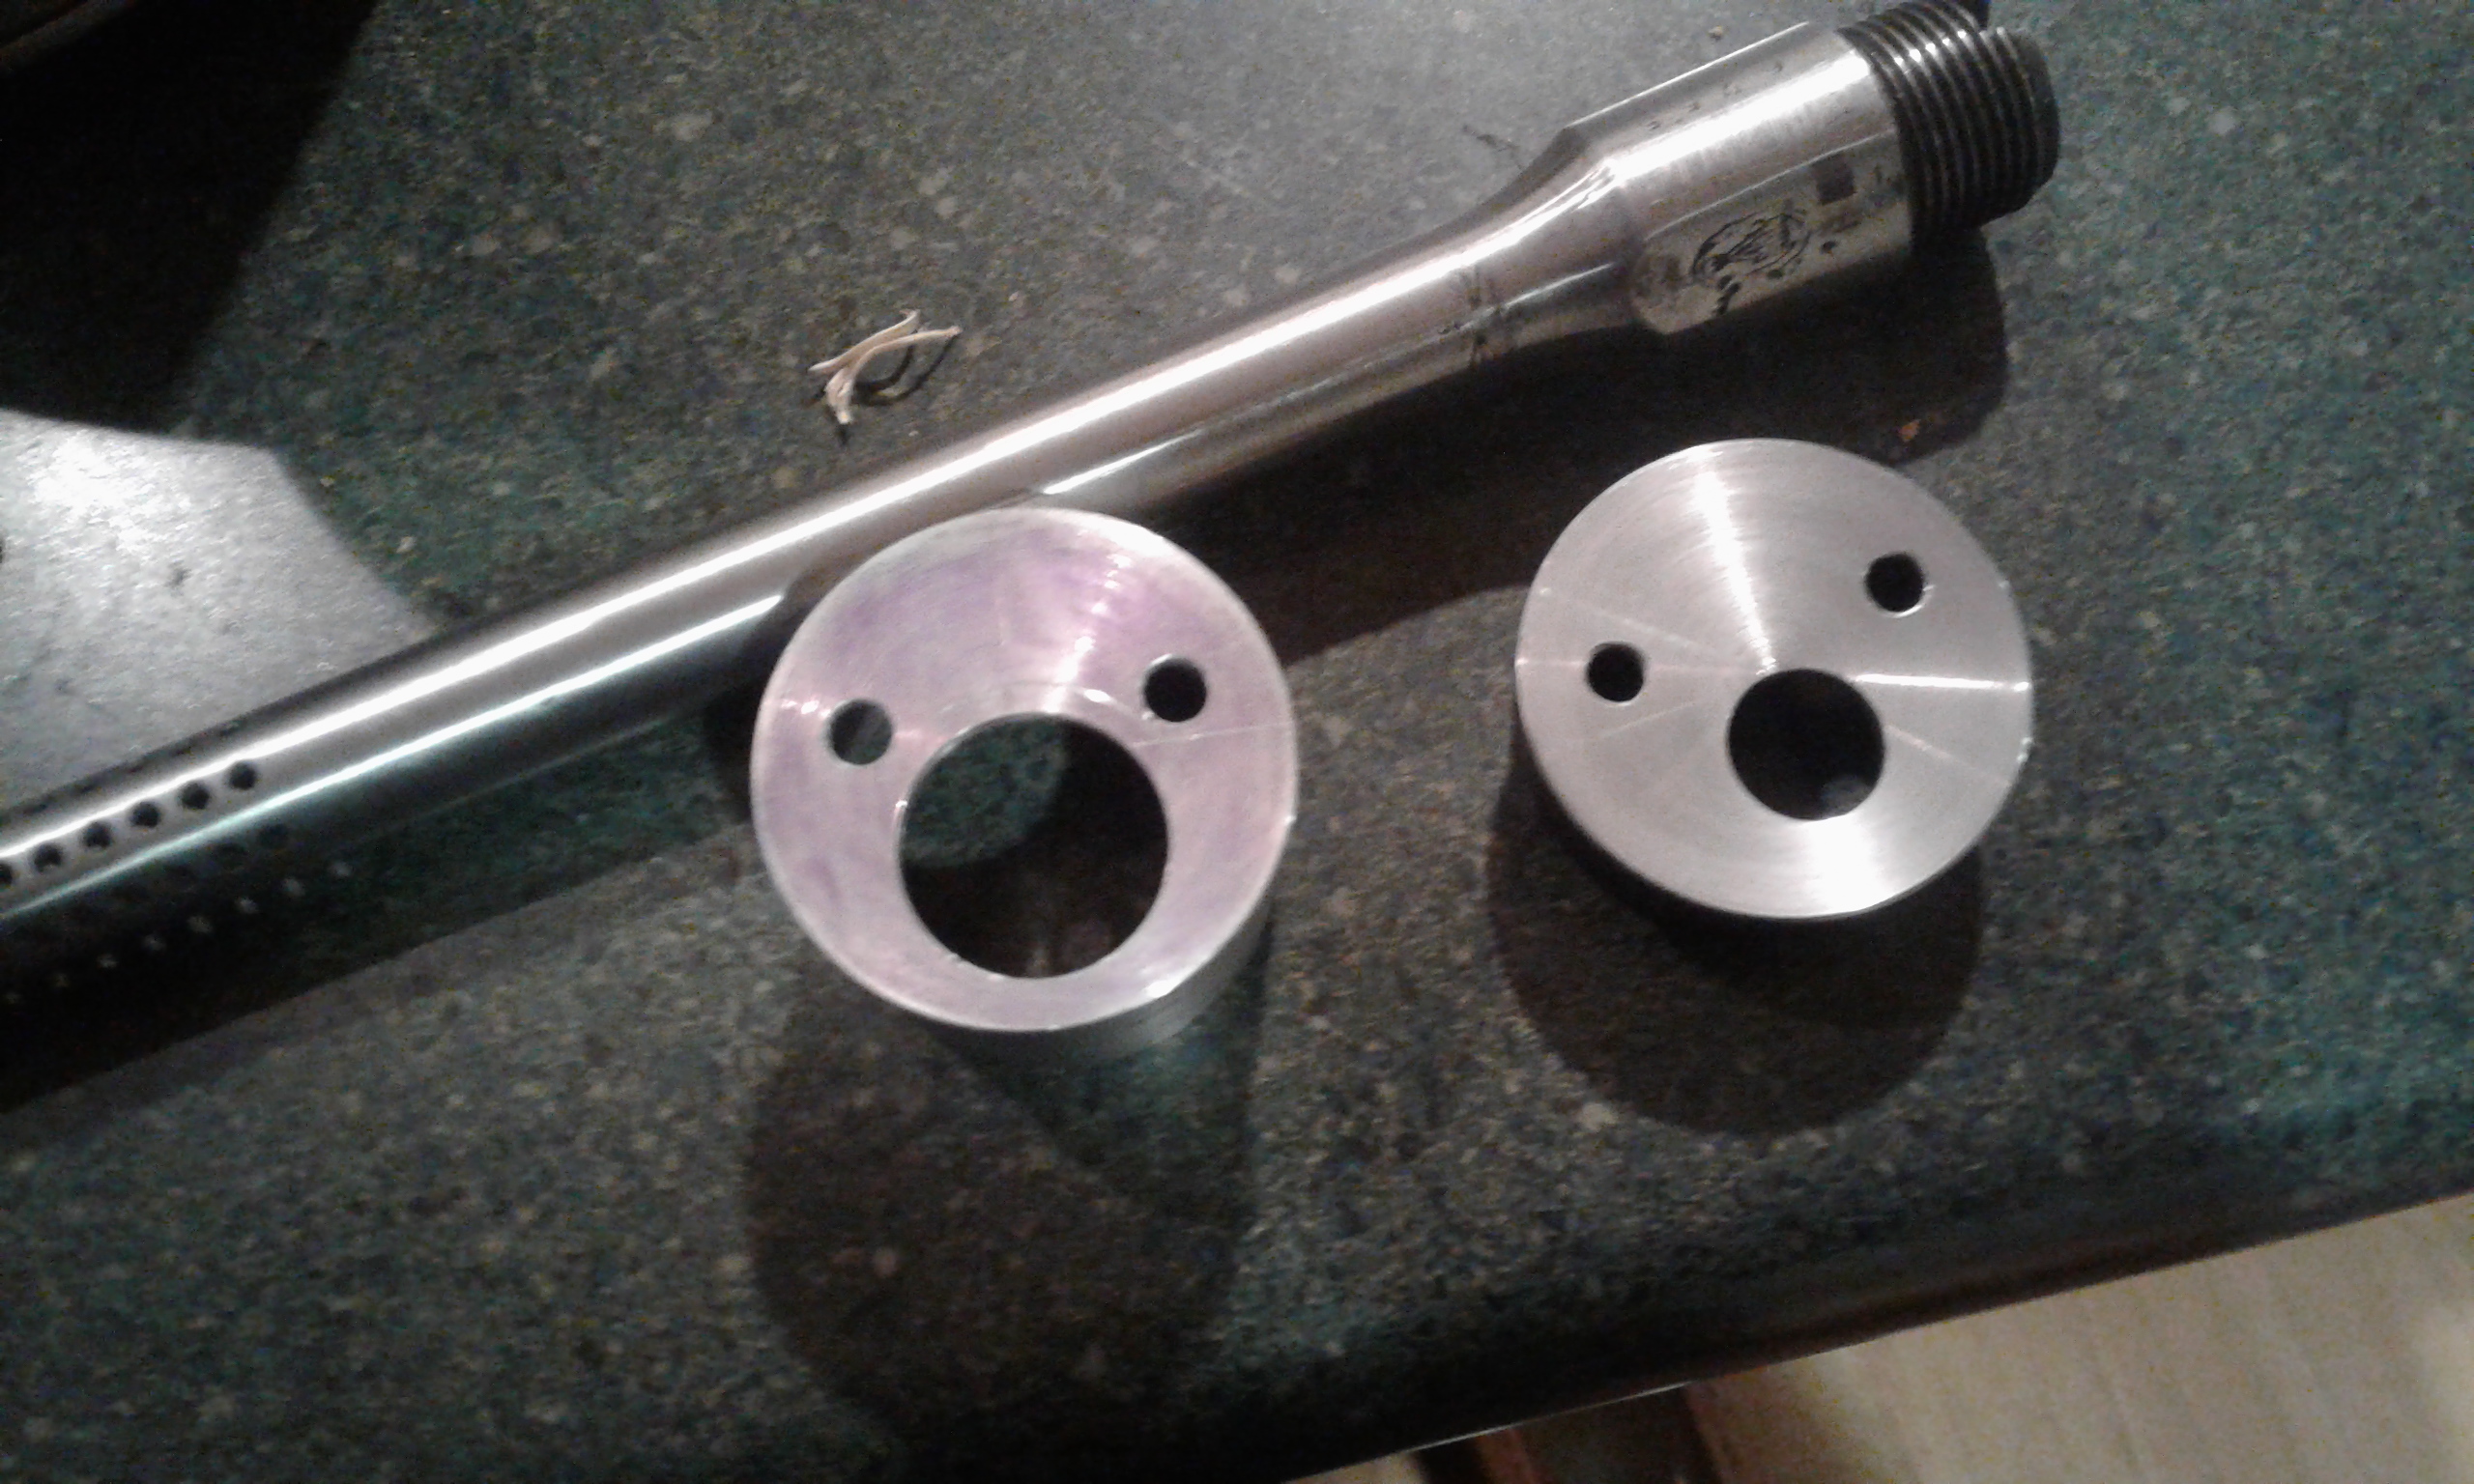
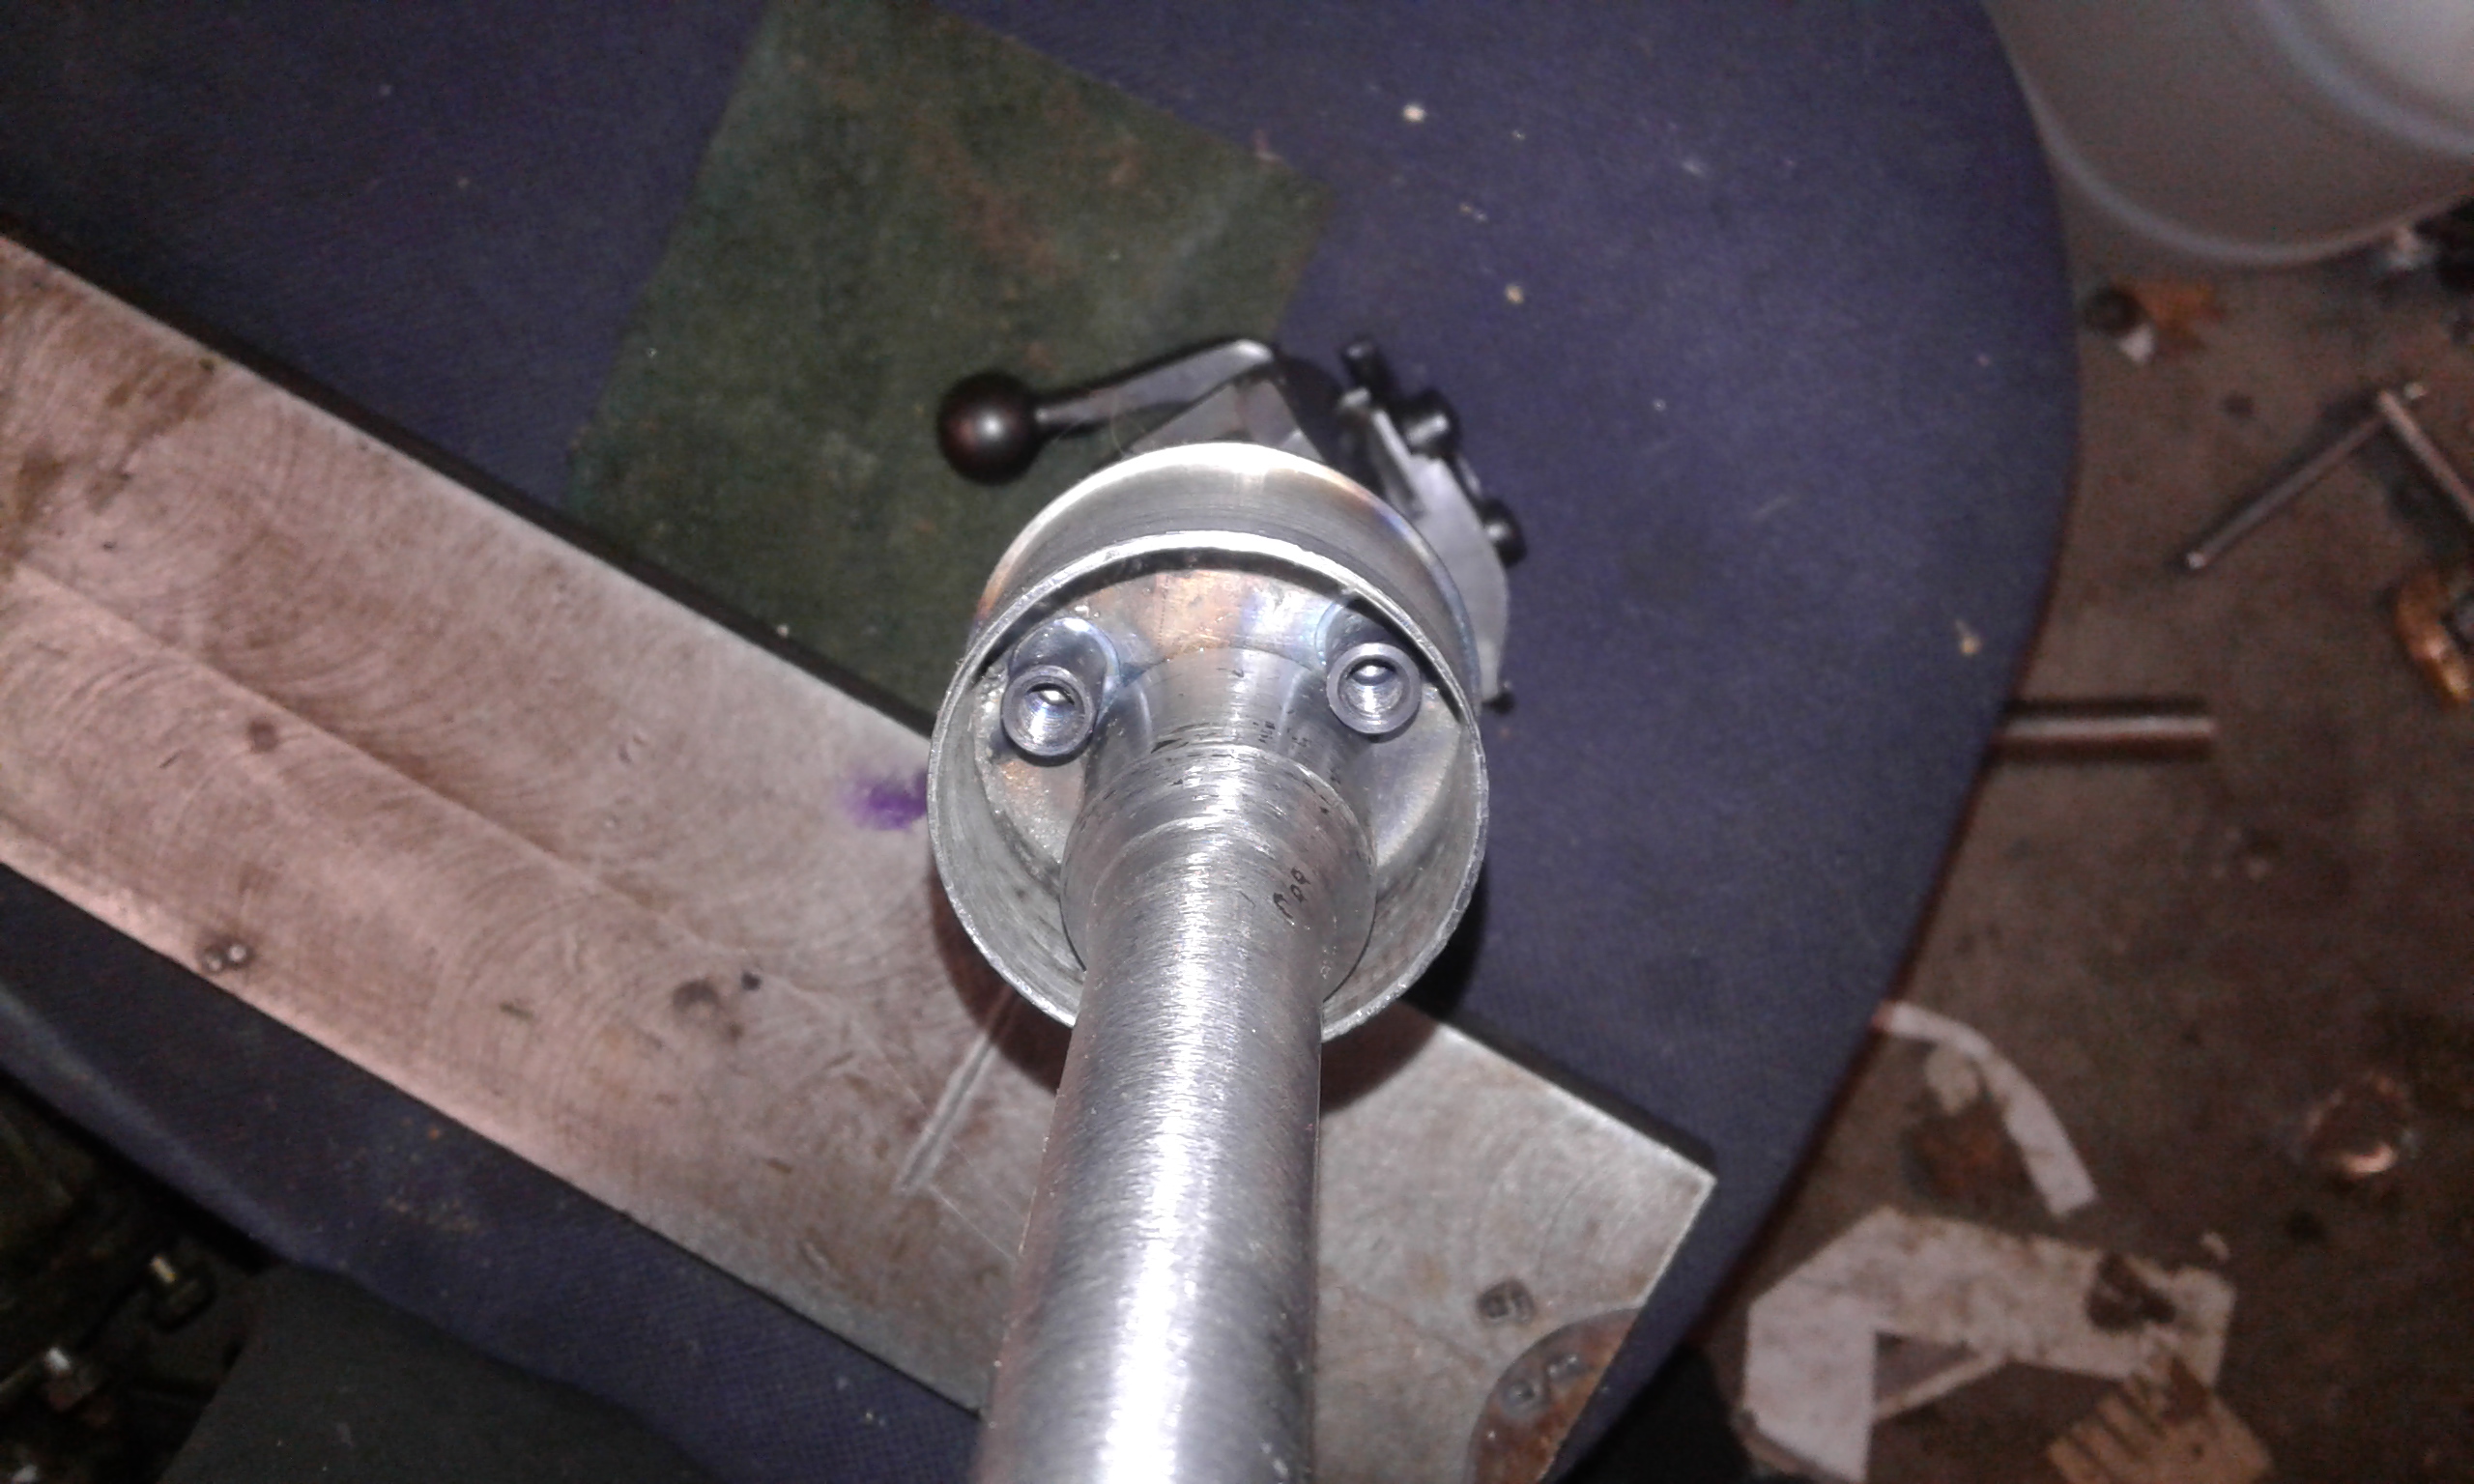
The next step was to make end caps for a suppressor, I forgot to take pictures of this but it started out with some 2" exhaust pipe and 3mm sheet, I just used a hole saw to cut out the washers, the tube had about 3mm cut out of it (the weld seam) to give a 49.5mm dia when closed up with a hose clamp, this was clamped against the washer and welded on. When they were both welded I welded them together with 4 tacks (washer to washer) so I could turn down the tube, when they were both correct I turned the washers to size (I had a bolt through the middle as well so they didnt fall apart). The front cap needed the holesaw pilot hole welded up and then was cleaned up. They were drilled as a pair (held together with a hose clamp again) for the barrel and tie rod holes. Then a couple of bosses were turned town, tapped and welded into the rear cap
-
07-06-2018, 10:16 PM #3
enjoying this so far.....end usage???? bail gun perhaps???? .45long colt will be very usefull.
-
07-06-2018, 10:21 PM #4Member

- Join Date
- Jan 2016
- Location
- Omaru
- Posts
- 565
I had a couple of fails when it came to the chamber, well the chamber reamer anyway. the first idea was to shim an adjustable reamer with some little bits cut off a feeler gauge, this would have kind of worked except the nut on the end of the reamer is too big to cut the chamber to length... next try was to make a reamer, basically I skimmed a bit of silver steel and then put a dial gauge in the tool post and adjusted the compound slide until I got the taper I needed along the length. The first 2 goes I cut just a little bit too much on the last pass, 3rd time lucky. As I dont have a mill I shimmed my special tool post drill to the right height and cut six flutes along the length (this time it was locked up even more by using a chuck in the tail stock as well) this was pretty risky as the cutter is another Aliexpress special and carbide, that said I have used mills that were less stiff than this setup and it actually worked really well. That is until I tried hardening it and it turned into a banana. Next attempt was to use one of the under size bits and just cut the last 10mm of the chamber and the forcing cone, this one had three flutes and was tapped in the end. When I heat treated this one I screwed it onto a bit of threaded rod and held it in the drill while I was heating it and quenching it, it worked, not pretty though, I used the adjustable reamer to do the rest of the chamber
Looked goo before it turned into a banana
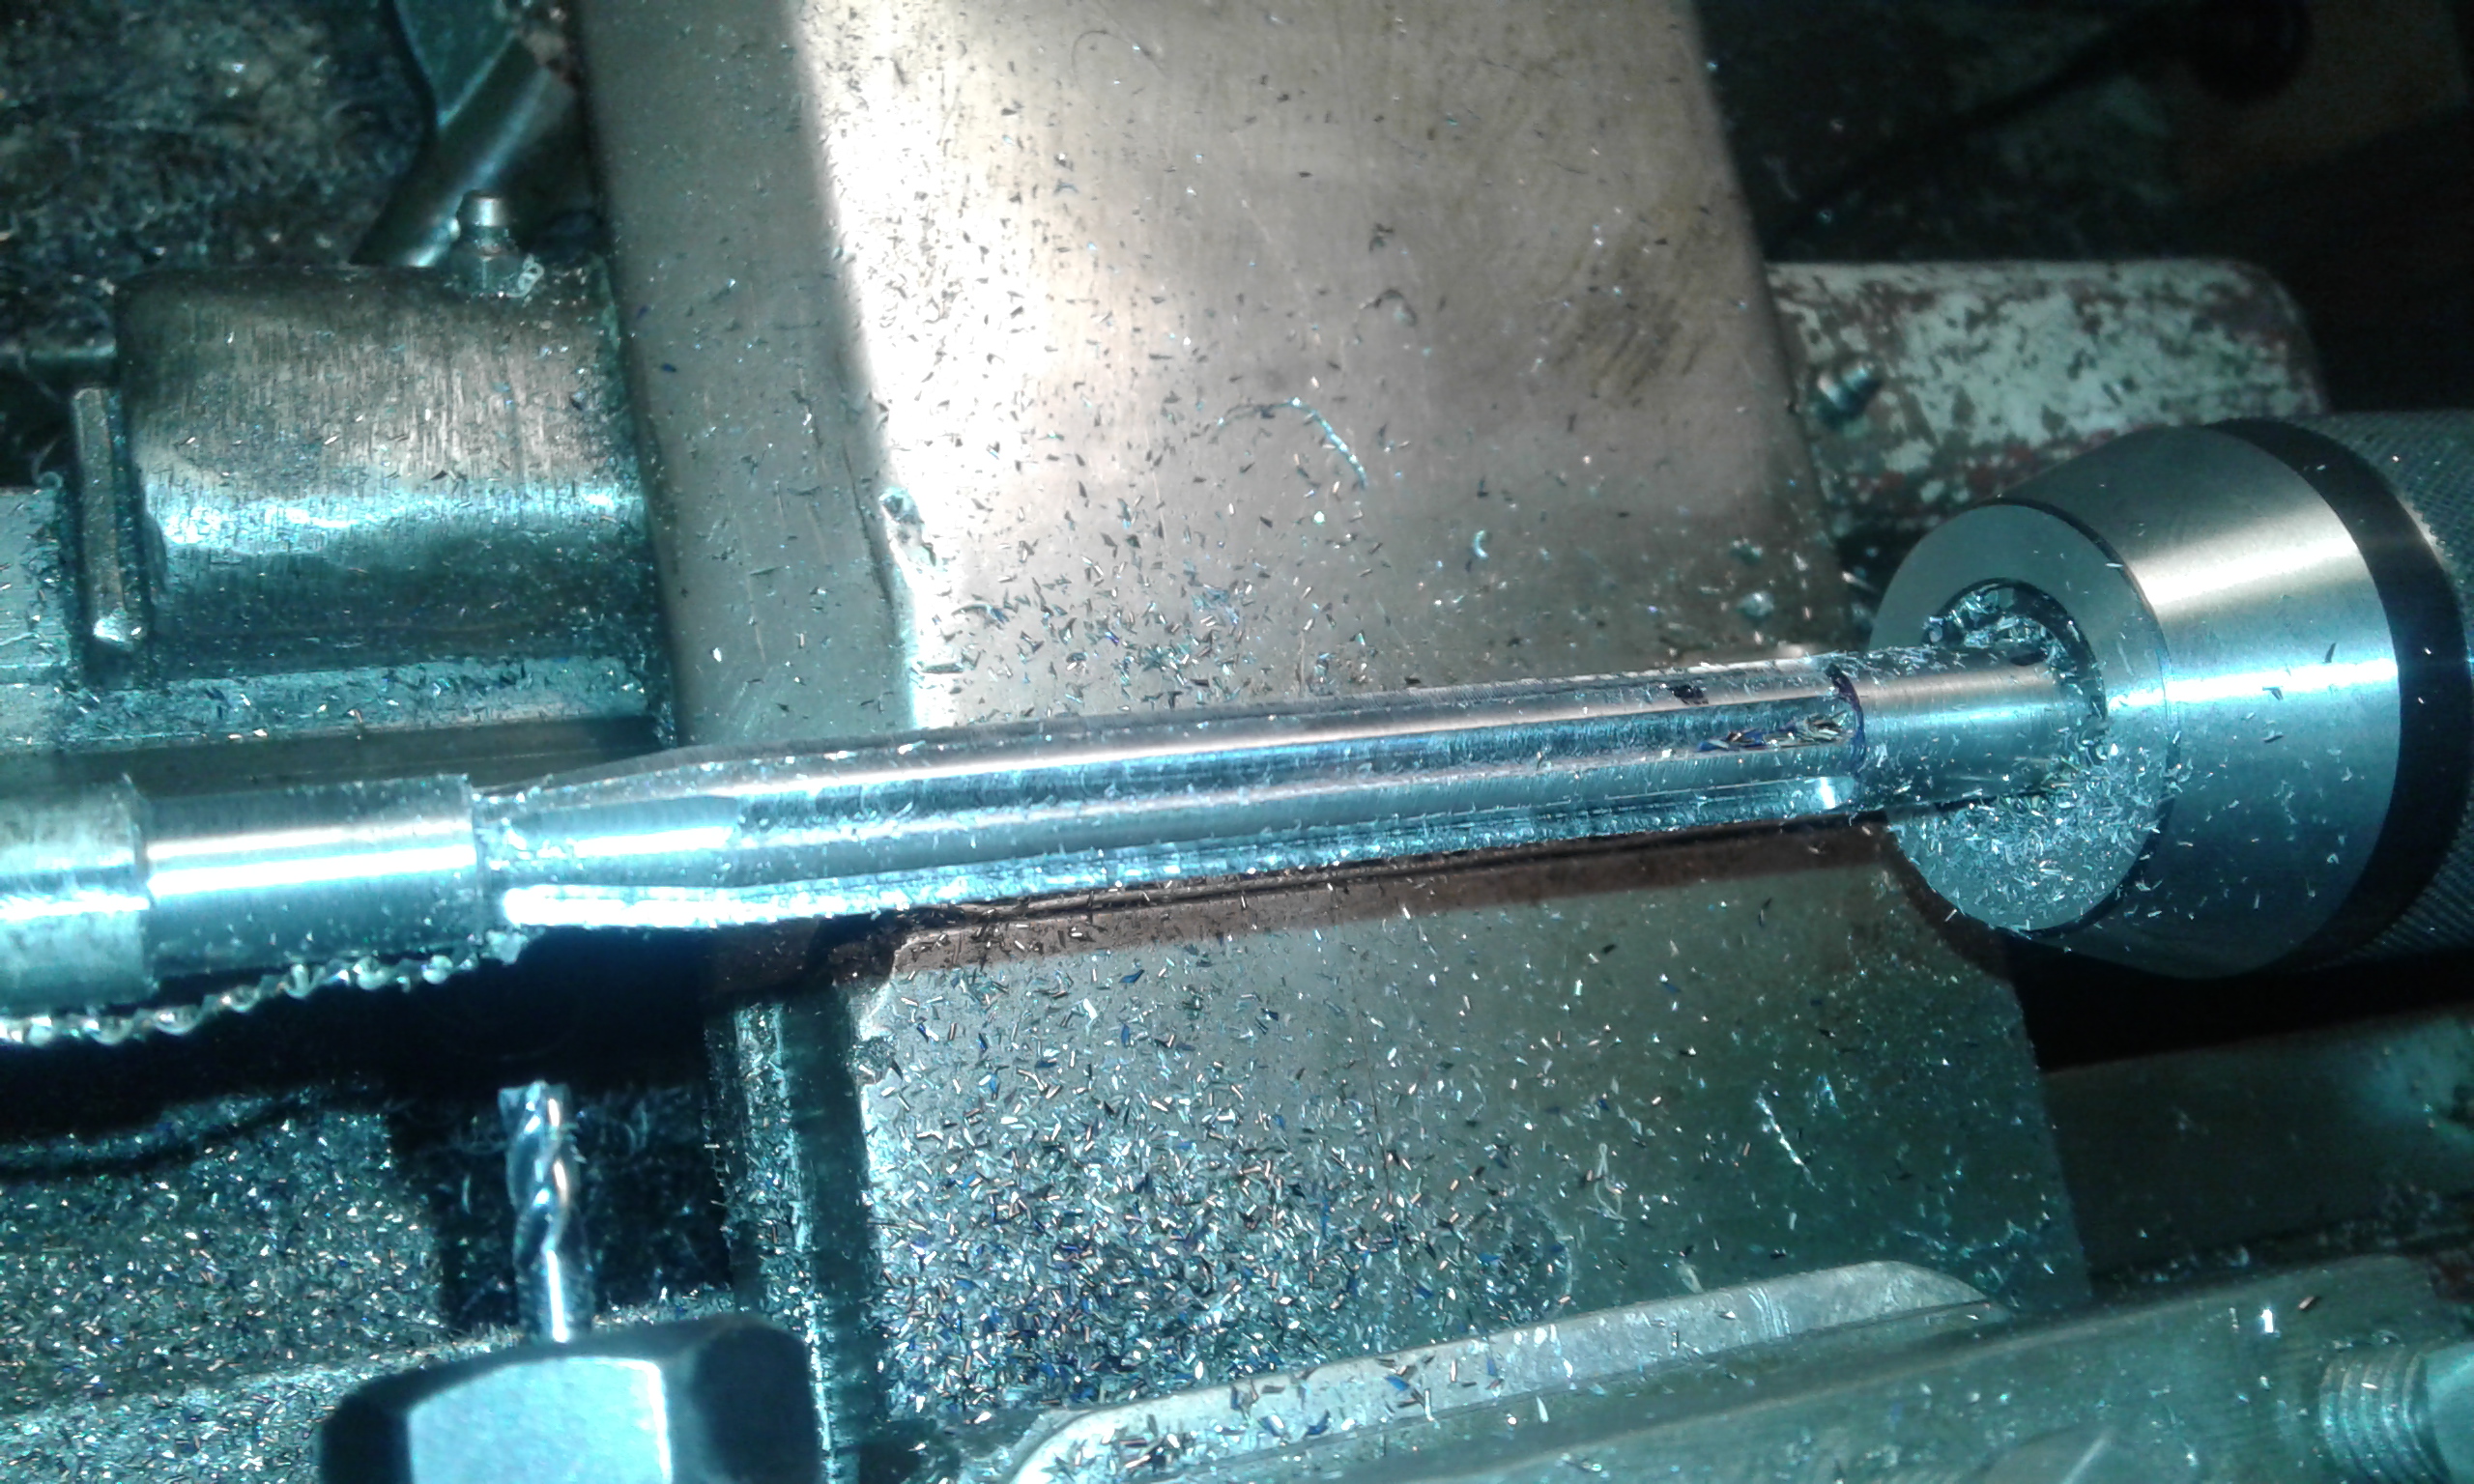
This one did the trick

-
07-06-2018, 10:27 PM #5
you can get away without any difference between chamber and barrel with .410........ know this for fact as have made up redneck insert for .12ga with piece of pipe the right diameter set into a reemed out .12ga cartridge...the basic steel chamber inserts that are 3" long work and shells are fine to reload but pressure/velocity is low.... but looks like you know what your doing so will shut up and let you get on with it....
-
07-06-2018, 10:27 PM #6Member

- Join Date
- Jan 2016
- Location
- Omaru
- Posts
- 565
End usage so far is having something that is more interesting to do than watch tv in the evenings, Im only putting it up now because I have a cold and dont feel like welding that shitty exhaust tubing tonight.
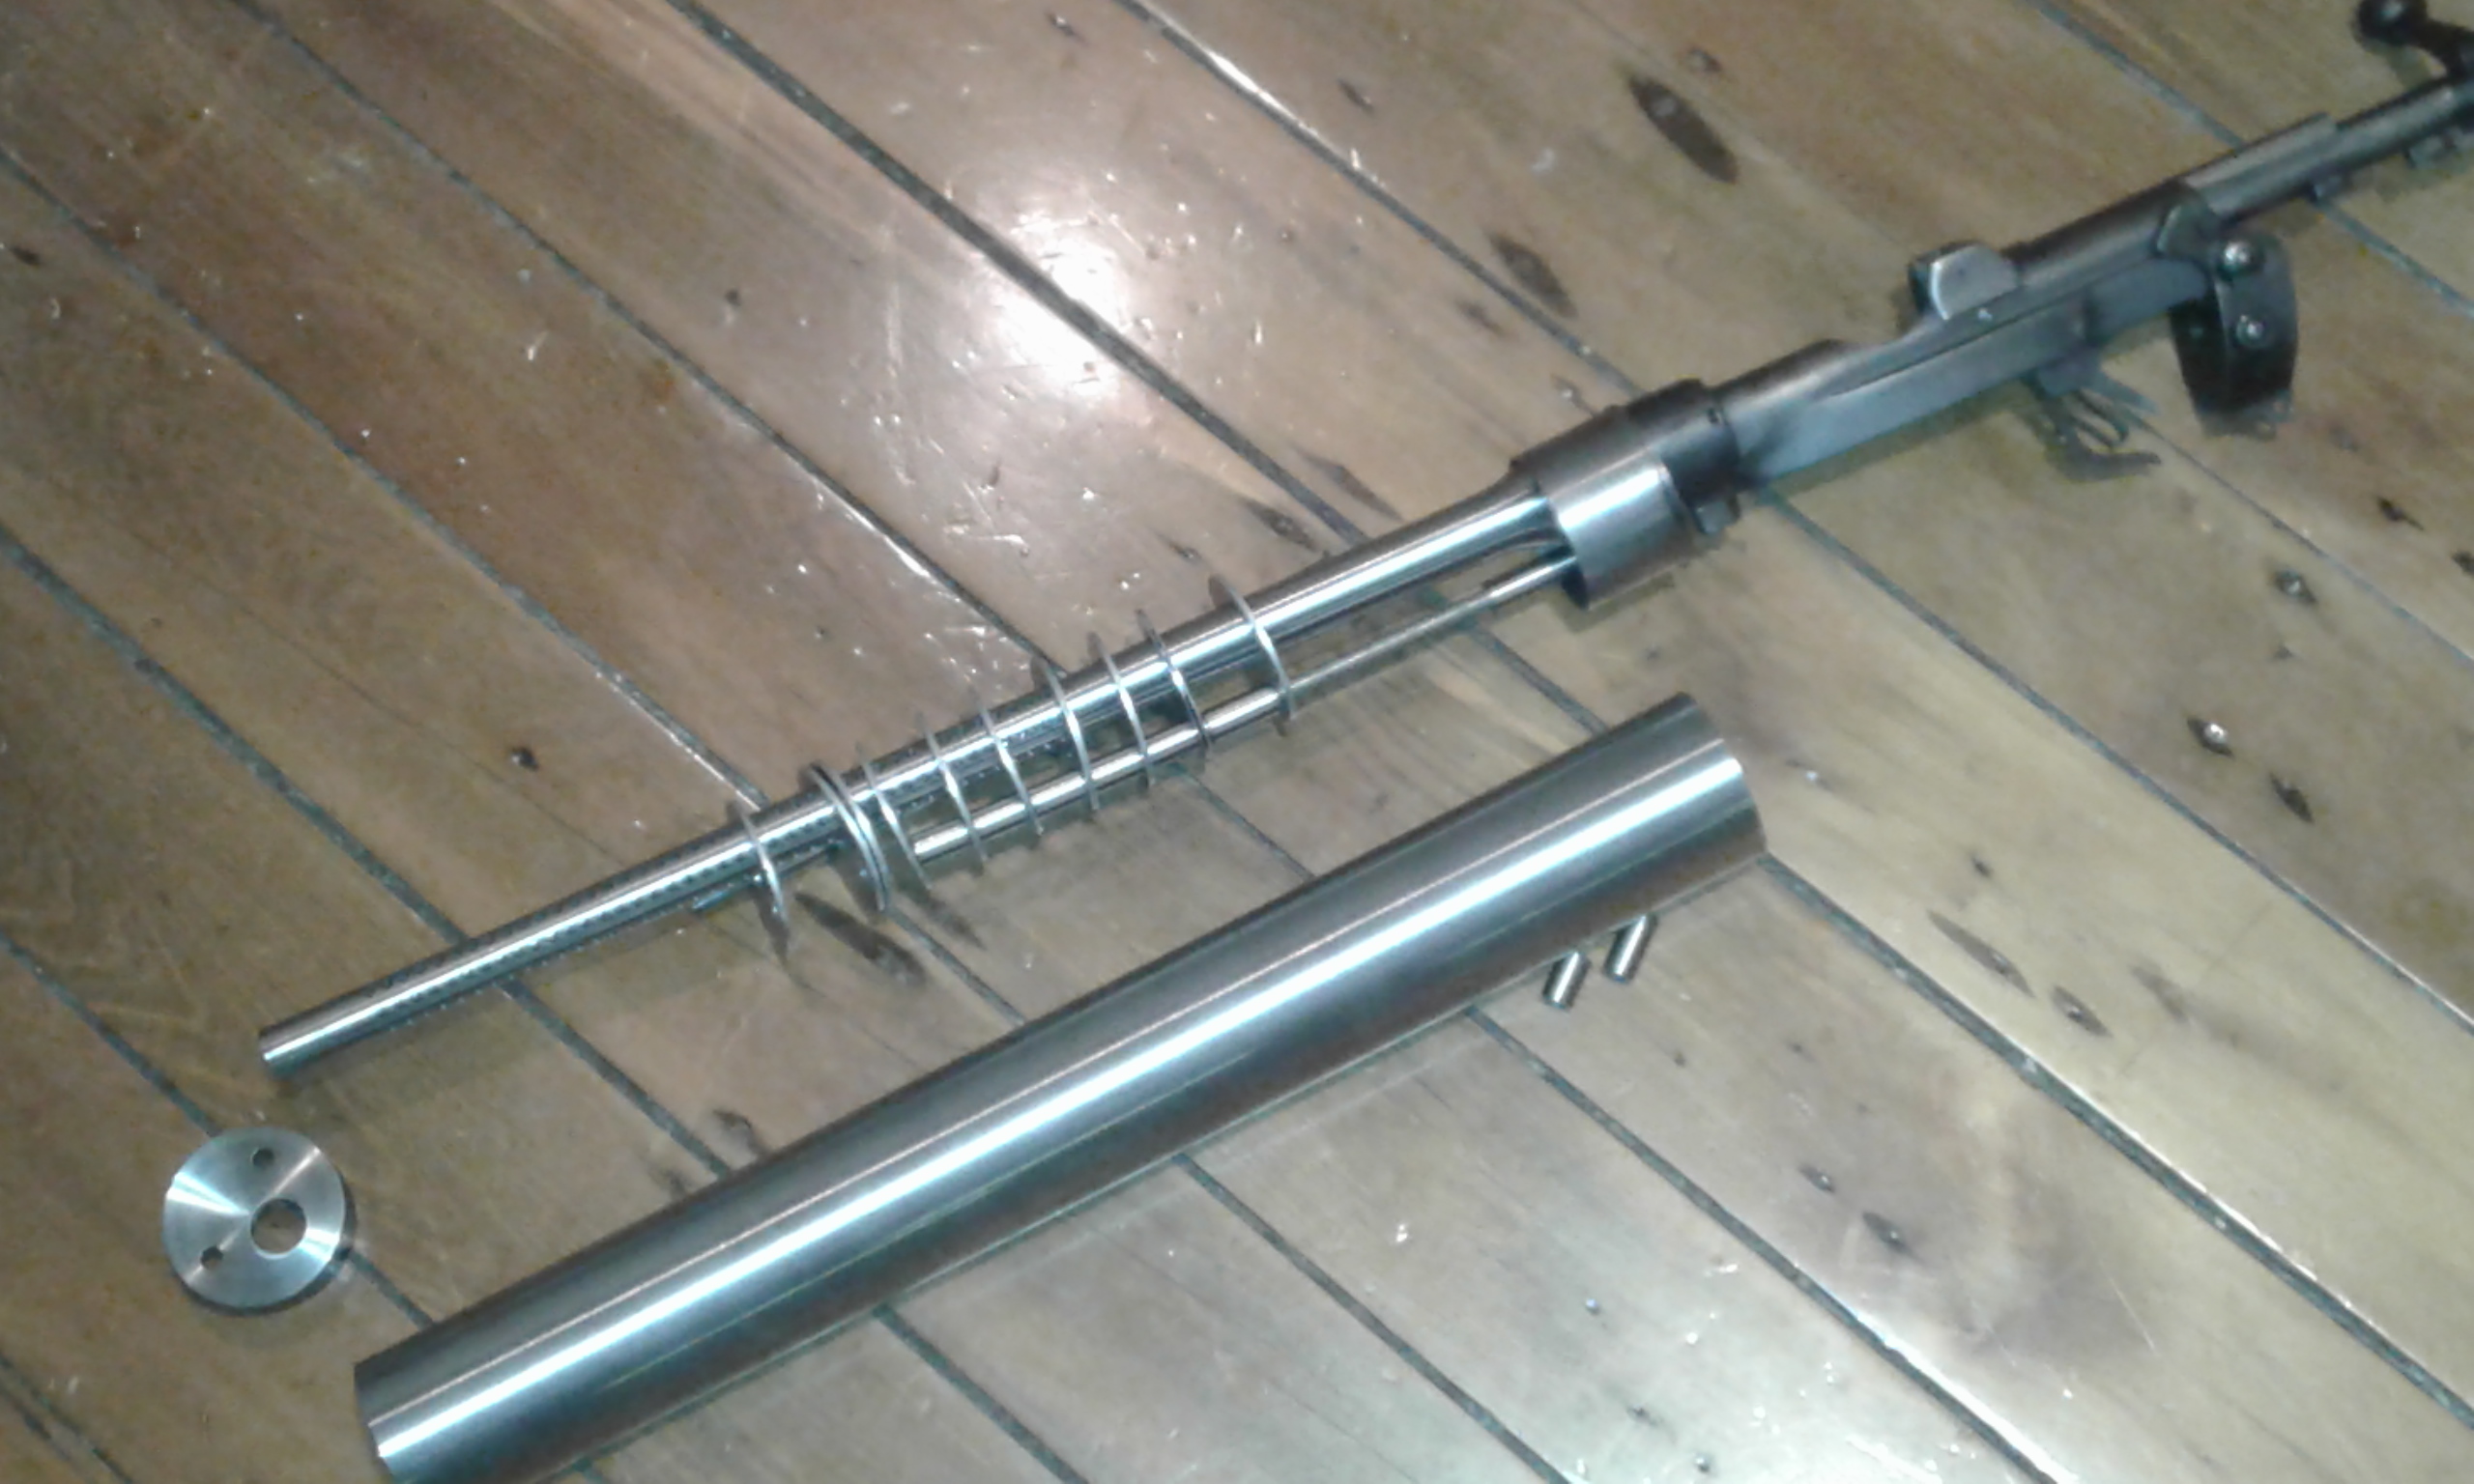
I probably should have said it is intended to look a bit like a Delisle carbine, I do need to take some better pictures though
-
08-06-2018, 05:47 PM #7Member

- Join Date
- Jan 2018
- Location
- kaiapoi
- Posts
- 7,366
good stuff and very interesting
-
09-06-2018, 11:16 AM #8
-
09-06-2018, 11:50 AM #9
How to squeeze the last bit of life out of a SMLE. A real worthwhile project.
Good luck getting the magazine to feed.
Scratch some ineffectively shallow rifling into the barrel so you can use it on DOC land with .45 Colt / .410 slugs.An itch ... is ... a desire to scratch
-
10-06-2018, 08:33 PM #10Member

- Join Date
- Jan 2016
- Location
- Omaru
- Posts
- 565
-
10-06-2018, 08:48 PM #11Member

- Join Date
- Jan 2016
- Location
- Omaru
- Posts
- 565
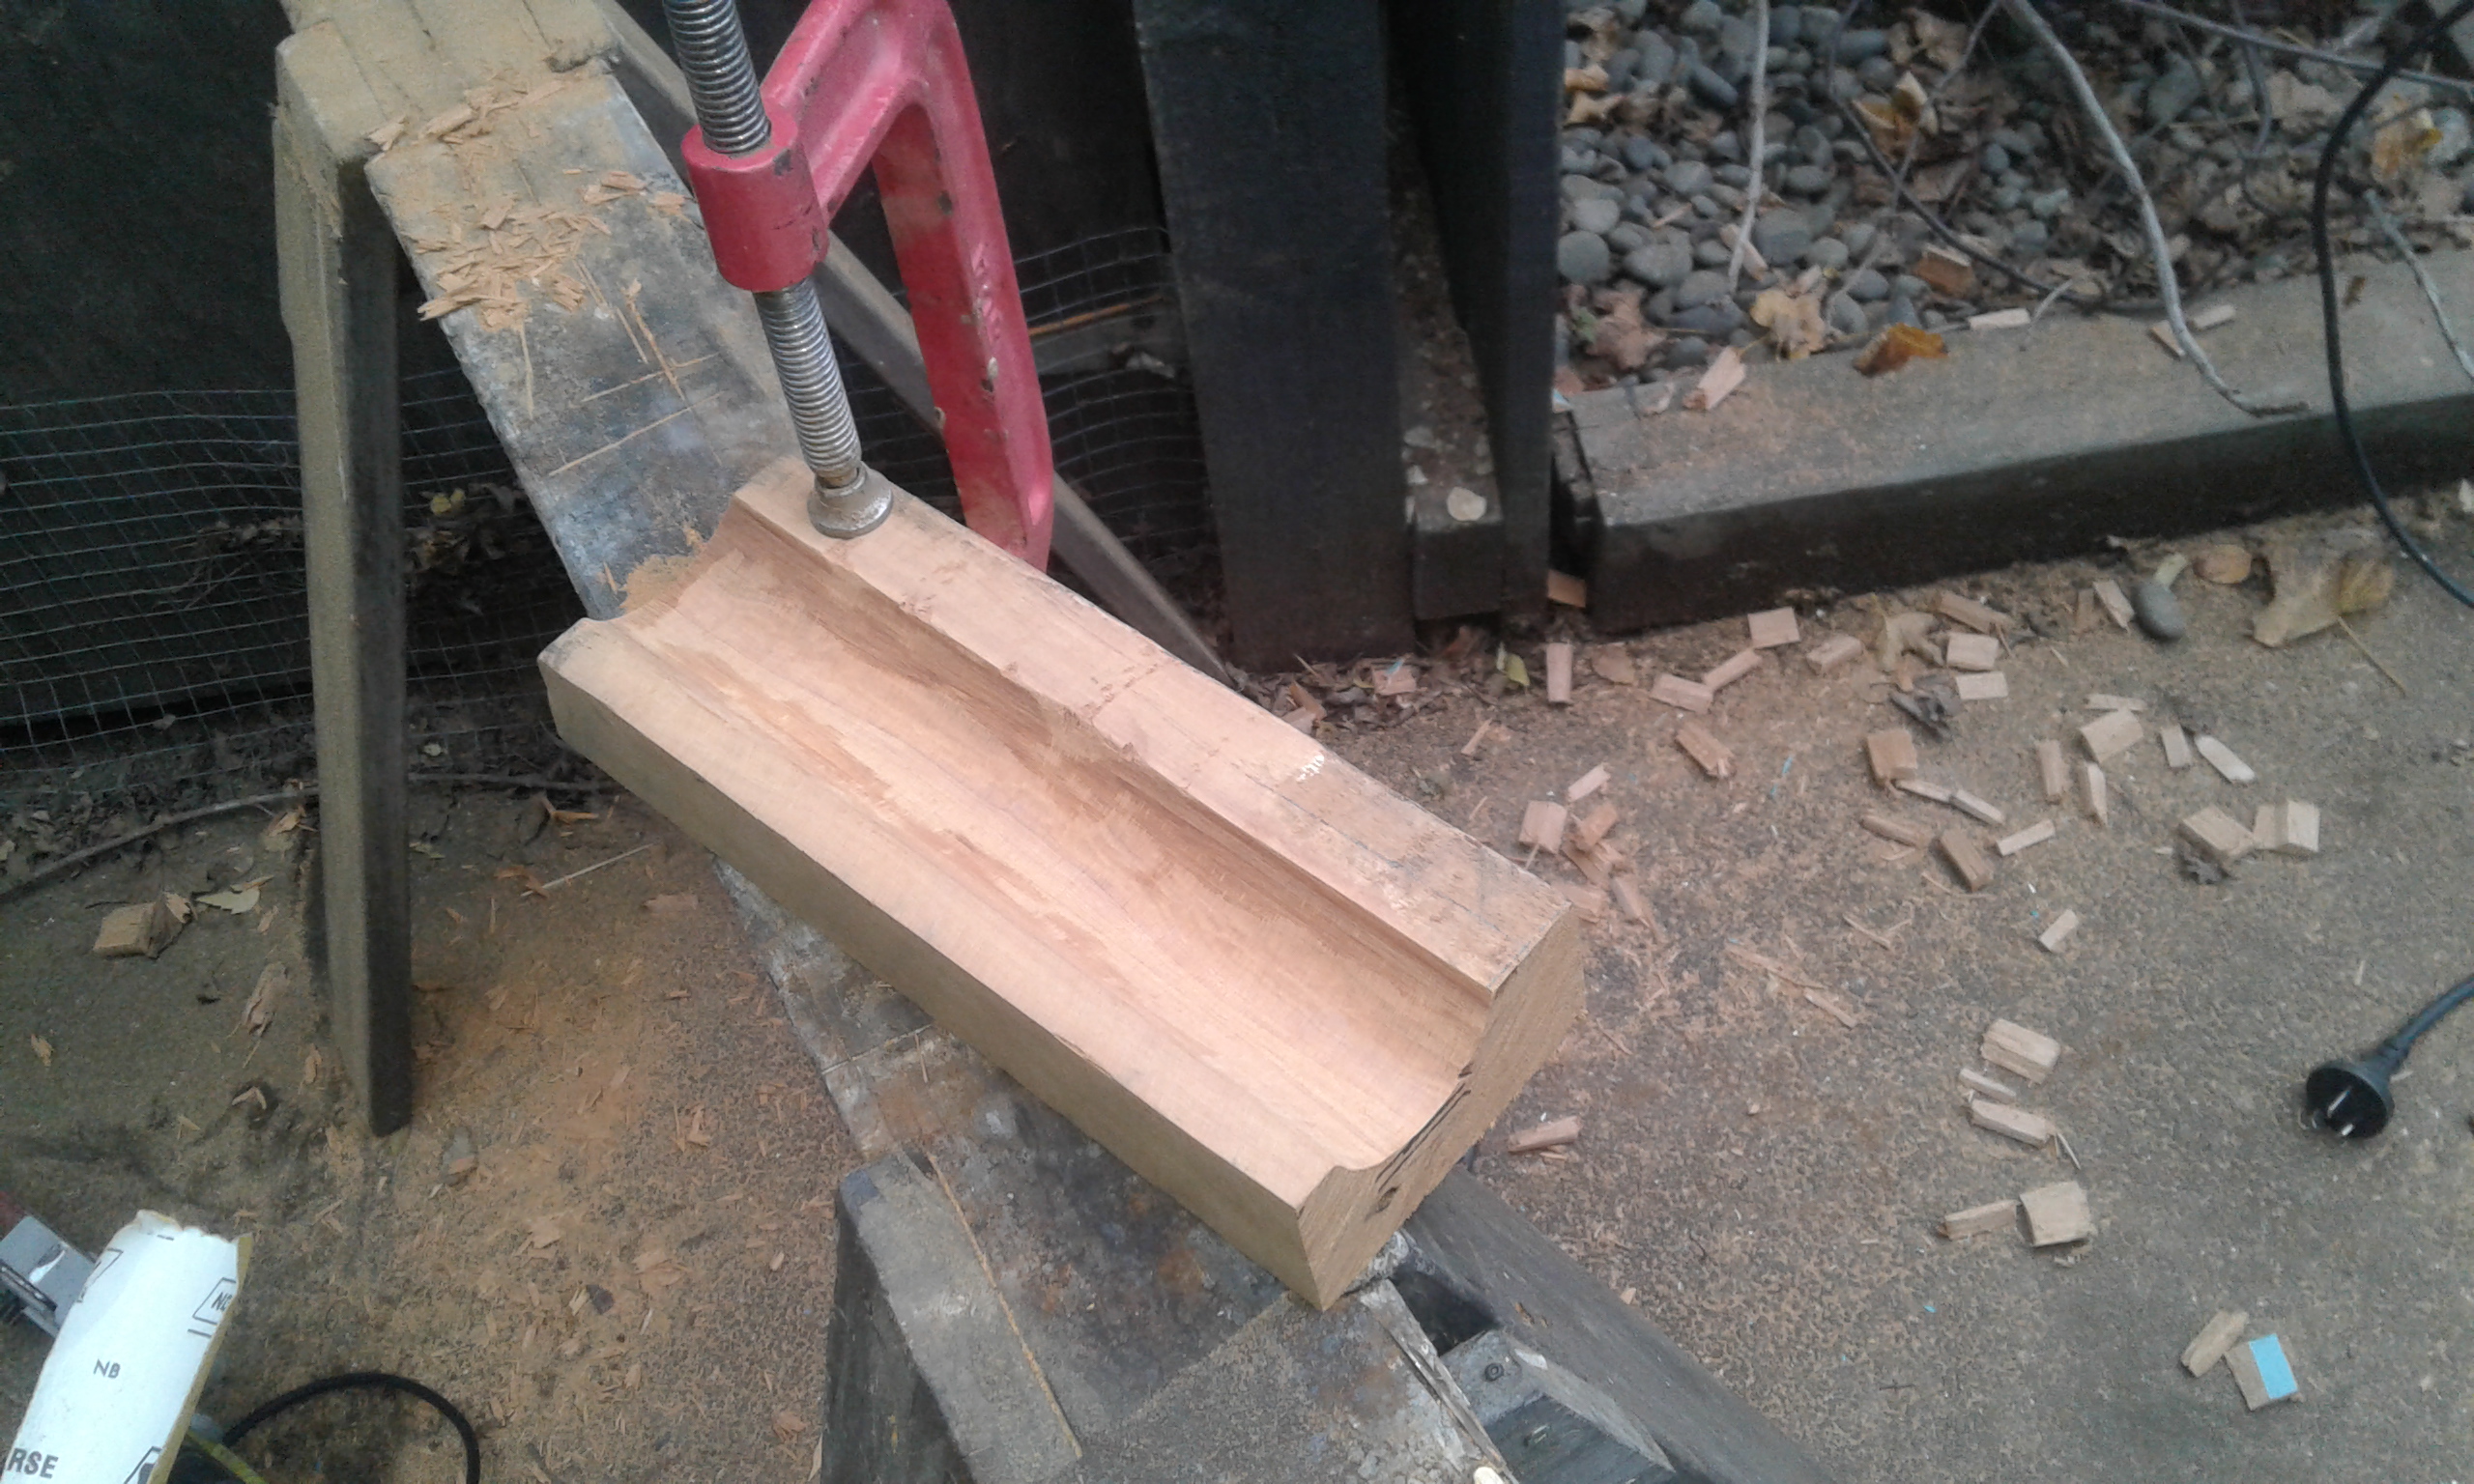
So I started on the front wood today, Im not the best at woodworking... Anyway due to lack of a suitable bit of wood Im going to use Rimu, a bit of an old stud. To start with I tried cutting the channel with a hole saw but I couldnt get it deep enough (the drill hitting the rest of the wood) and didnt want to cut the hole saw and weld it back together. Second go I cut a slot along the top and attacked it with a hammer and chisel, followed by power file and sand paper wrapped around the suppressor tube to find the high spots. I didnt get it too smooth as the plan was to glue some fibre glass in there to try and stop it cracking (as Rimu does)
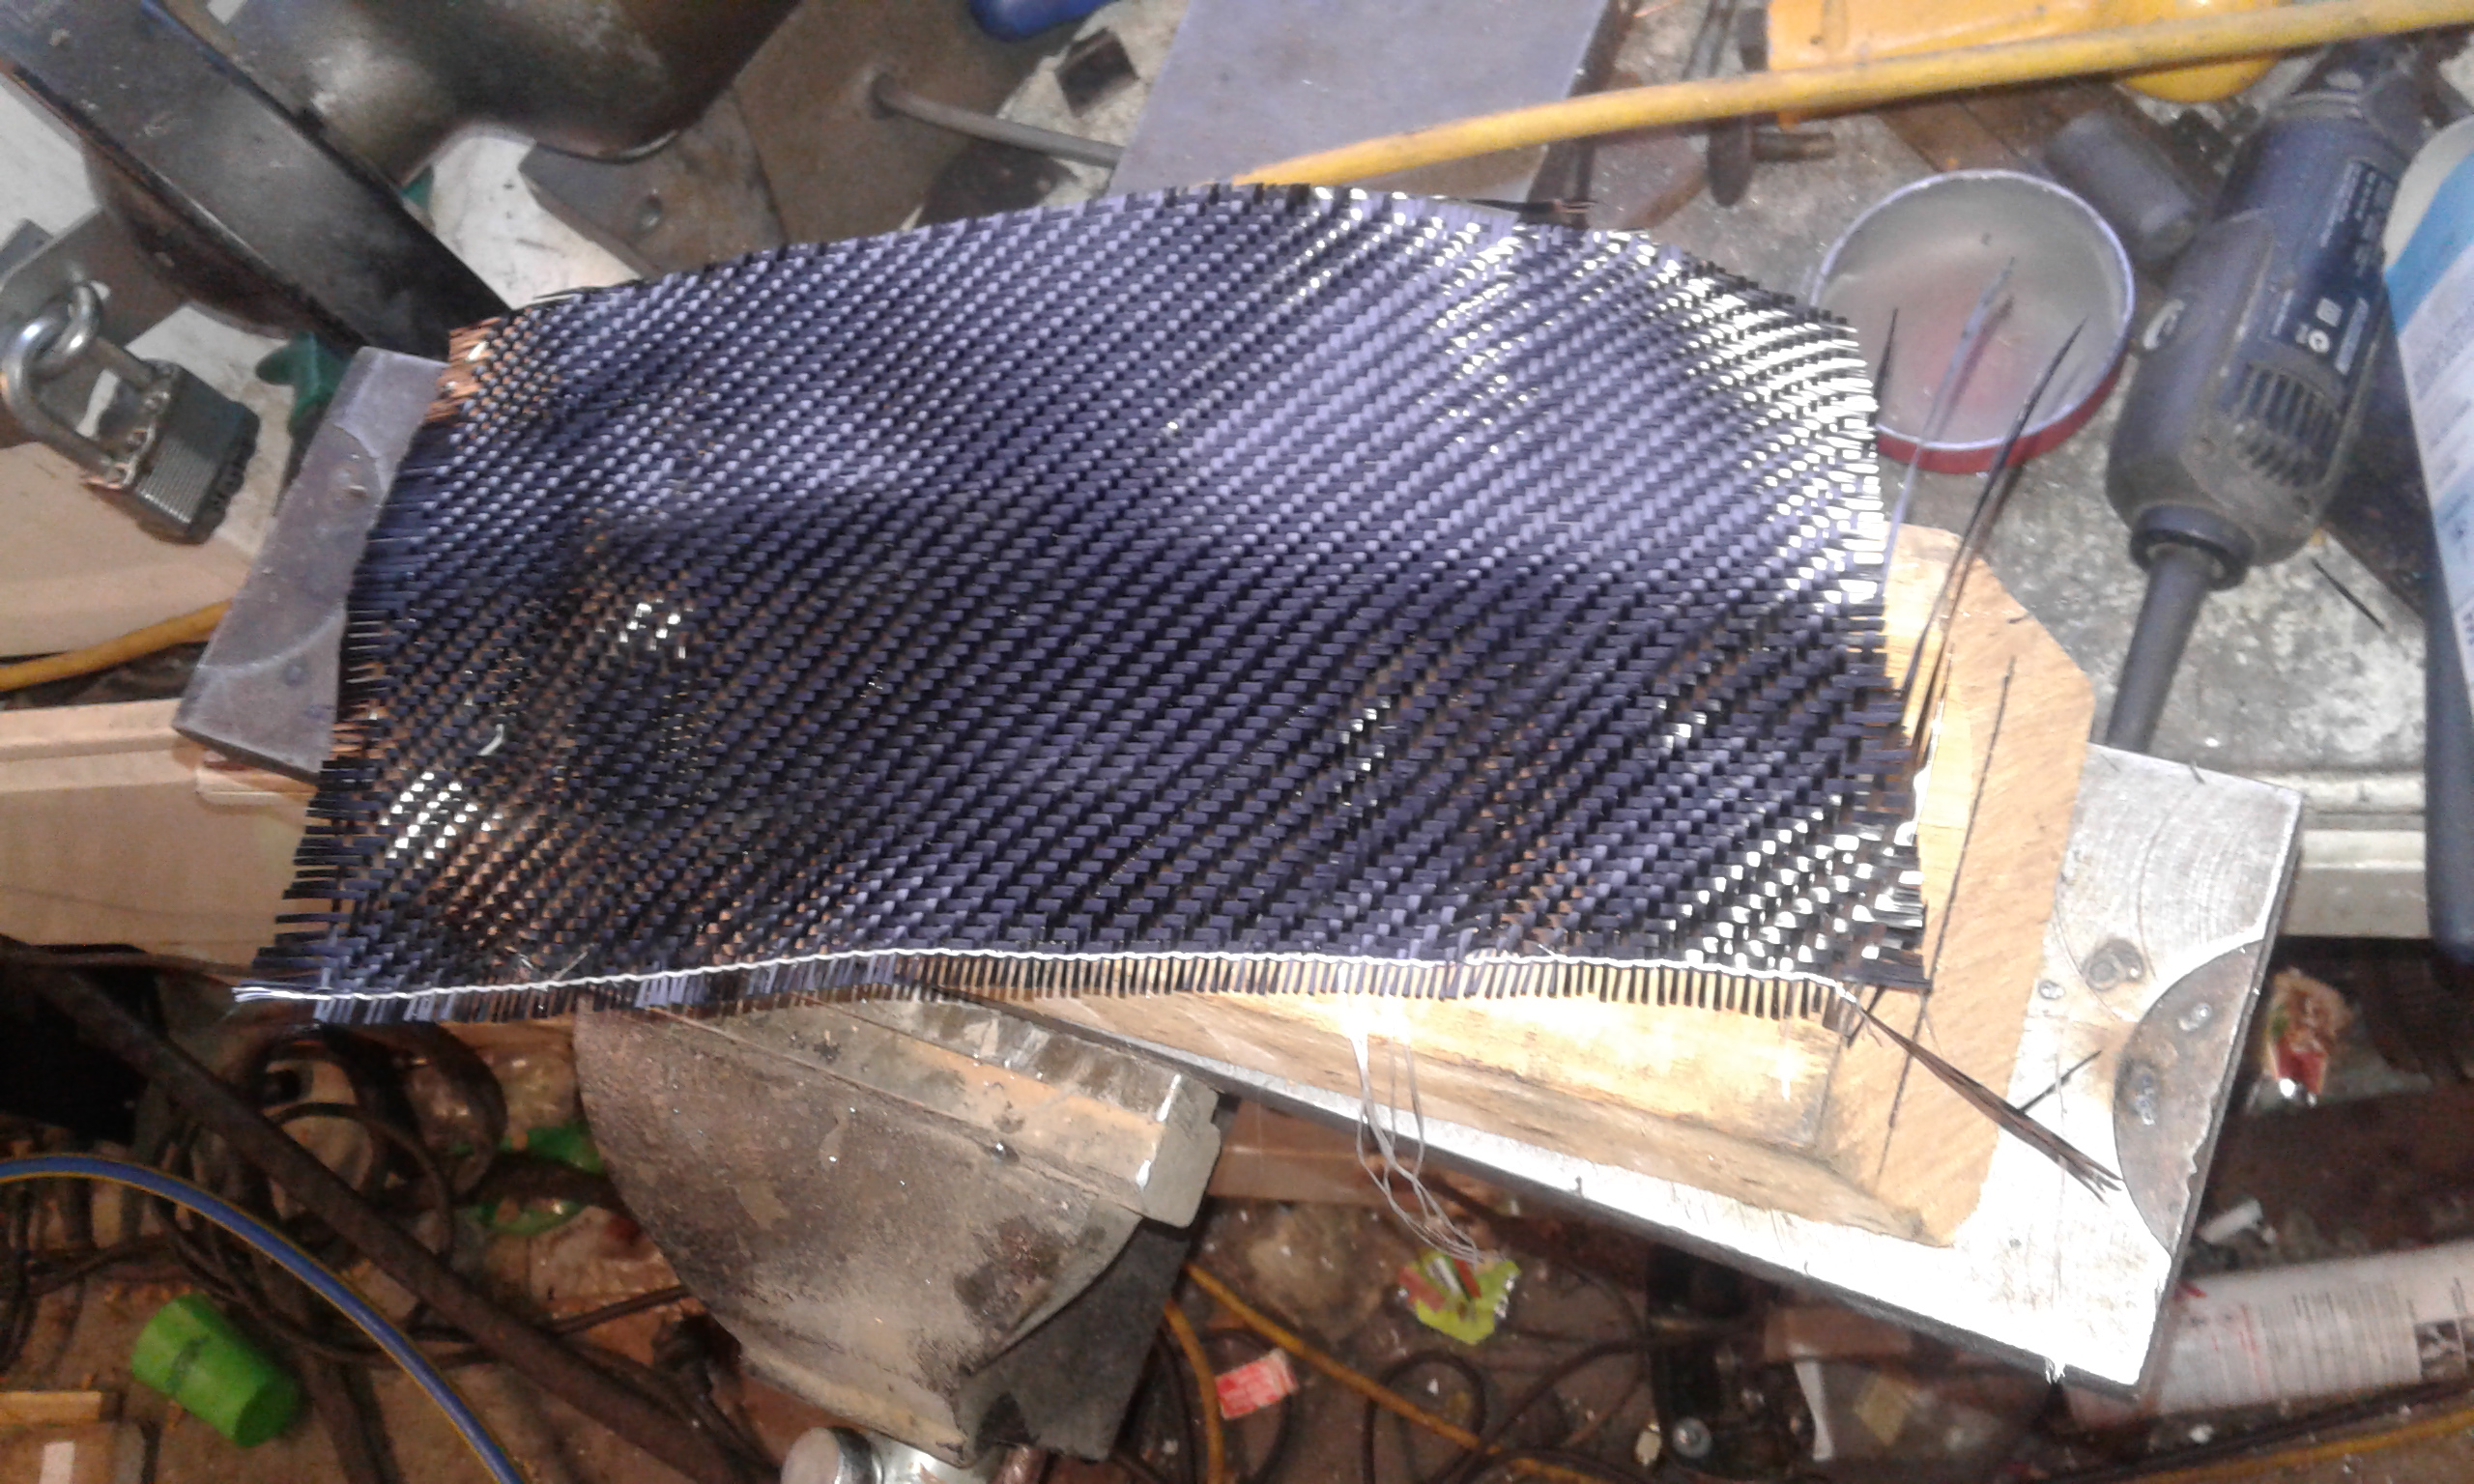
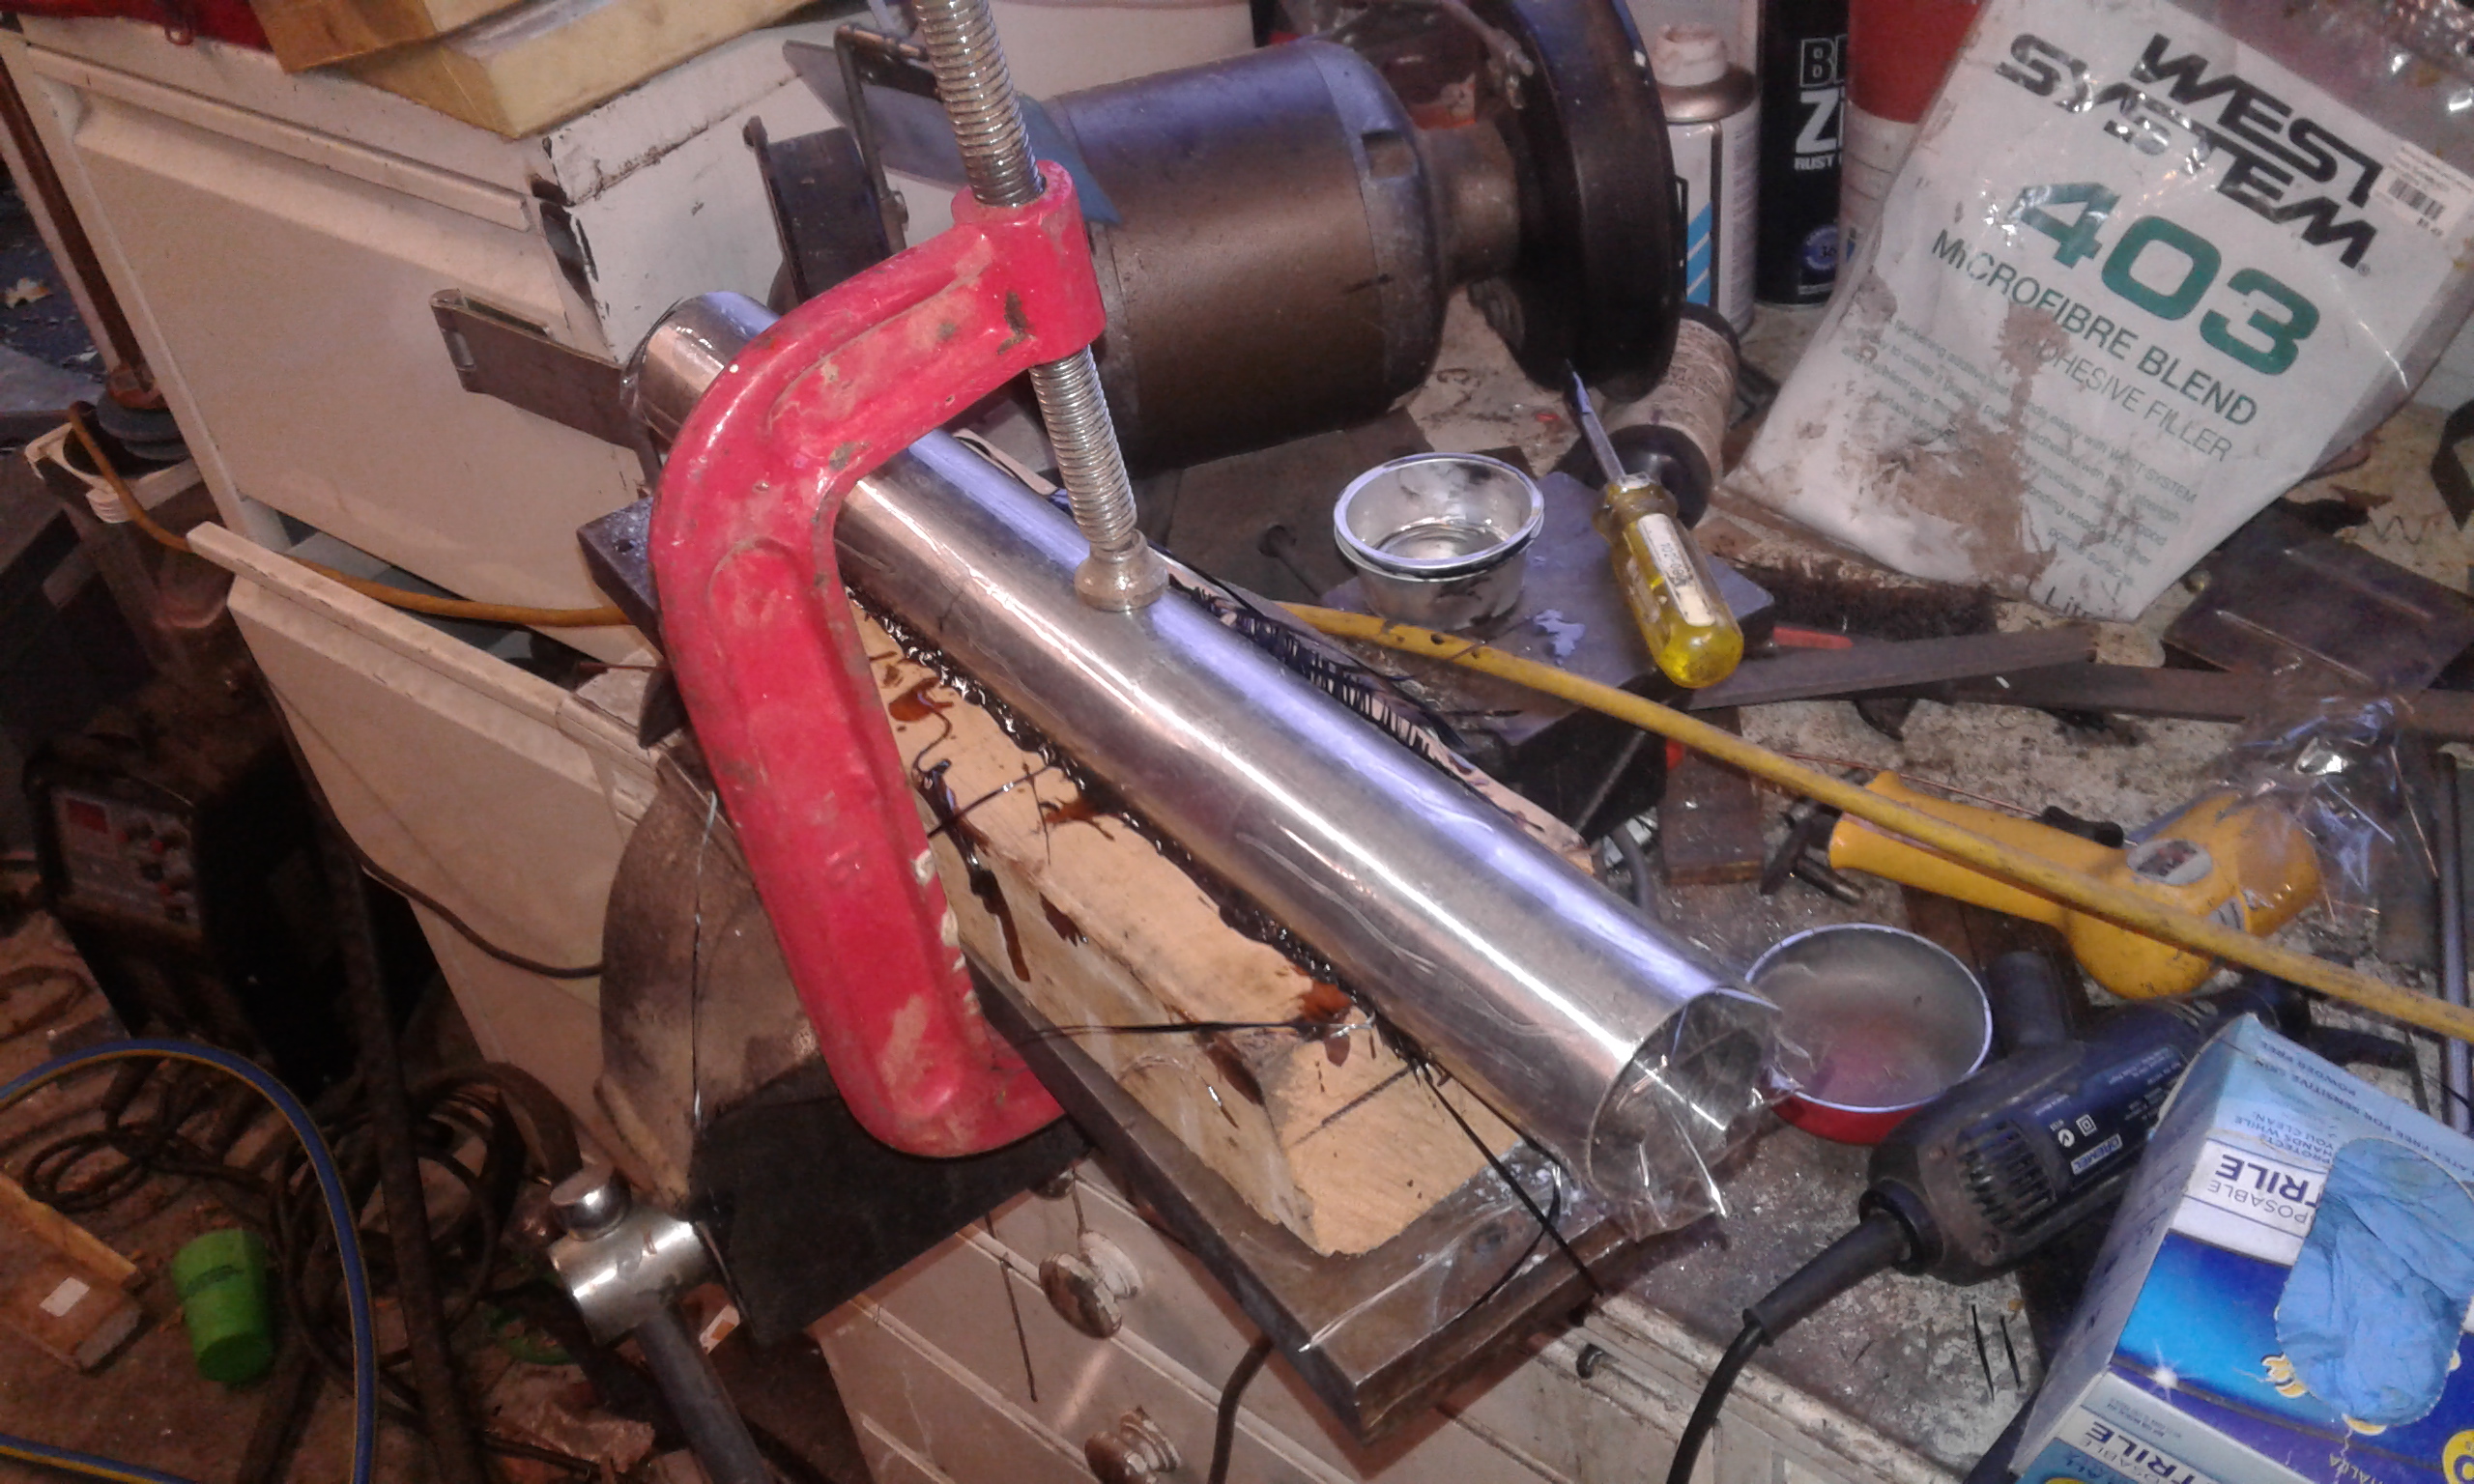
Unfortunately I couldnt find my bag of glass and didnt have much time so it ended up with carbon instead. There were a couple of steps to the gluing, once the epoxy was mixed I painted a layer onto the wood in the channel and wet out the carbon on a sheet of plastic, then I mixed the remaining epoxy with an adhesive filler and spread that into the channel (most of the neat epoxy had soaked in to a degree), then the carbon was placed onto it and clamped down with the suppressor tube. A lazy release agent is packaging tape.
-
10-06-2018, 08:56 PM #12Member

- Join Date
- Jan 2016
- Location
- Omaru
- Posts
- 565
Then there is a couple of bits without pictures, If I was going to do it again I would drill and ream the barrel before porting it and just clean off the burrs with emery tape, having the holes makes it very difficult (probably impossible) to ream a nice clean hole. I think I would also have the porting holes in a spiral pattern instead of straight to try and keep everything round when using abrasives.
What I have also done is ream the barrel from the chamber to 30mm from the sharp end with an adjustable reamer, the pointy end measures .406 while the rest is upto .408 and I still have to clean it up with emery tape.
-
10-06-2018, 11:18 PM #13
@Chilli_Dog
I love this thread. Cobble it together as you go, just get it working, don't bother watching MidwayUSA fancy looking gunsmithing tricks on YouTube.
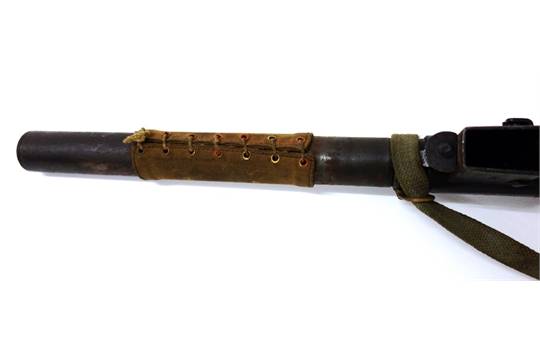
A full-length overbarrel suppressor will save you a lot of hassle with that wooden stock - wrap some canvas round the rear end of it like on a Sten Mk IIS and it will handle just fine. And look cool. Don't even need the eyelet holes or string, just wrap some sacking and a line of wood glue to stop it unrolling.
Keep posting (-:
 An itch ... is ... a desire to scratch
-
17-06-2018, 09:34 PM #14Member

- Join Date
- Jan 2016
- Location
- Omaru
- Posts
- 565
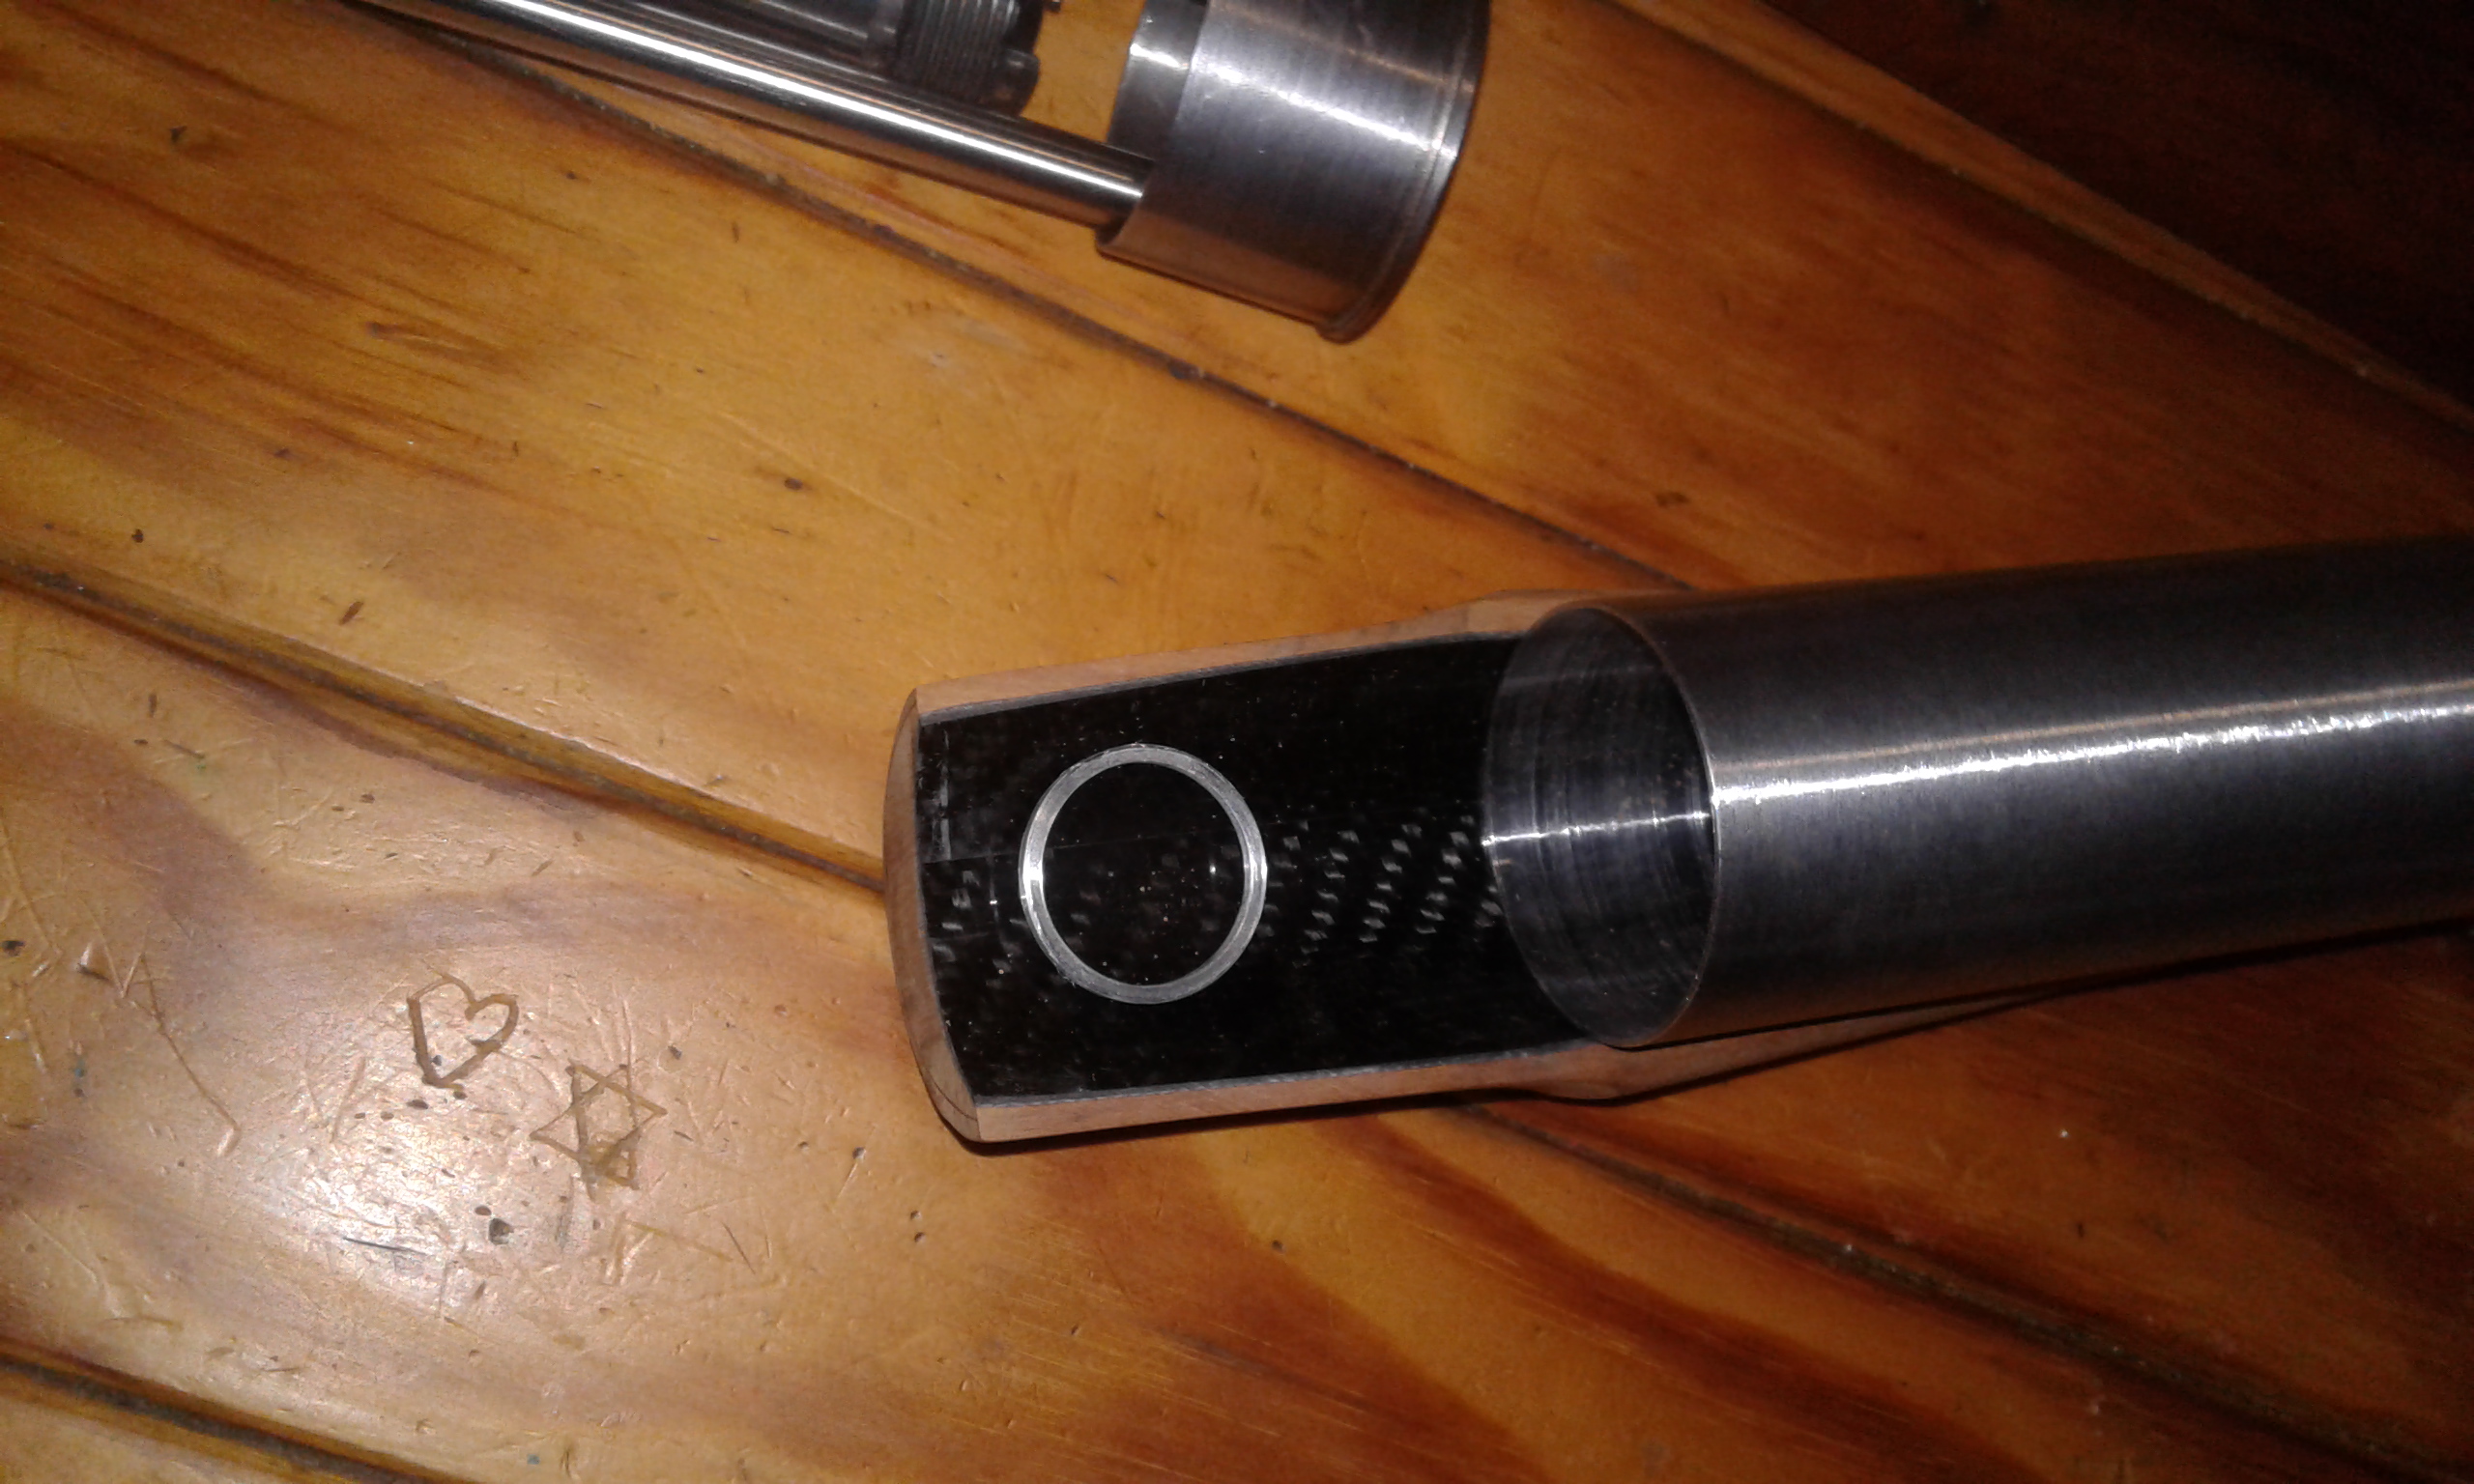
Little bit more, bit of wood with some carbon
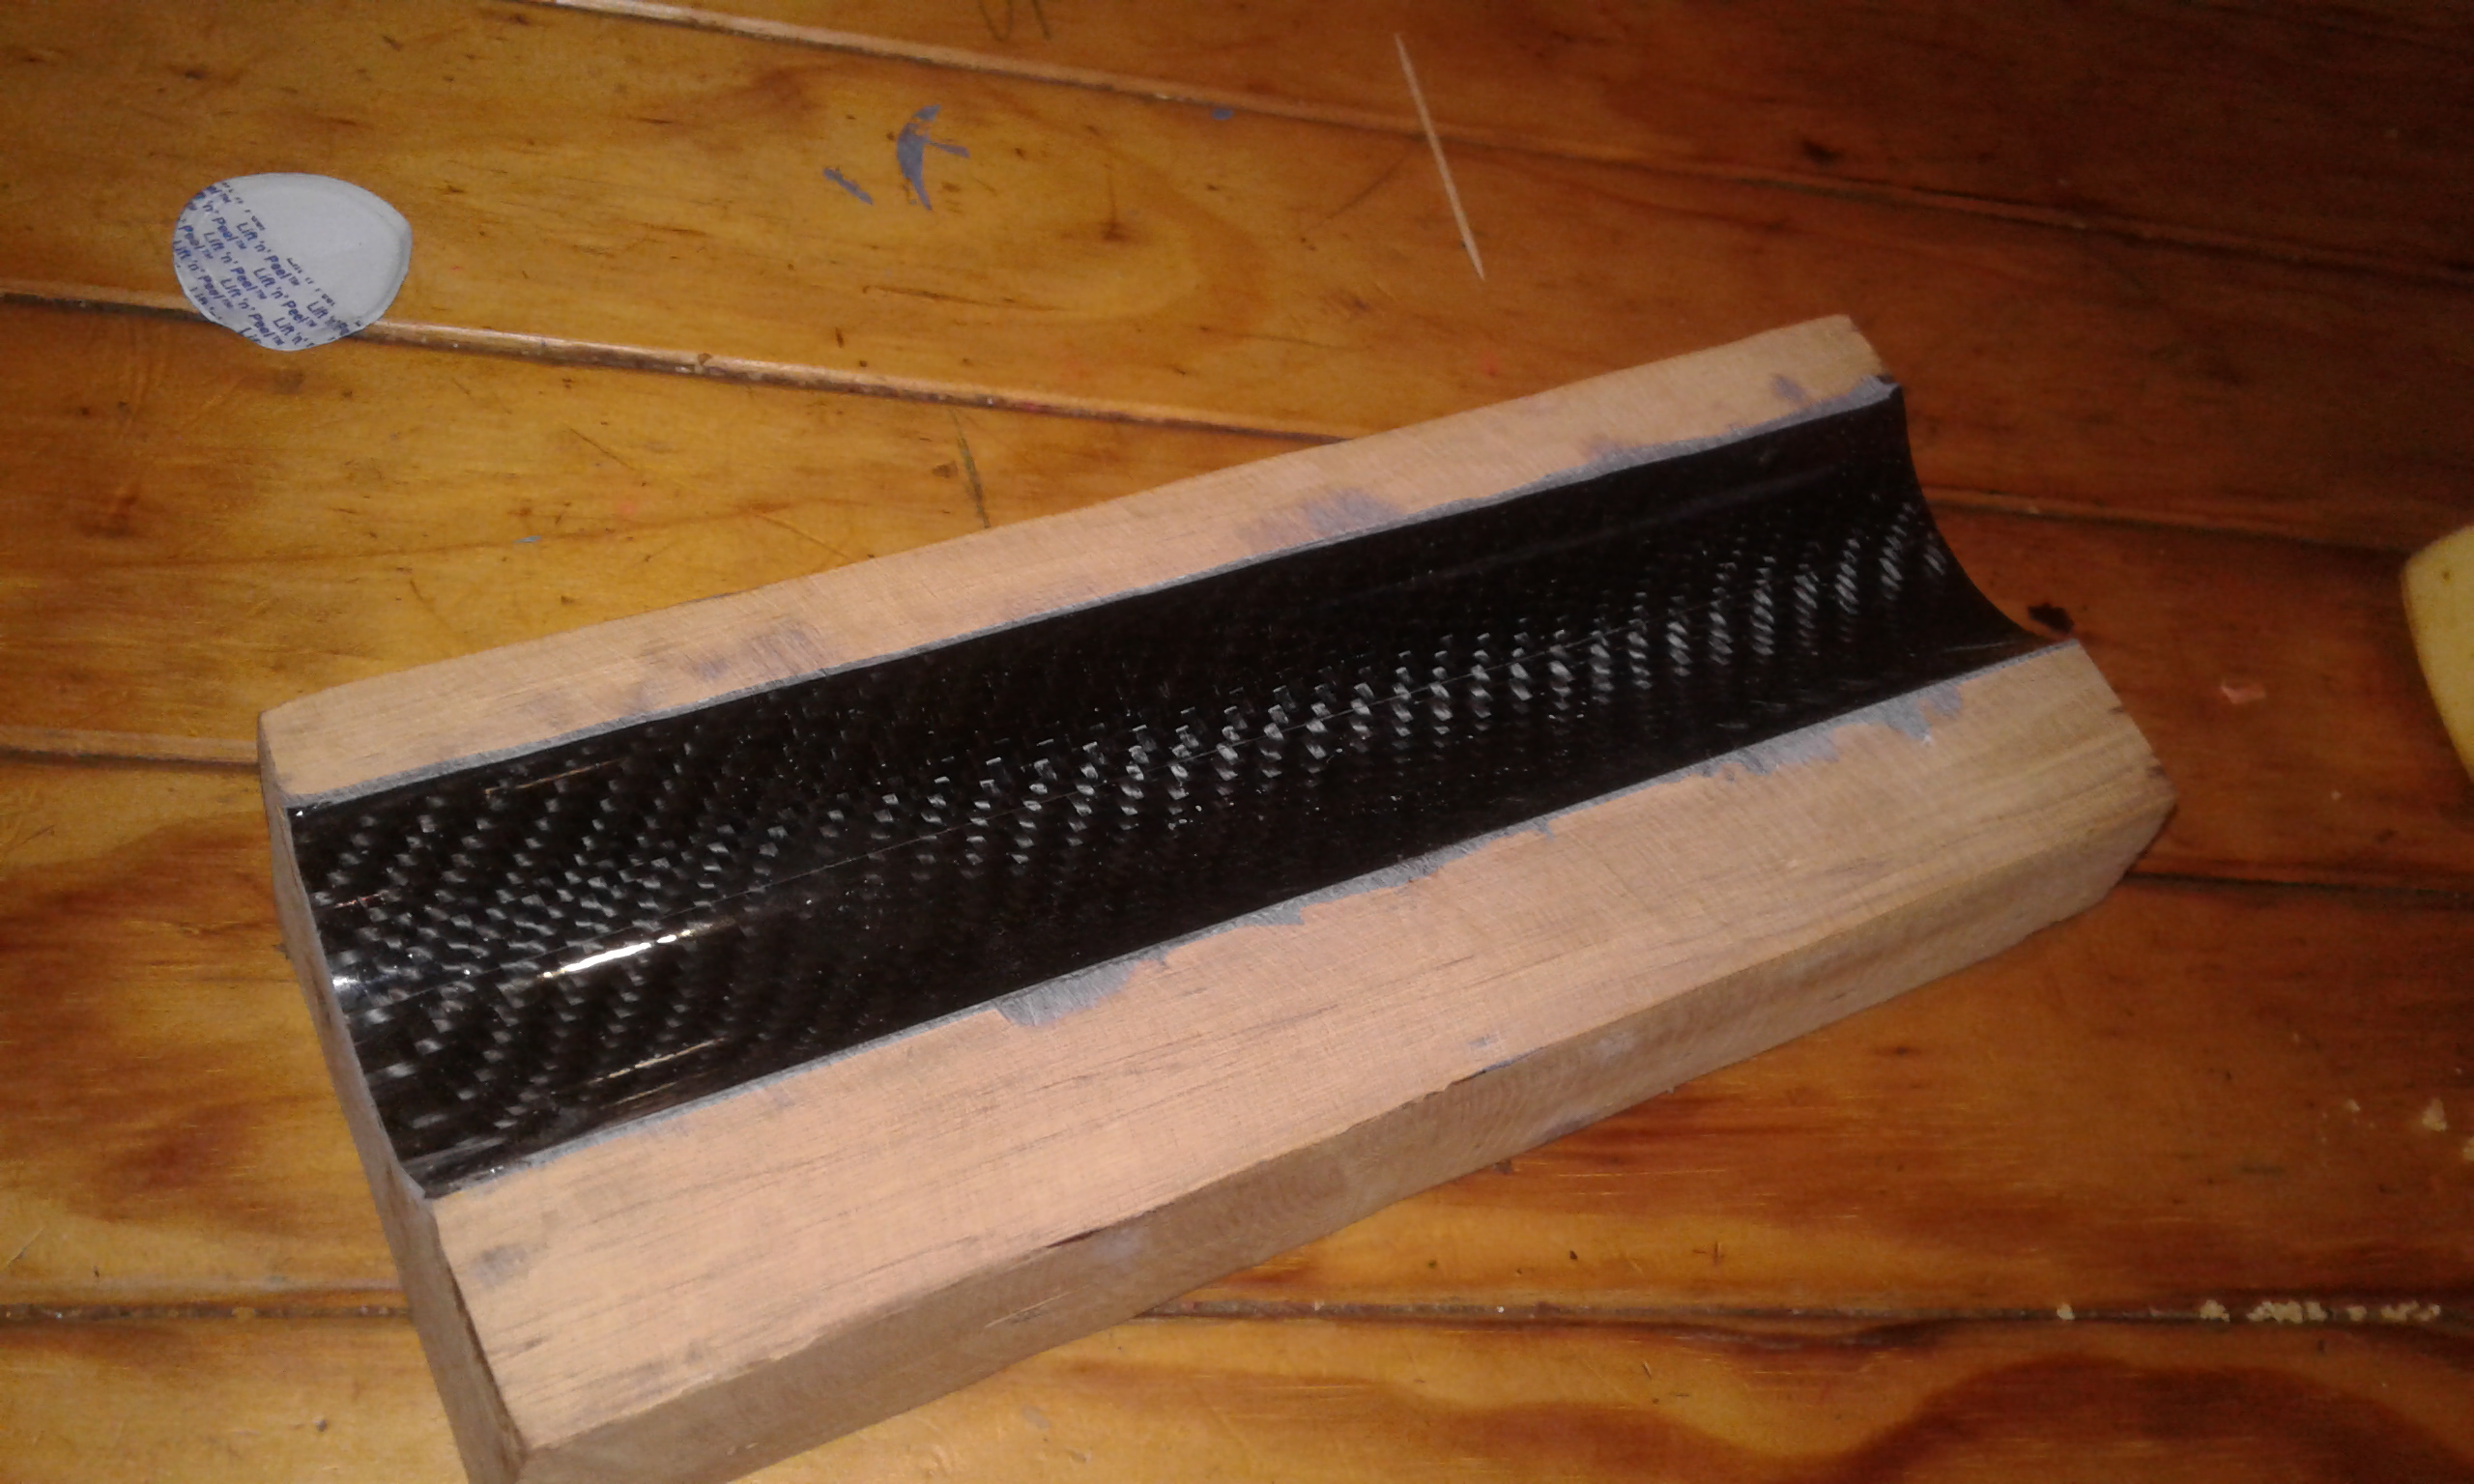
Then roughed out with an angle grinder, thats a legitimate wood work tool right? Actually a flap disc worked really well
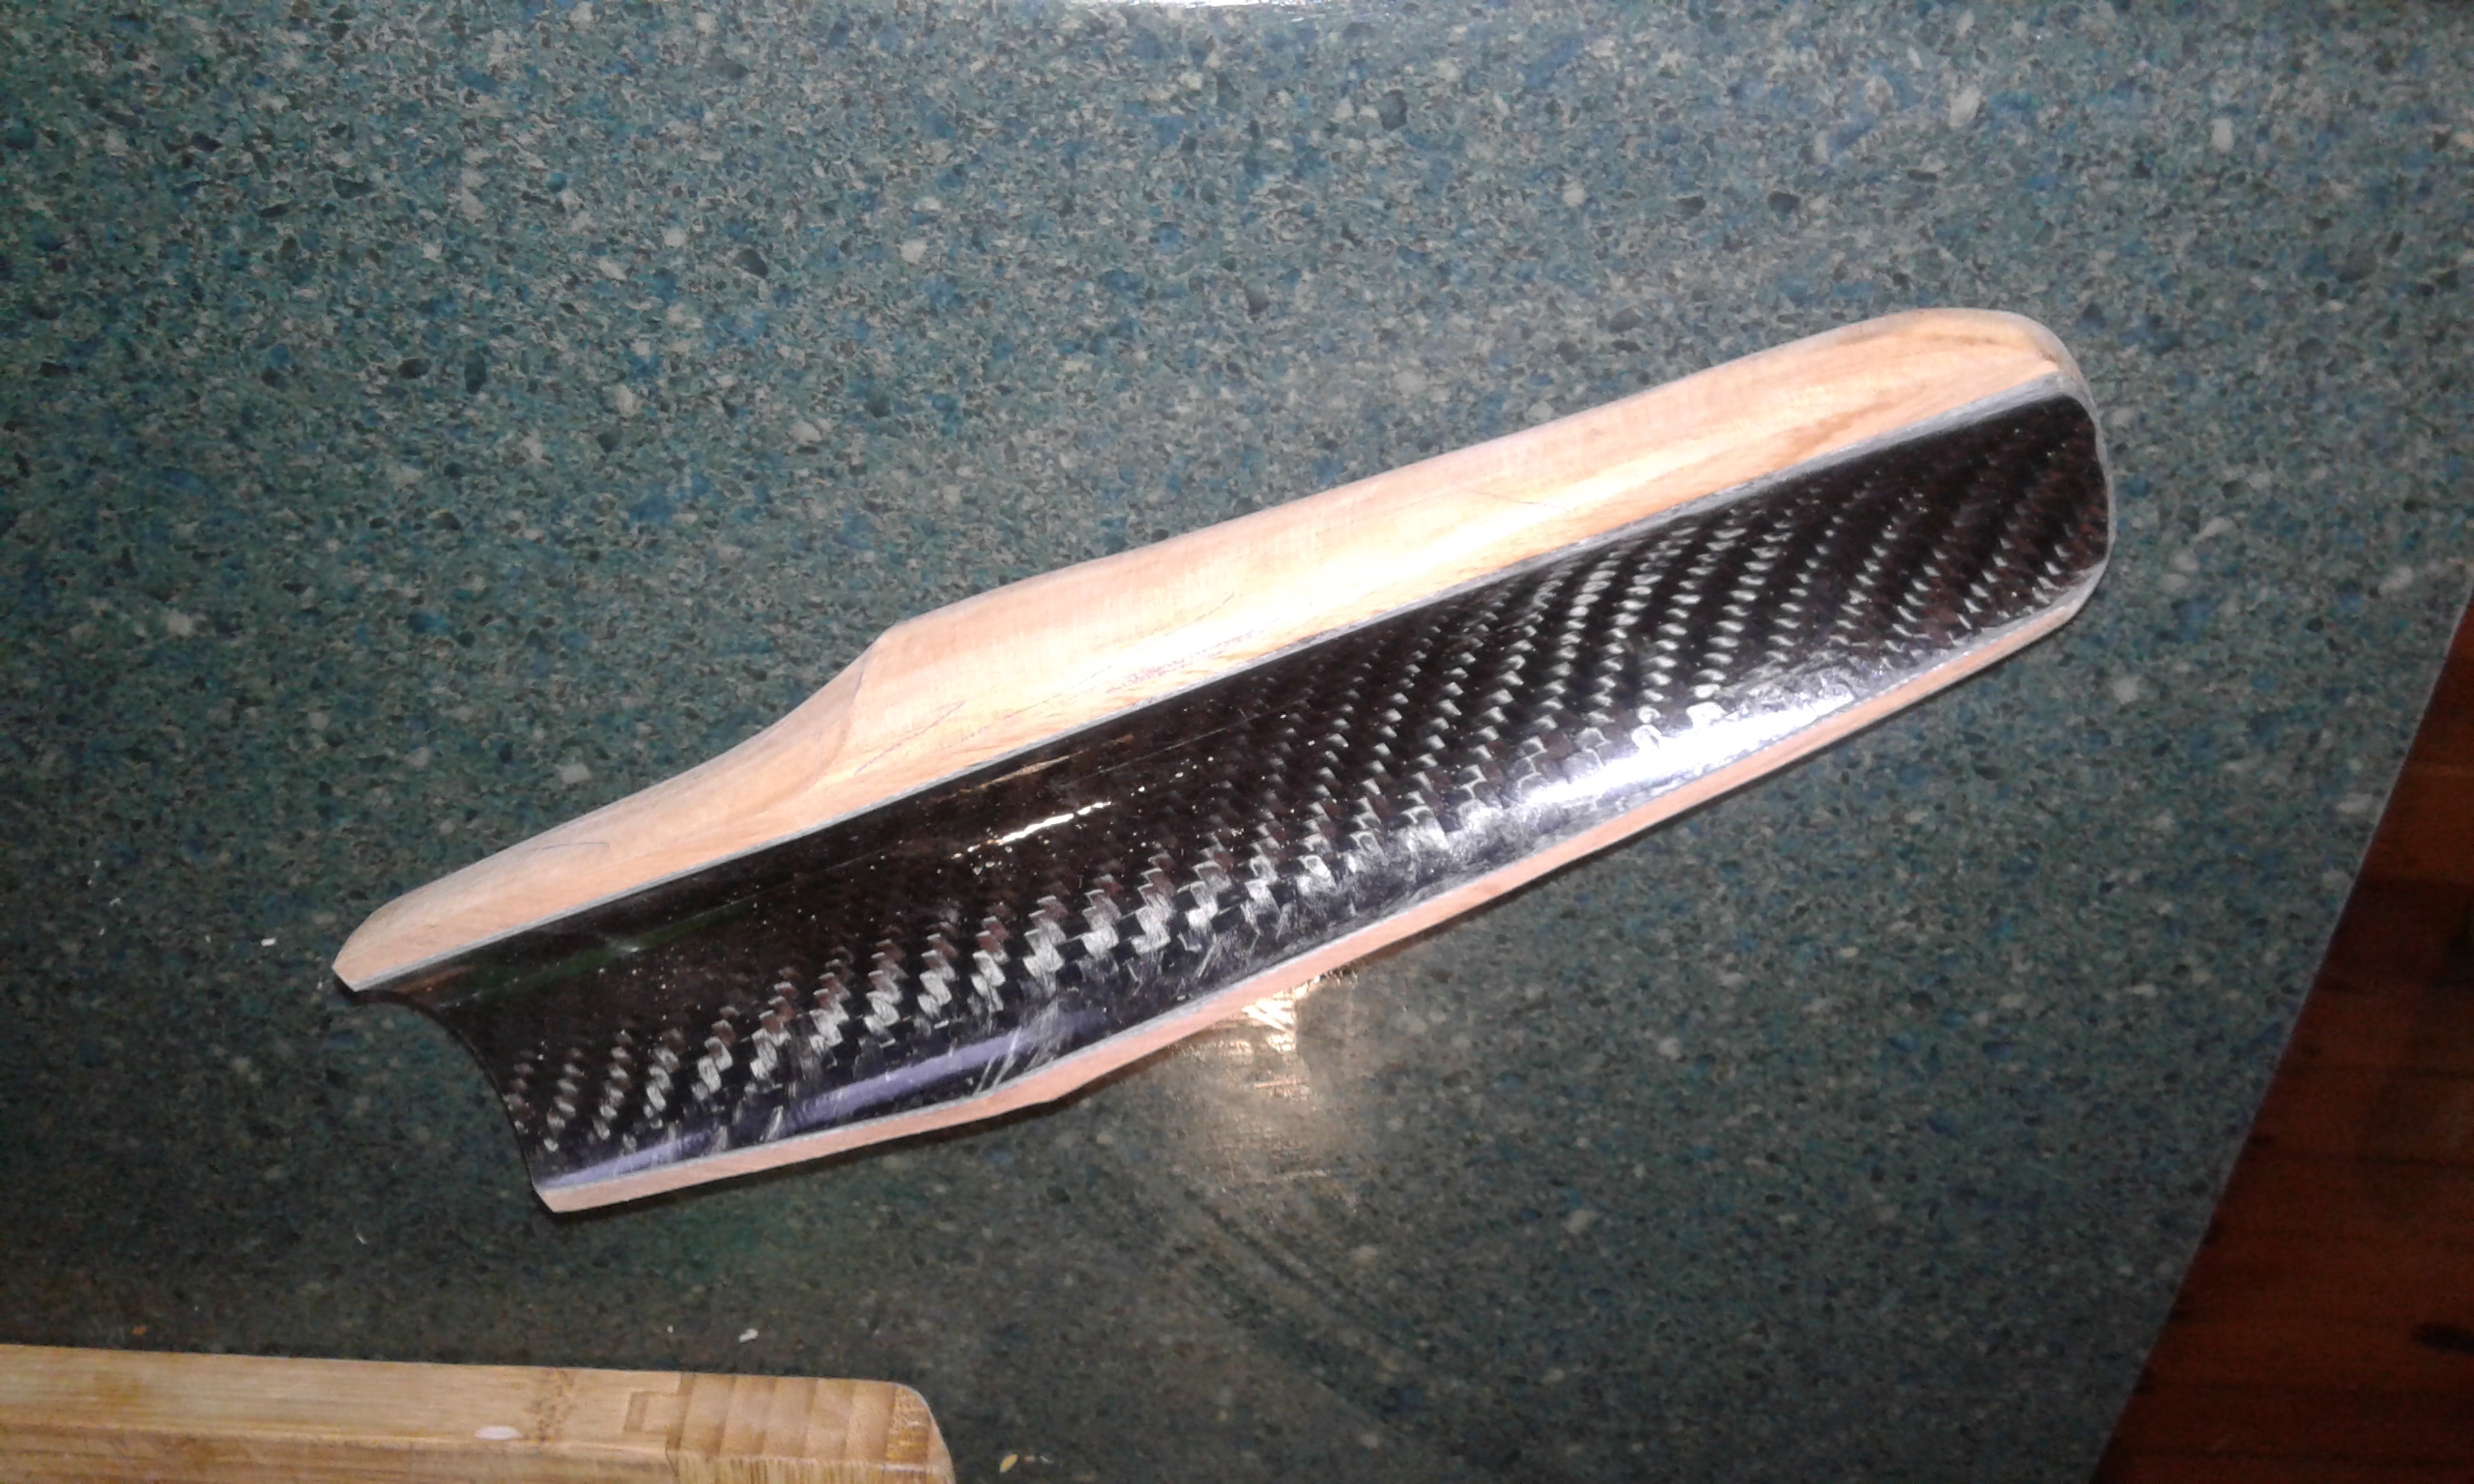
And sitting in place, the joint section will be finished when it can be bolted together properly
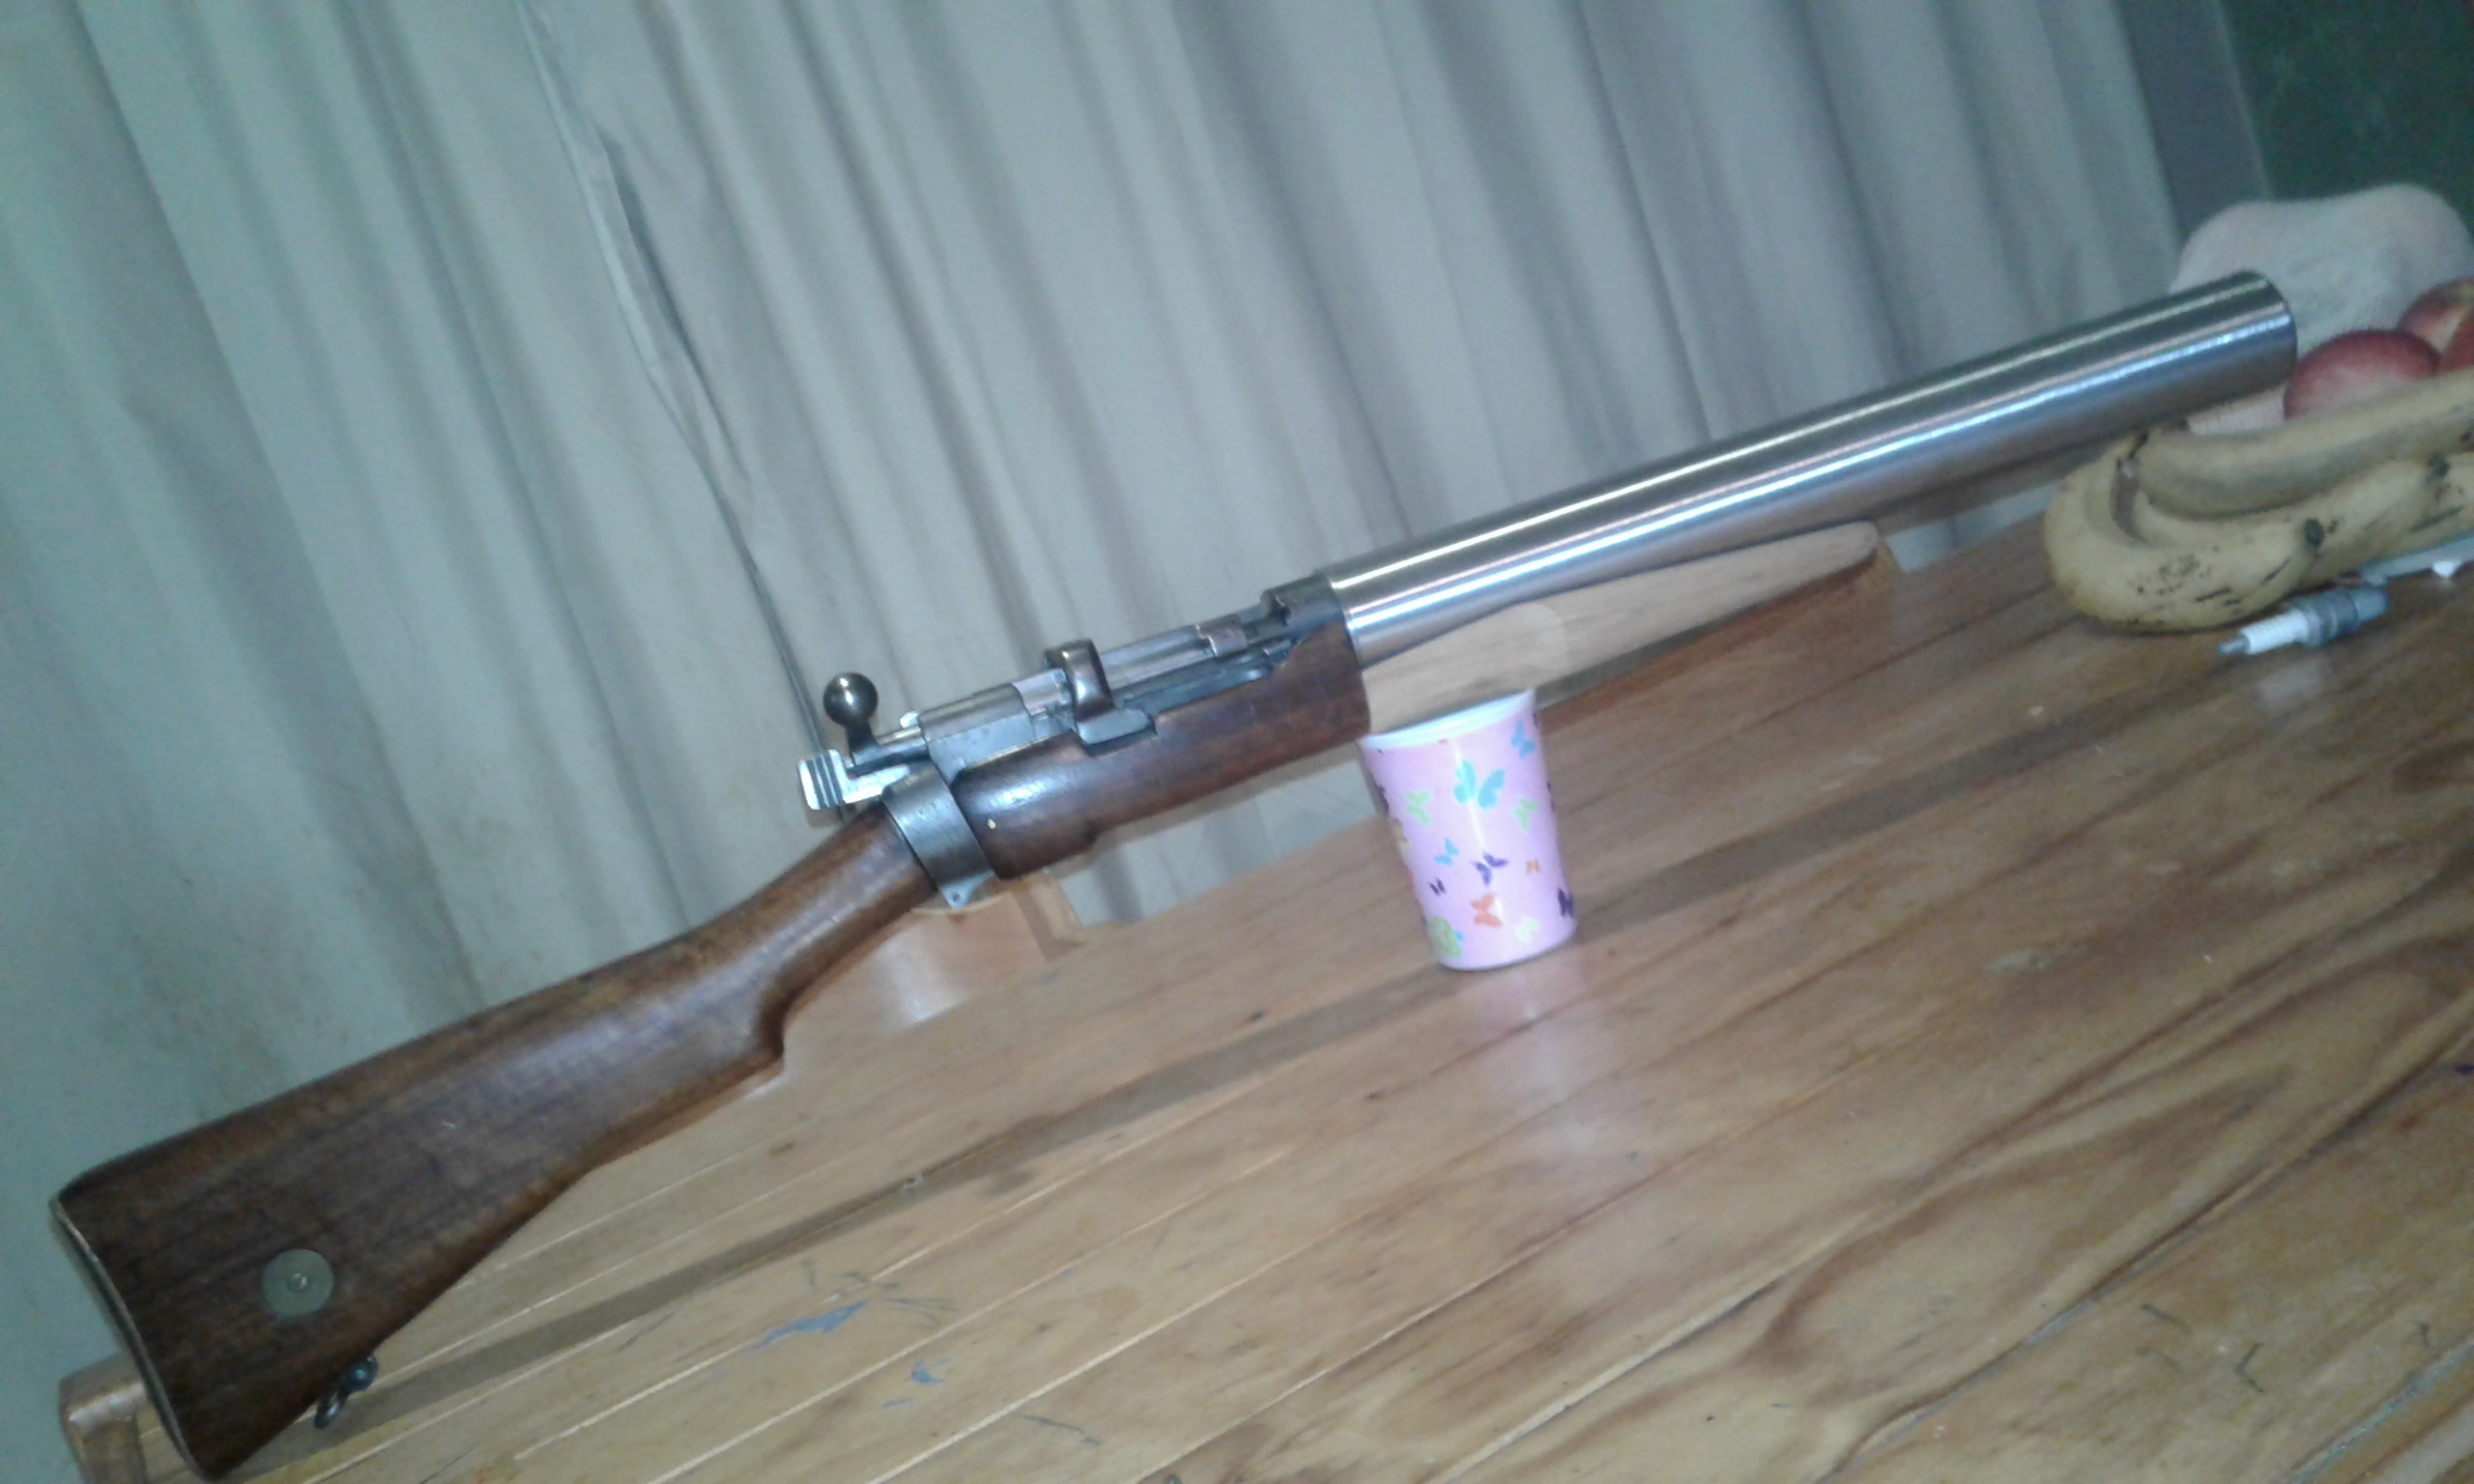
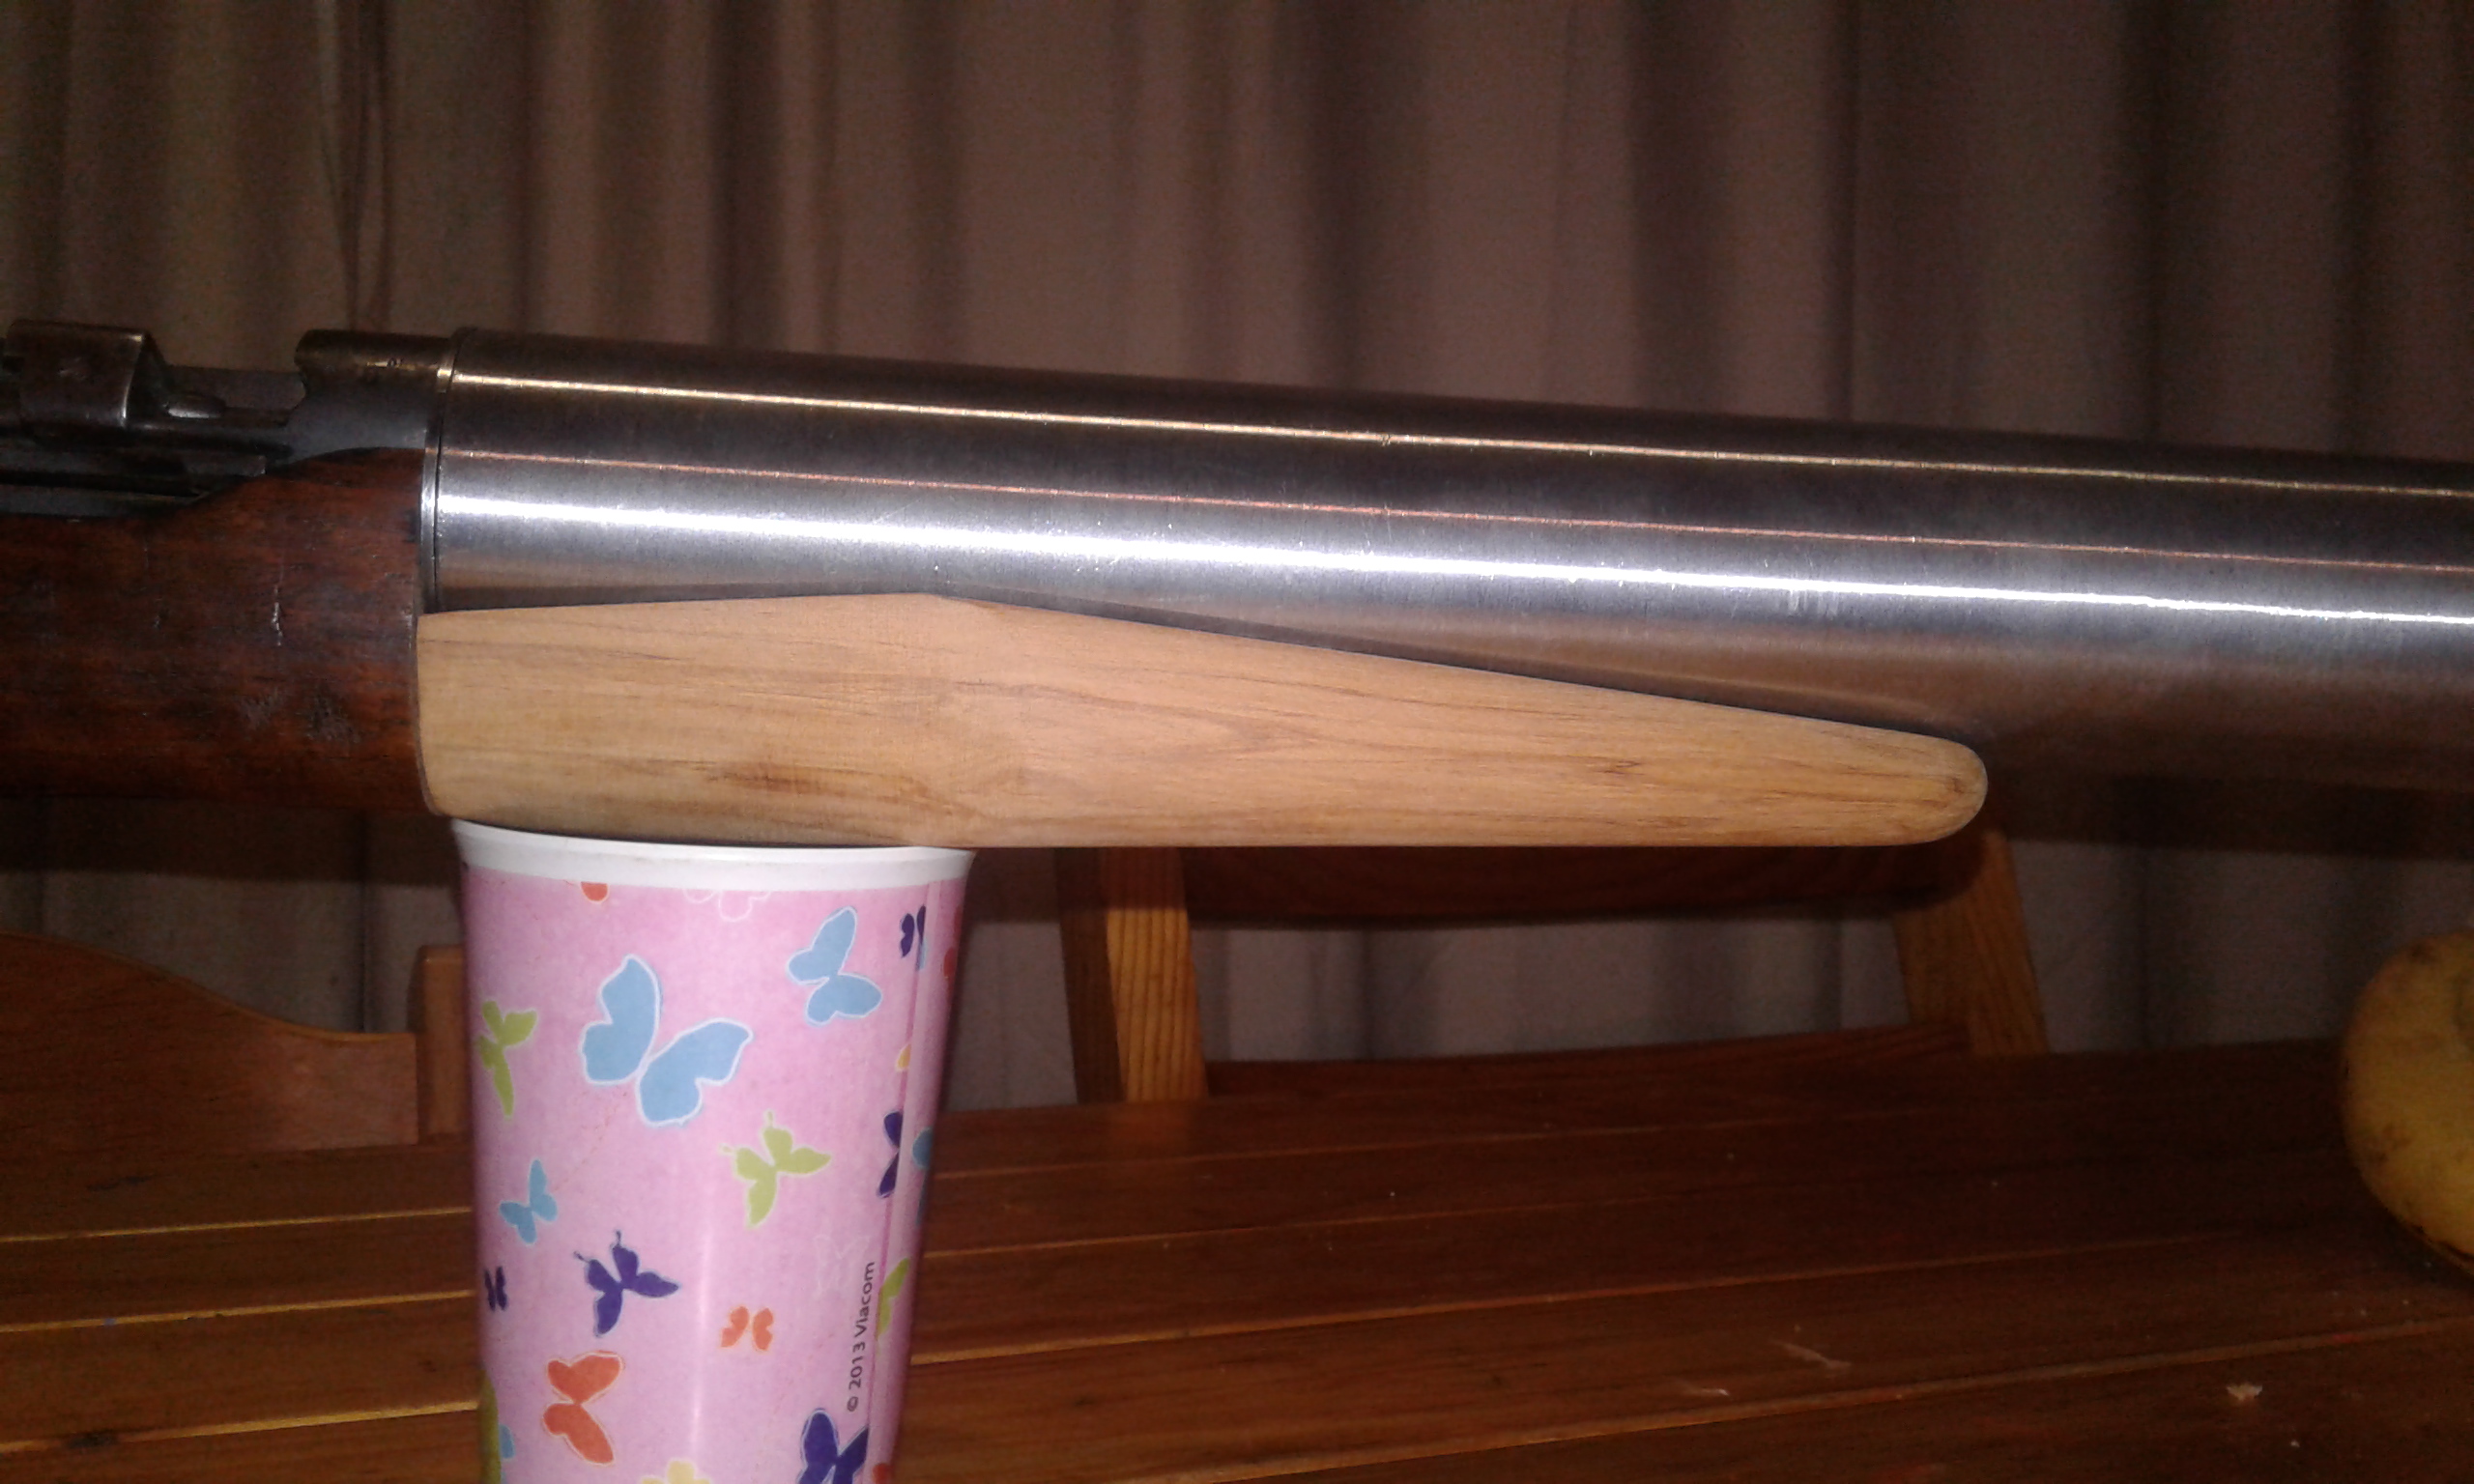
Then there was this tricky little bit, a soft aluminium crush washer to make sure the suppressor end cap is tight and the barrel is also tight in the receiver
-
17-06-2018, 10:51 PM #15
very tidy....keepem coming,we will be watching
Similar Threads
-
lee enfield Mk1 45/70
By Boar Freak in forum Projects and Home BuildsReplies: 9Last Post: 13-04-2015, 11:50 AM
Tags for this Thread
Welcome to NZ Hunting and Shooting Forums! We see you're new here, or arn't logged in. Create an account, and Login for full access including our FREE BUY and SELL section Register NOW!!


 52Likes
 LinkBack URL
 About LinkBacks


 Reply With Quote


Bookmarks