

 252Likes
 LinkBack URL
 About LinkBacks
@Micky Duck 225 Winchester is the smart easy option because you use 30-30 brass and it's balistically equivalent to the 22-250 if your chosen platform can take the pressureOriginally Posted by Micky Duck

The 225 was developed for the M70 bolt action
In a Baikal it could safely be loaded to be very close
Welcome guest, is this your first visit? Create Account now to join.
Welcome to the NZ Hunting and Shooting Forums.
Search Forums


User Tag List
+ Reply to Thread
Results 16 to 30 of 89
Thread: 5.6x57 single shot project
-
28-05-2024, 08:01 PM #16Member

- Join Date
- Dec 2014
- Location
- canterbury
- Posts
- 6,832
The Church of
John Browning
of the Later-Day Shooter
-
-
28-05-2024, 09:37 PM #17Member
- Join Date
- Sep 2022
- Location
- Upper Hutt
- Posts
- 639
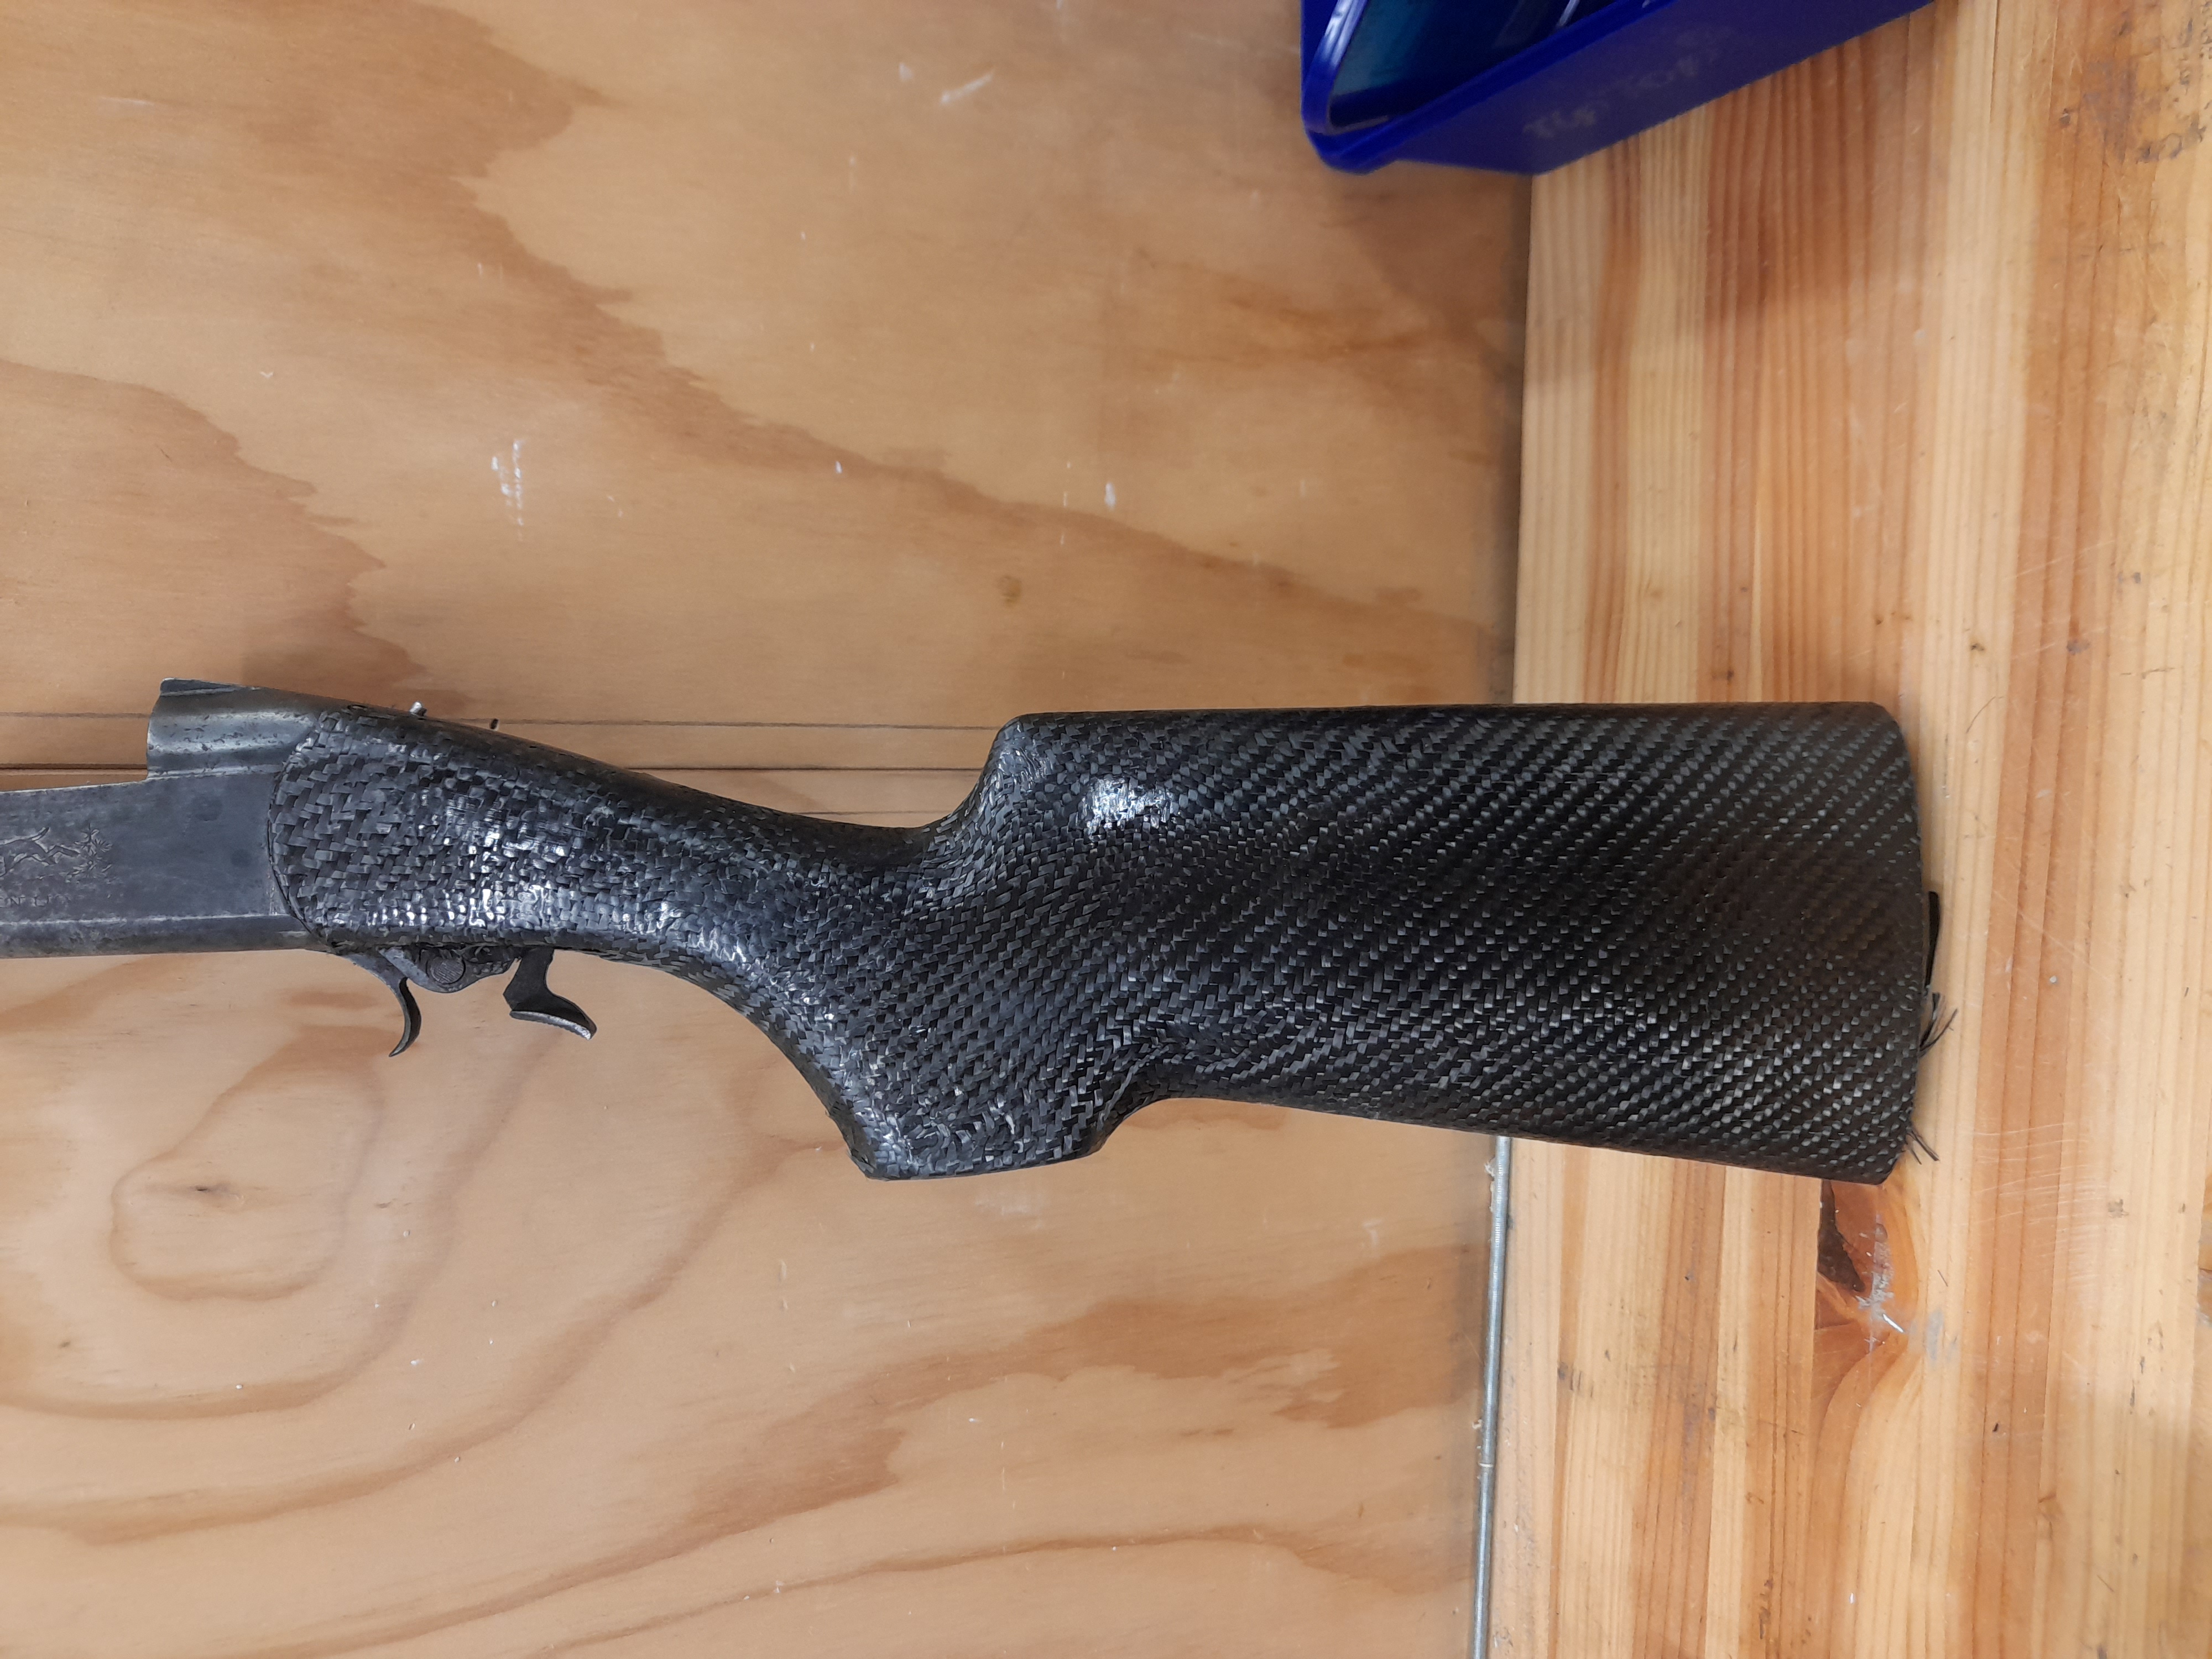
Now it's time for the fun part, the carbon skinning.
I watched a few tutorials on how it's done but felt I could improve in a few areas.
I used to do a bit of carbon work a while ago, including making tubing from scratch so I drew on that for some ideas.
The first step in most tutorials is to paint the stock in black tinted epoxy (to hide any gaps in the weave) and wait for it to tack right up before applying the dry carbon to it, using the tack to hold the carbon to the stock.
I felt this was a waste of resin and gave more chance of the carbon not laying flat against the stock, so I dyed (not painted) the stock black.
After this I painted the epoxy on then let it sit for a short while before applying the carbon.
I then used heatshrink to squeeze the carbon against the stock, forcing some of the epoxy through the carbon, this is why I dyed the stock instead of tinting the epoxy.

-
28-05-2024, 09:38 PM #18Member

- Join Date
- Apr 2015
- Location
- Geraldine
- Posts
- 25,416
dont know about carbon...3 coats of polyurethane will harden up outer skin very well for little effort. looks really great. hows the weight and balance?? Originally Posted by makka
yip Ok they look nice lolmakka likes this.75/15/10 black powder matters
-
28-05-2024, 10:18 PM #19Member
- Join Date
- Sep 2022
- Location
- Upper Hutt
- Posts
- 639
I was chasing some more strength from the carbon as there isn't much timber in the wrist area. Originally Posted by Micky Duck
So next I gave it a coat of epoxy to wet out whatever didn't get much soak-through.
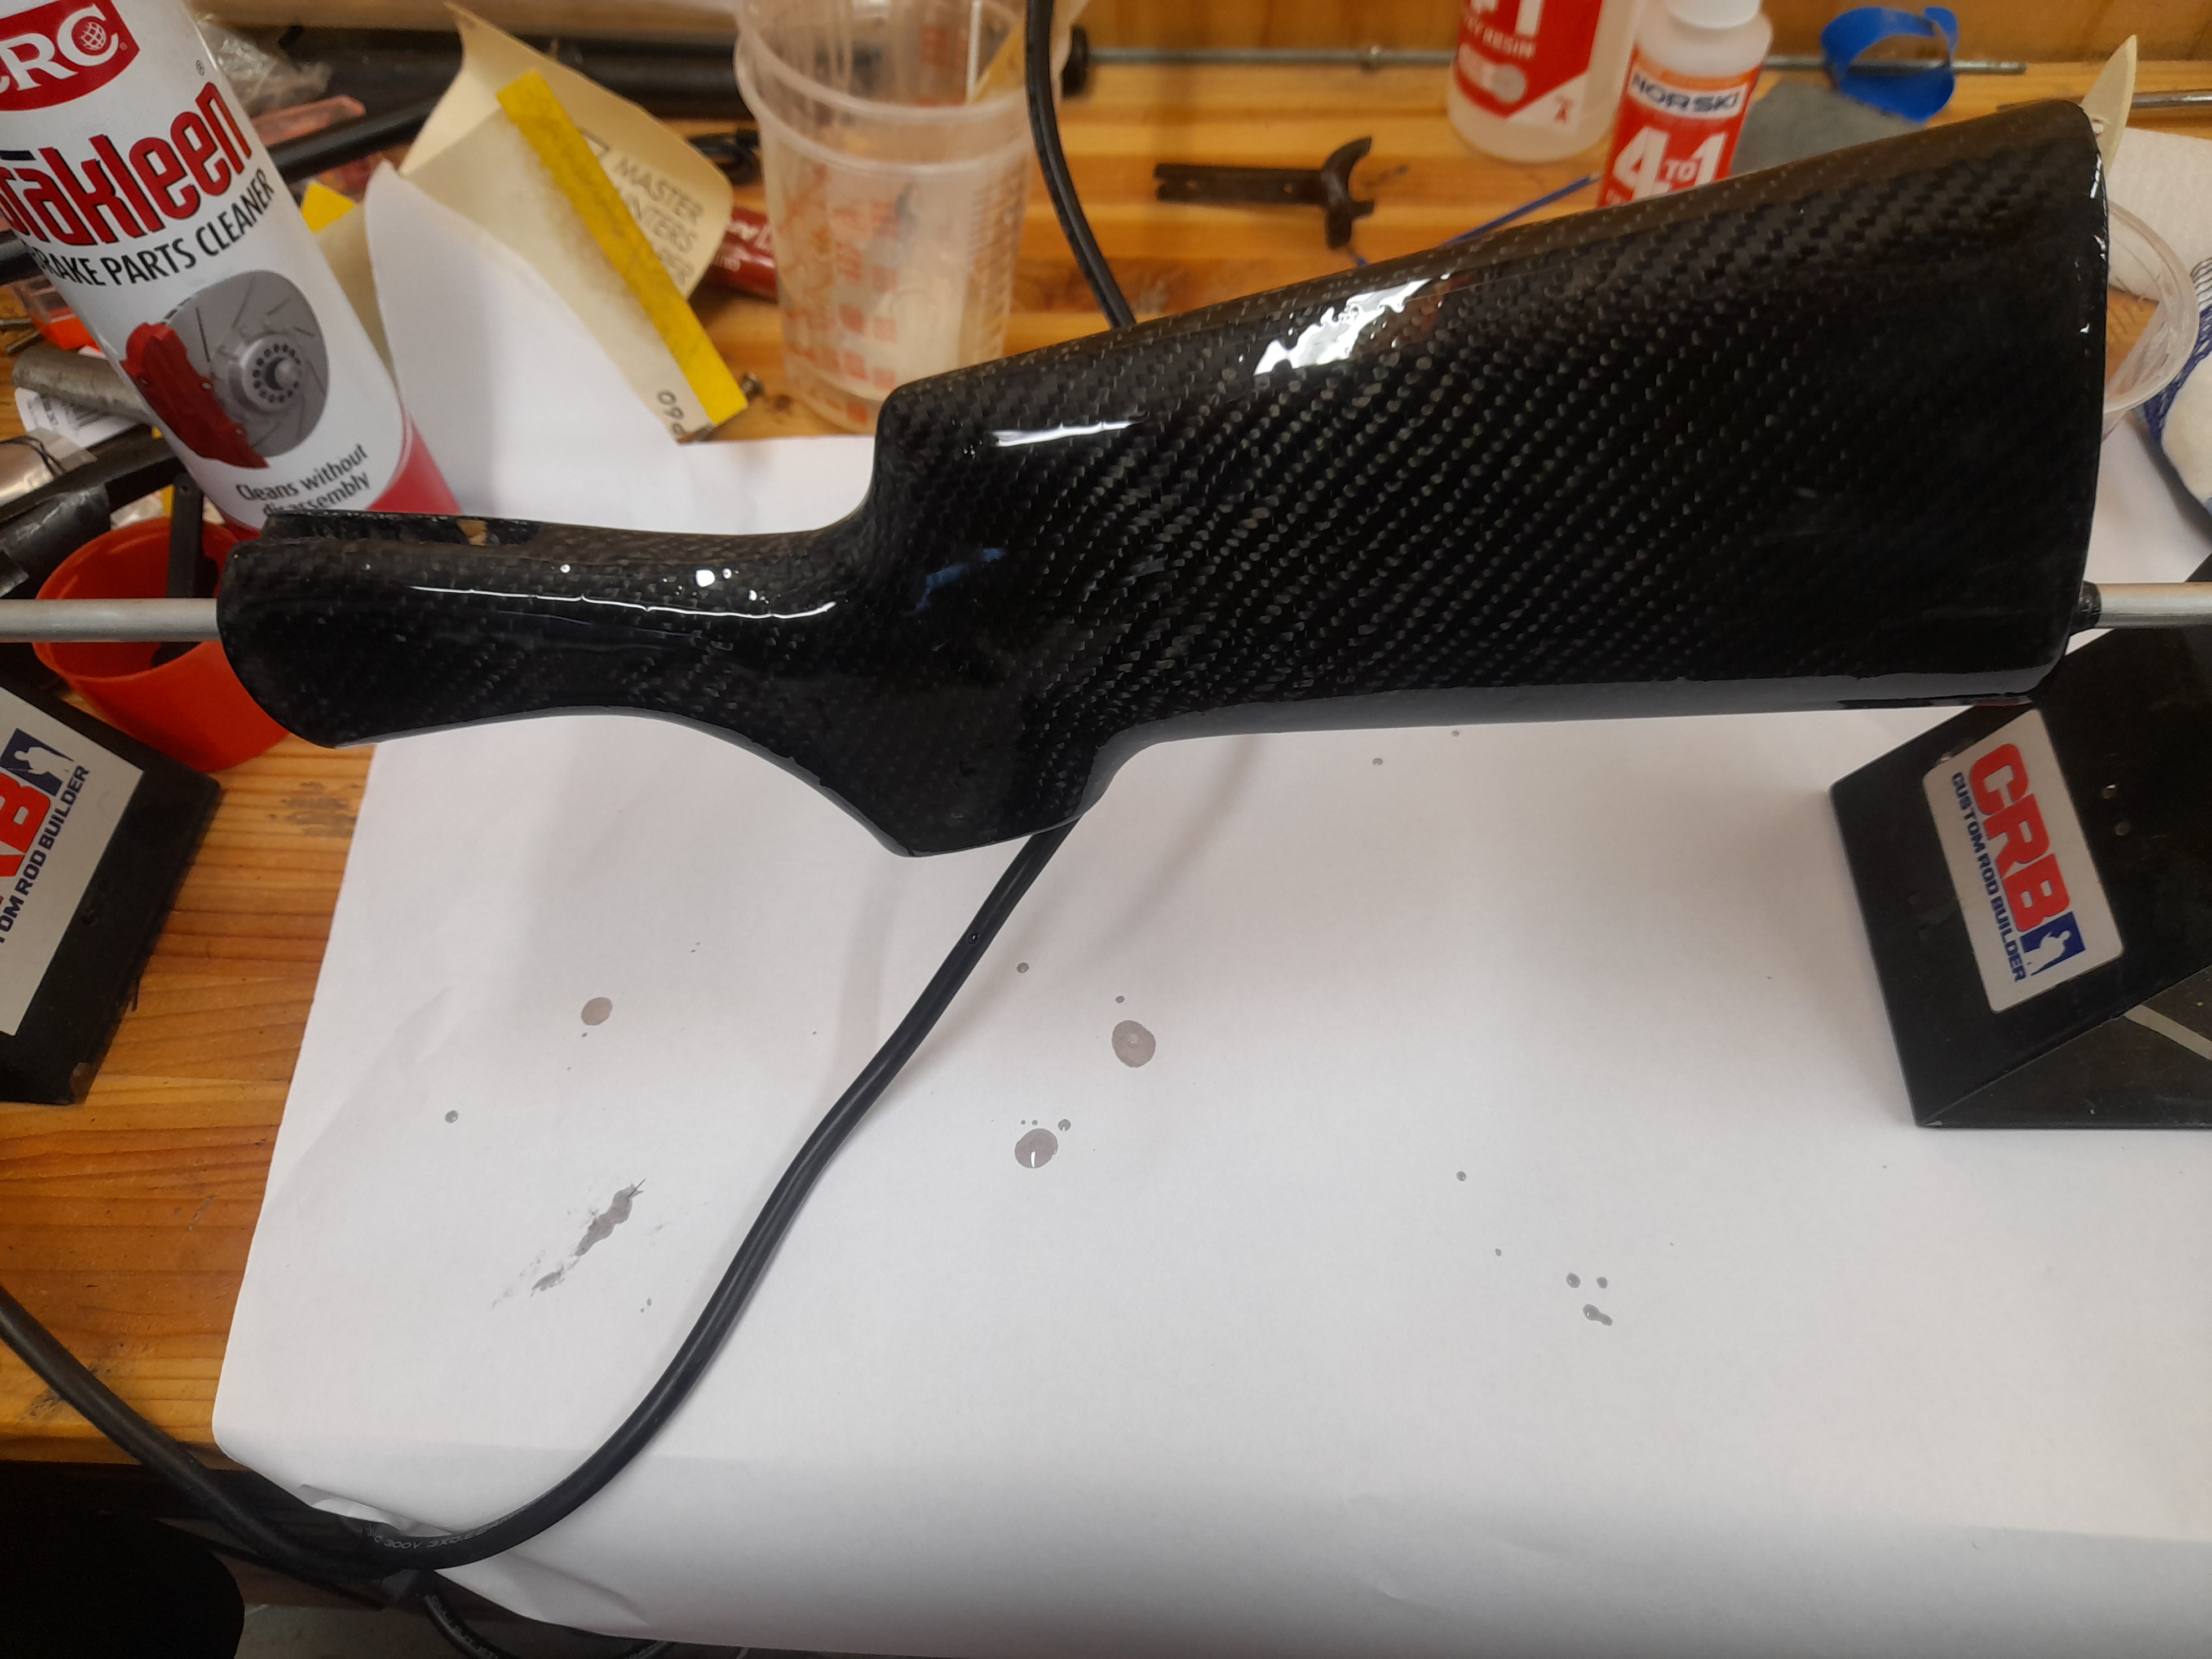
I was pretty happy with how this came up.
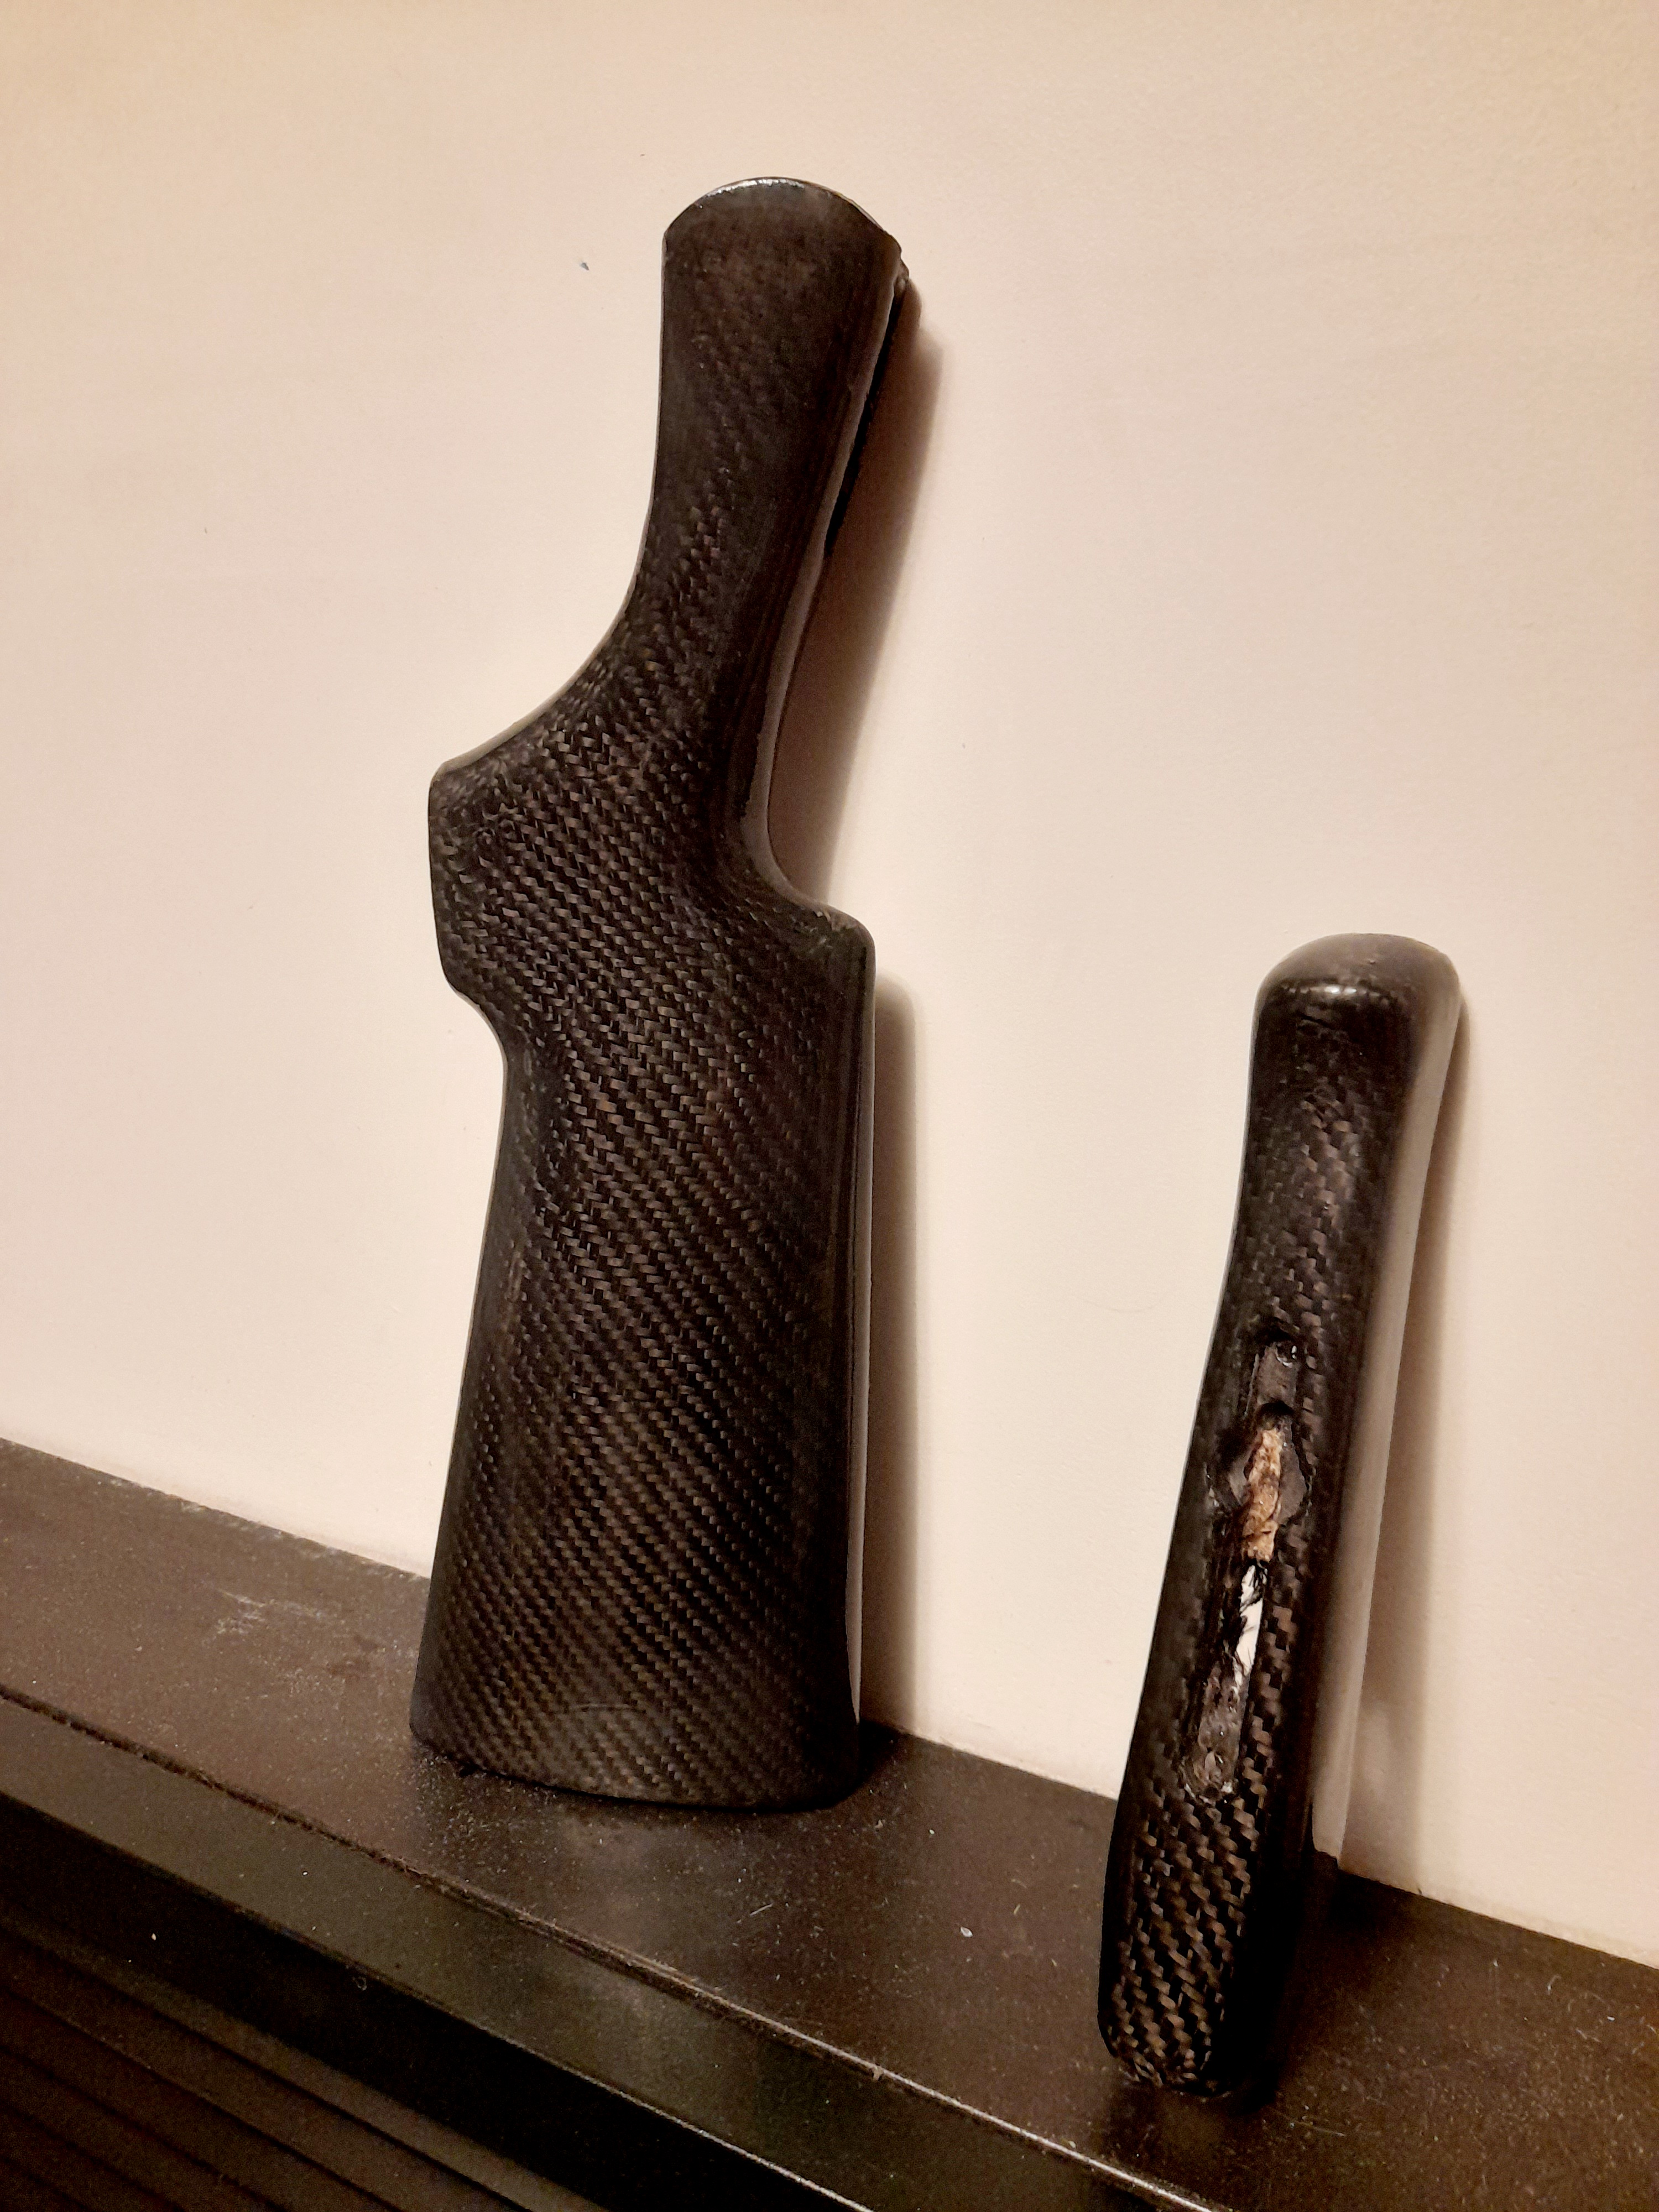
So then I blocked it back to knock off any little lumps etc. then gave it a spray with satin clear.

-
28-05-2024, 10:28 PM #20Member
- Join Date
- Sep 2022
- Location
- Upper Hutt
- Posts
- 639
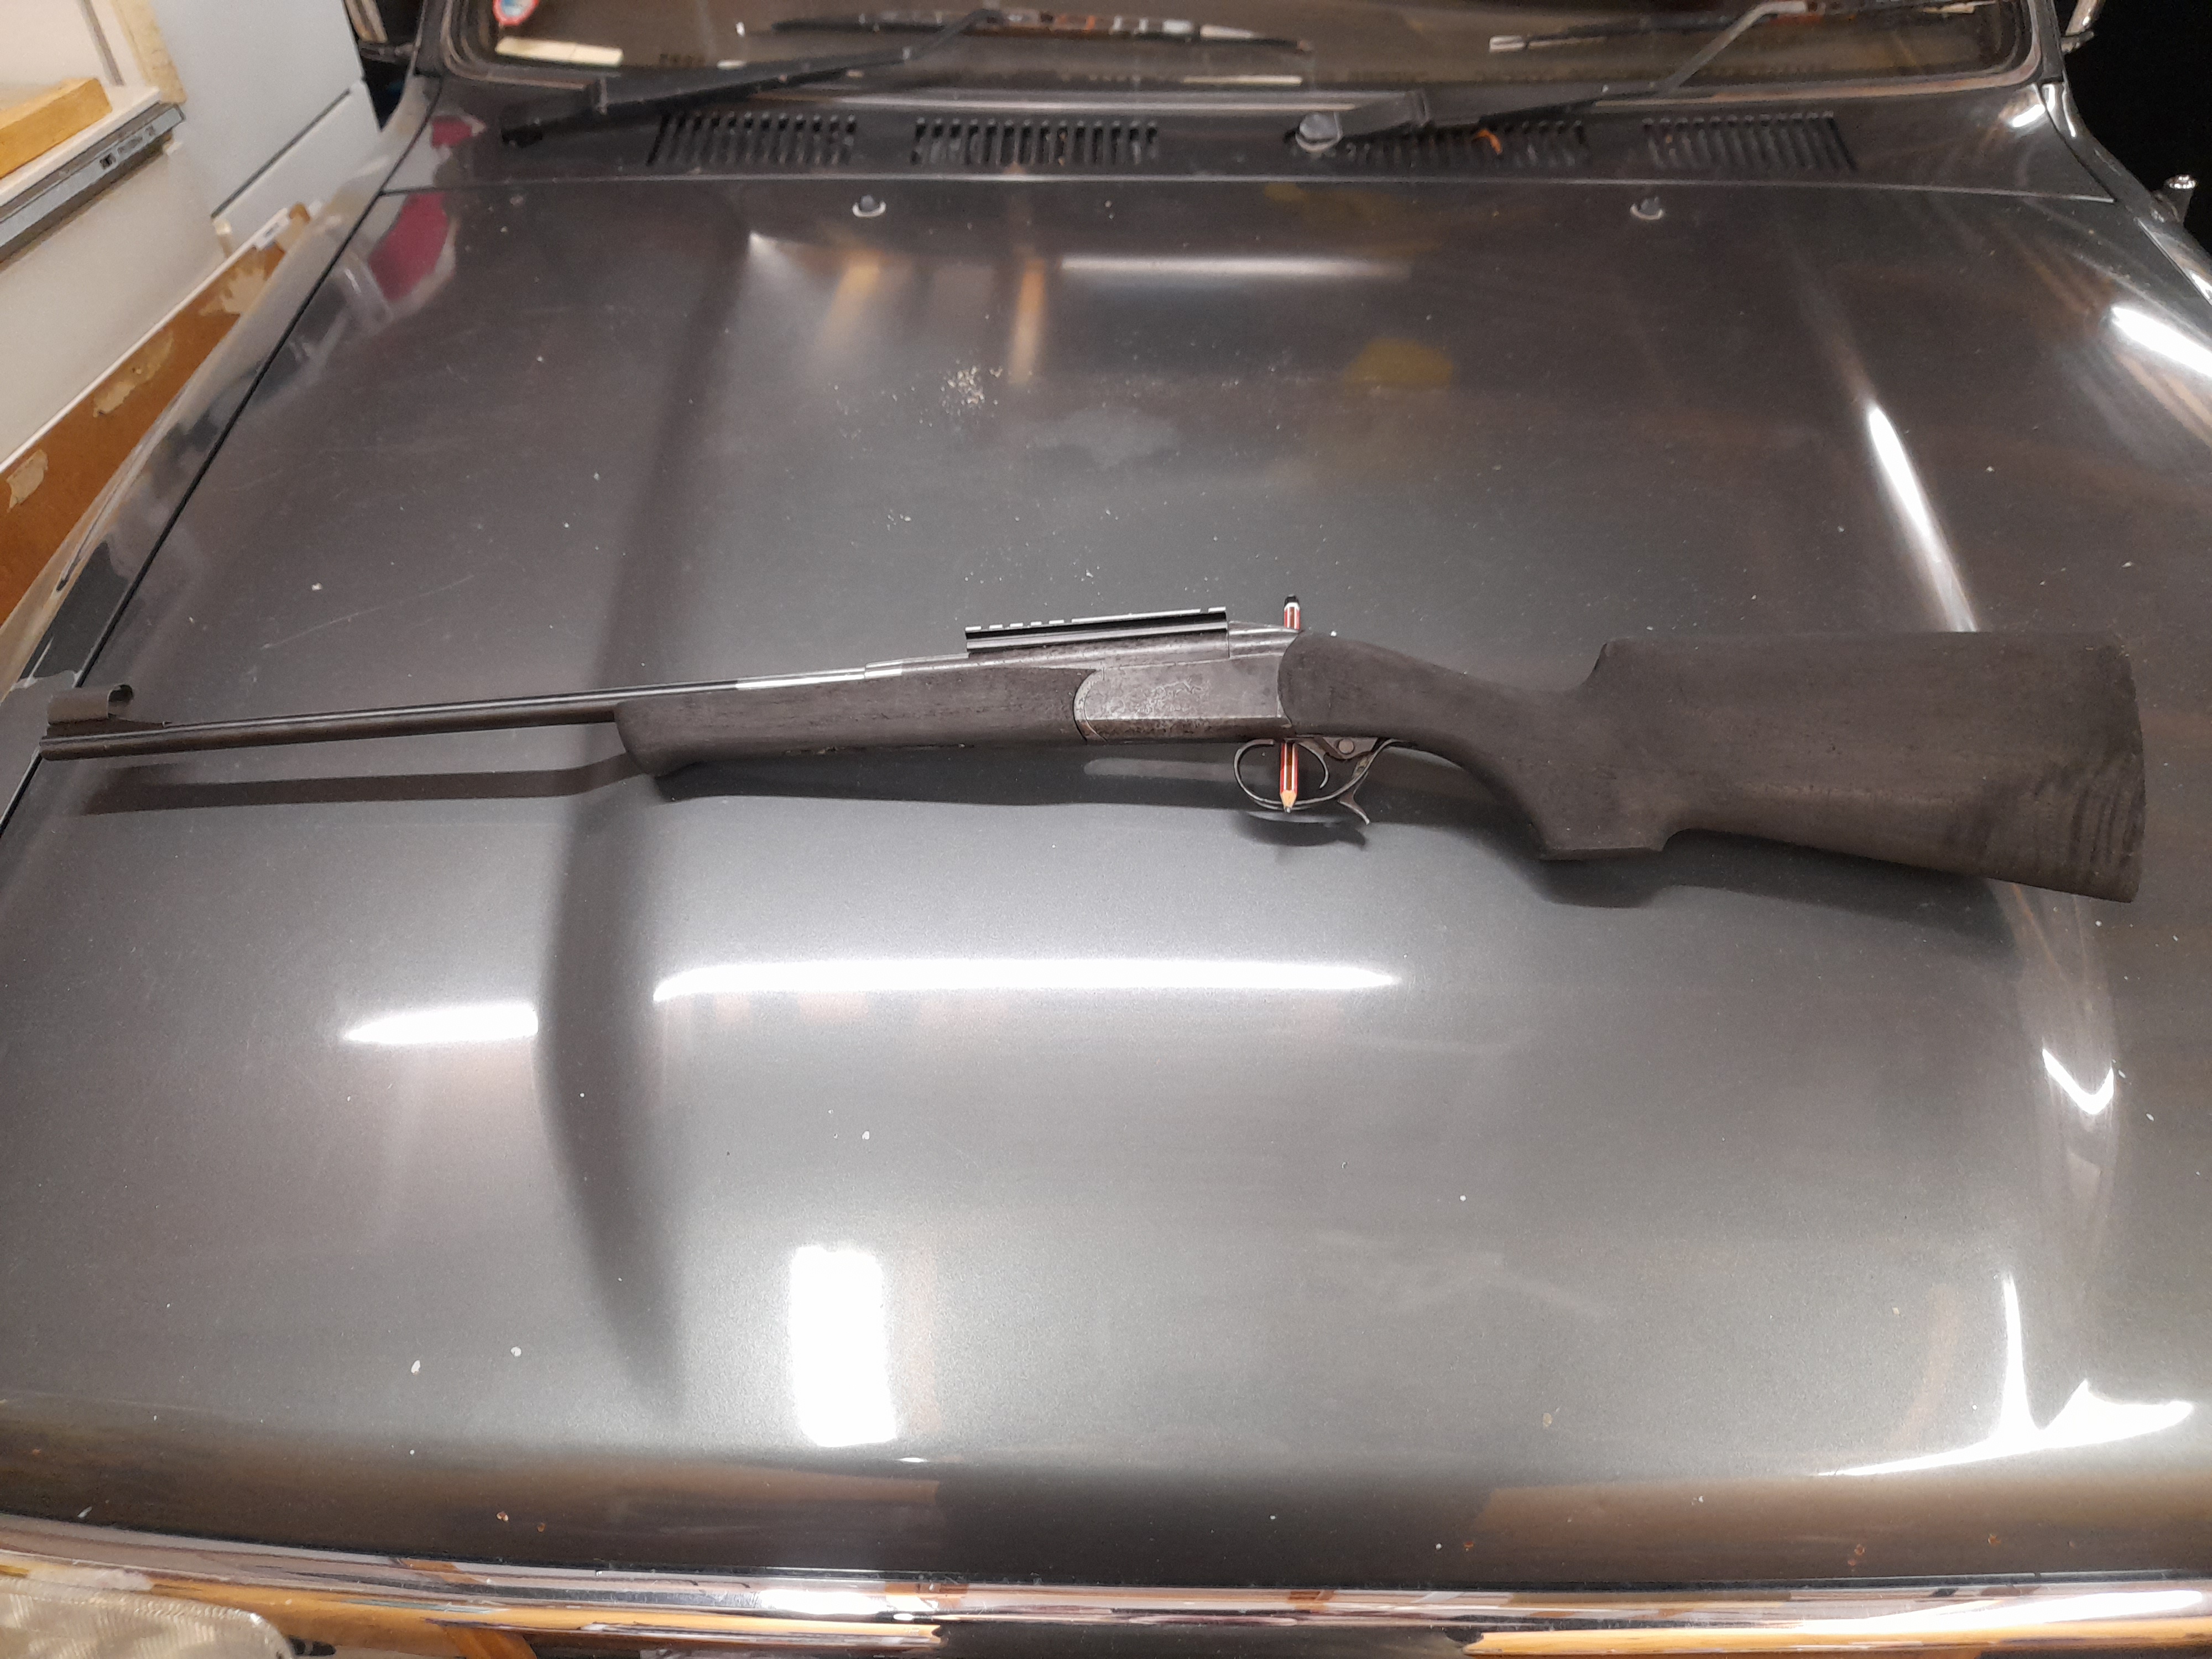
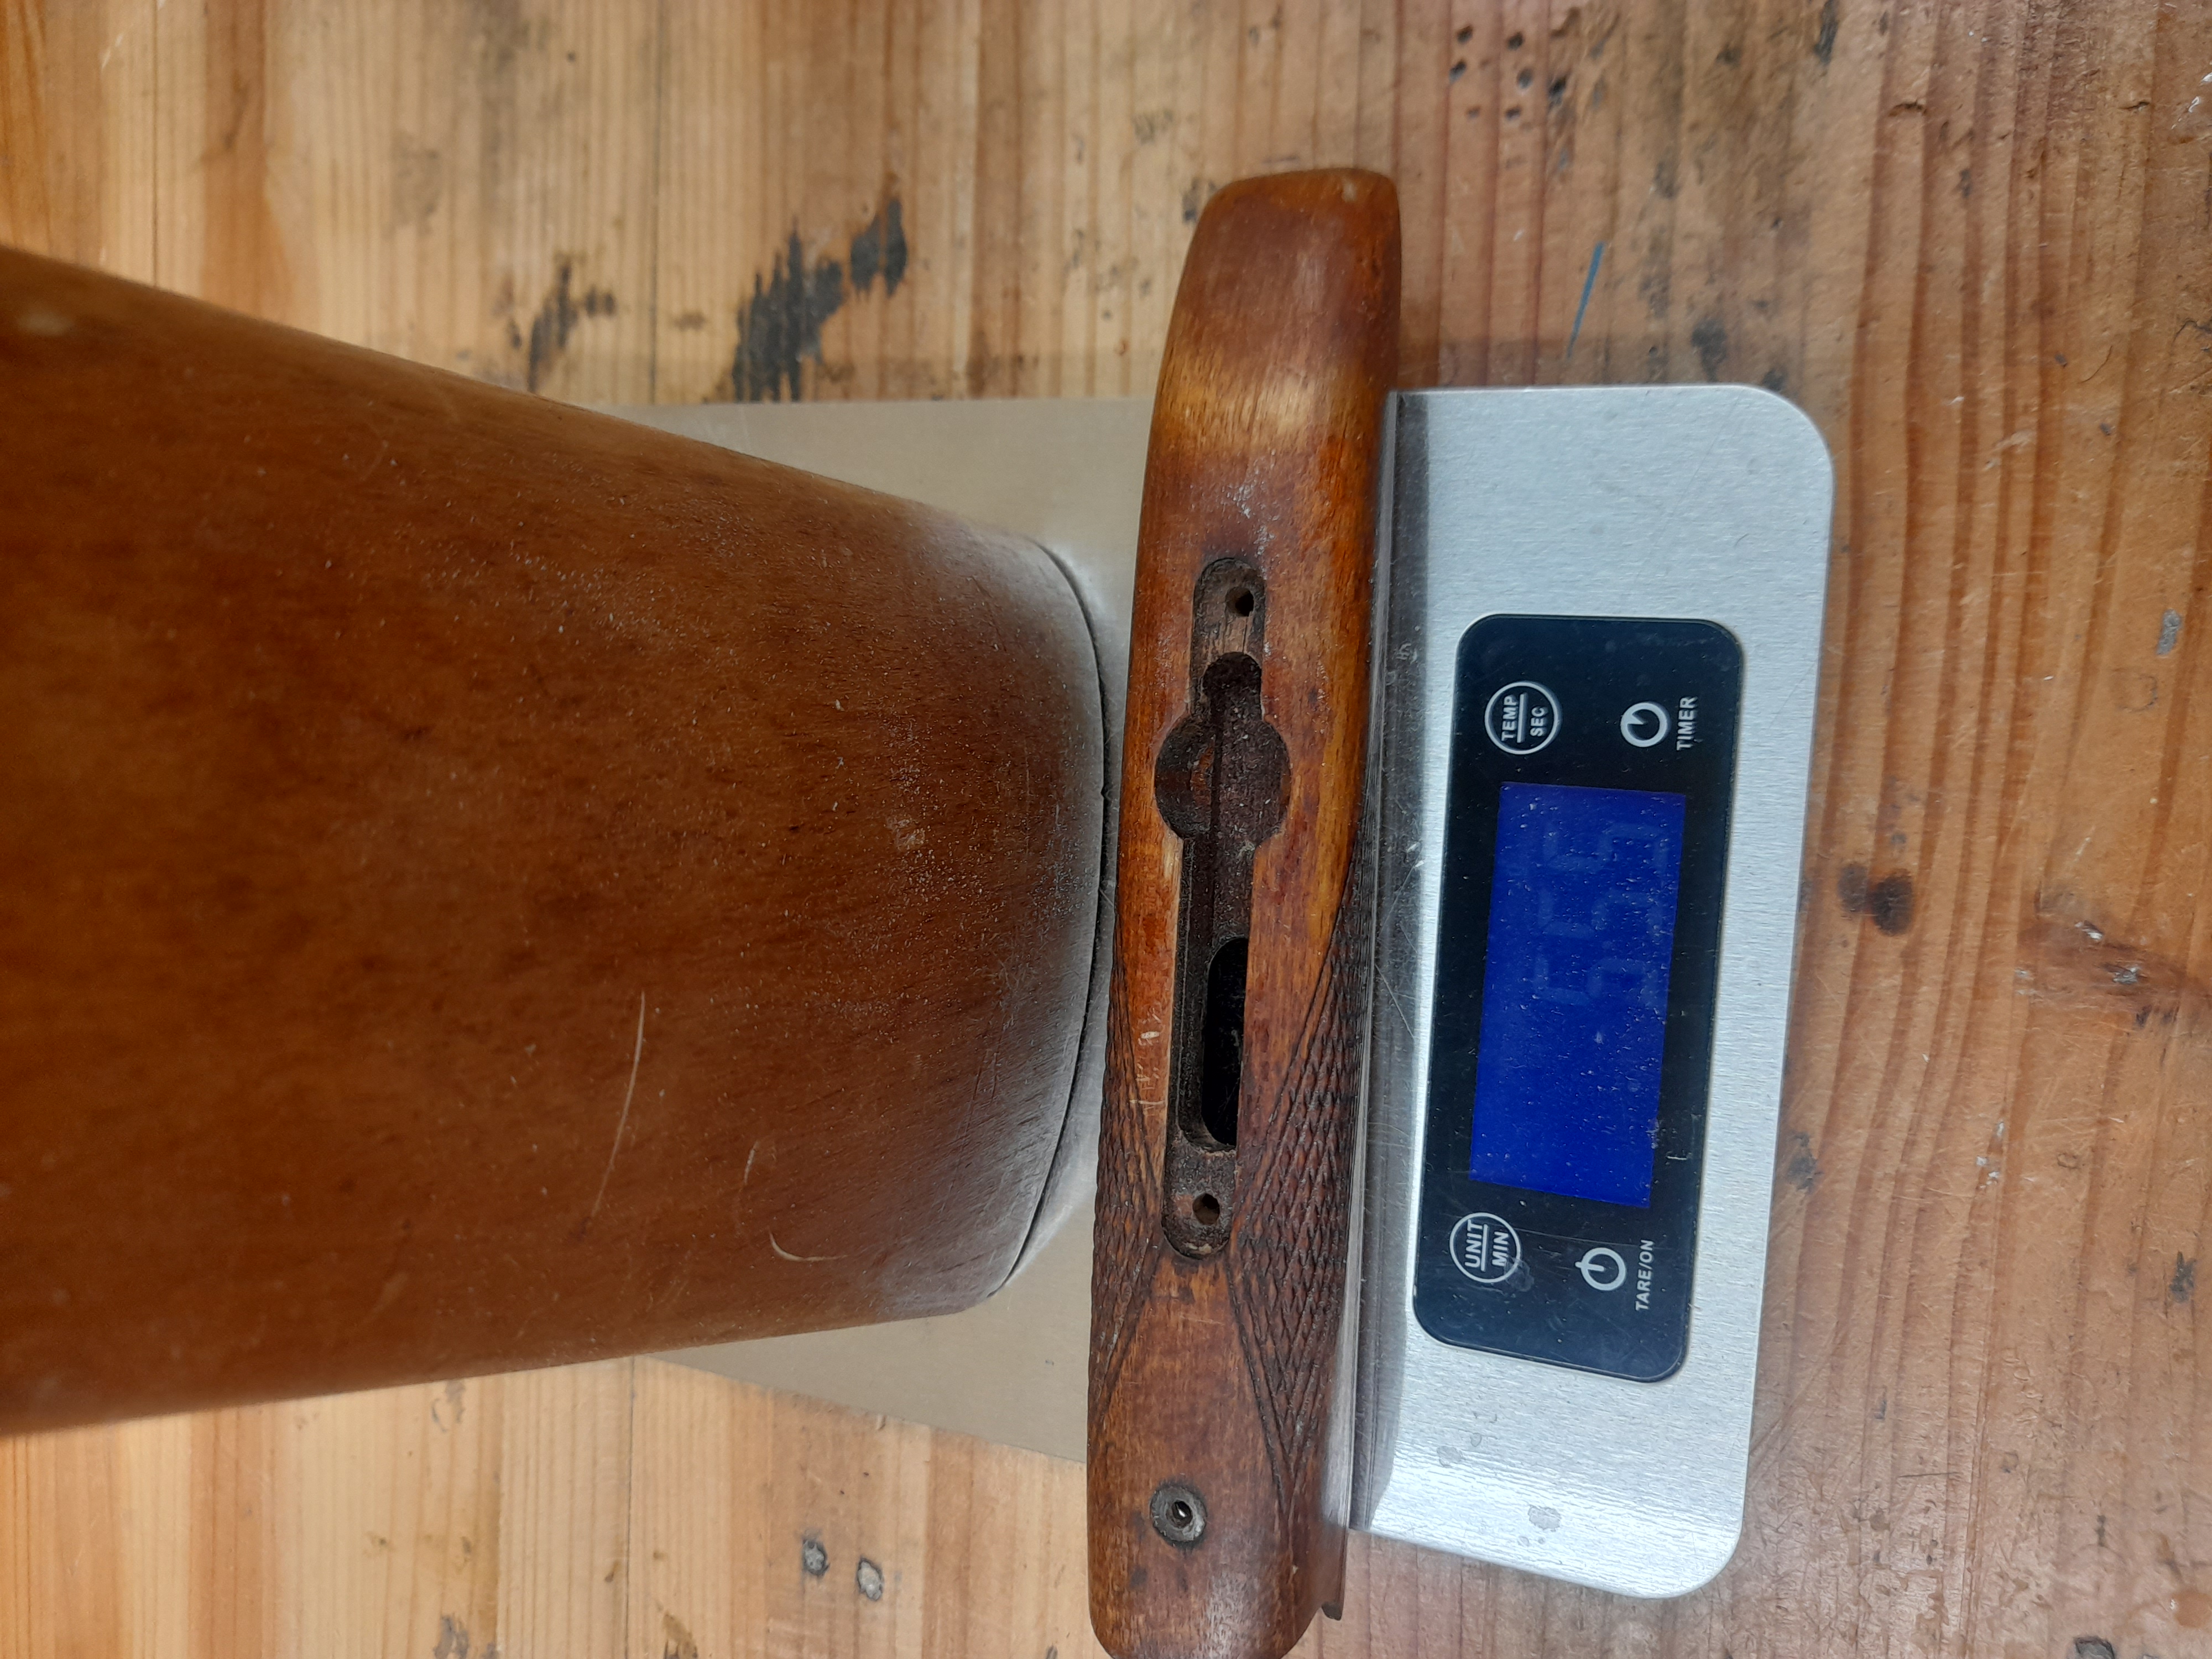
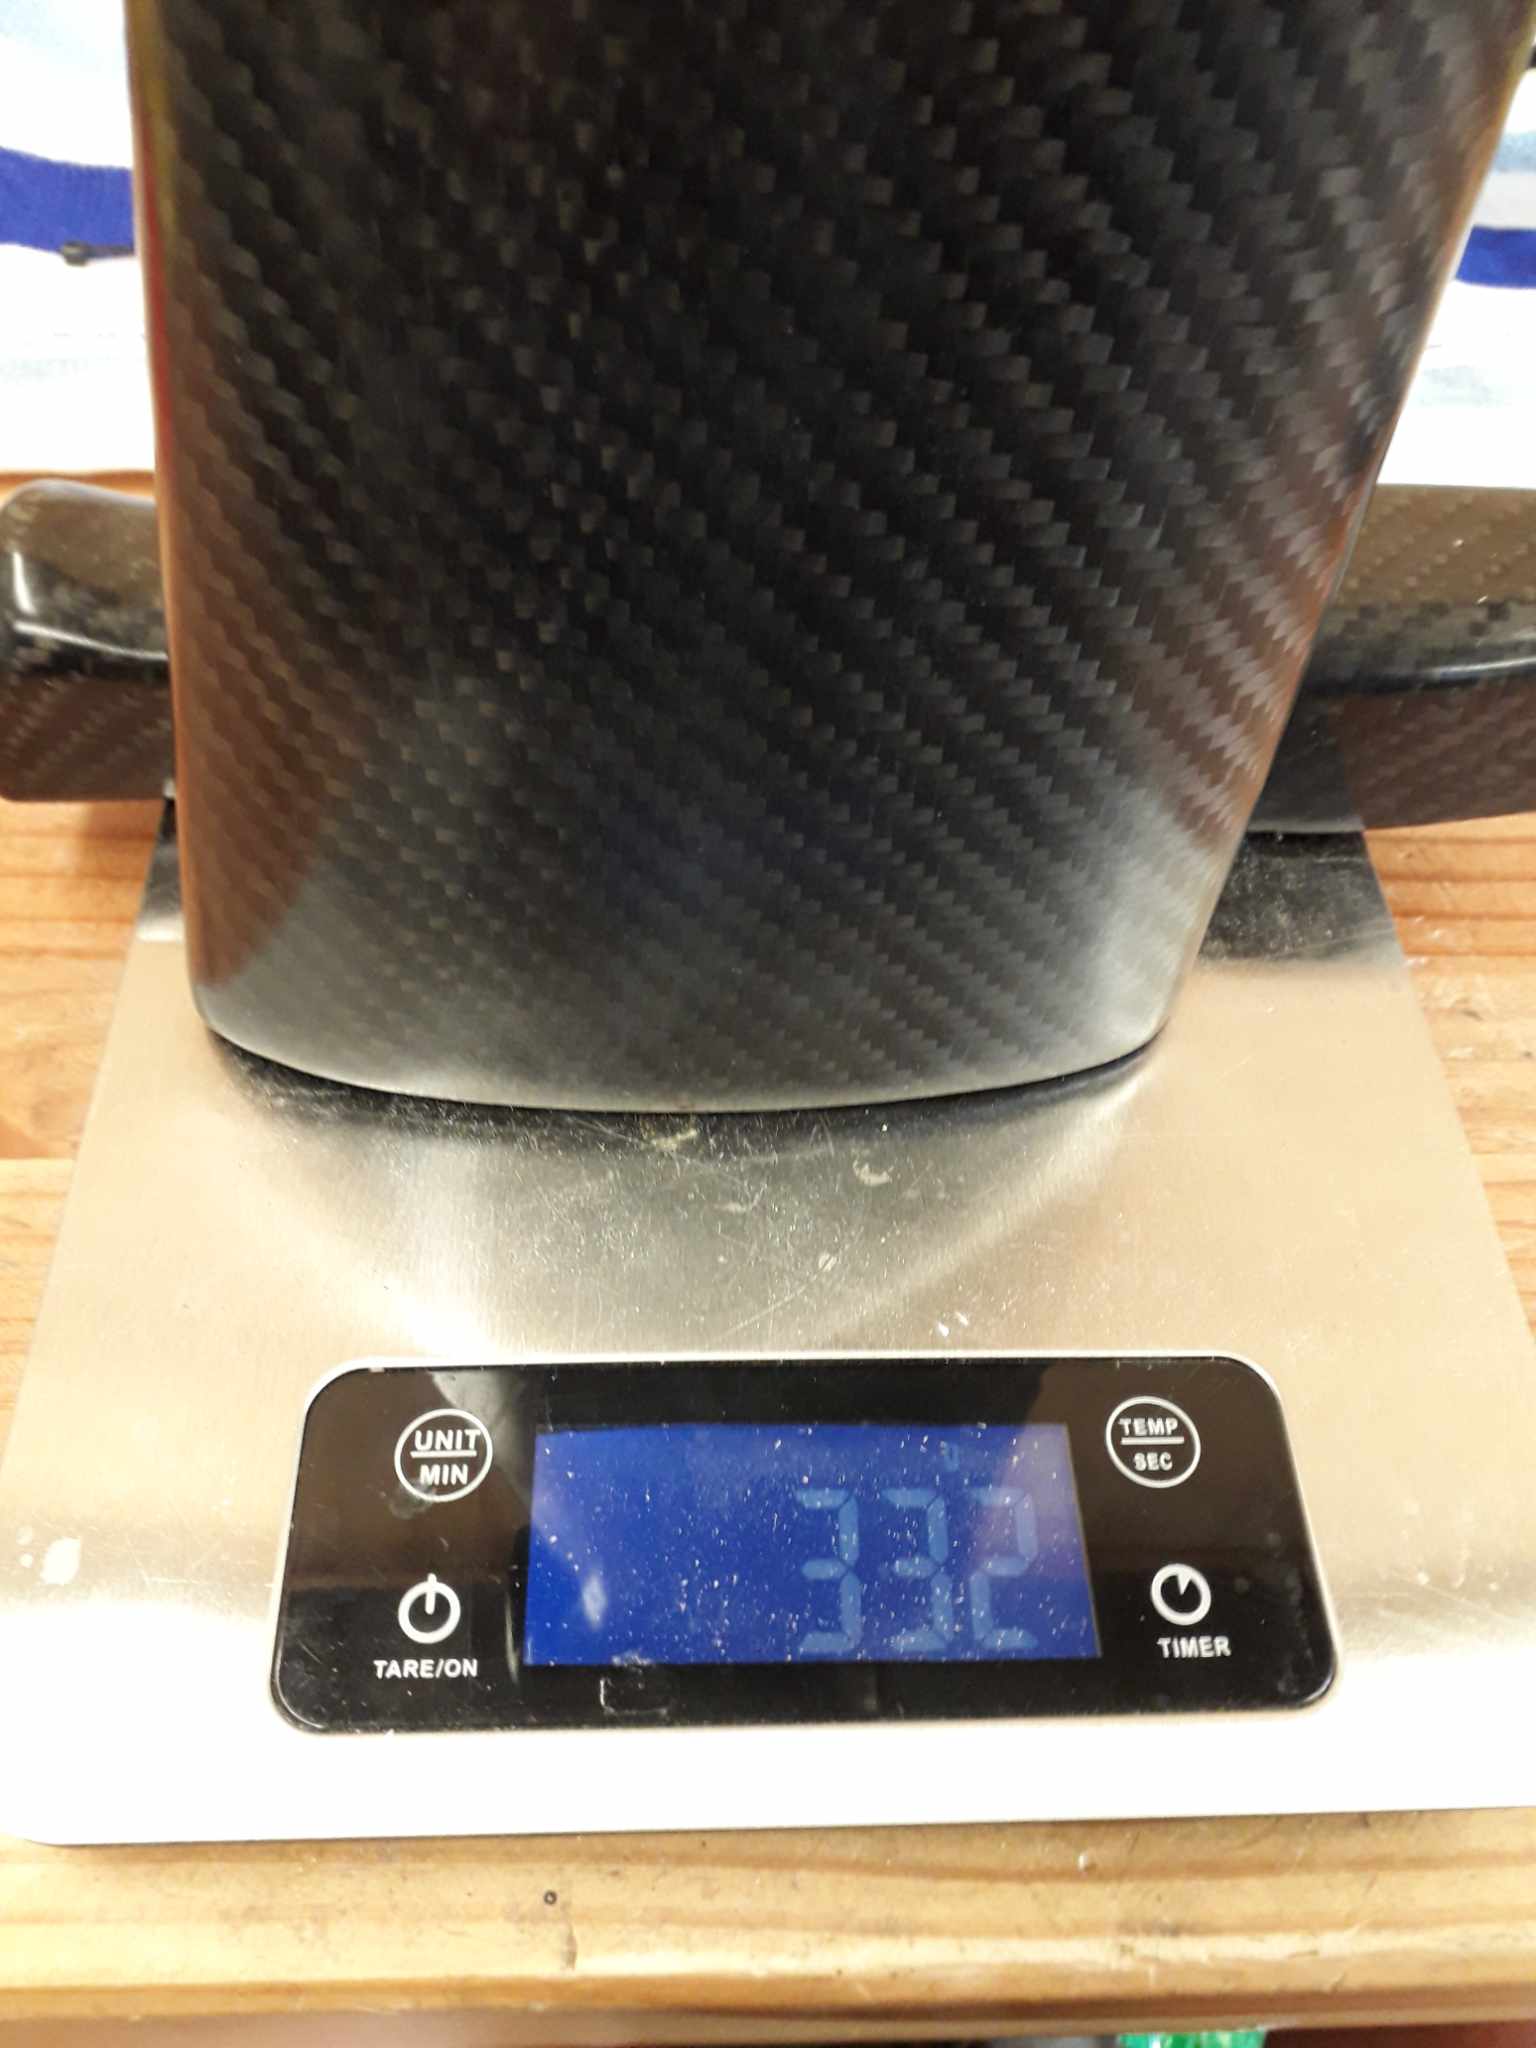
Weight and balance, balance is pretty good.
The balance point is right at the rear of the foregrip as most of they weight in those Baikals is in the action.
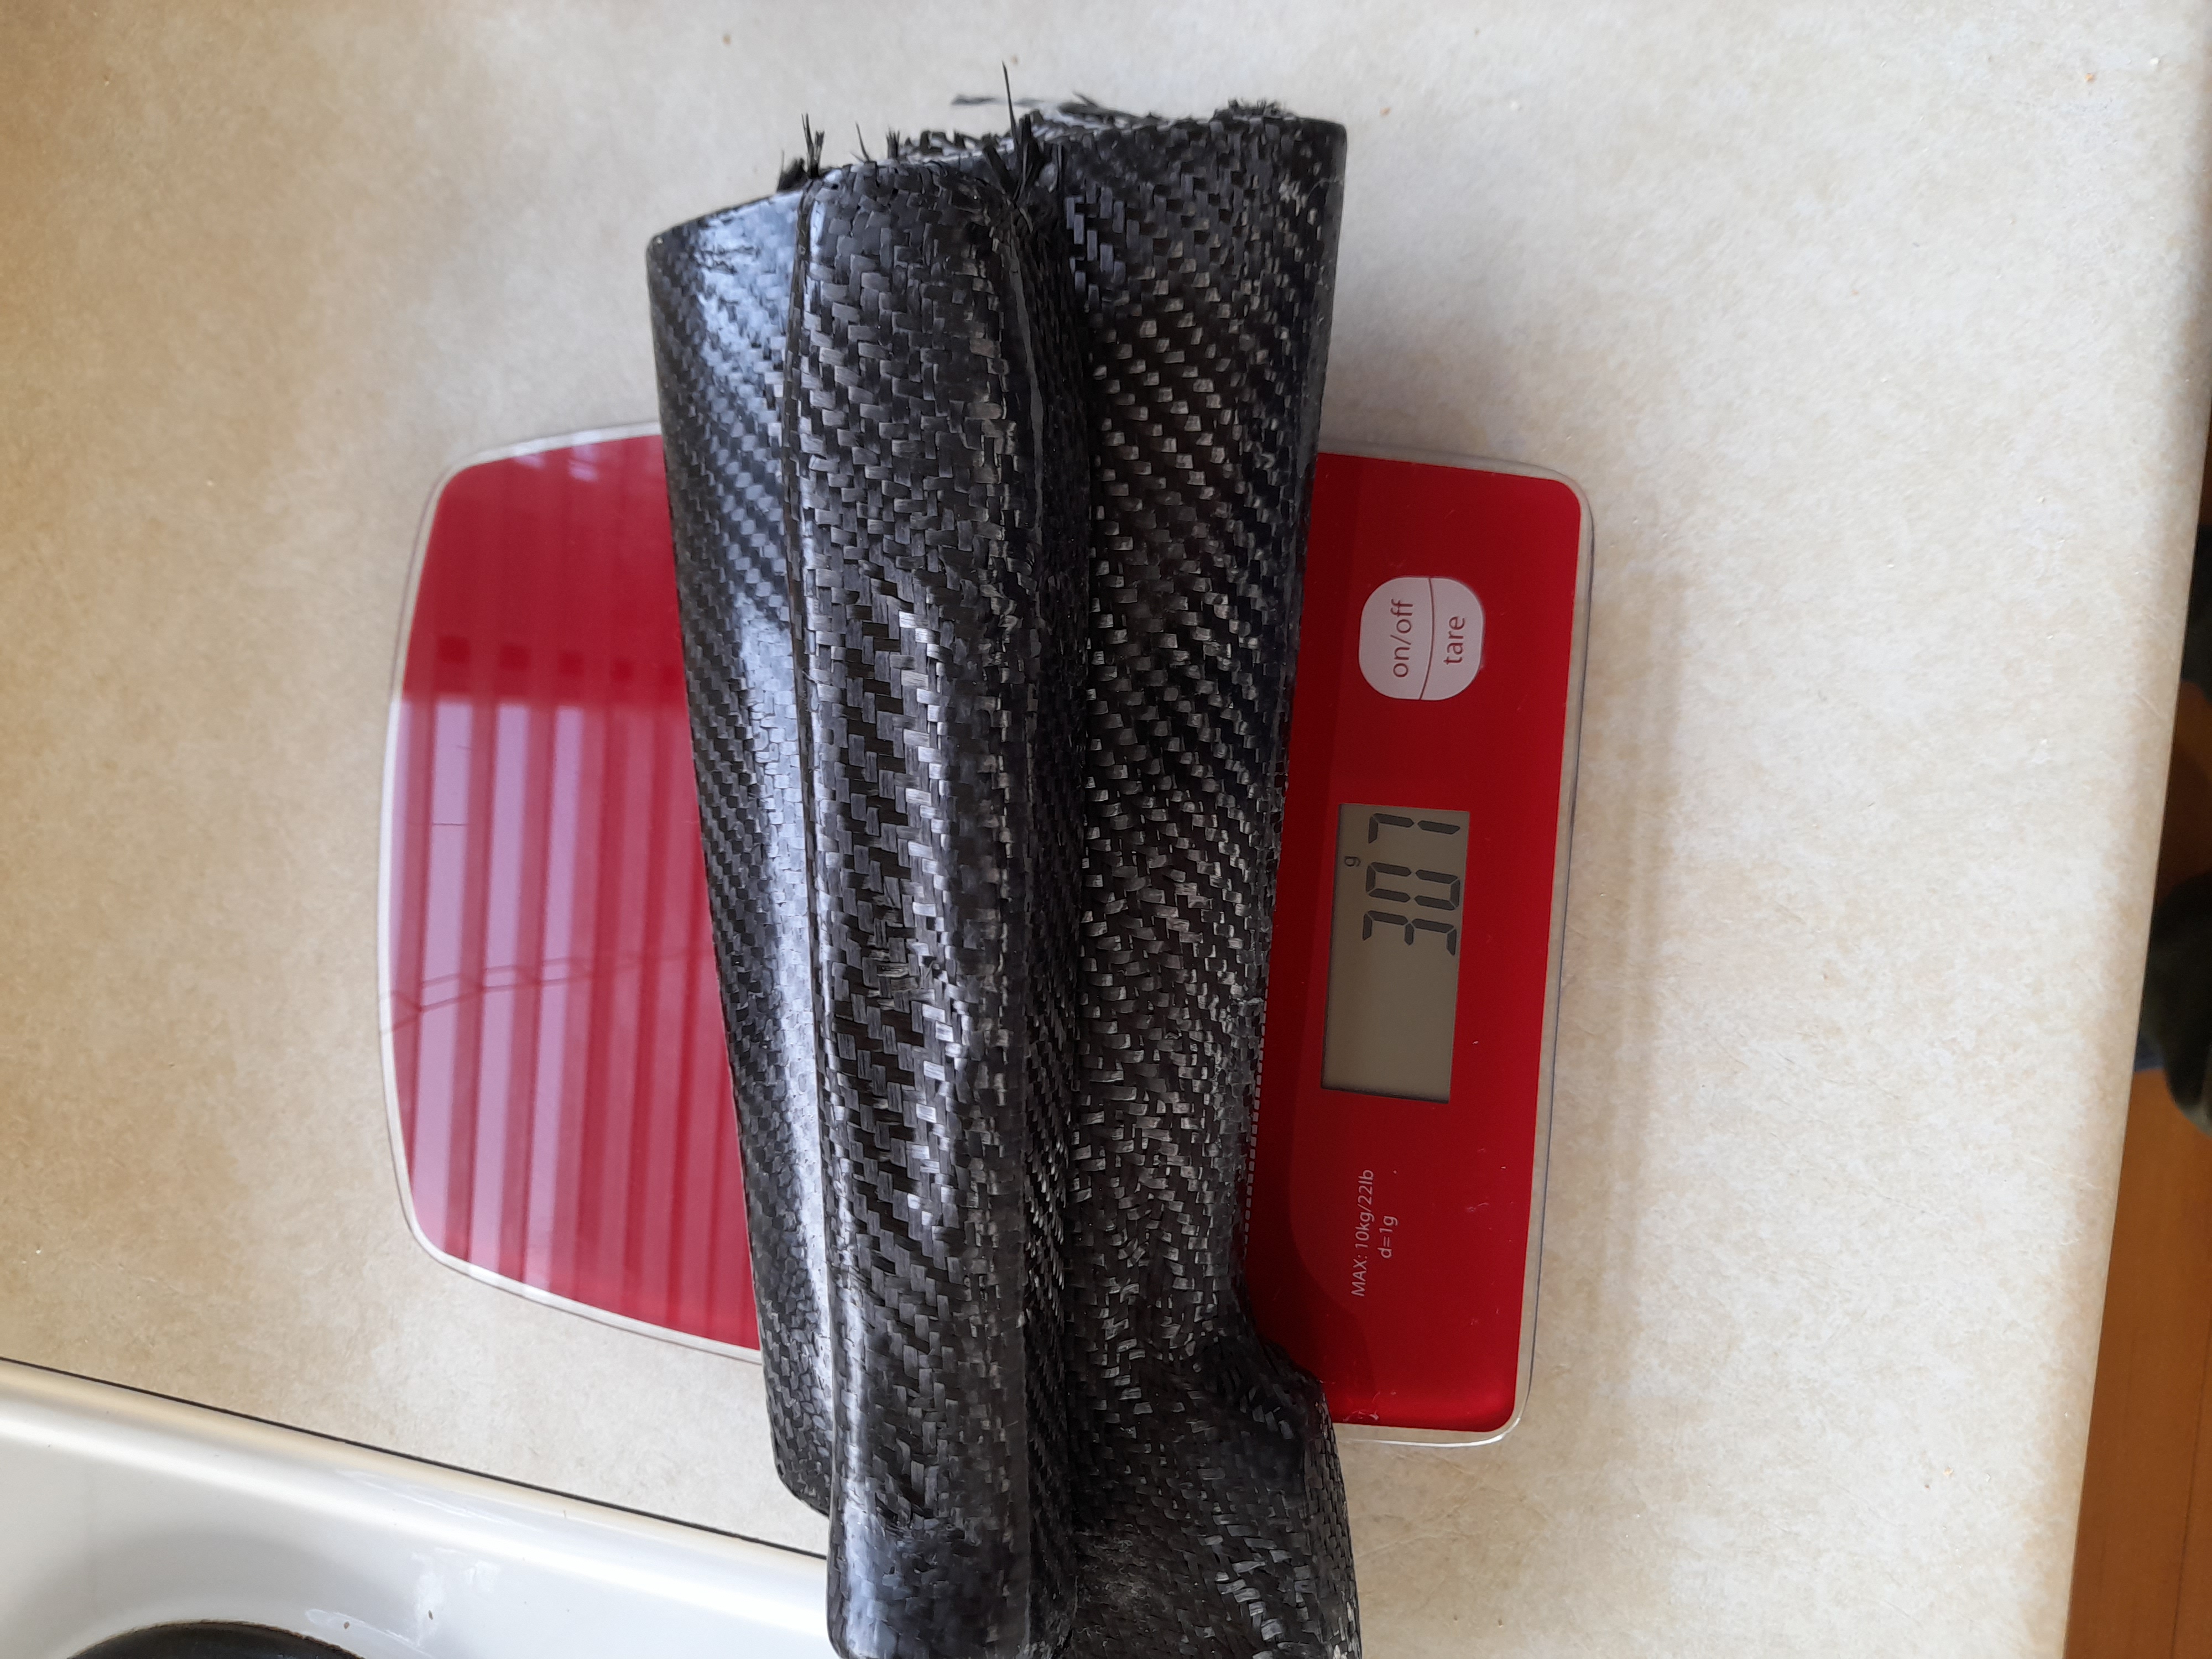
The weight with the rail but no scope/rings and without the recoil pad (as I'll be doing something different and much lighter) comes in at 2.65kg which isn't too bad for a 24" barrel.
223g saving over the original stock and the new stock is much bigger.
-
29-05-2024, 07:35 AM #21Member

- Join Date
- Oct 2014
- Location
- Tararua
- Posts
- 7,313
Be interesting to see how lively it is at that weight
-
29-05-2024, 10:25 AM #22Member
- Join Date
- Sep 2022
- Location
- Upper Hutt
- Posts
- 639
Shouldn't be too lively, it is only going to be shooting a 75gn projectile Originally Posted by Marty Henry
-
29-05-2024, 10:51 AM #23Member
- Join Date
- Dec 2014
- Location
- canterbury
- Posts
- 6,832
@makka I will be interested to see how this goes accuracy wise
Having built a number of rifles on the Baikal single barrel shotgun actions with great success, but none of them being smaller caliber and larger scope I have never been able to see what the Baikal platform is capable of.
Builds in 30-30, 307 Win and 50-70 nitro were all vastly more accurate than I would find acceptable considering the caliber / scope combination and intended use.
I have also used one of the CZ 1:9 barrels on a 222R Contender Stub with very good results, so expect that this Baikal 5.6x57 build should / could be very accurate.
Even my 222R hasn't been tested to it's max due to the current ( maybe for ever ) powder, primer and projectile shortages.
So I will watch with interest what this Baikal is capable of having just had a conversation with someone about the suitability of his chosen platform ( not Baikal or Contender ) for an accurate 22 CFThe Church of
John Browning
of the Later-Day Shooter
-
29-05-2024, 12:22 PM #24Member

- Join Date
- May 2013
- Location
- Wanaka
- Posts
- 1,055
Coming together nicely, looking forward to the next update
thejamesjames and makka like this."That is ever the way of the Highlander. He alters like a clear pool to every mood of the sky, so that the shallow observer knows not how deep the waters are."
-
29-05-2024, 12:24 PM #25Member
- Join Date
- Sep 2022
- Location
- Upper Hutt
- Posts
- 639
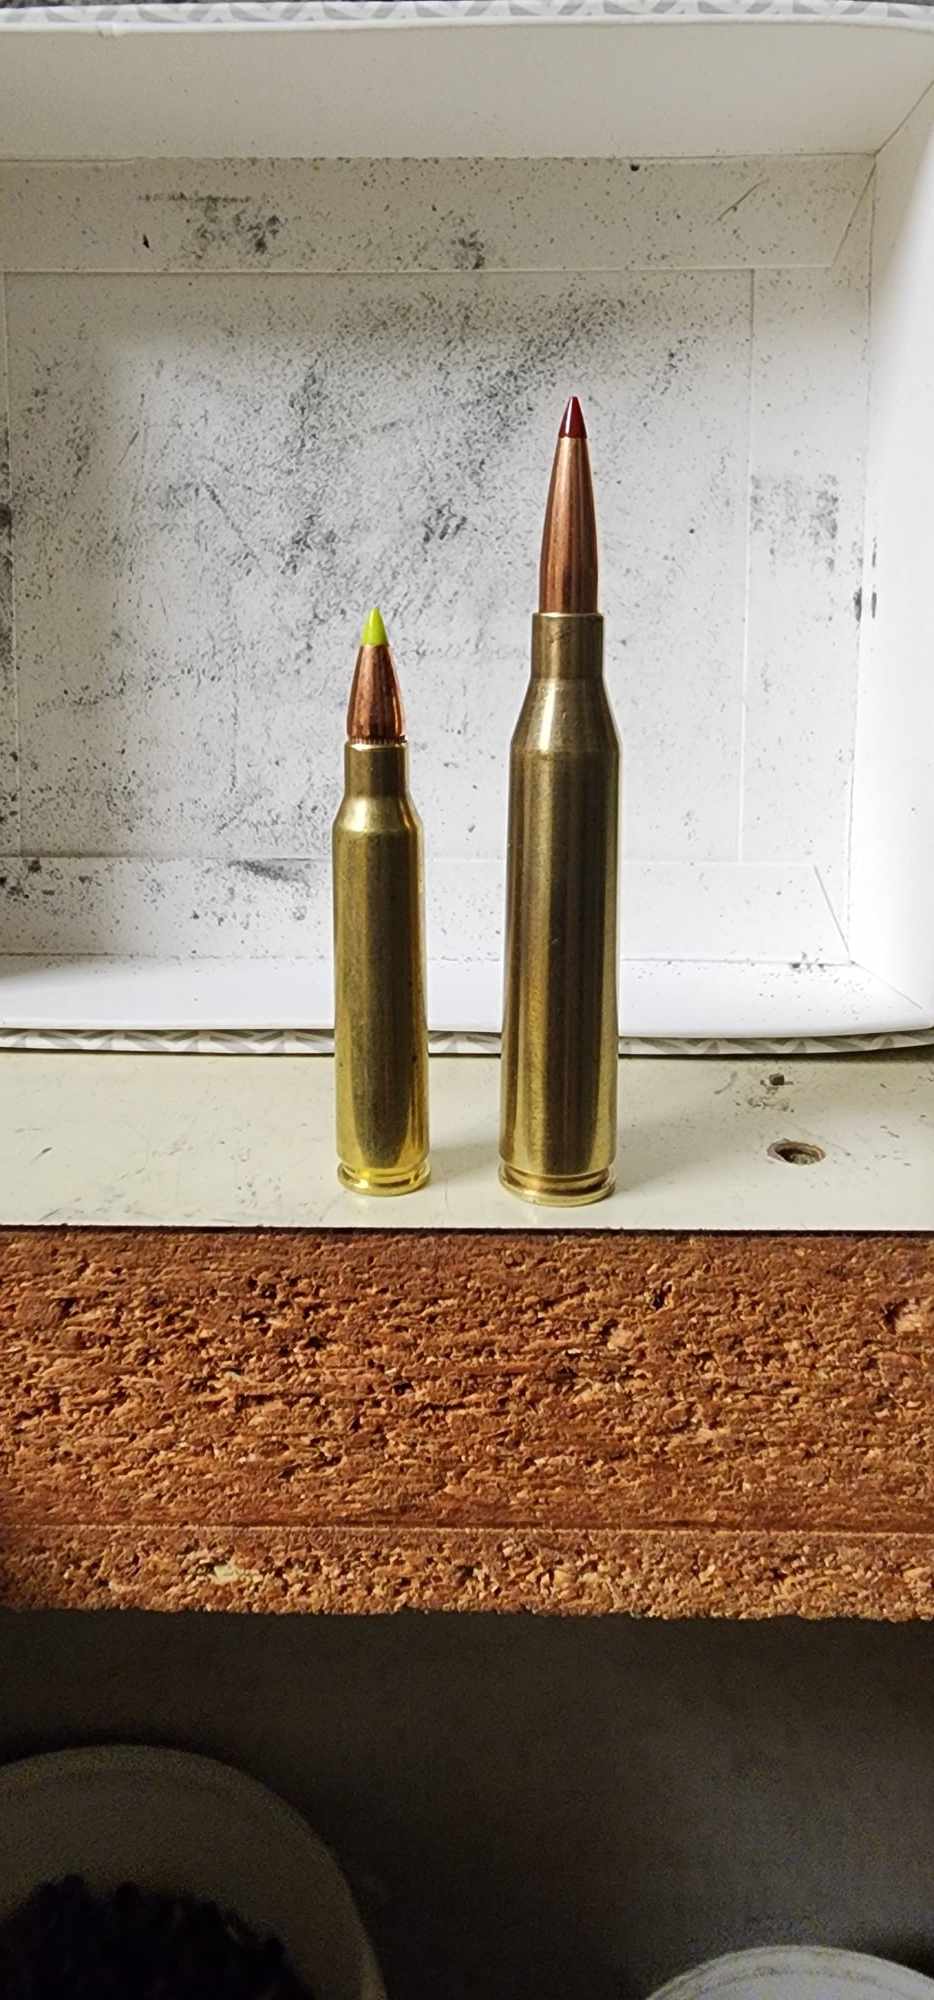
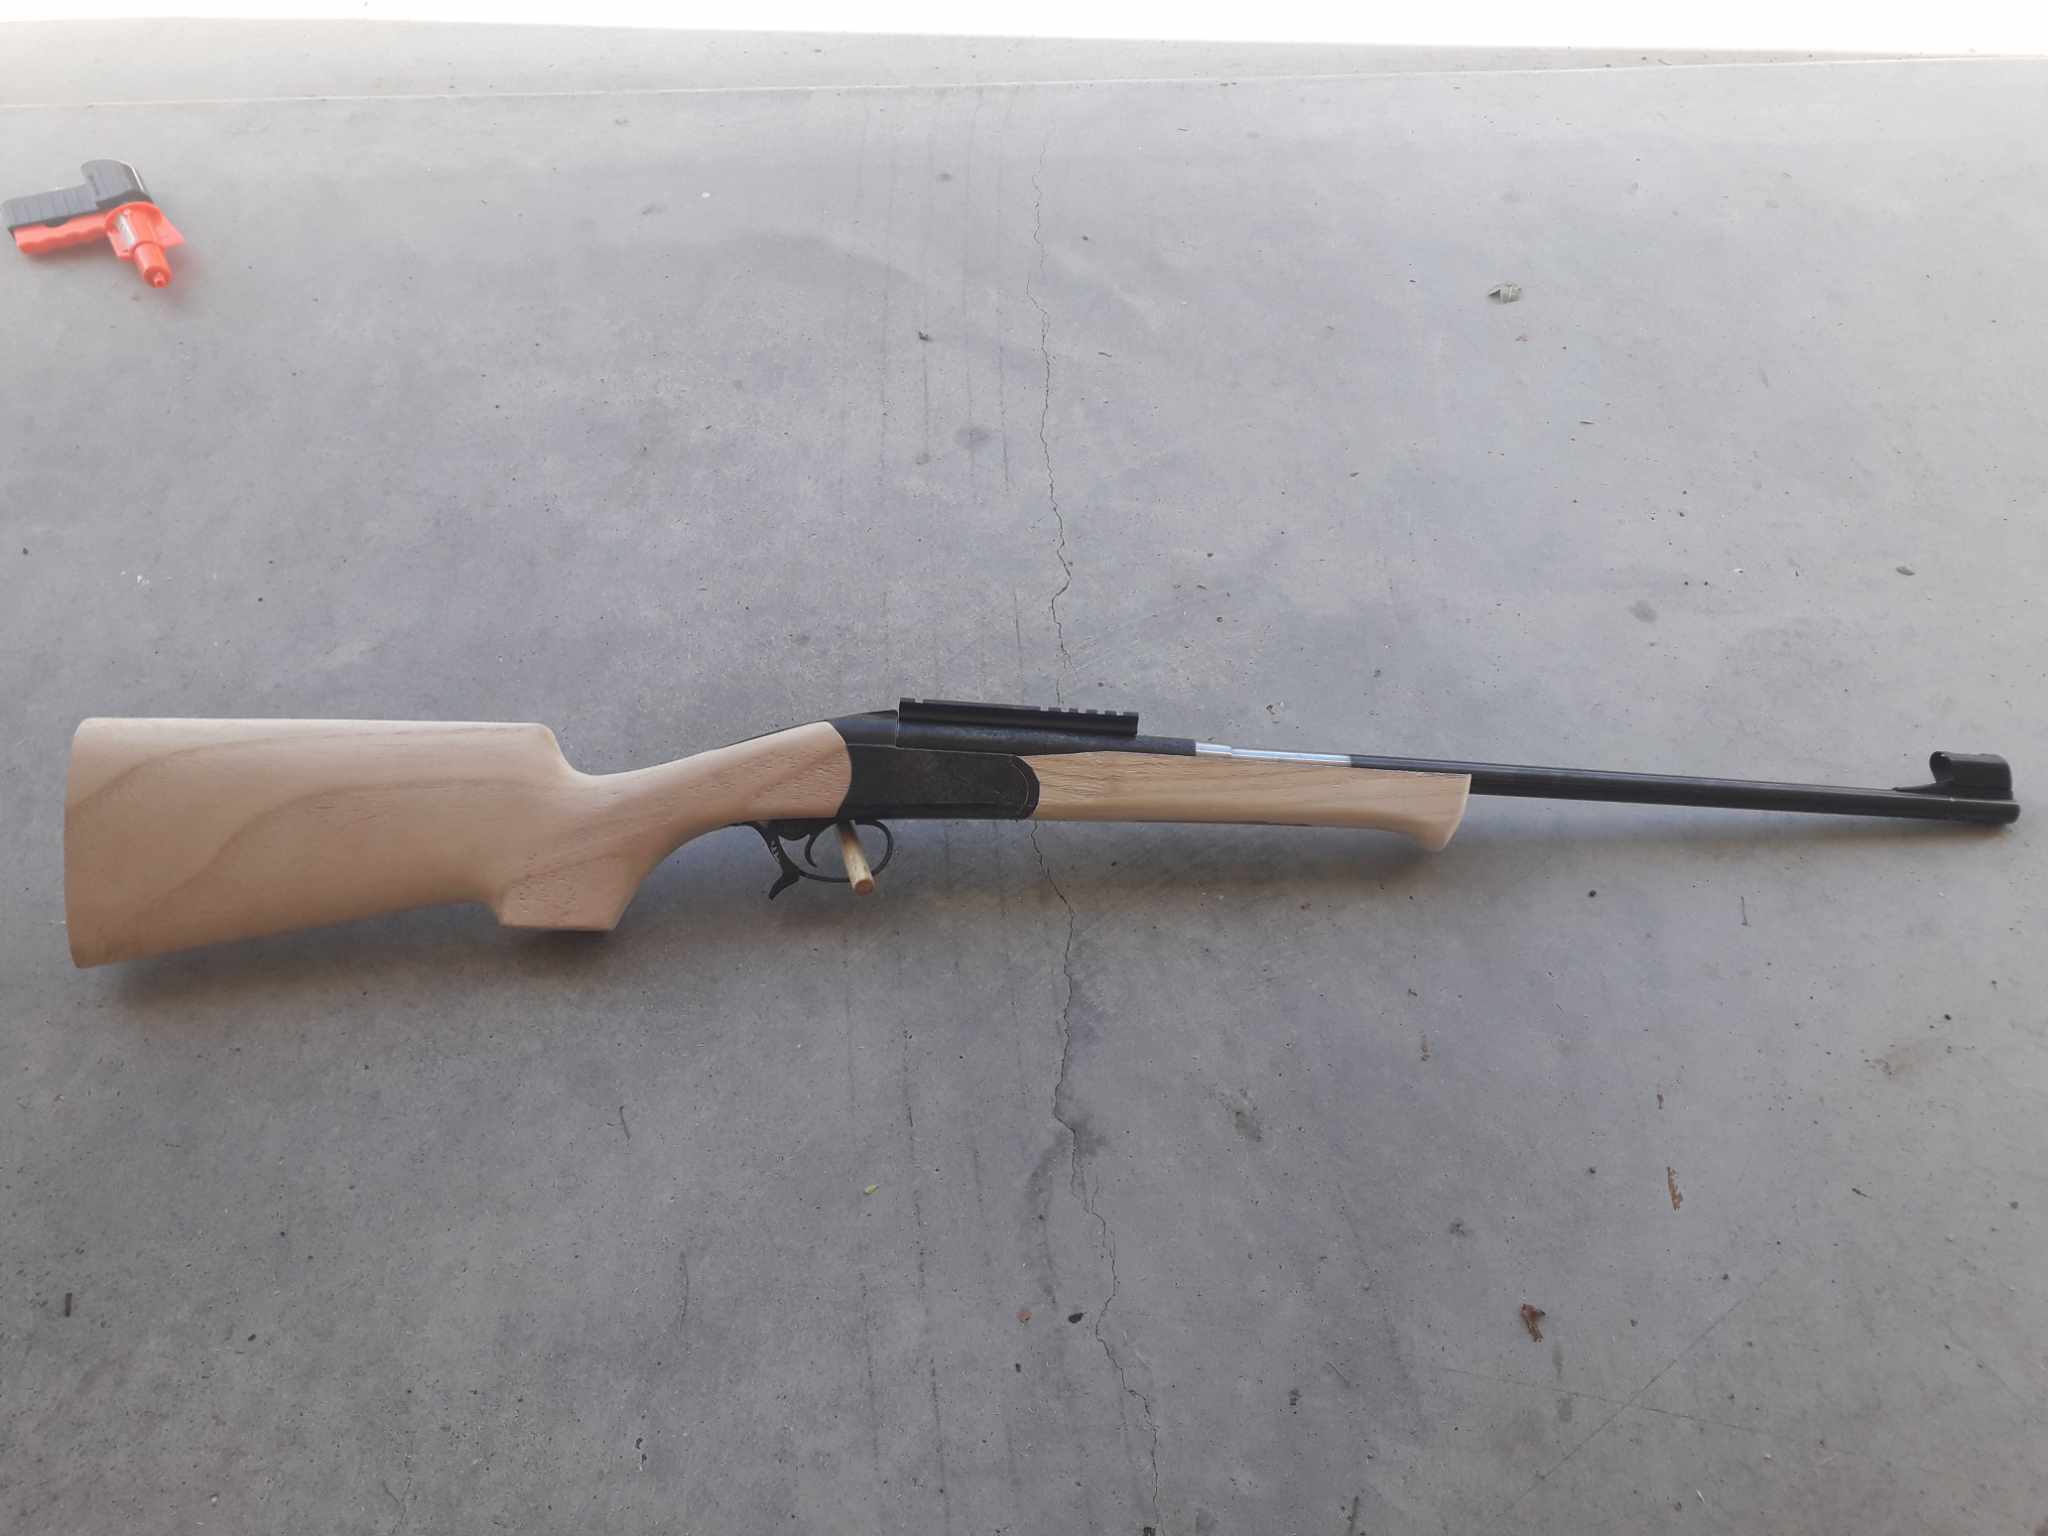
I can't comment on accuracy as yet, but now the rifle is "complete" I managed to get a couple of test shots off to make sure it held together.
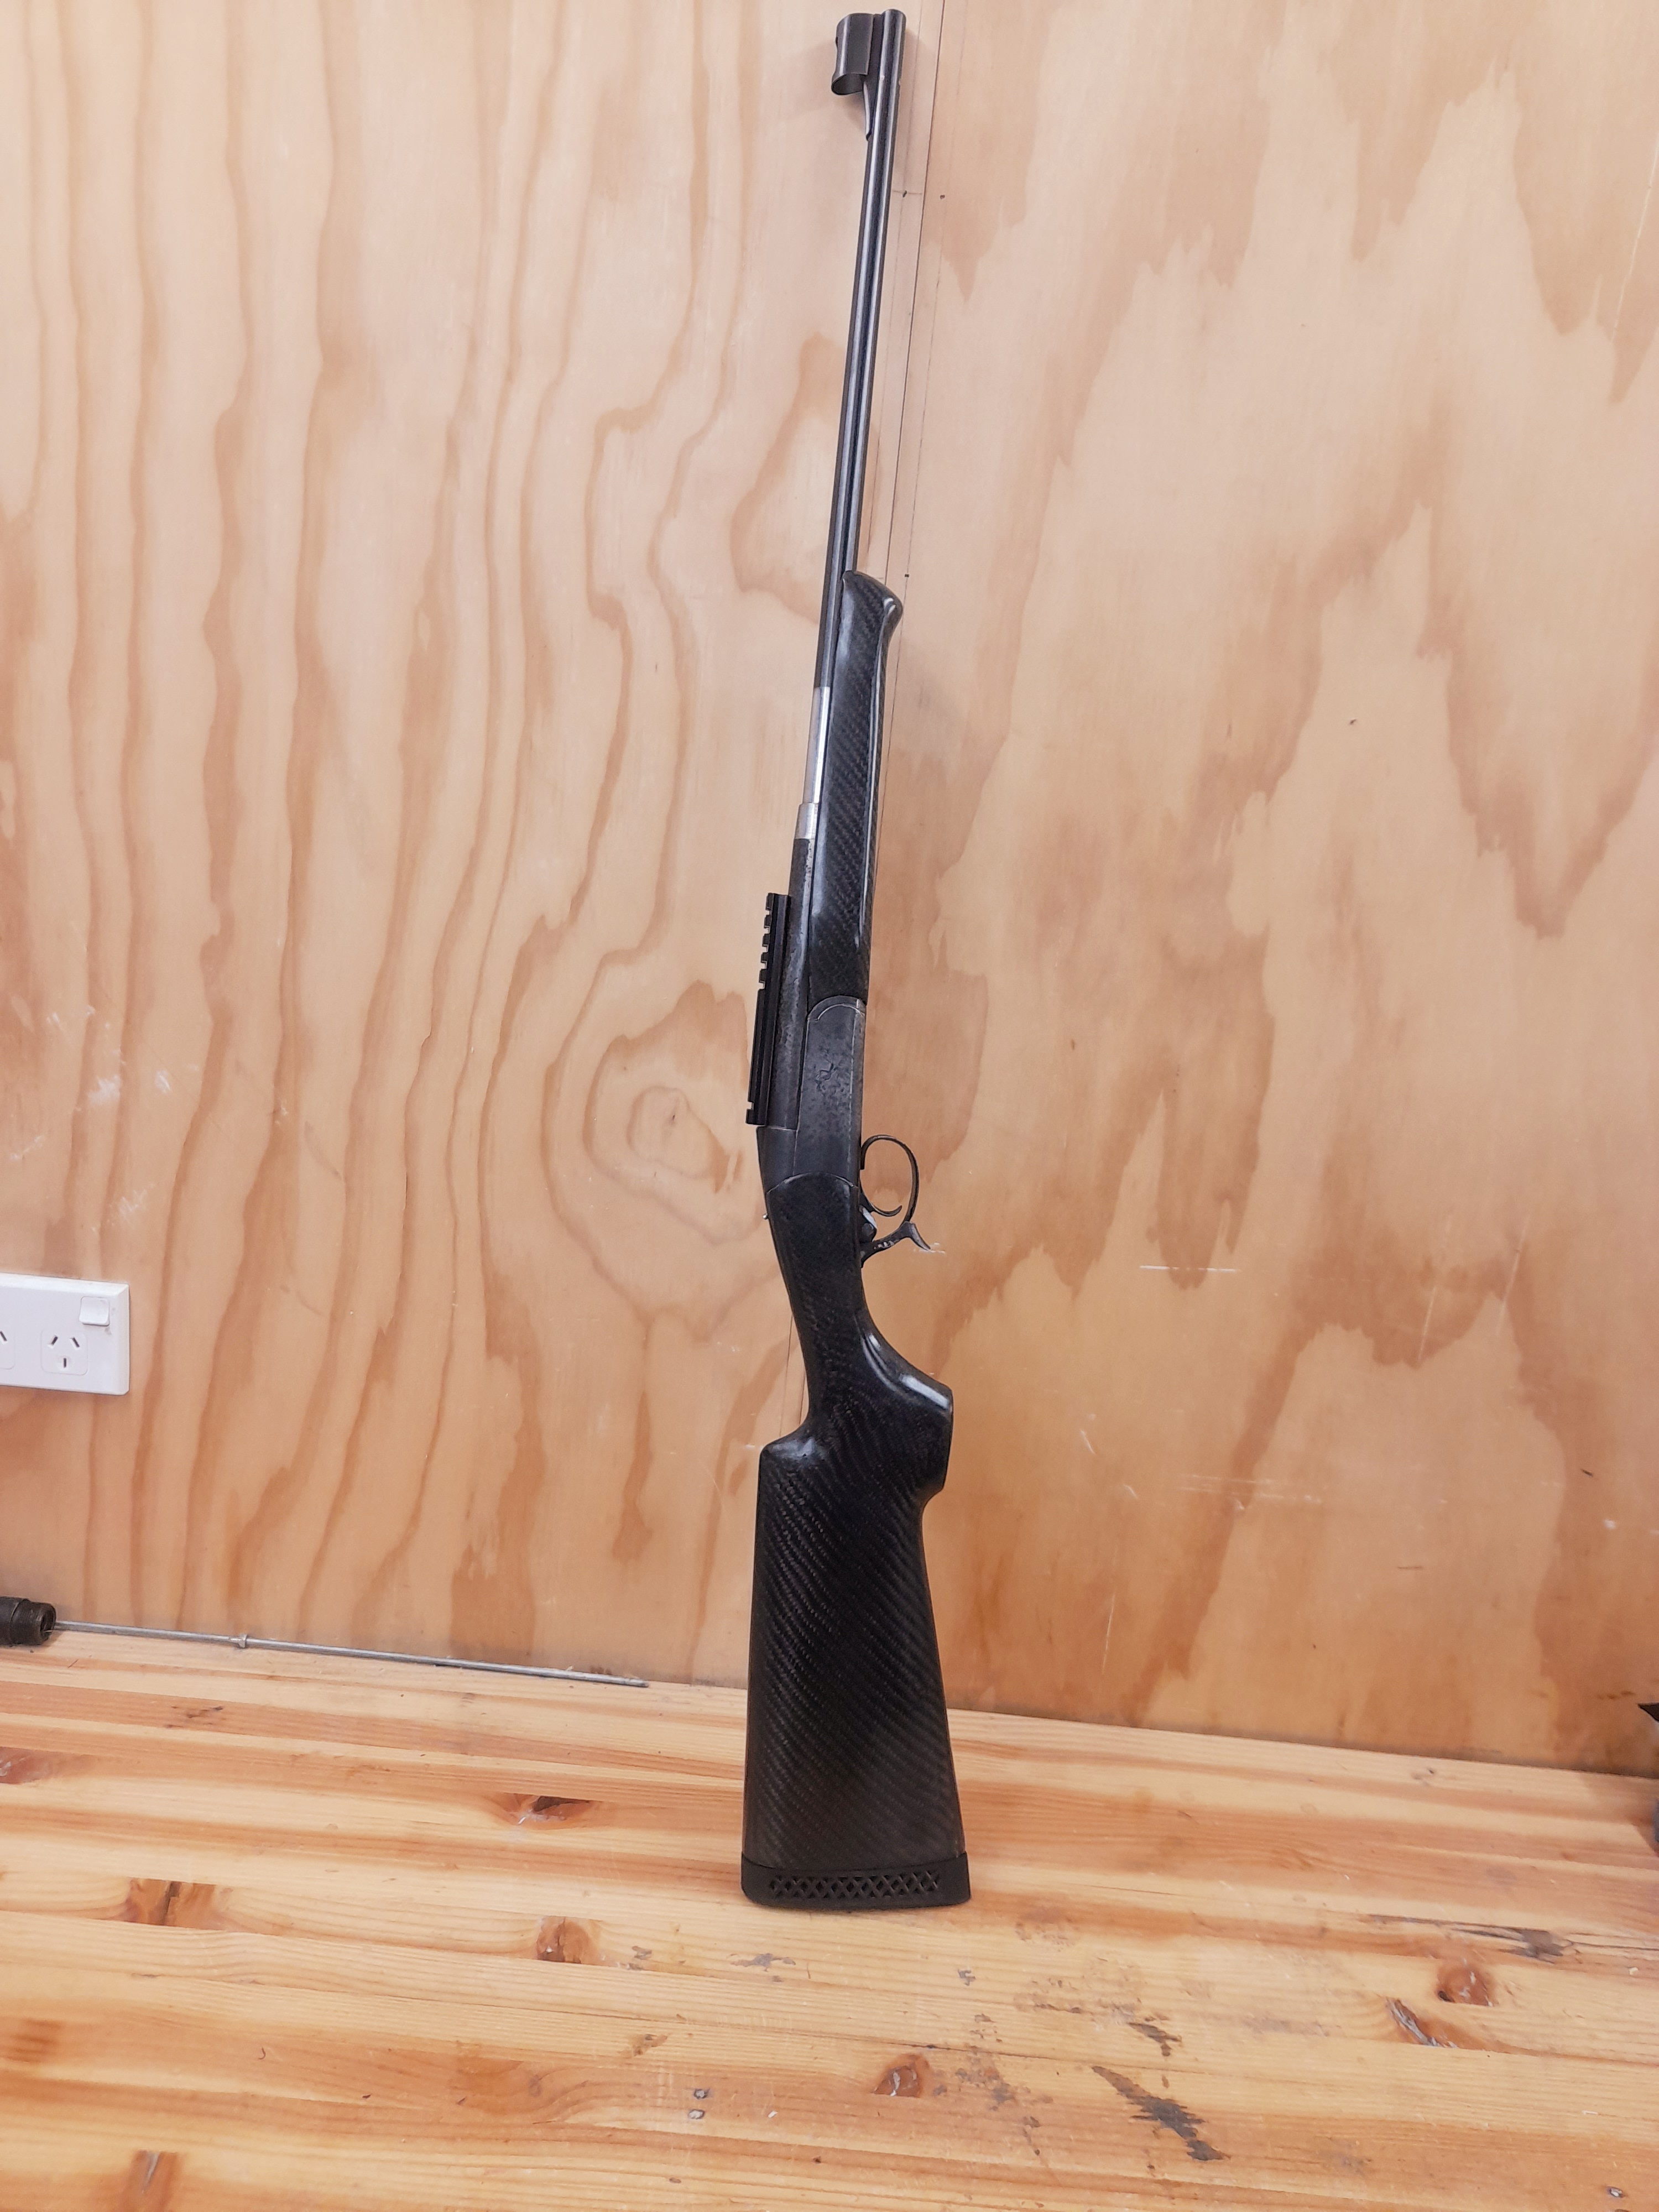
Load was 44gn of 2213sc behind a 75gn eldm, this should have roughly replicated the factory ammo (74gn at 3400fps)
This uncovered an issue that I thought might pop up.
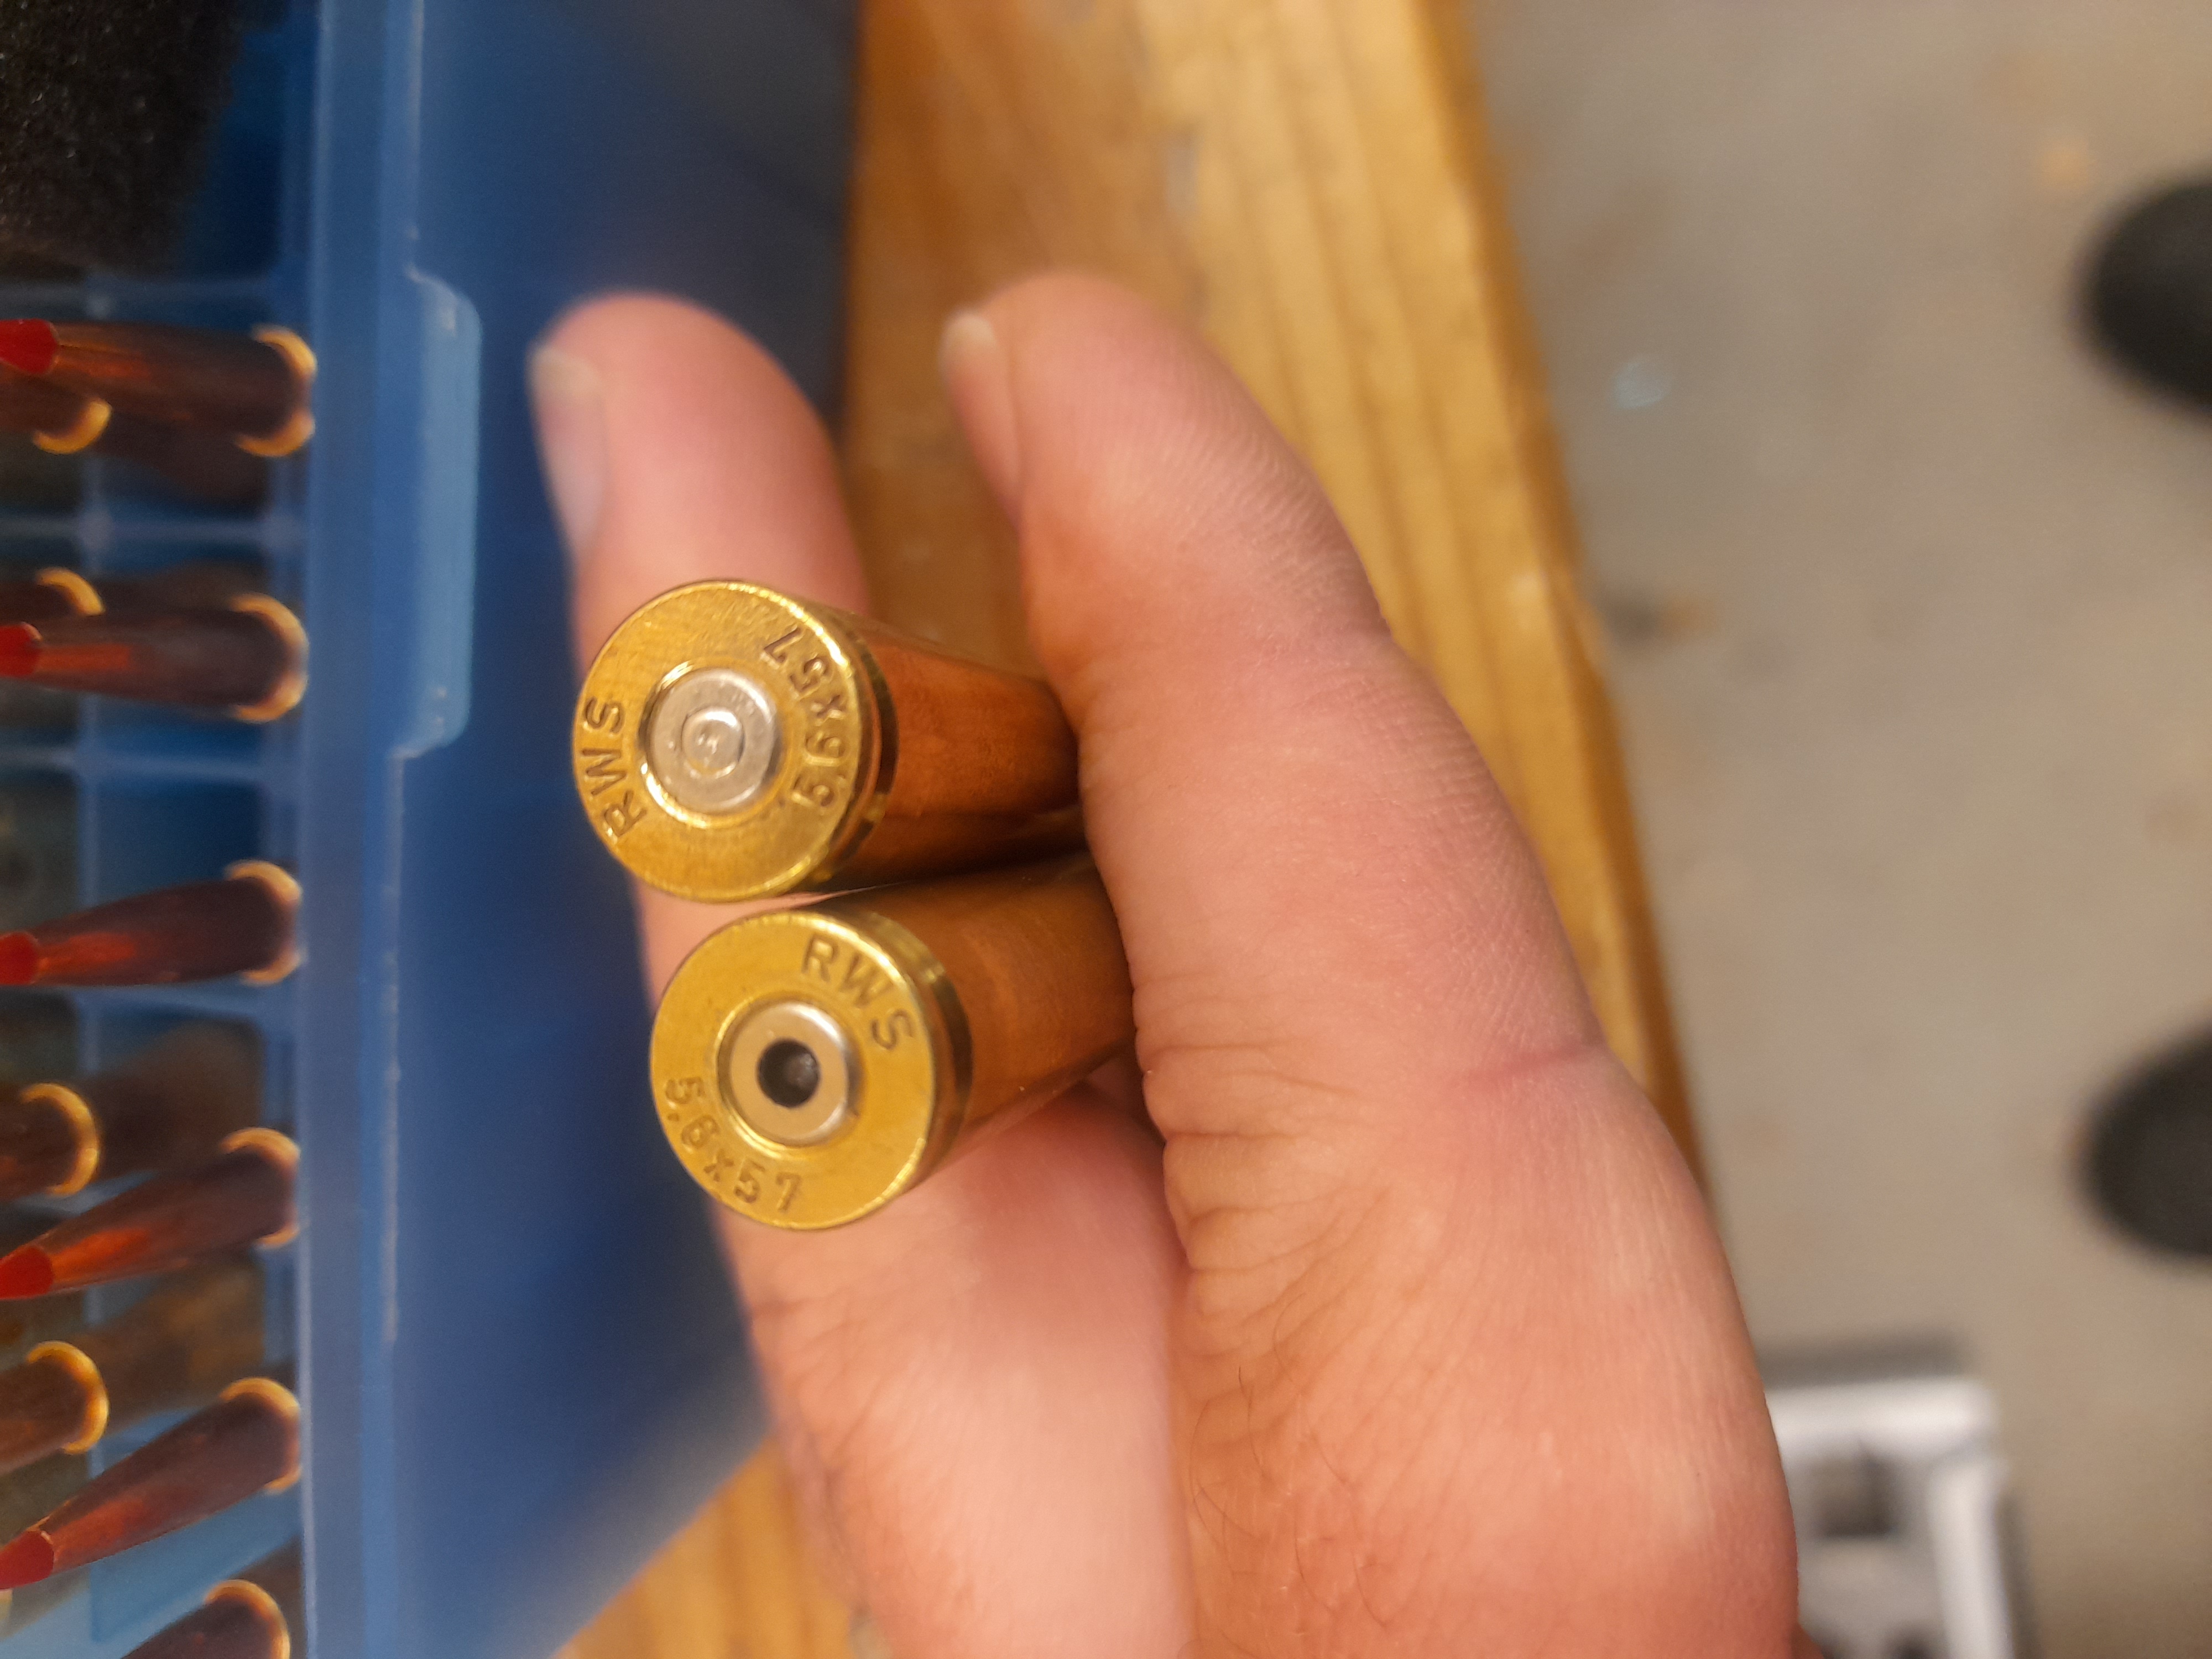
The firing pin is much larger in diameter than a normal rifle (2.5mm vs 1.6-1.8mm) which caused primer blanking issues. So now it's time to turn the firing pin down and bush it to a more acceptable diameter.
-
29-05-2024, 08:21 PM #26Member
- Join Date
- Apr 2015
- Location
- Geraldine
- Posts
- 25,416
maybe try one of the harder primers first??? CCI maybe.
kristopher and makka like this.75/15/10 black powder matters
-
29-05-2024, 09:03 PM #27Member
- Join Date
- Sep 2022
- Location
- Upper Hutt
- Posts
- 639
I thought about it, but would rather just get it right and not have to worry about the primers. Originally Posted by Micky Duck
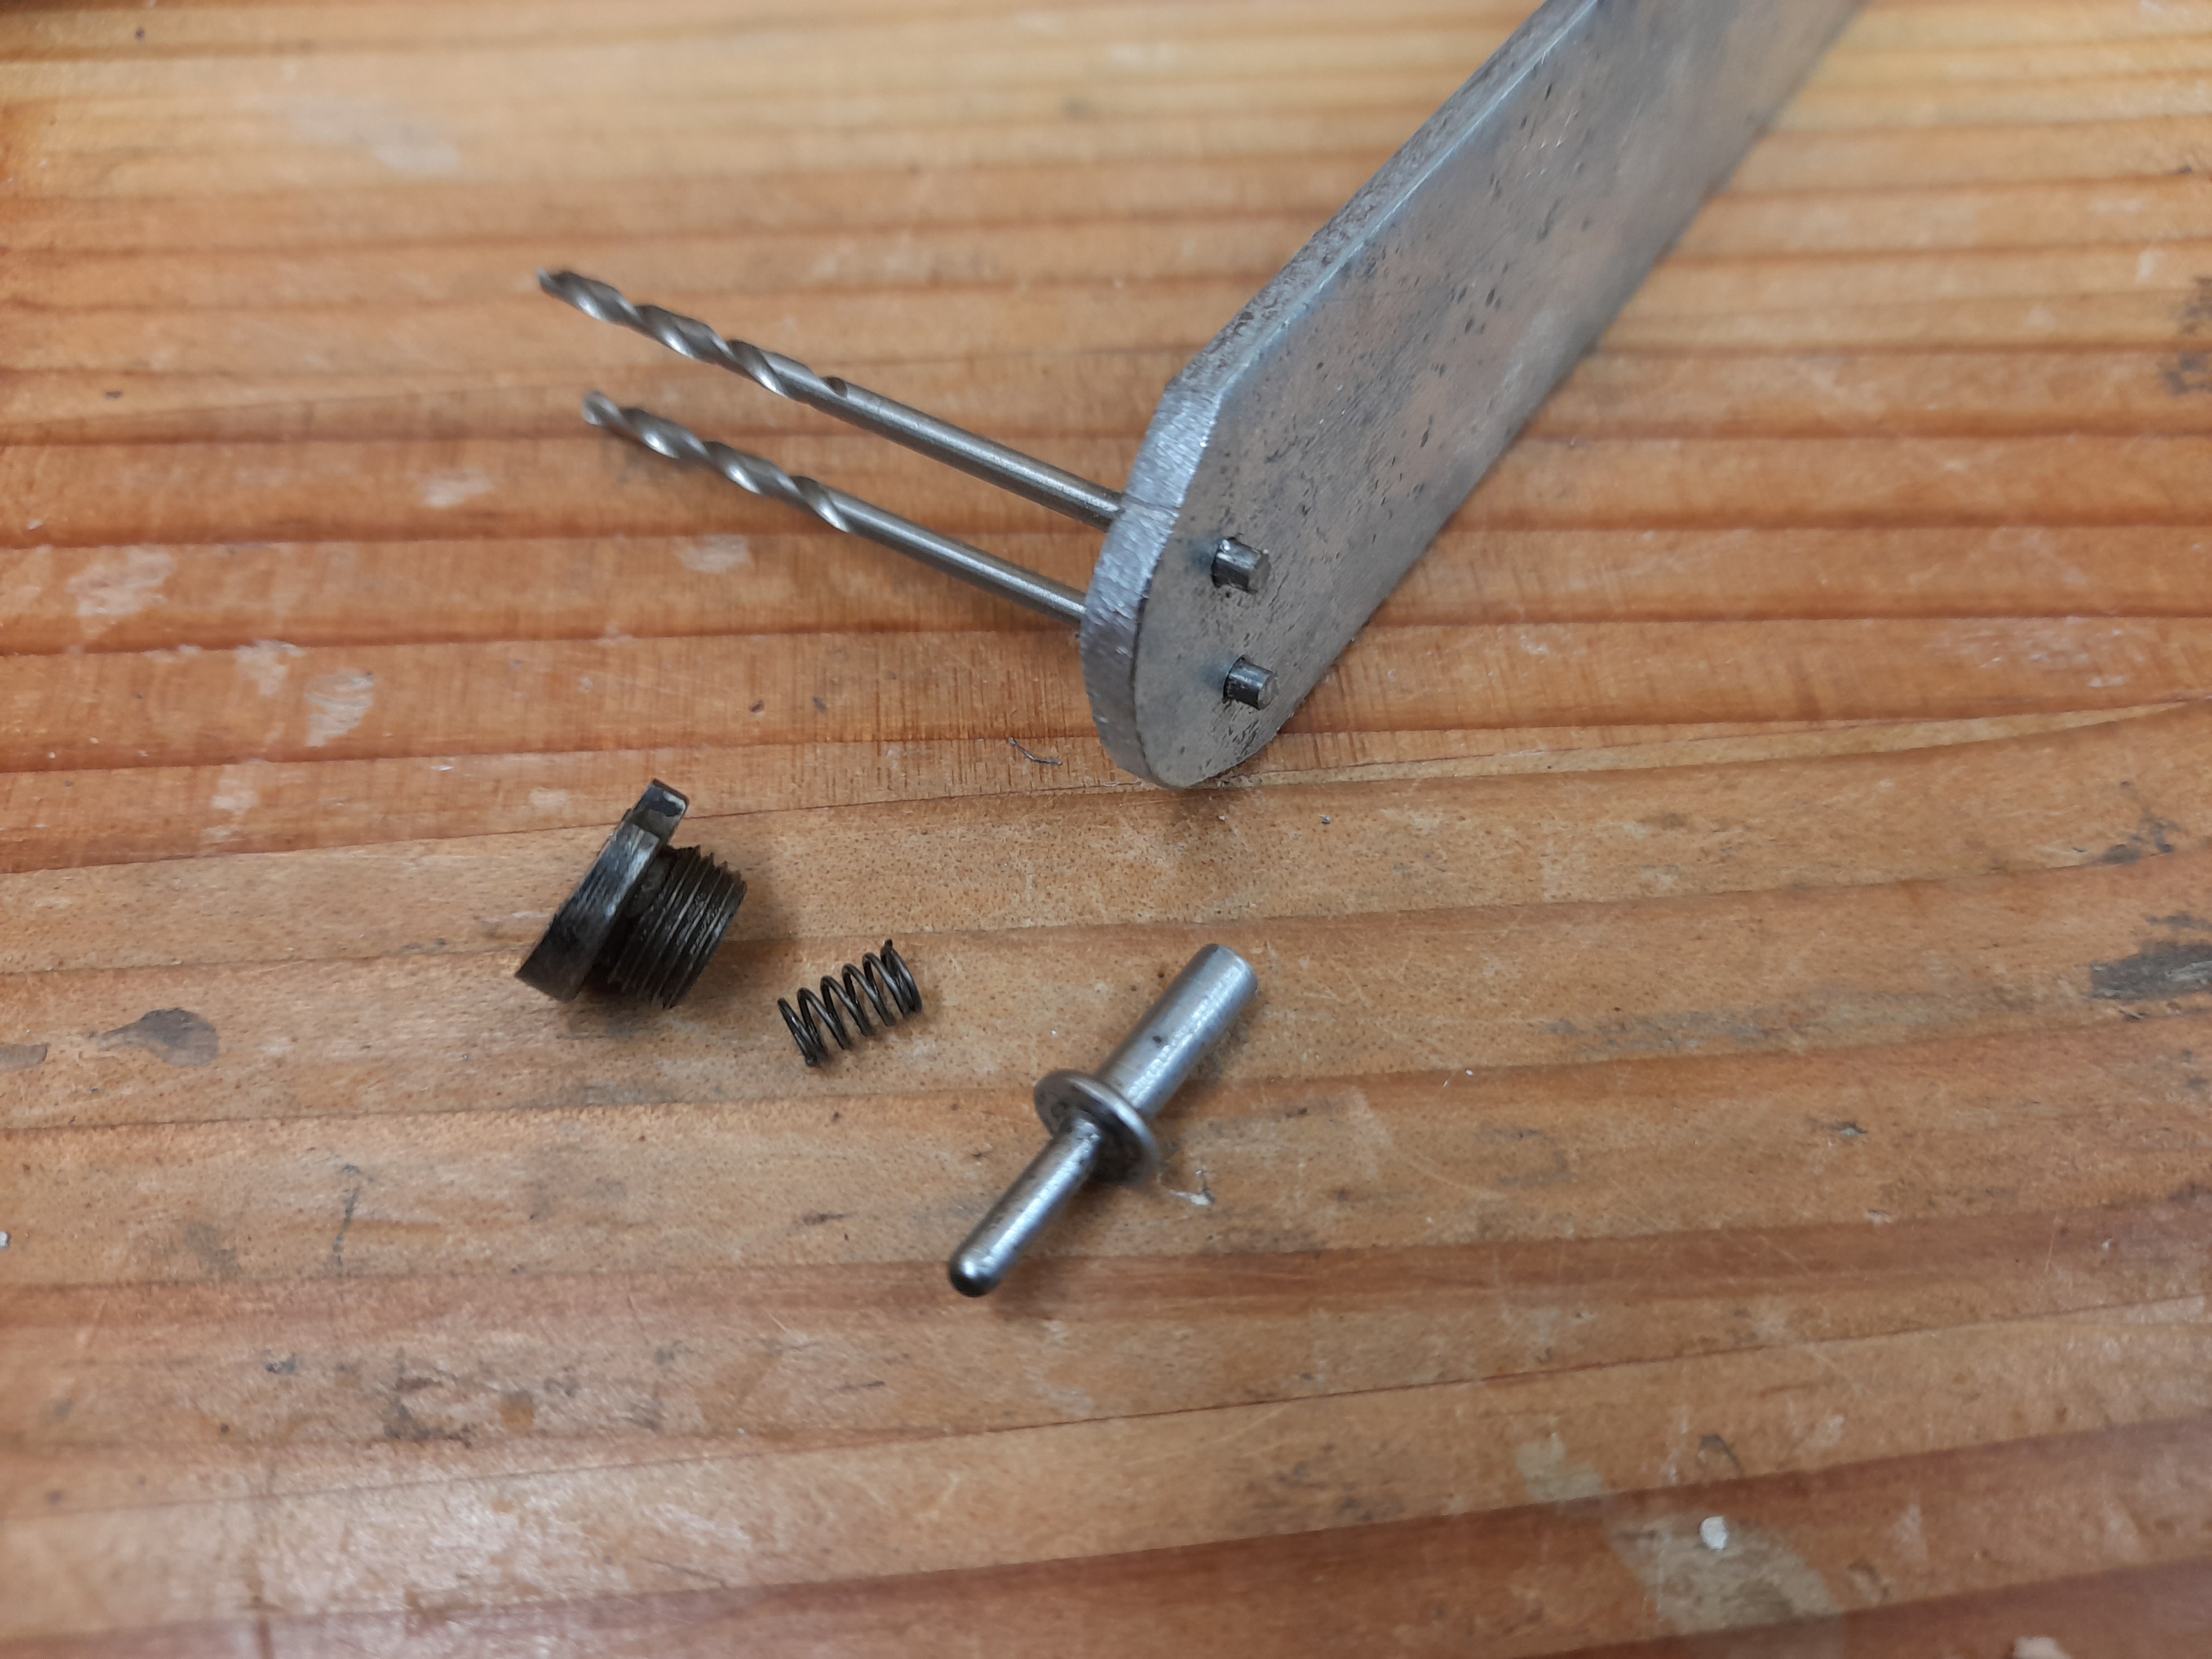
That finally brings us to where I'm up to now.
I have made a tool and removed the firing pin and bush.
Hopefully over the next week or so we get a chance to turn it down to around 70 thou and then put an insert in the bush.
That will just leave me to make a butt cap and sort out what I am going to do paint/coat/blueing wise with the barrel and actionDeanohit likes this.
-
01-06-2024, 03:01 PM #28Member
- Join Date
- Sep 2022
- Location
- Upper Hutt
- Posts
- 639
I ran out of time to do the firing pin this week, I put a very light chamfer the edge of the firing pin hole to see how it goes in the meantime.
Hoping to sight it in tomorrowTahr likes this.
-
02-06-2024, 12:09 PM #29Member

- Join Date
- Nov 2014
- Location
- W-BOP
- Posts
- 6,578
Amazed at how well that carbon come out!
makka likes this.Identify your target beyond all doubt
-
02-06-2024, 12:50 PM #30Member
- Join Date
- Dec 2011
- Location
- NI
- Posts
- 13,421
Cripes that's clever.
makka likes this.Out beyond ideas of wrongdoing, and right-doing, there is a field. I will meet you there.
- Rumi


 Reply With Quote
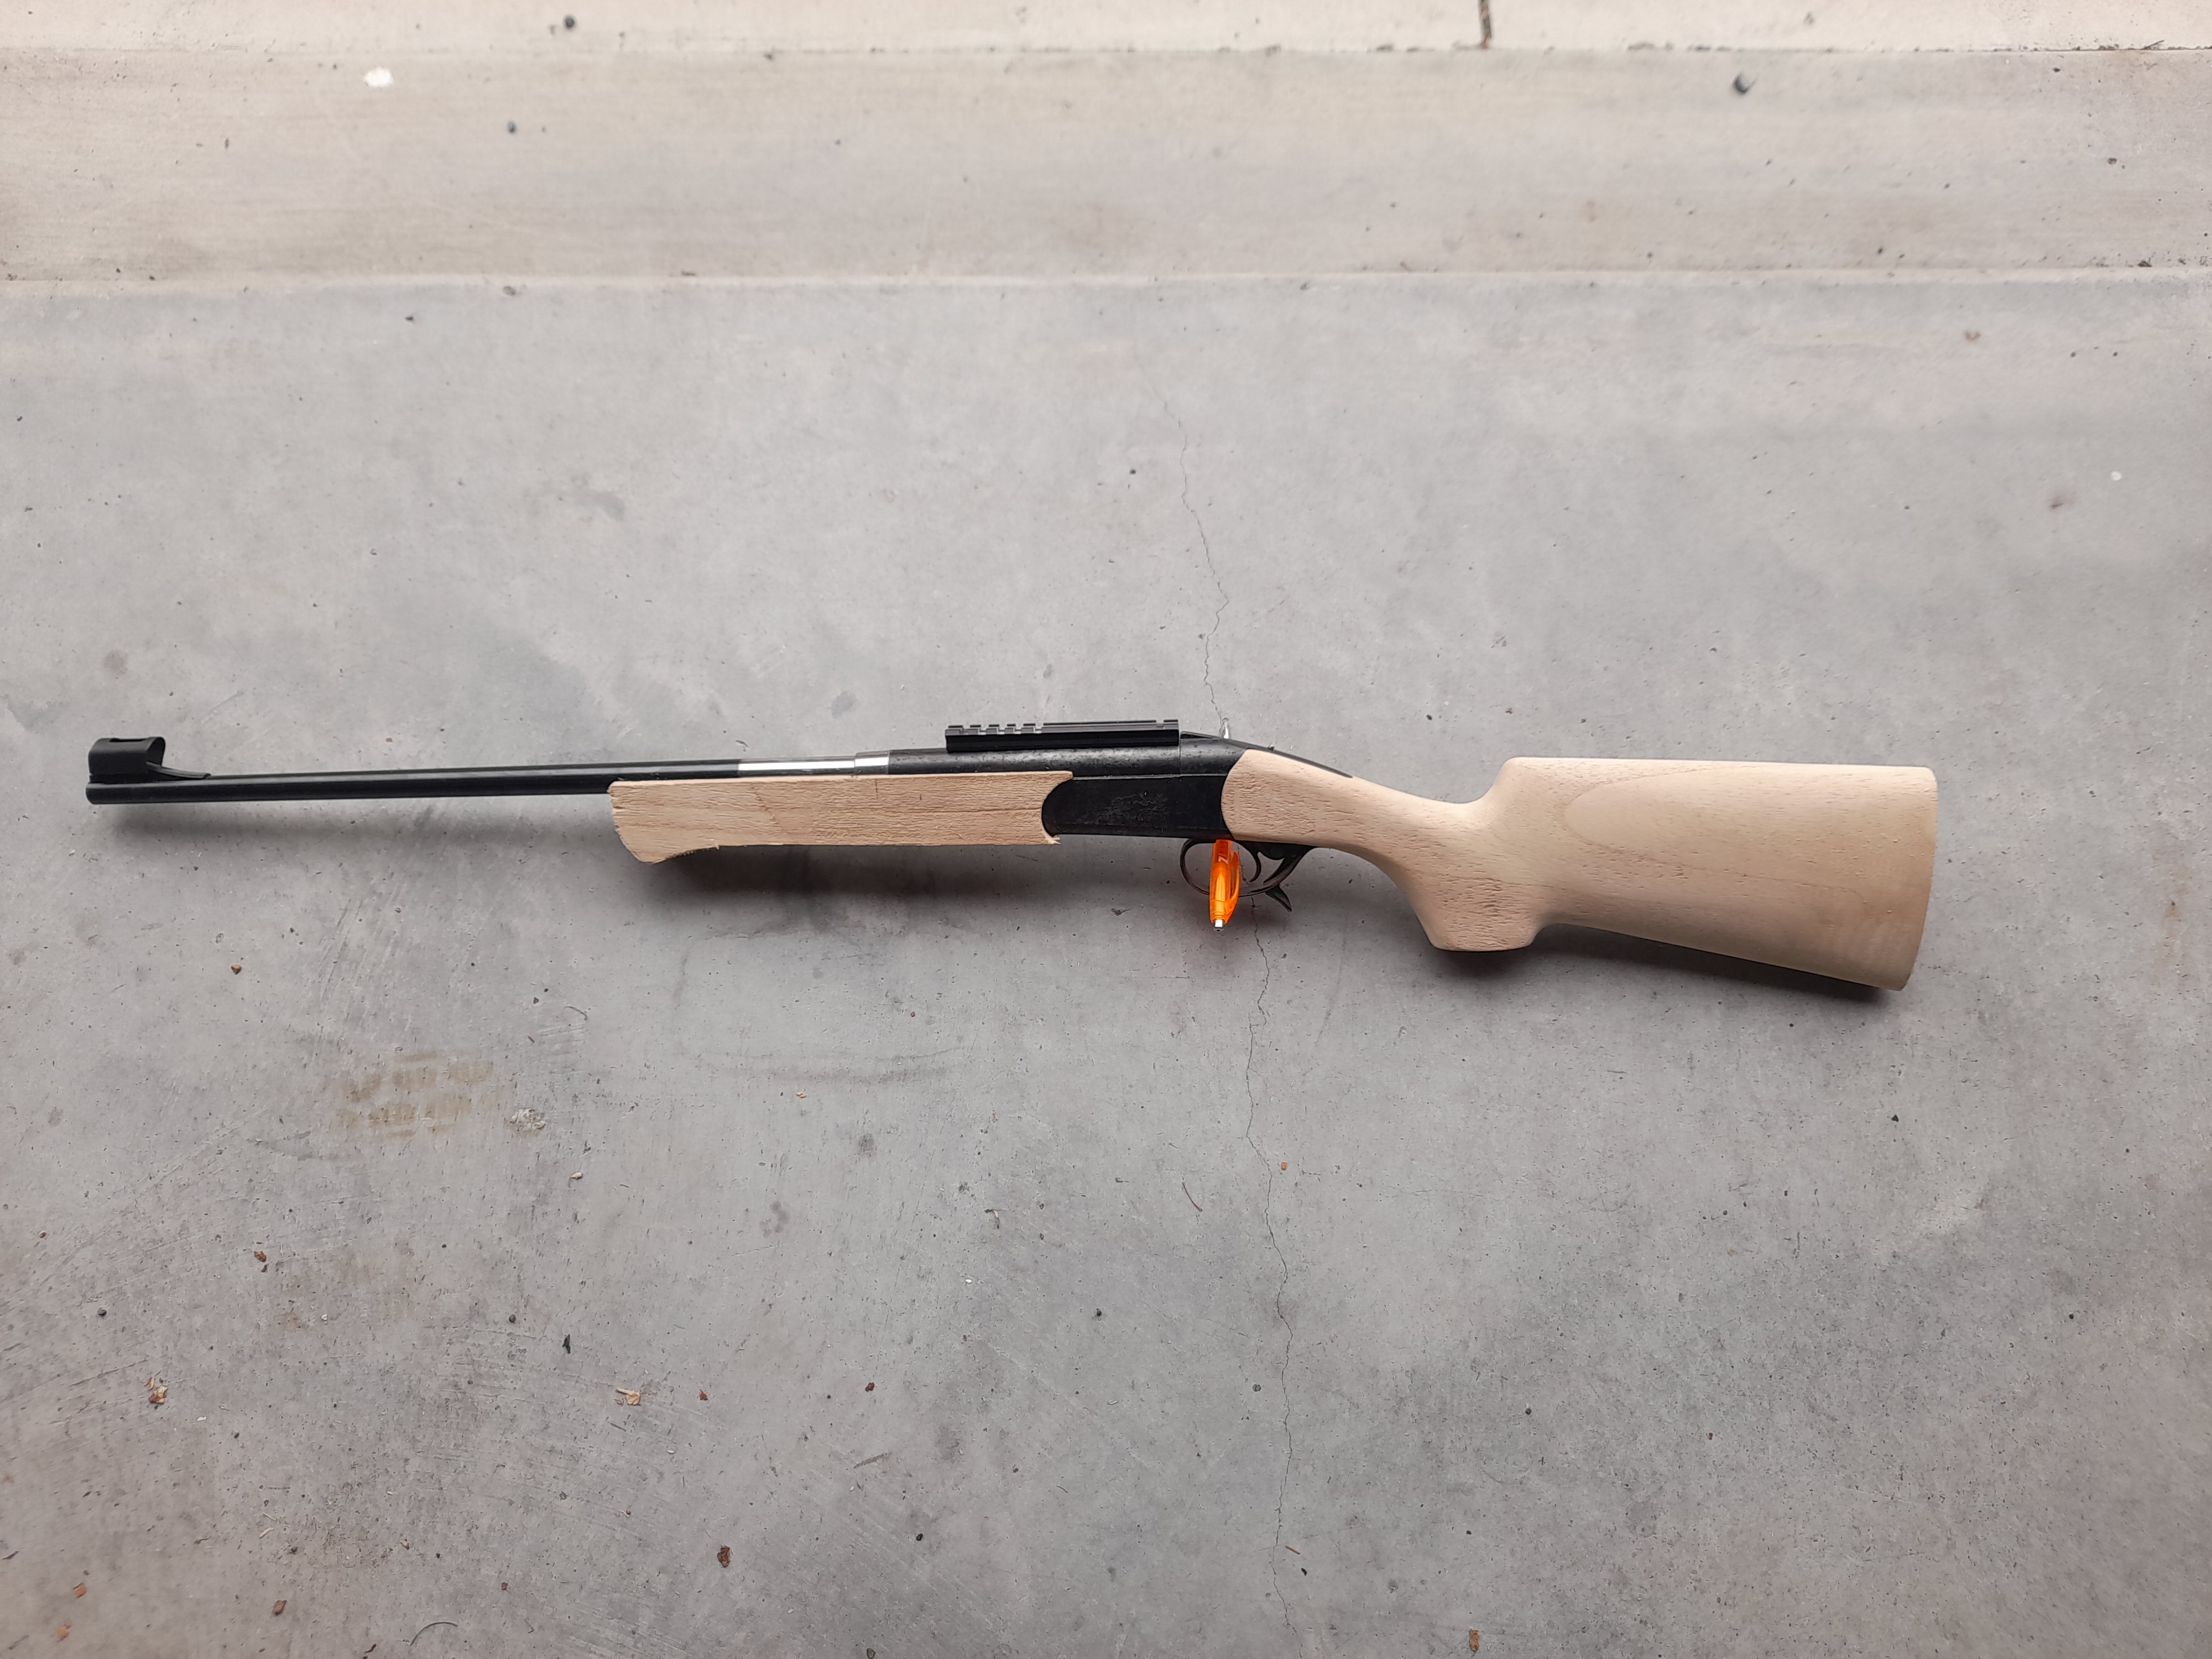
Tags for this Thread
 Posting Permissions
- You may not post new threads
- You may not post replies
- You may not post attachments
- You may not edit your posts
Welcome to NZ Hunting and Shooting Forums! We see you're new here, or arn't logged in. Create an account, and Login for full access including our FREE BUY and SELL section Register NOW!!
All times are GMT +13. The time now is 06:07 AM.

Bookmarks