

 LinkBack URL
 About LinkBacks
Hi everyone, this is a project I recently finished.
The plan was to build a dedicated 22lr upper using a standard ar15 upper, a modified CMMG conversion bolt and a used Anschutz 520 barrel.
It started when I bought a stripped upper at the shot show for the great price of $100.
I then bought a CMMG 22lr conversion bolt with a couple of mags.
I already had the barrel, I had bought it a few years earlier for use on another project that never happened.
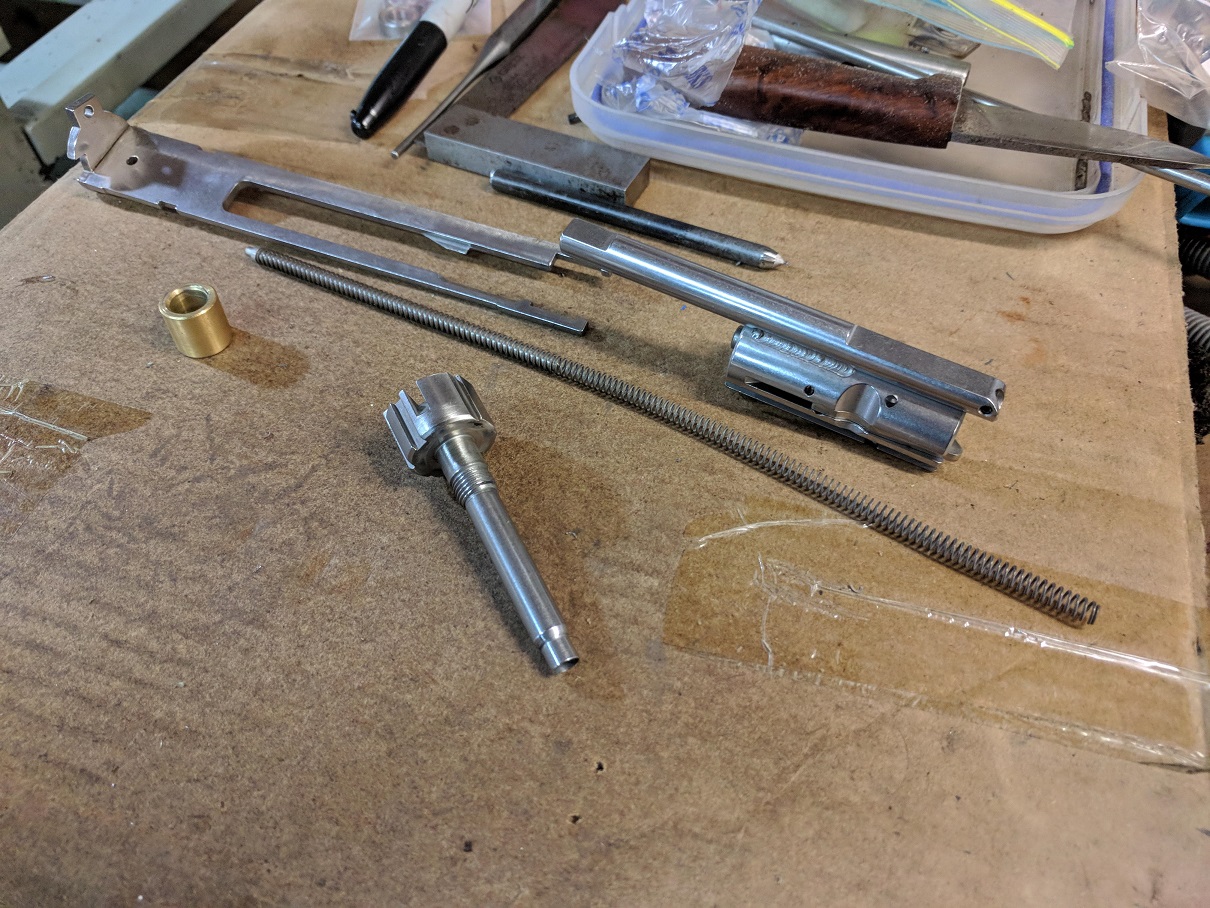
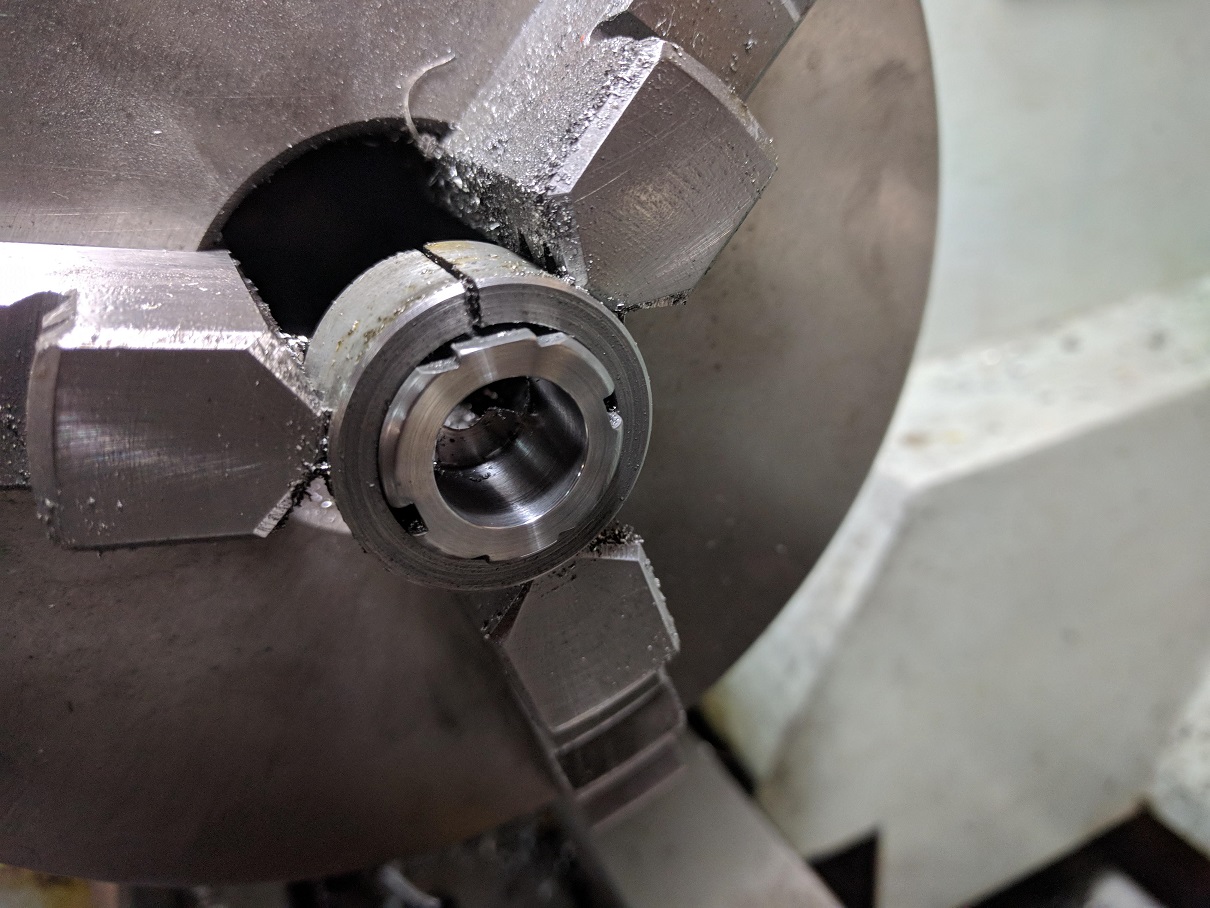
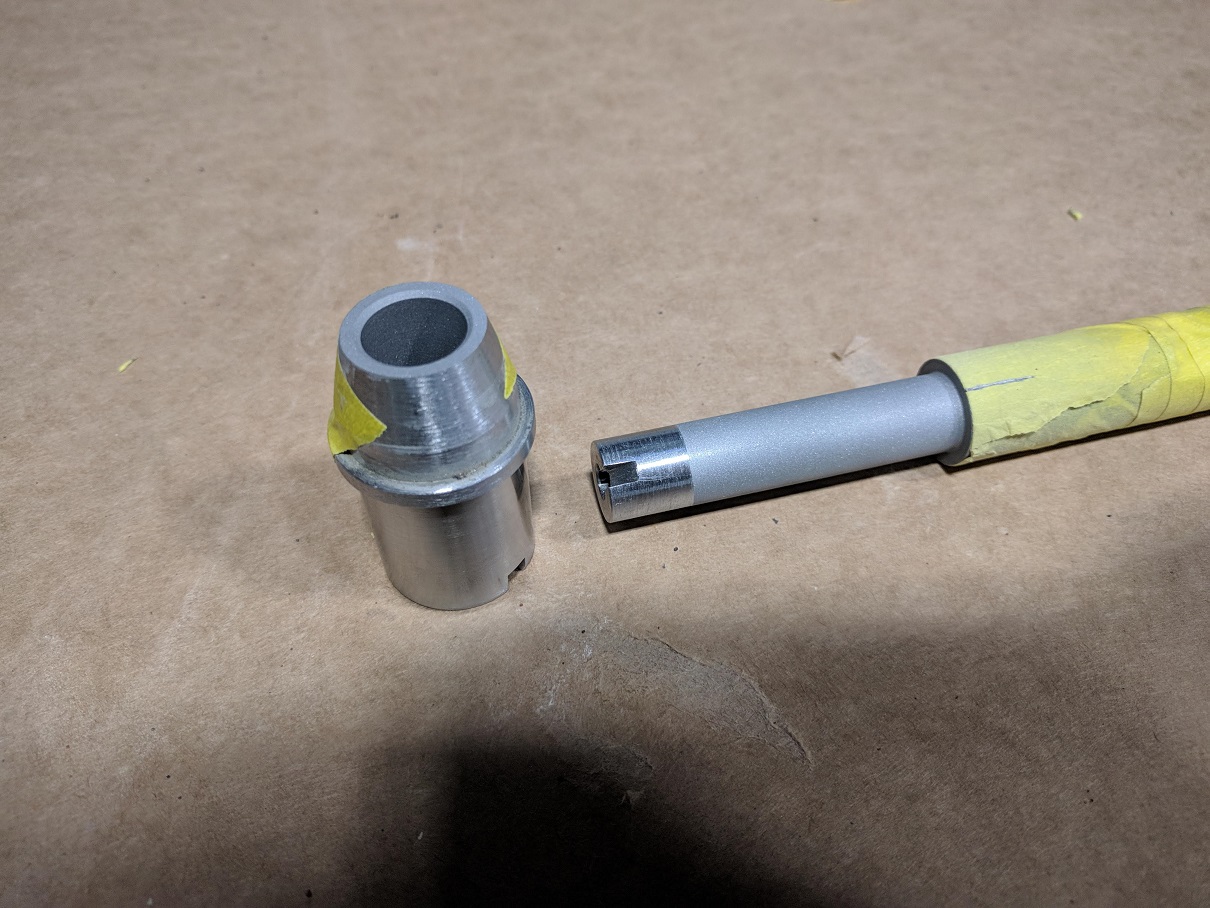
The first job was to strip down the bolt and hacksaw off the chamber adapter. (You can buy these without a chamber adapter but I could not find these in NZ)
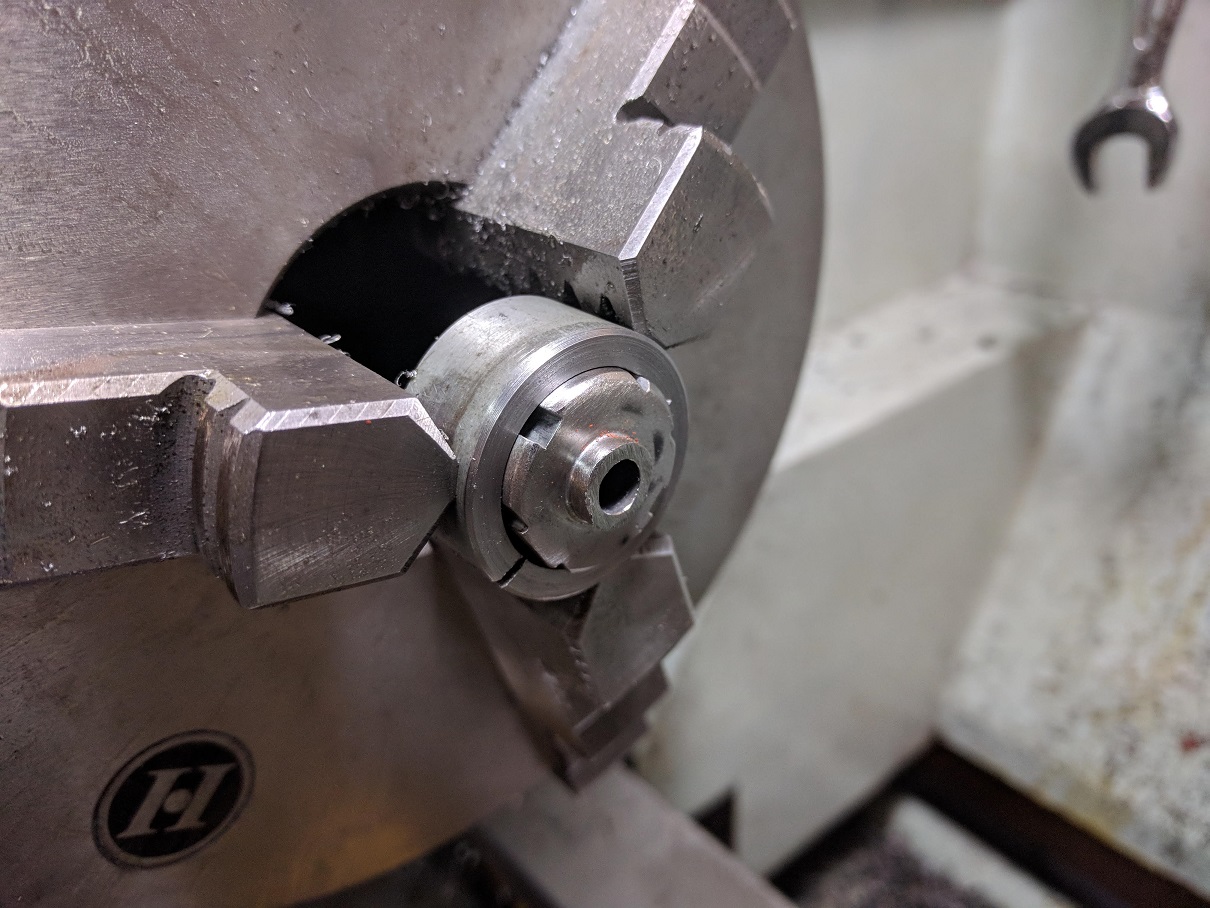
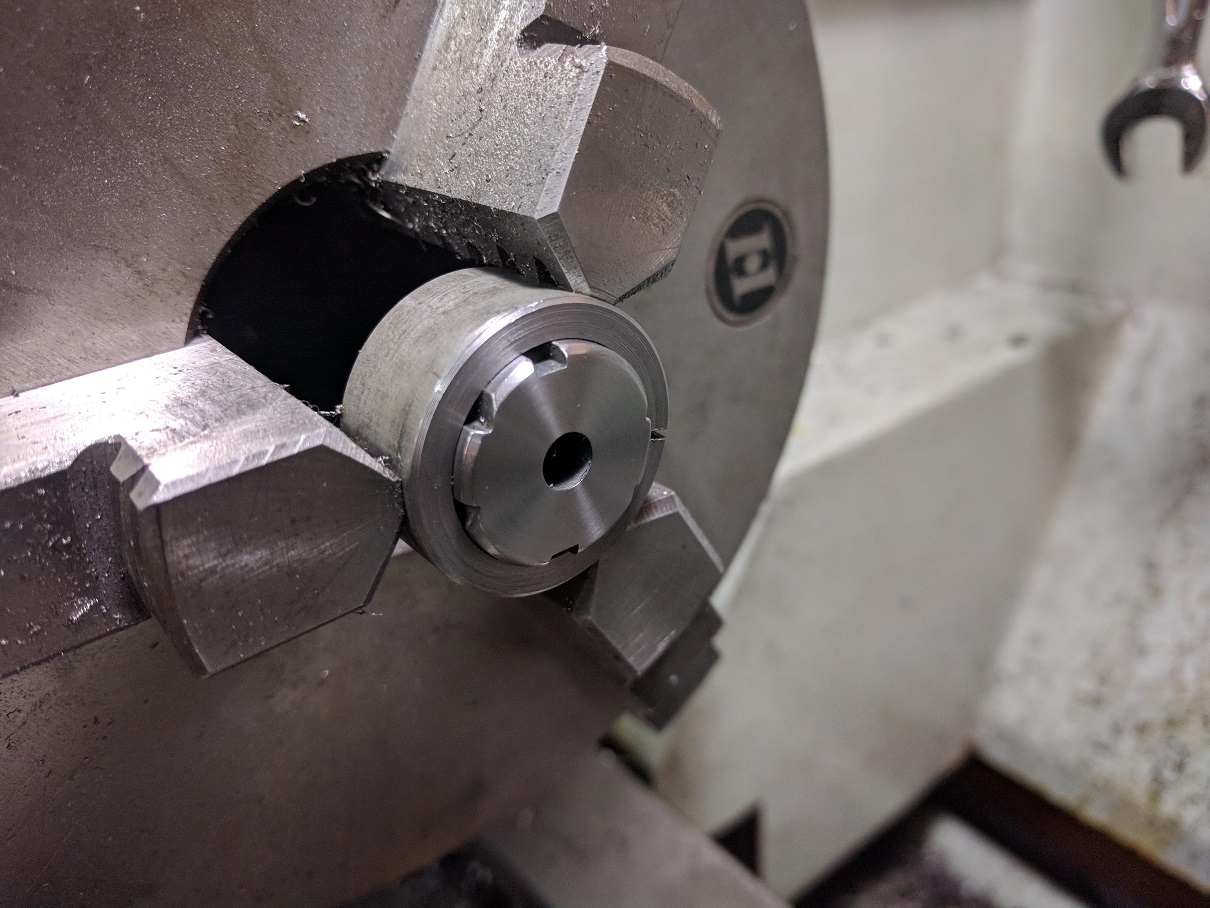
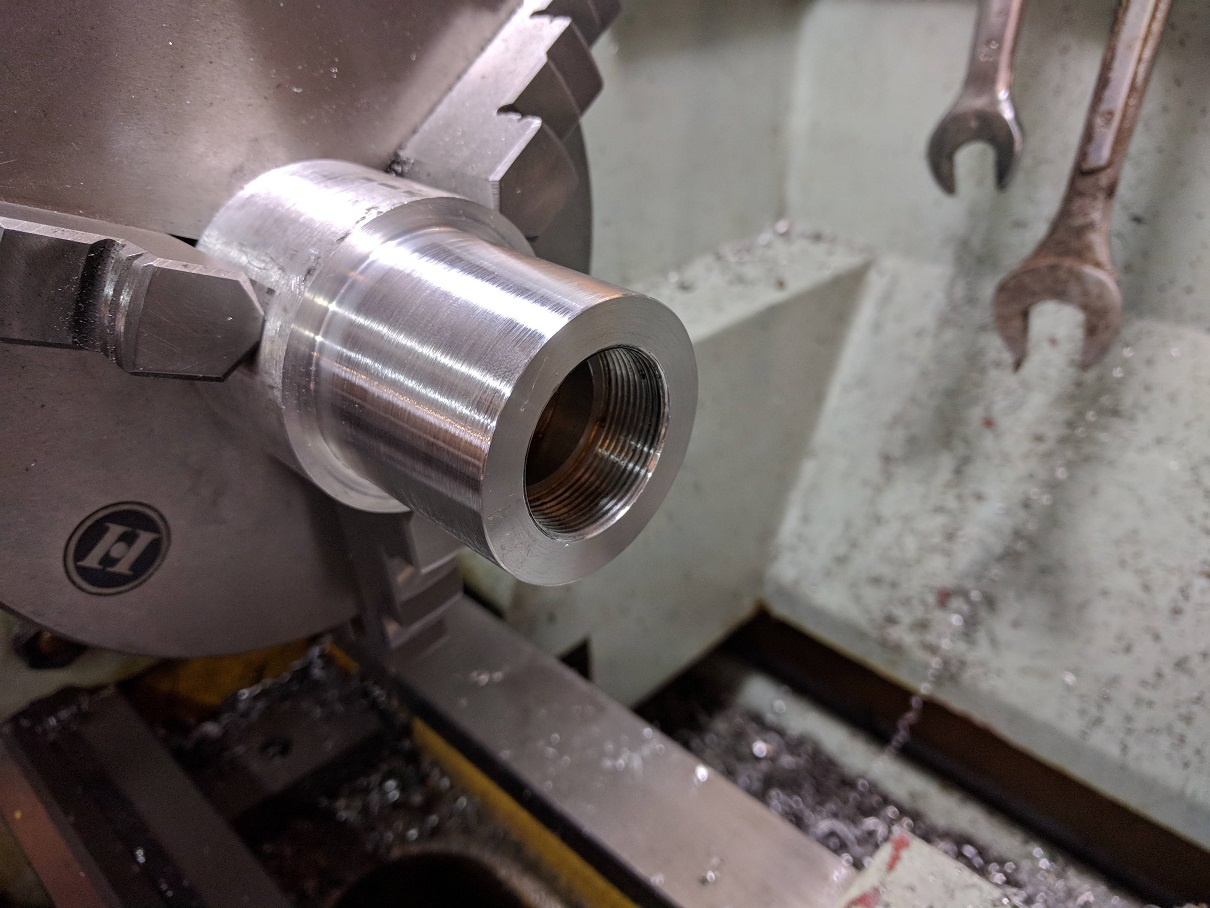
Next, I mounted it in the lathe using a small bushing I made for the job and bored it out to 14mm. I bored deep enough that it just skimmed the back face of the feed ramp.
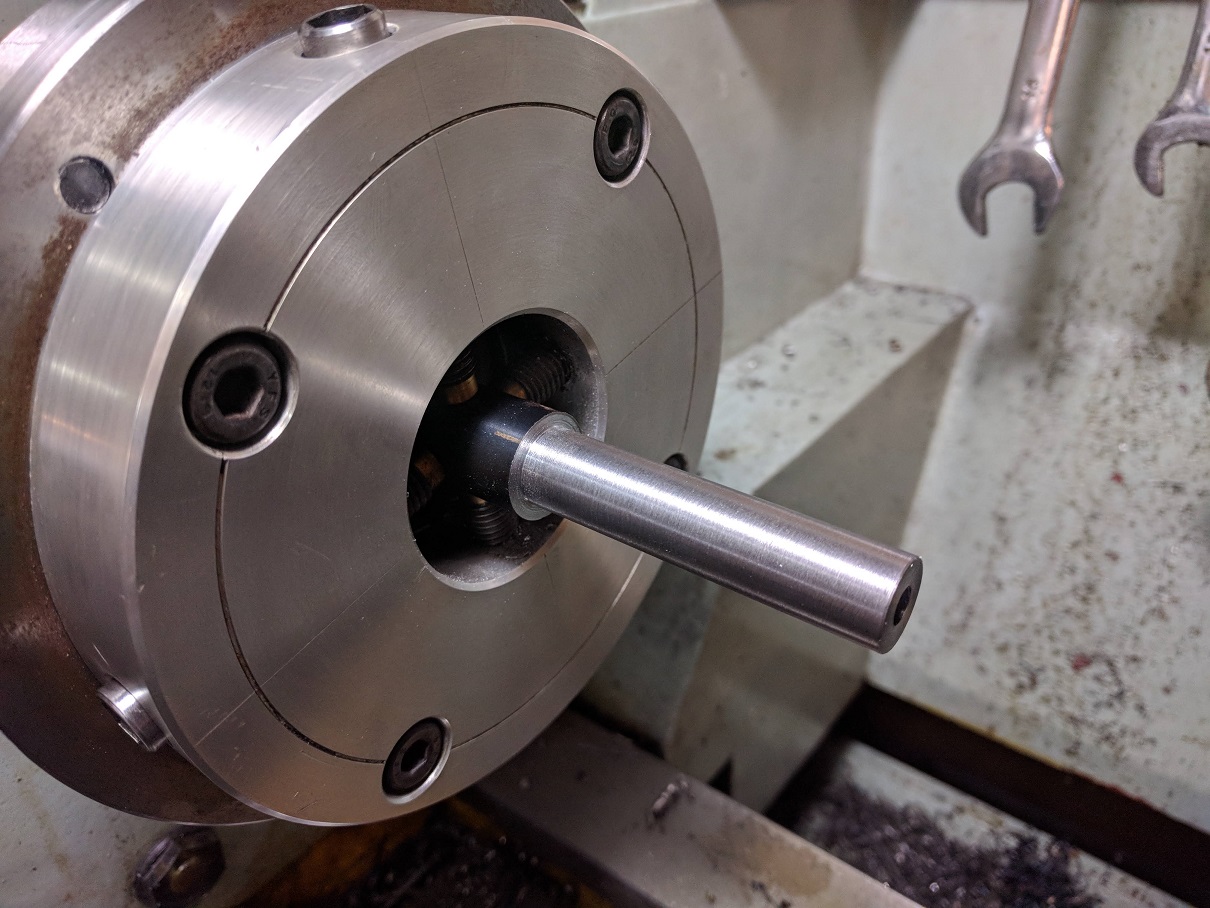
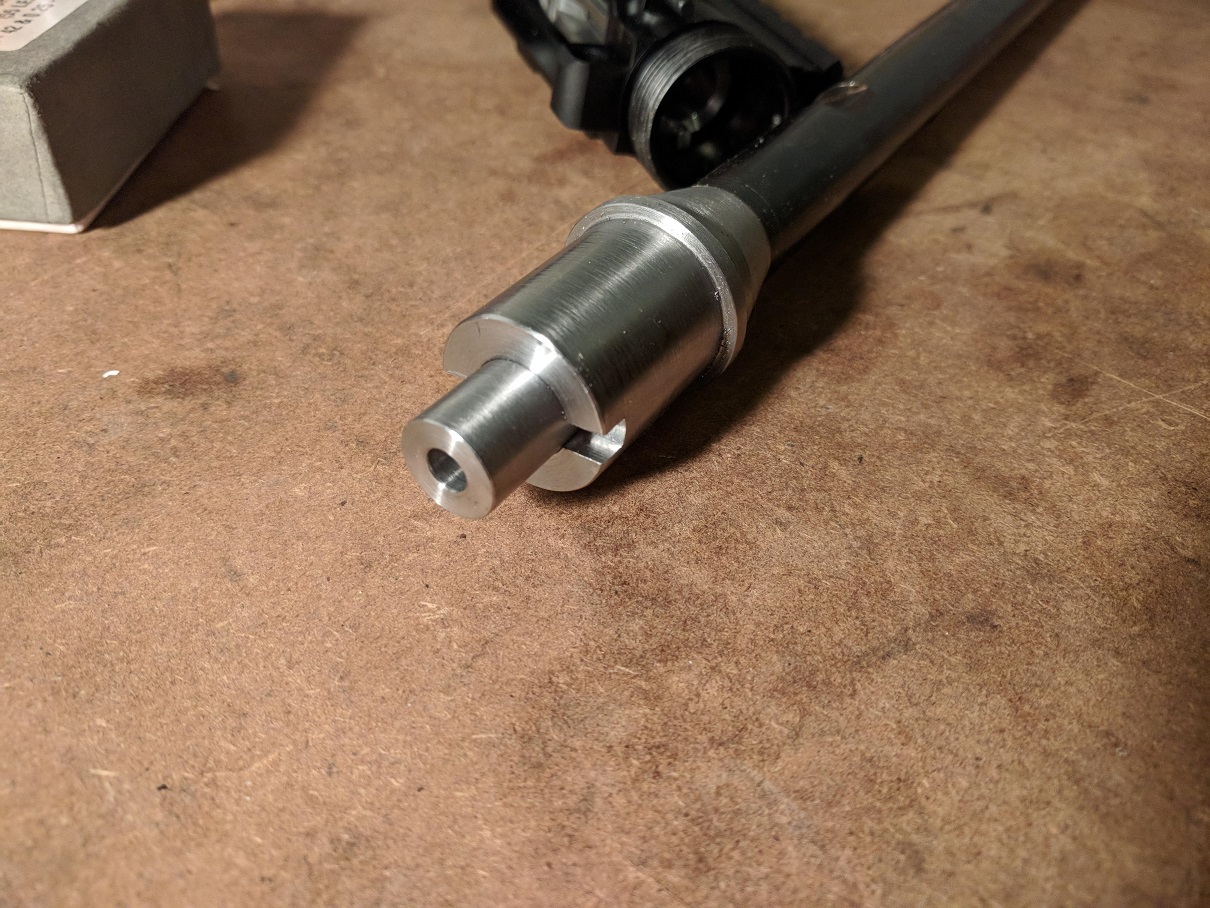
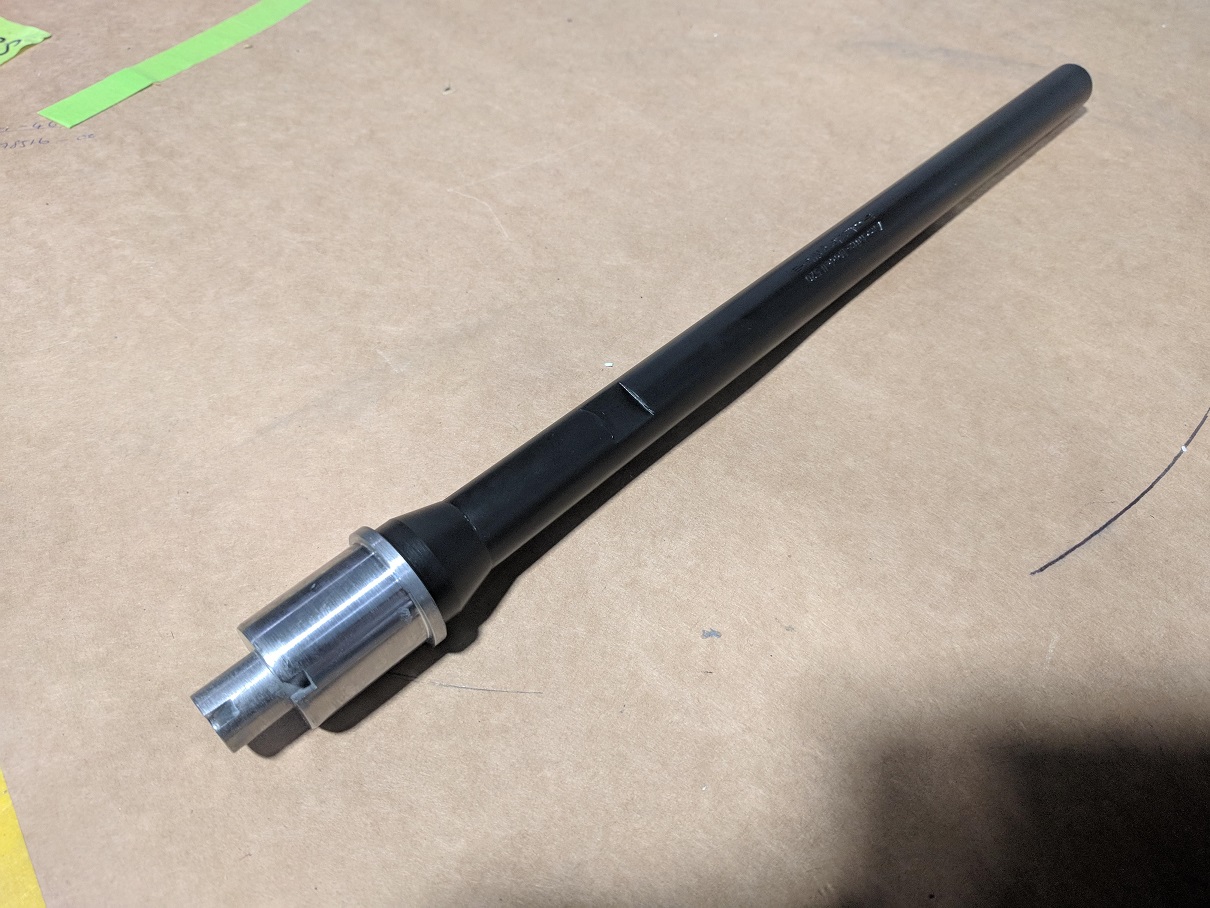
Next was to turn down the shank of the barrel to fit both the receiver adapter and bolt adapter
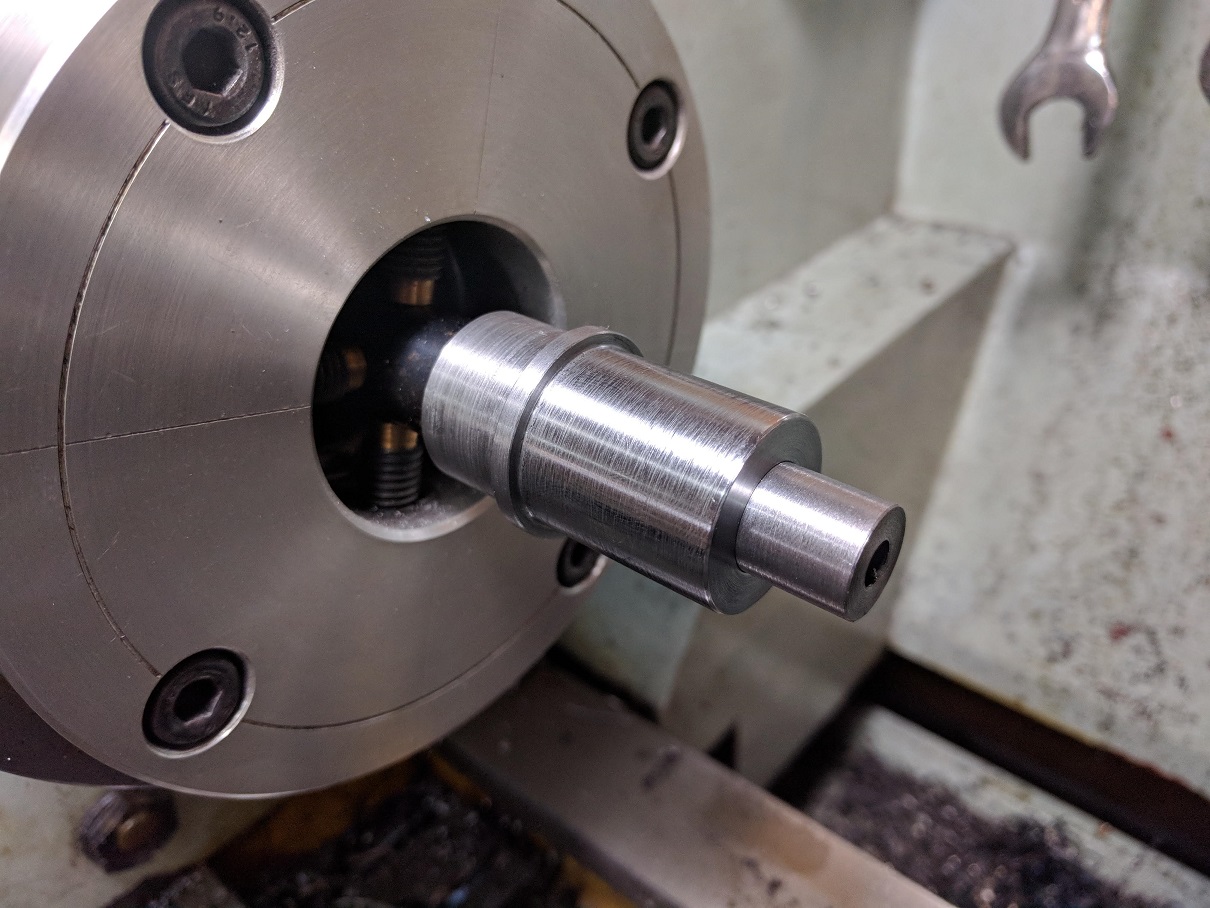
I made a collar for the barrel to adapt it to an AR-15 upper. This is to be glued in place and allows the barrel to be permanently mounted using a standard barrel nut.
The collar needed 2 cuts to allow for clearance of the bolt rails, this was a simple case of clamp it in the mill vice and run an endmill across it.
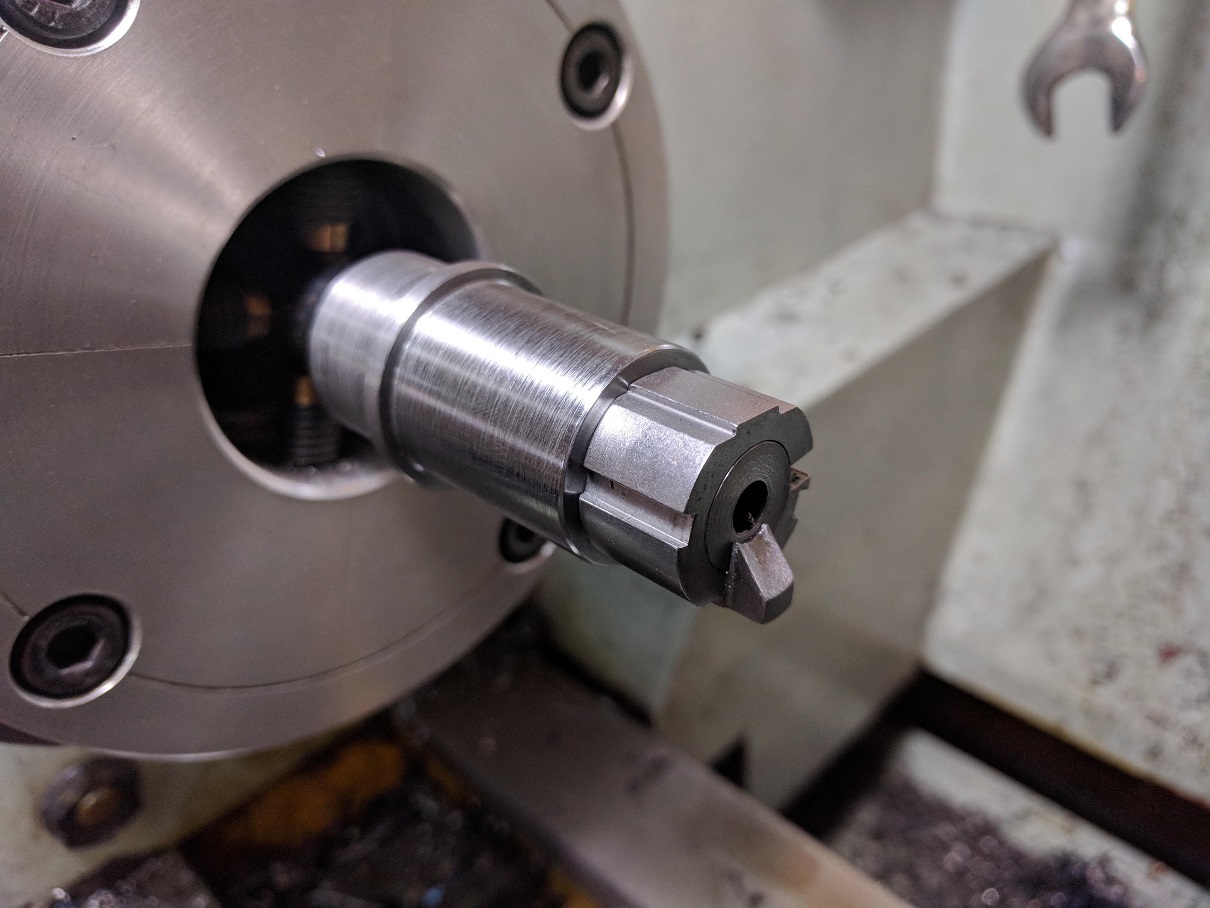
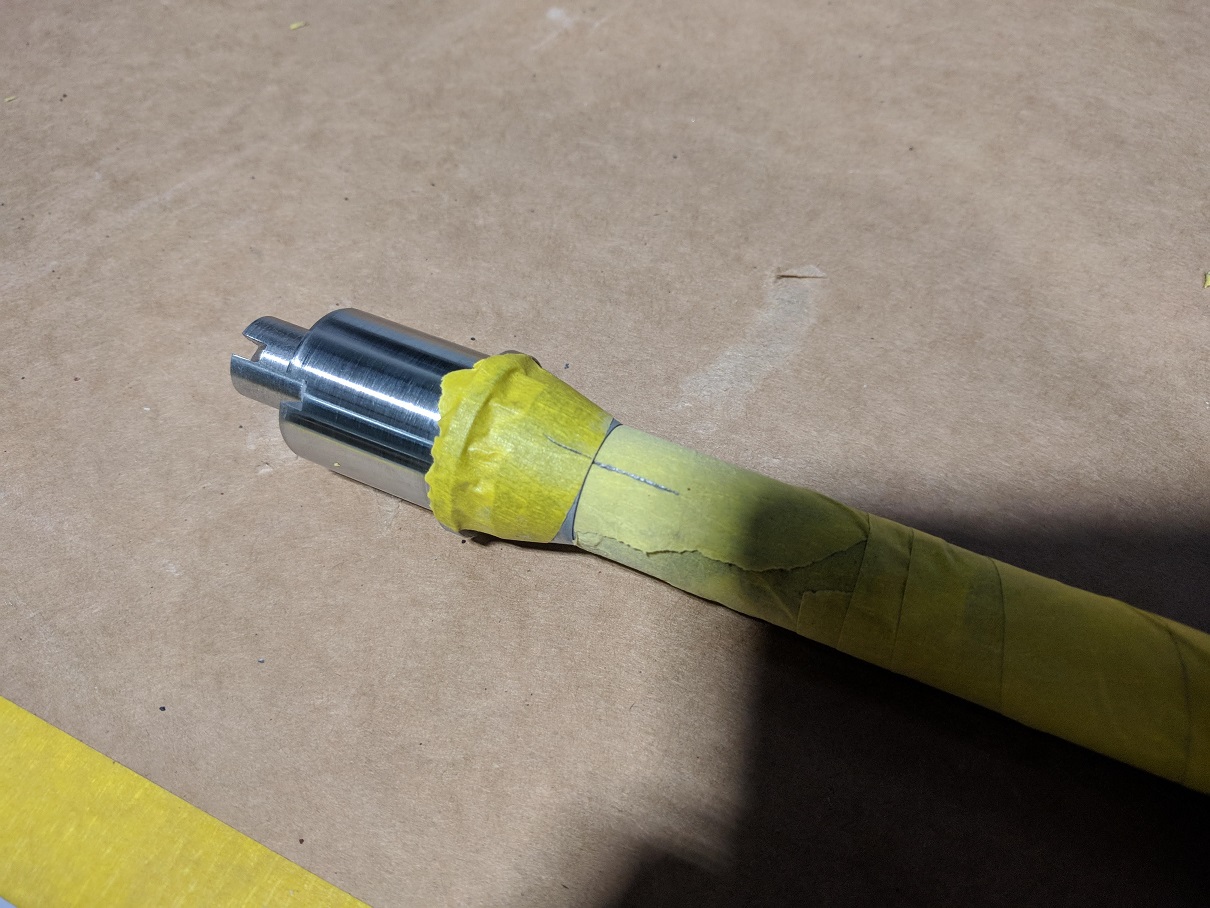
I then masked and sandblasted the collar and barrel shank and glued the two together using a thin epoxy.
Once cured I sandblasted the assembly and gave it a quick coat of black paint
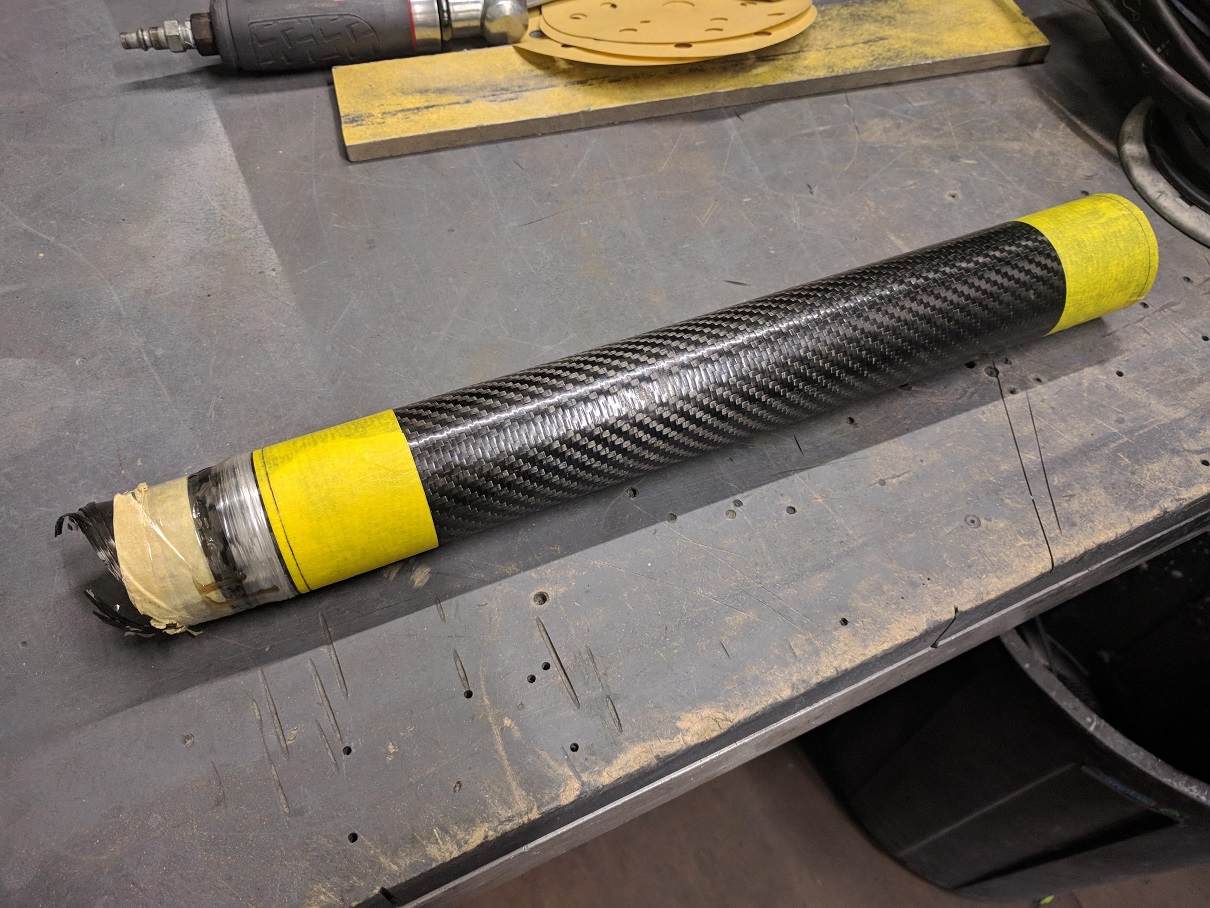
Next was to make the handguard. I used a section of carbon tube that I picked up from work, cut it to length and sanded it back to 400grit. I will add vents and some textured grip at some point.
Once I had the handguard I could make a barrel nut to suit. A simple job on the lathe.
At this point I assembled the rifle and took it out the range for a test run. I was expecting a shit fight to get it running nicely but I put about 200 rounds through it without a single issue. Very impressed with CMMG bolts and mags.
I decided I wanted to thread the barrel and suppress it as it is just a touch too loud with subsonic ammo to shoot without hearing protection. Though I suspect most of the noise is likely the action cycling, I will suppress it anyway.
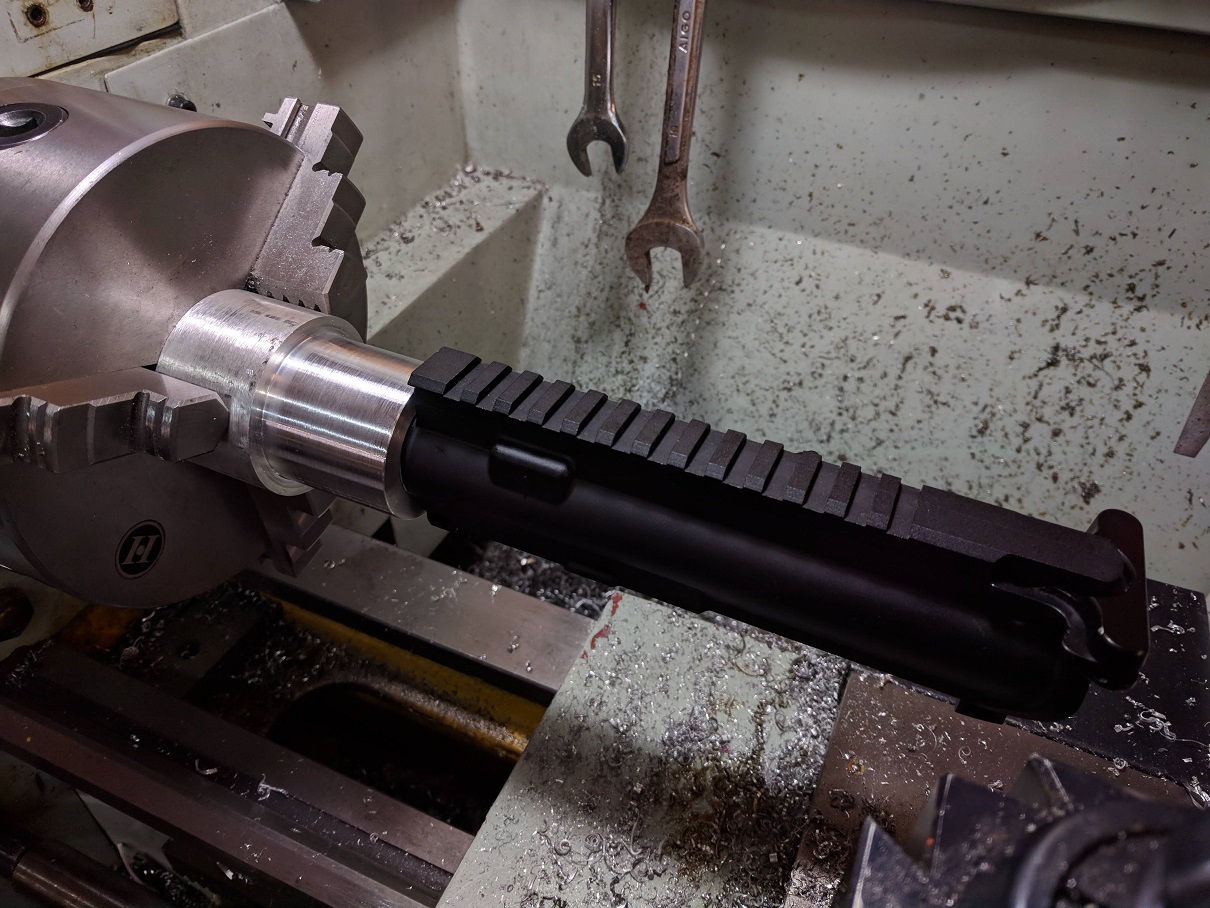
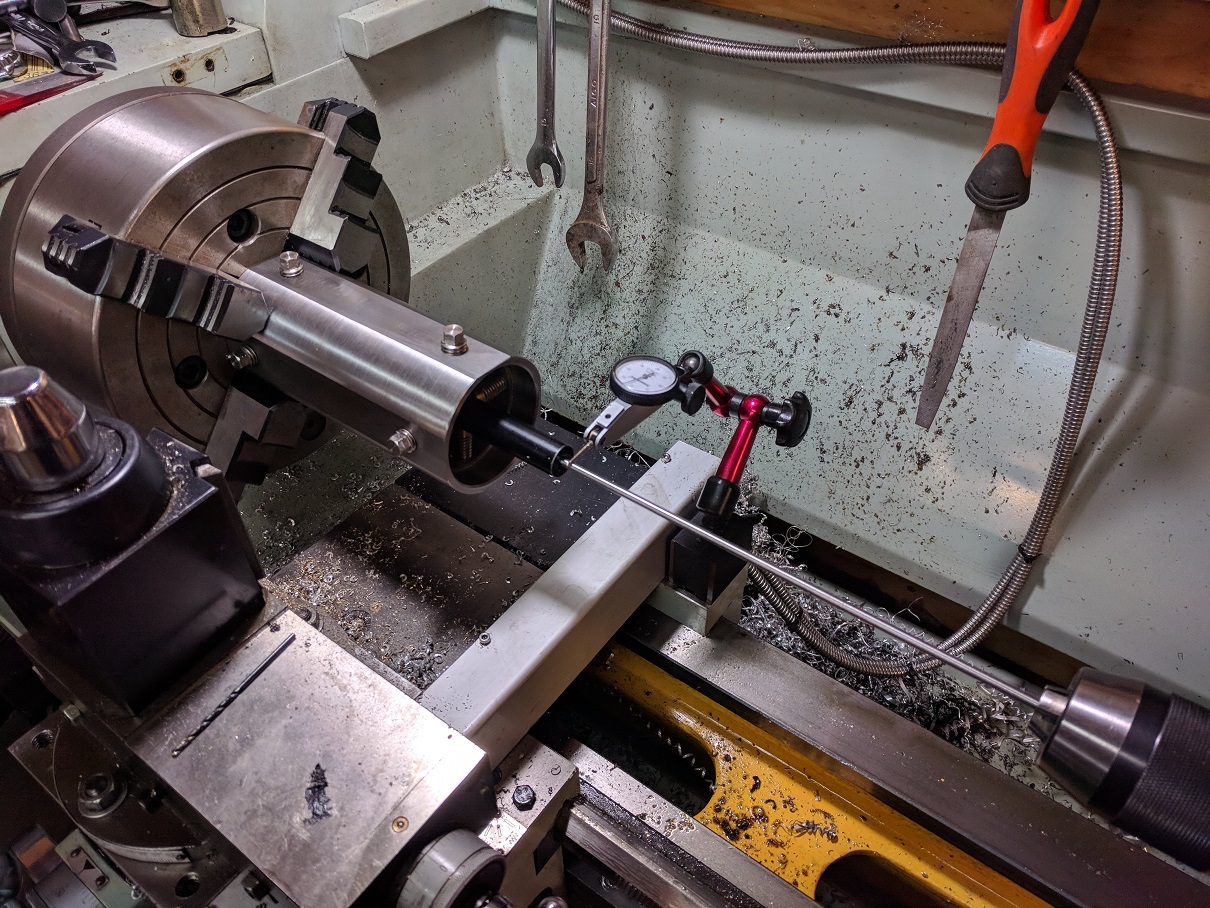
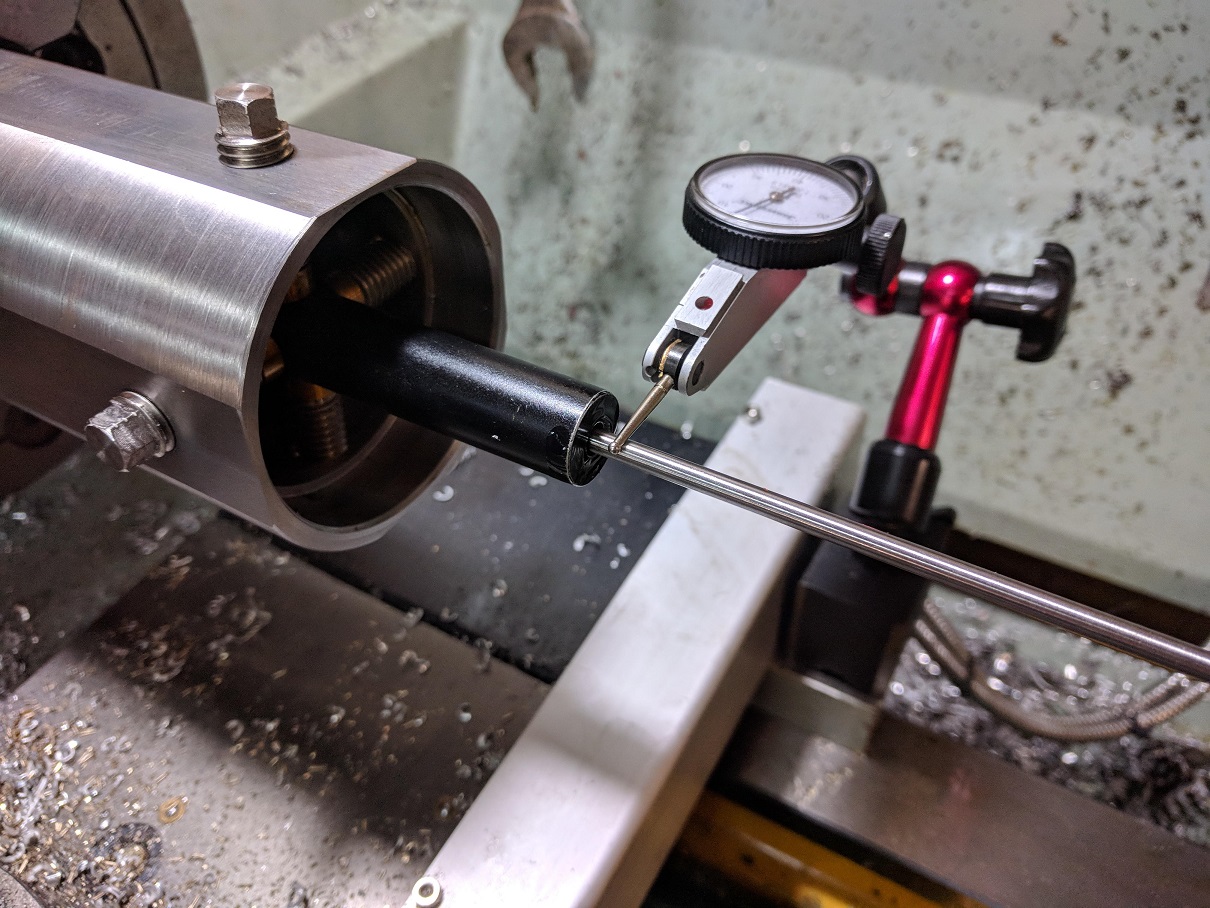
I set the barrel up on the lathe using my action truing jig as it is too short to put through the headstock. I dialed it in using a length of rod with a brass bushing, which would be just inserted into the bore, adjusted until running true and then advancing the rod about 100mm further into the bore and indicate again. Once both of these positions are showing no movement on the indicator, the bore is running true to the lathe.
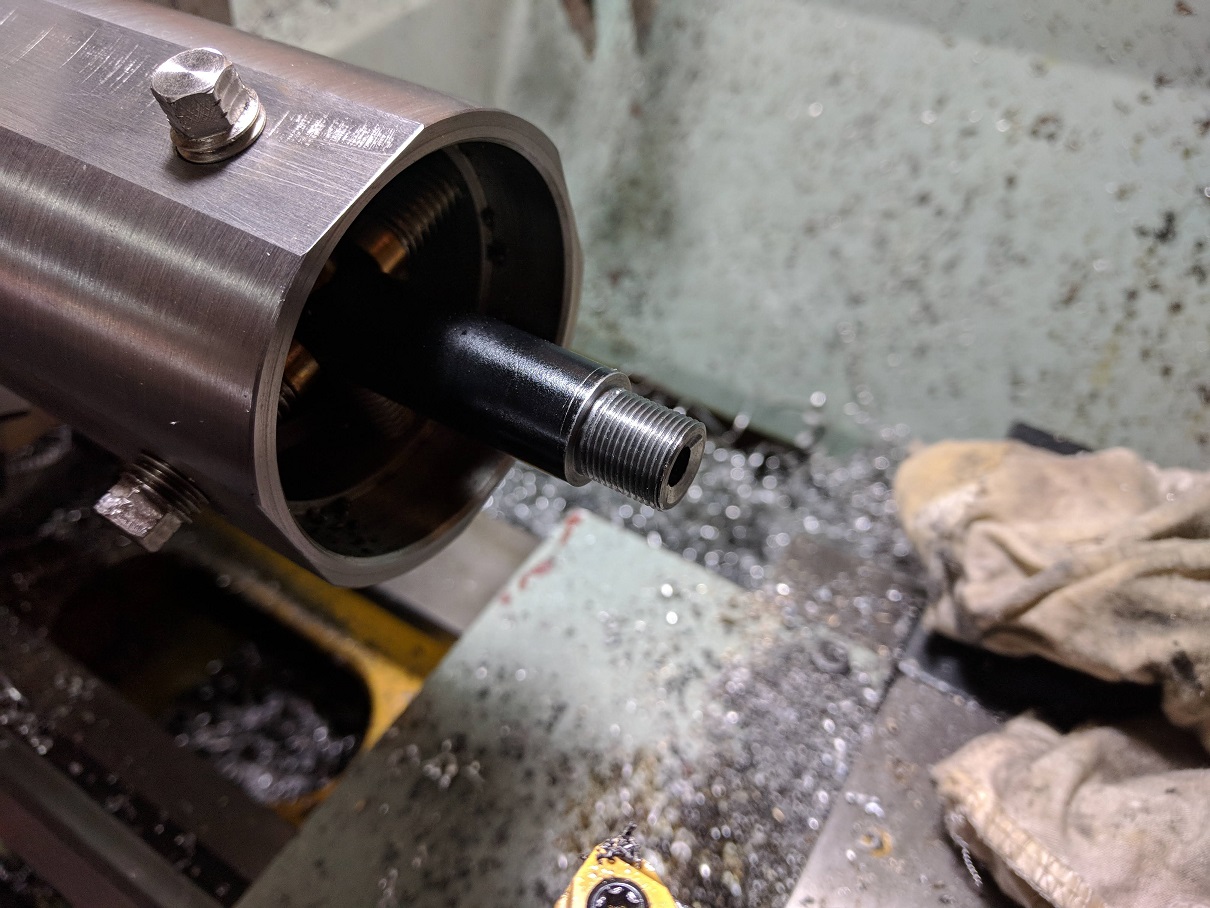
I threaded it for 1/2-28
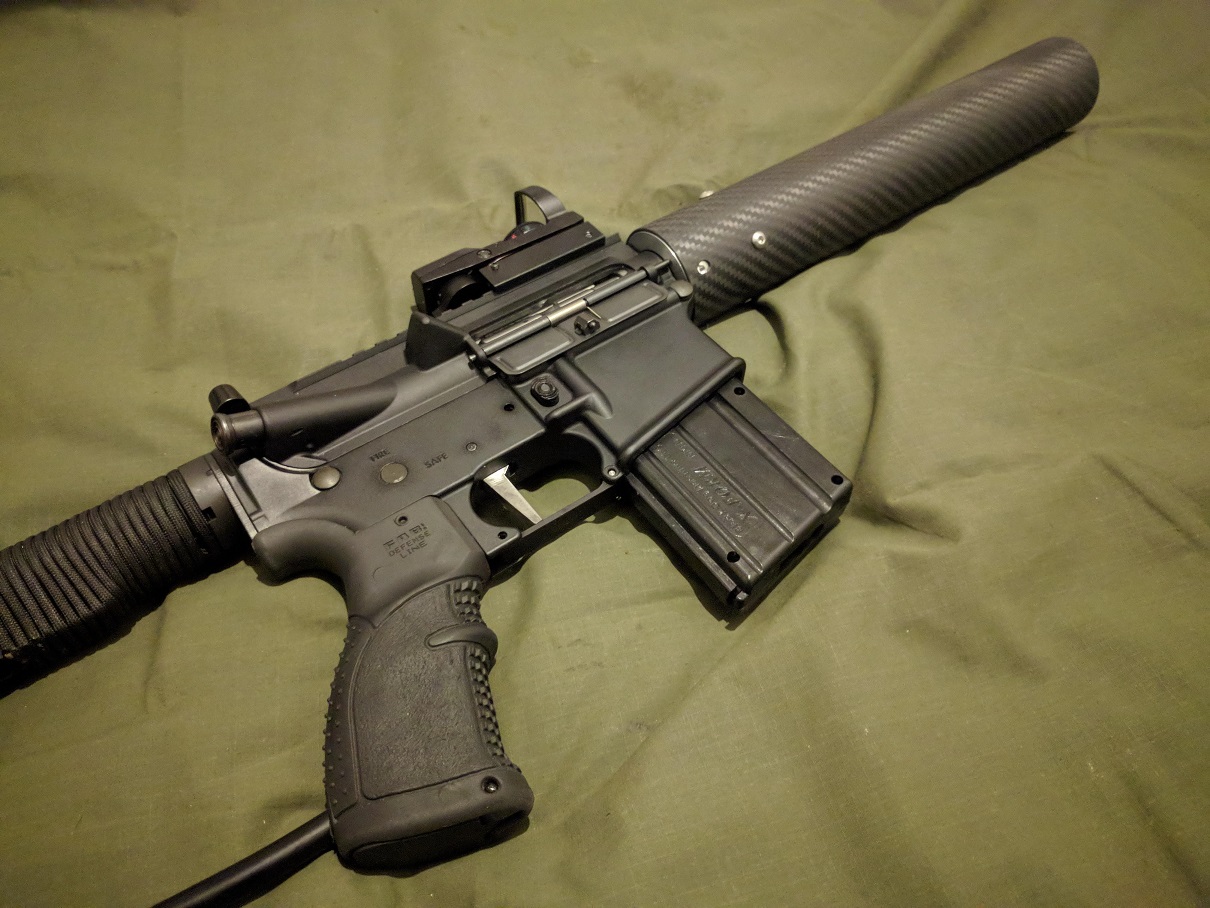
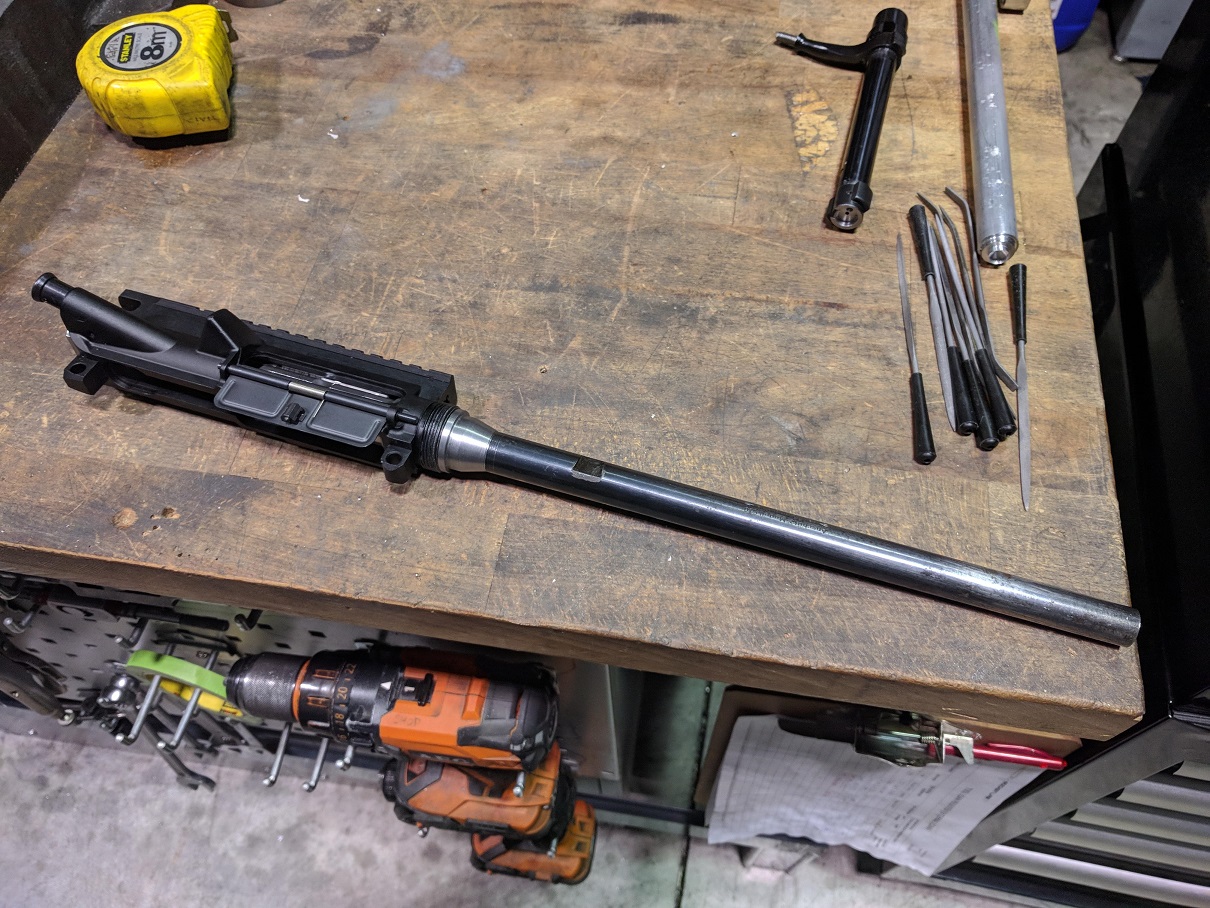
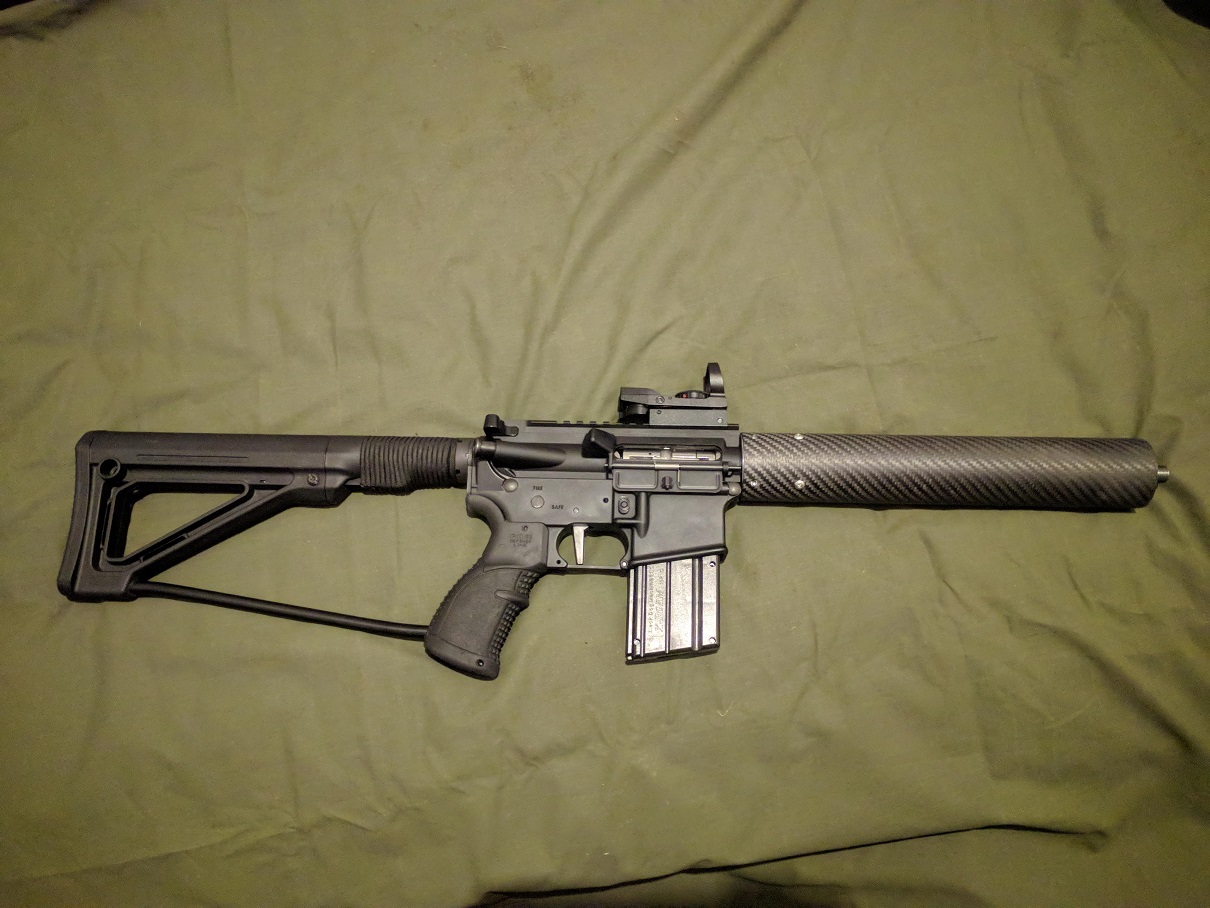
And here it is assembled. Not absolutely complete but very shootable right now. I have mounted a super expensive chinese red dot ($20, Ebay) and I am actually very happy with how it preforms. Perfect for a 22.
I intend to use it for Mini IPSC and Speed steel shooting. If it proves to be accurate enough, it may be used for long range 22 as well. I have checked the velocity with CCI Std and get about 1030fps
Thanks for looking.
Welcome guest, is this your first visit? Create Account now to join.
Welcome to the NZ Hunting and Shooting Forums.
Search Forums


User Tag List
+ Reply to Thread
Results 1 to 13 of 13
 23Likes
Thread: Ar-15 Dedicated 22lr upper, using CMMG bolt
-
31-08-2018, 11:33 PM #1Member


- Join Date
- Dec 2015
- Location
- Papakura, Auckland
- Posts
- 594
Ar-15 Dedicated 22lr upper, using CMMG bolt
-
-
01-09-2018, 10:10 AM #2Member

- Join Date
- Dec 2015
- Location
- Cambridge
- Posts
- 711
Super impressed, this forum never fails to produce some amazing workmanship and the pure ingenuity is just great! Would love to be able to do just a fraction of the work half of you guys can get done!
Sent from my iPhone using TapatalkBeaker likes this.
-
01-09-2018, 11:28 AM #3Member
- Join Date
- Jan 2018
- Location
- kaiapoi
- Posts
- 7,366
Agree. Good set up you have there.
Just one question. You epoxied the collar one. why didn't you use a shrink fit? Didn't want to crush the chamber/barrel maybe?
-
01-09-2018, 05:59 PM #4Member

- Join Date
- Nov 2014
- Location
- W-BOP
- Posts
- 6,578
Nice work! What's the trigger?
Make sure to get a few spare firing pins, the CMMG do break them from time to time. Cheap as chips, but a pain to get at short notice.Identify your target beyond all doubt
-
01-09-2018, 06:46 PM #5Member
- Join Date
- Dec 2015
- Location
- Papakura, Auckland
- Posts
- 594
The reason I epoxied it was pure convenience, to shrink fit it meant machining the collar to a very tight tolerance, which can be a pain. If it was antlything but a 22lr I would not have done it like this. Originally Posted by csmiffy

-
01-09-2018, 06:51 PM #6Member
- Join Date
- Dec 2015
- Location
- Papakura, Auckland
- Posts
- 594
Good tip, I'll be sure to track some down. Originally Posted by Tommy
The trigger is handmade by me and is based closely on an Elftman drop in trigger. It works ok with 223 but has trouble igniting some brands of primers. Hasn't got a shit show of igniting 22lr. I need to mill out the trigger hanger some more to make room for a stronger spring.
Ar15 triggers are a bugger to build and I wouldn't try it again quickly.
-
01-09-2018, 06:56 PM #7Member
- Join Date
- Dec 2015
- Location
- Papakura, Auckland
- Posts
- 594
Thanks! A majority of my gunsmithing work is lathe based. The one I bought was about $2000 brand new plus about $1000 in tooling. So it's not completely out of reach for most people to buy one. When I bought it 3 years ago I had never touched a lathe in my life. Originally Posted by TianBotha
-
02-09-2018, 12:07 AM #8Member
- Join Date
- Mar 2015
- Location
- Auckland
- Posts
- 564
NICE!
mini ipsc... ASC member?
-
03-09-2018, 10:22 AM #9Member
- Join Date
- Apr 2018
- Location
- auck
- Posts
- 213
that's very awesome, i own a few of the cmmg bolts, how's the group?
-
03-09-2018, 10:58 AM #10Member
- Join Date
- Jul 2016
- Location
- Auckland
- Posts
- 107
Very nice, I like to see people doing stuff form scratch it cool to watch progress and a great result.
I have made a few of those handguards, the ~50mm carbon fibre actually feels really good and works for small and big hands.
@Glycerine I am at ASC, we have a grading match for mini rifle this month. hopefully see you there..
-
03-09-2018, 01:21 PM #11Member
- Join Date
- Nov 2014
- Location
- W-BOP
- Posts
- 6,578
You both know each other already Originally Posted by MaW
 Identify your target beyond all doubt
-
04-09-2018, 06:41 PM #12Member
- Join Date
- Dec 2015
- Location
- Papakura, Auckland
- Posts
- 594
Not a member yet, but im thinking of joining in the near future. Originally Posted by Glycerine
I shot some groups with a scope attached and it looked promising considering the muzzle at the time was literally hacksawed off. I have not had it at the range since I threaded and crowned it, so it will be interesting to see how it shoots, and how much of a difference a crown actually makes. Originally Posted by holdover
Glycerine likes this.


 Reply With Quote
Similar Threads
-
22LR CMMG kit to dedicated 22LR barrel adapter, anywhere selling them in NZ?
By steven in forum Firearms, Optics and AccessoriesReplies: 2Last Post: 22-05-2015, 09:21 PM
Tags for this Thread
 Posting Permissions
- You may not post new threads
- You may not post replies
- You may not post attachments
- You may not edit your posts
Welcome to NZ Hunting and Shooting Forums! We see you're new here, or arn't logged in. Create an account, and Login for full access including our FREE BUY and SELL section Register NOW!!
All times are GMT +13. The time now is 02:47 AM.

Bookmarks