Hi Folks,
This is a re-work of a 22lr target rifle I put together a while back, which you can read about here:
https://www.nzhuntingandshooting.co....no-22lr-39671/
I found that this rifle was not being used at all as is was too heavy, not really much more accurate than my CZ452 and the bolt was quite gritty, which made for unpleasant shooting.
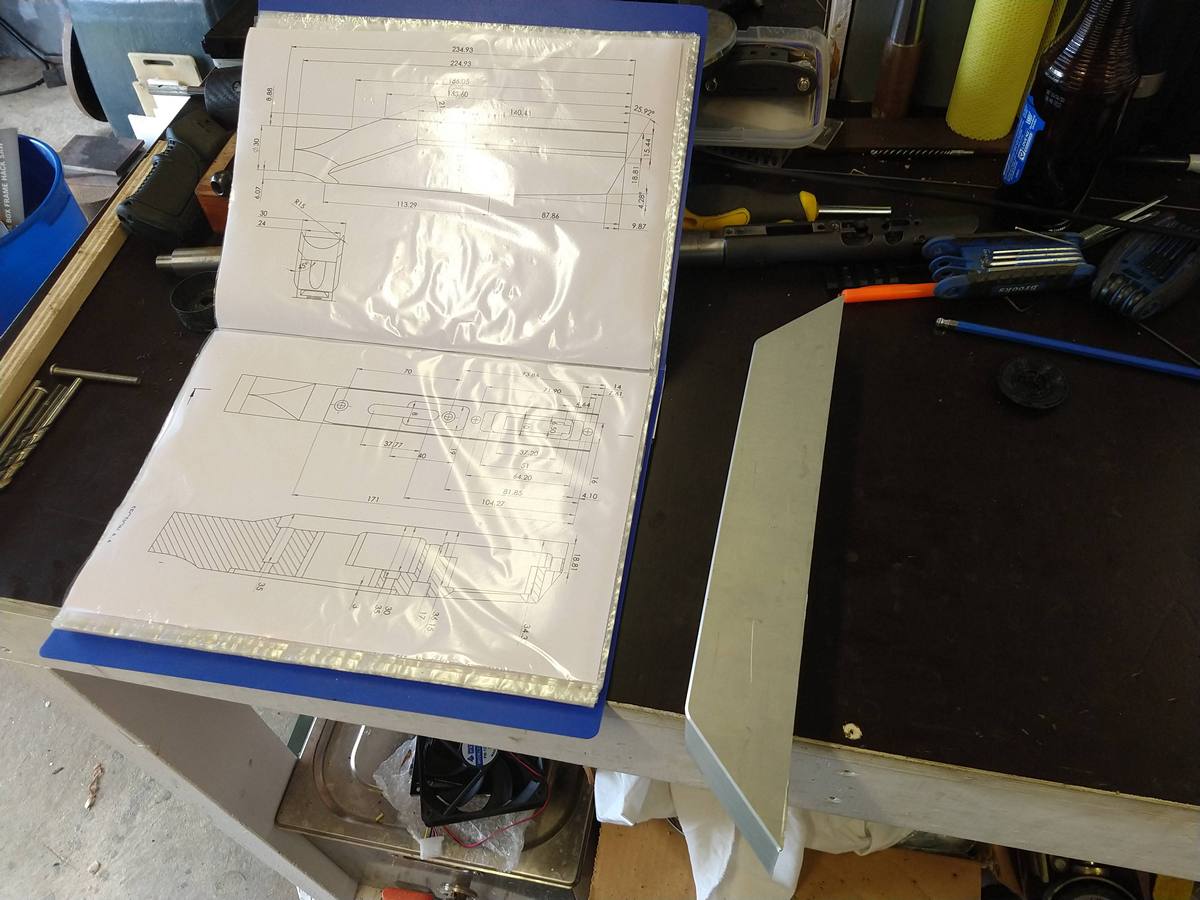
I have been shooting at the Howick indoor range for the last couple of years and have hit a plateau on my scores and I believe it is somewhat gear related. So I decided to design and build a fully adjustable chassis stock for this rifle so that I can experiment with different lengths of pull, buttpad height and rotation, cast on or off, and can change grip shapes easily. Researching this led me to David Tubbs Tubb2000 rifle which was developed for NRA High Power competition and is fully adjustable in the ways I wanted so I have copied a lot of his ideas. I got to work on Solidworks and came up with something that was feasible for me to make, I liked the look of, and would do the job (hopefully)
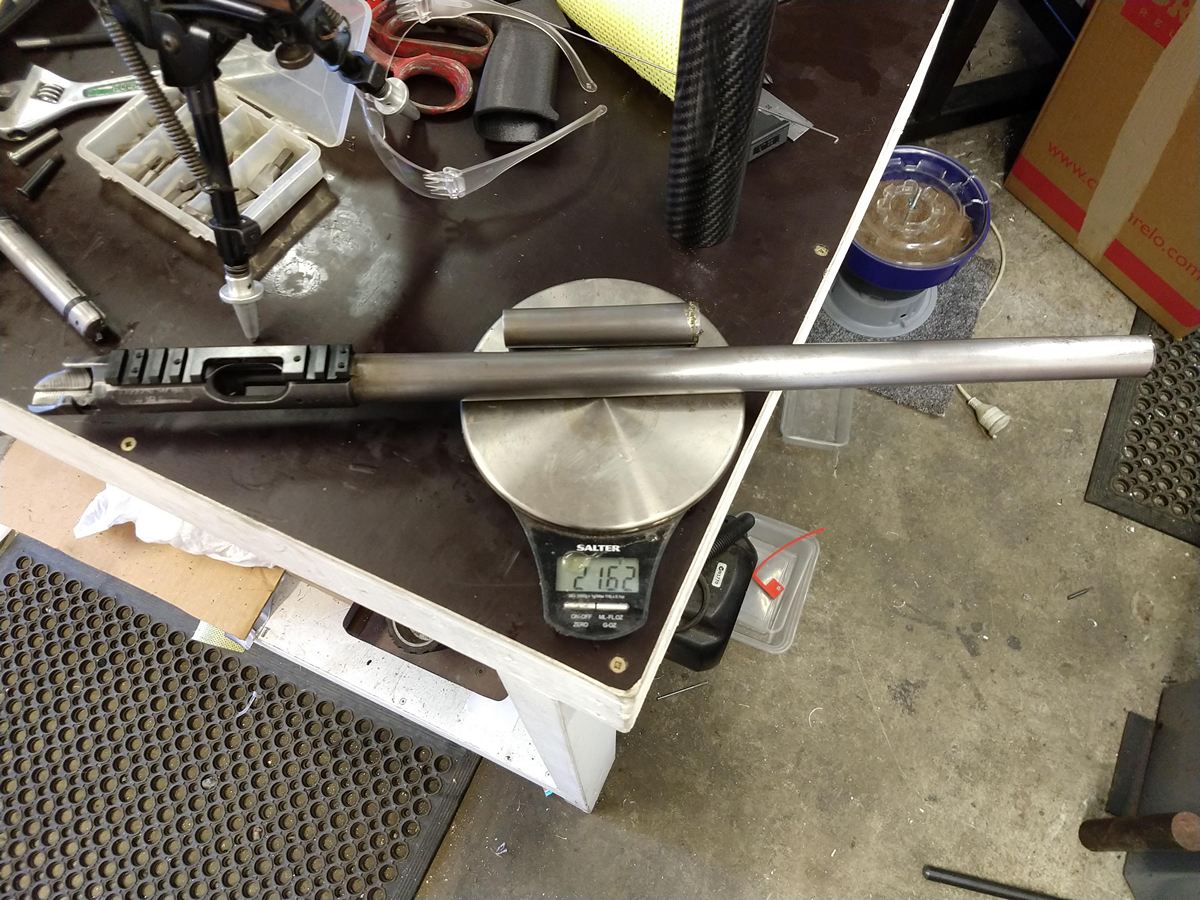
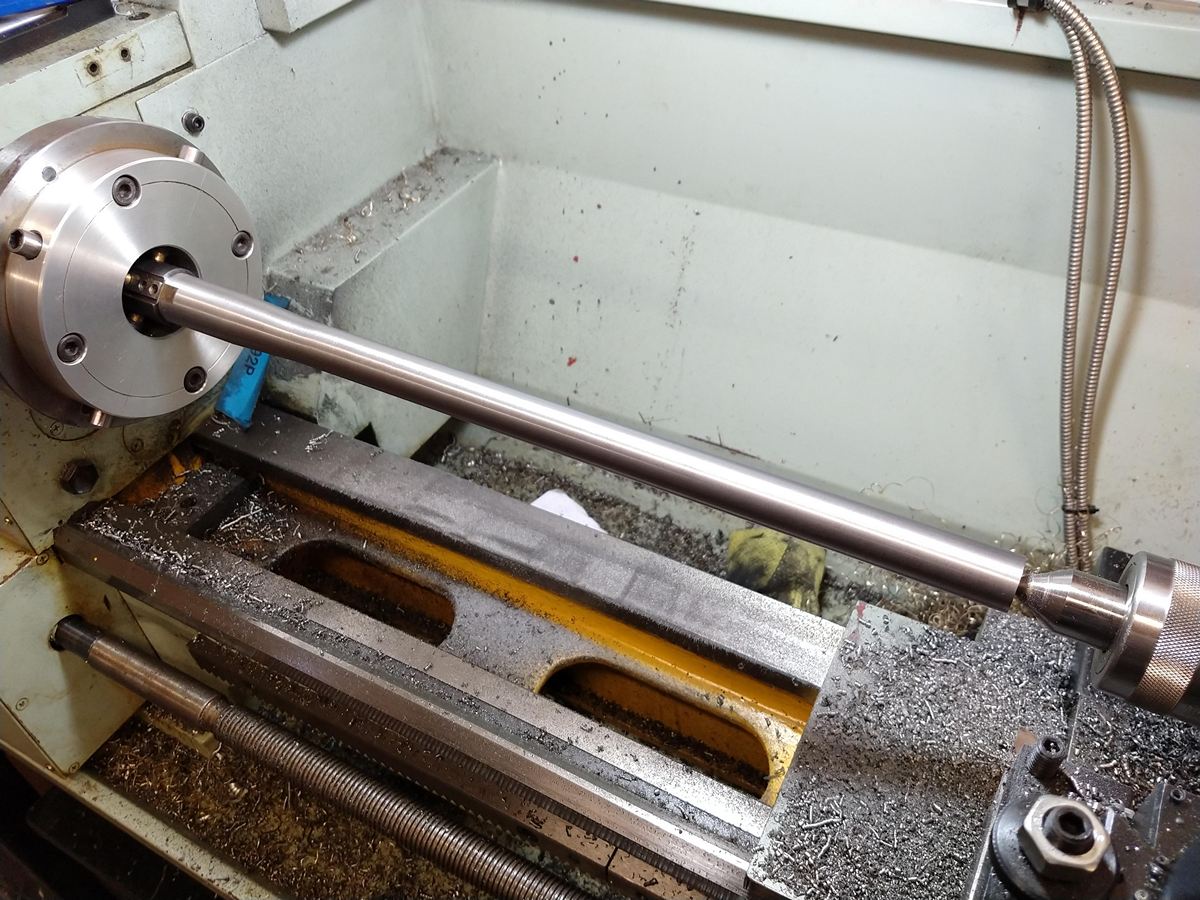
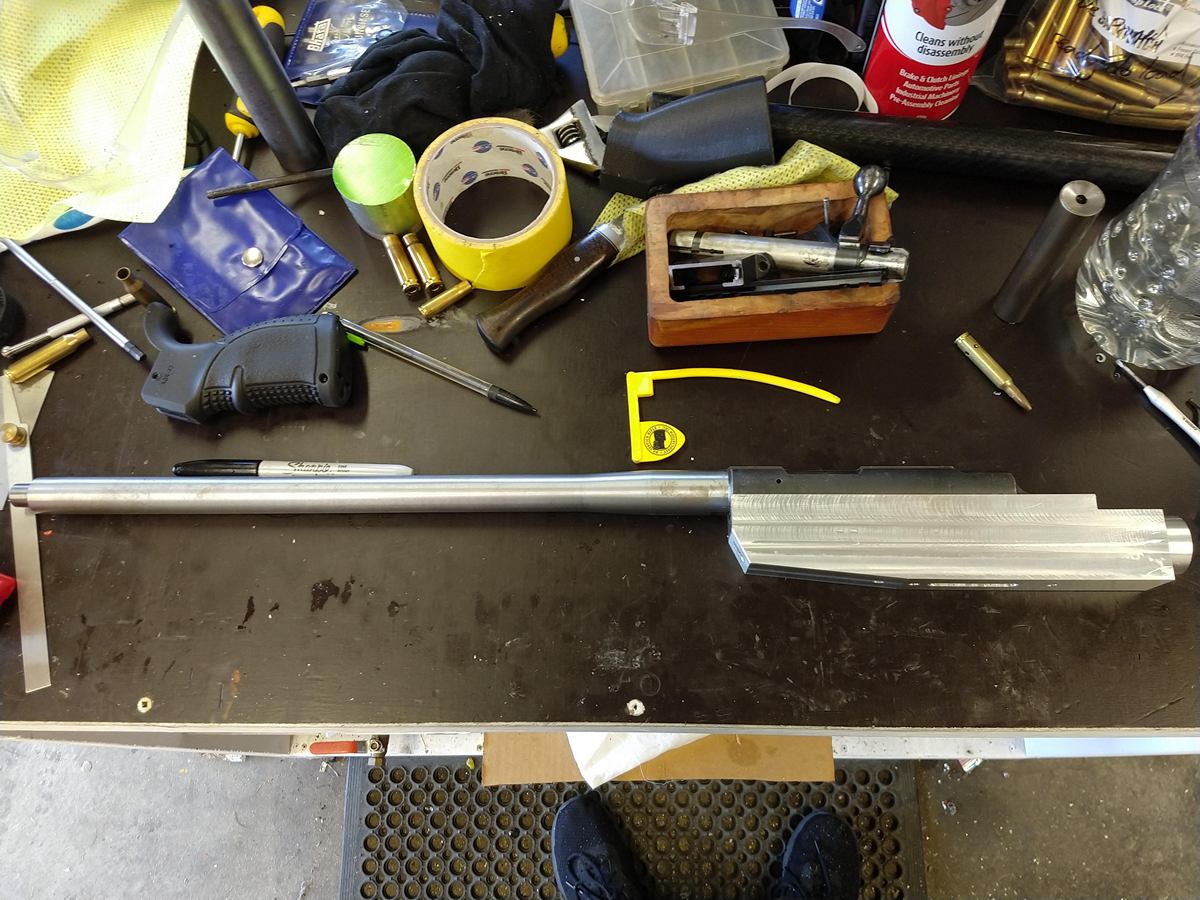
I started with nearly 2.2kg of barrel and action, so decided to cut the barrel length down and also turn the profile down as the current straight taper was way overkill.
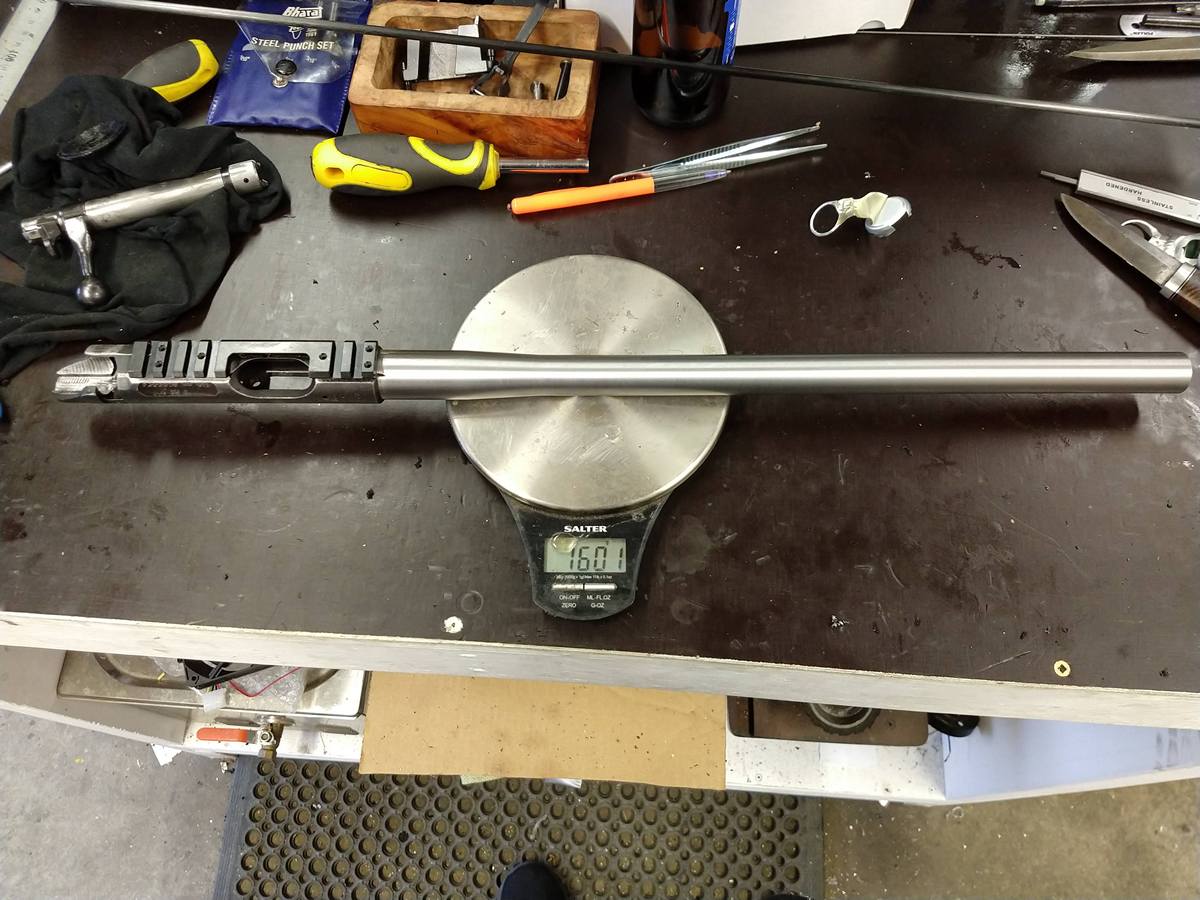
The result was still a decent profile barrel, but now down to 1.6kg. Using the CAD model, I had estimated this would result in a rifle with a scoped weight of around 4.1kg. Certainly not a mountain rifle but light enough for positional shooting.
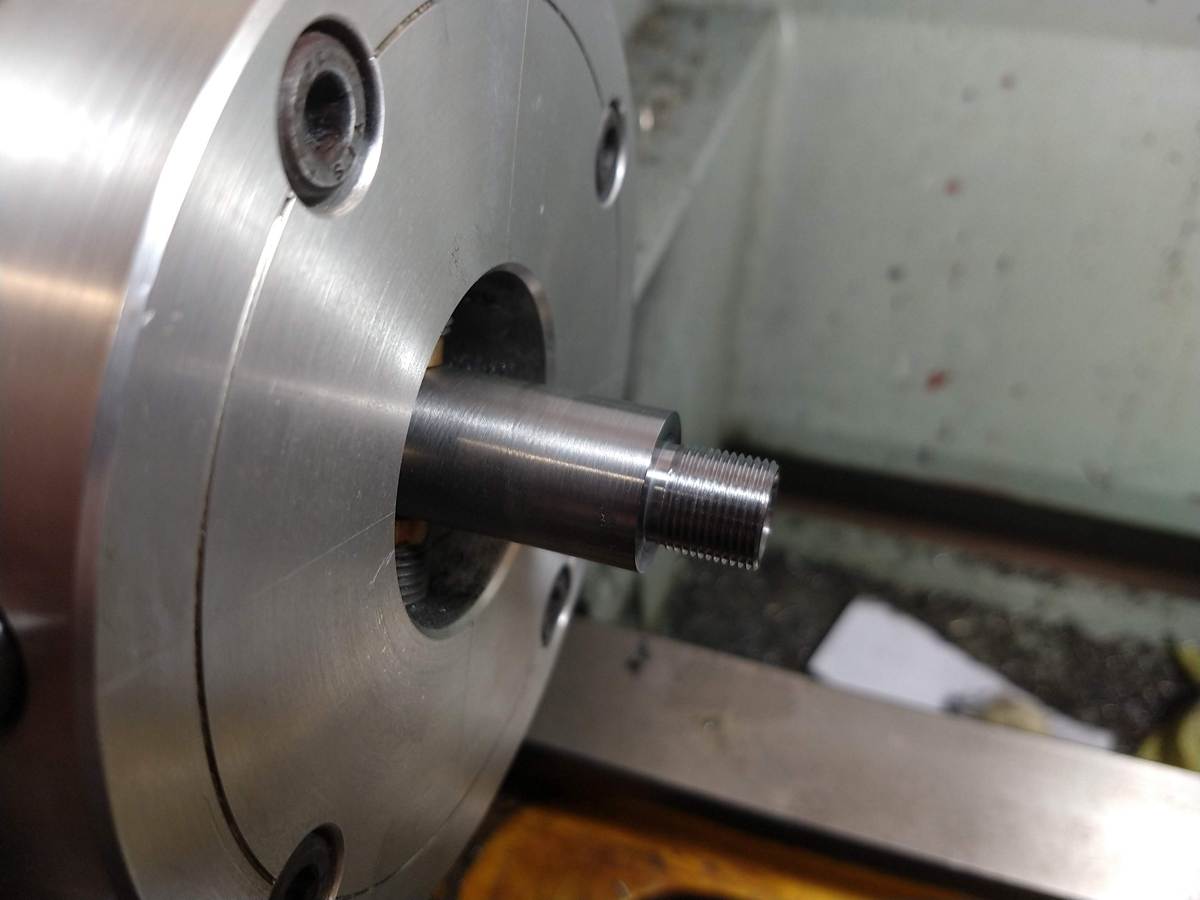
I crowned and threaded the muzzle for M14x1.0
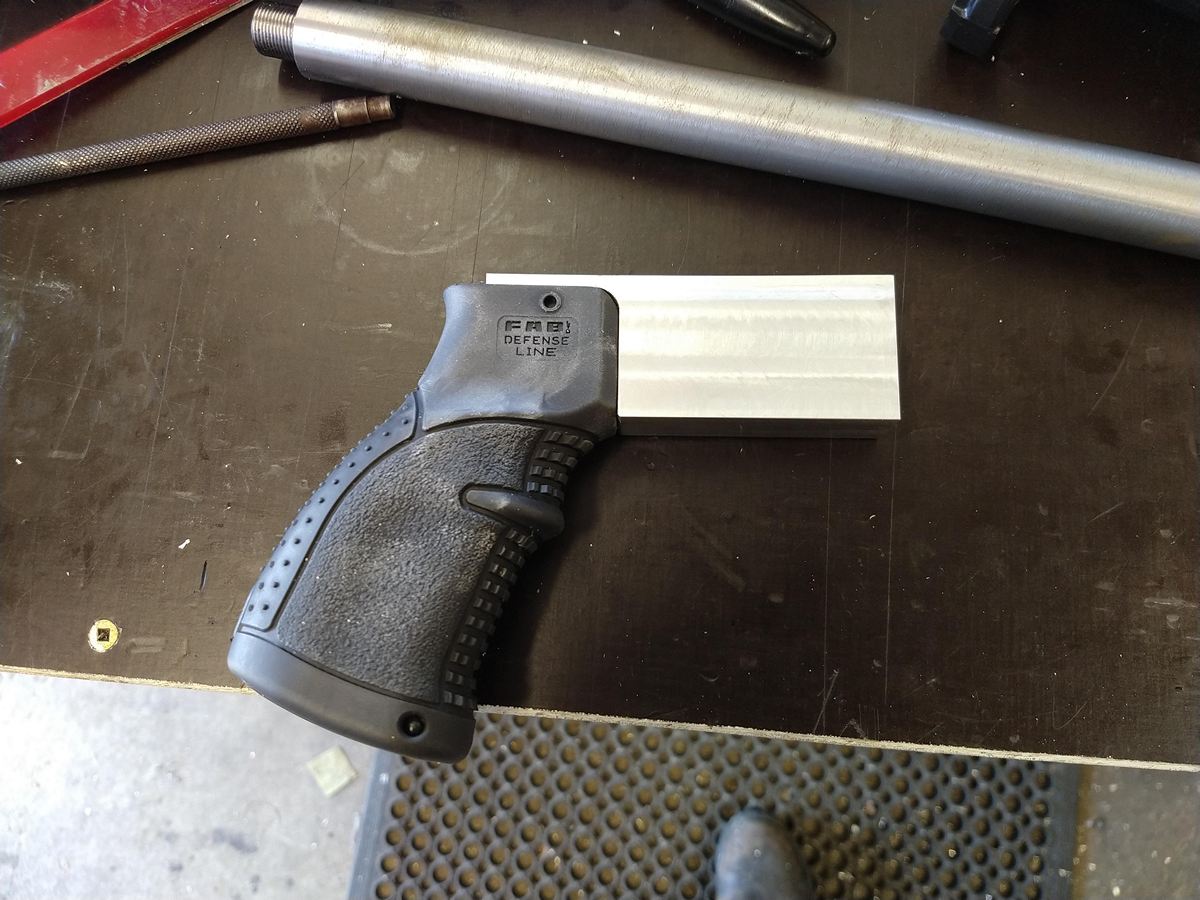
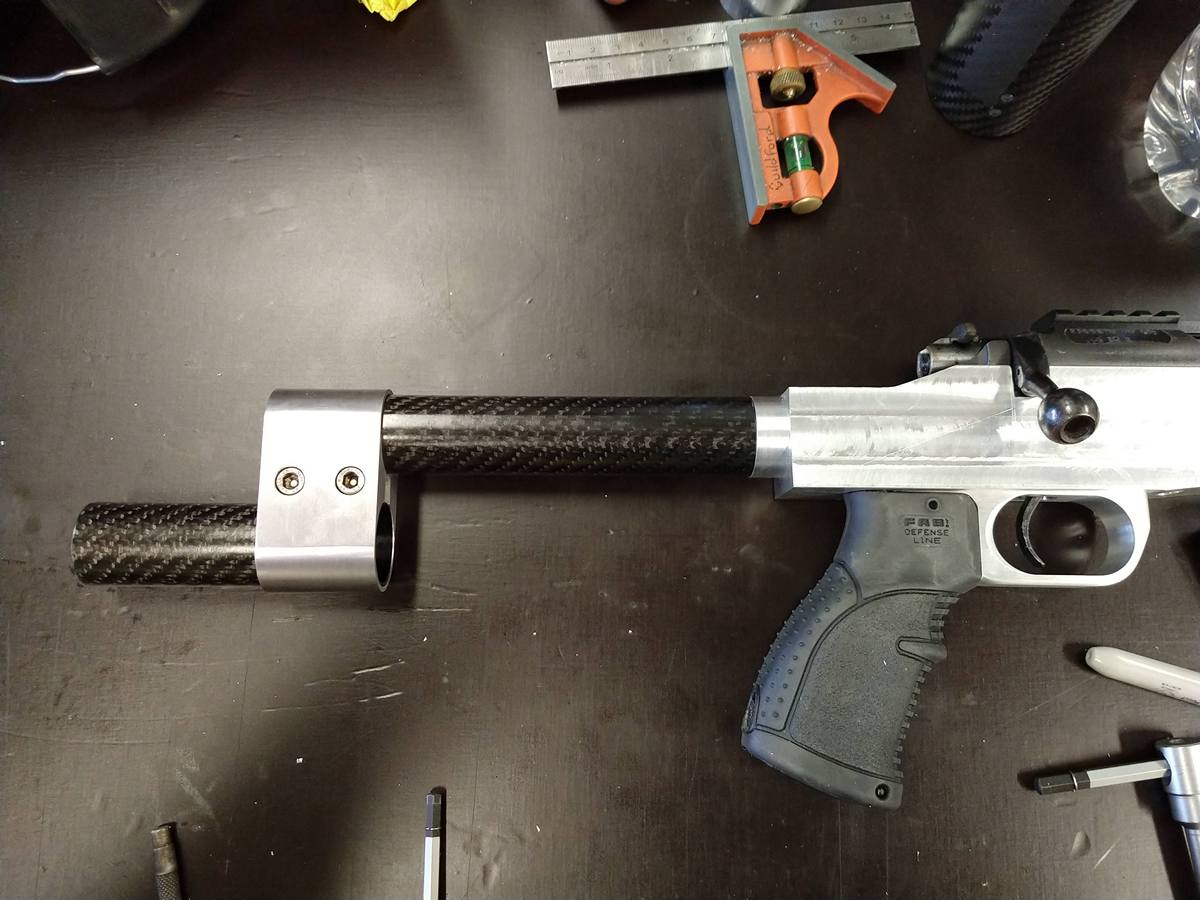
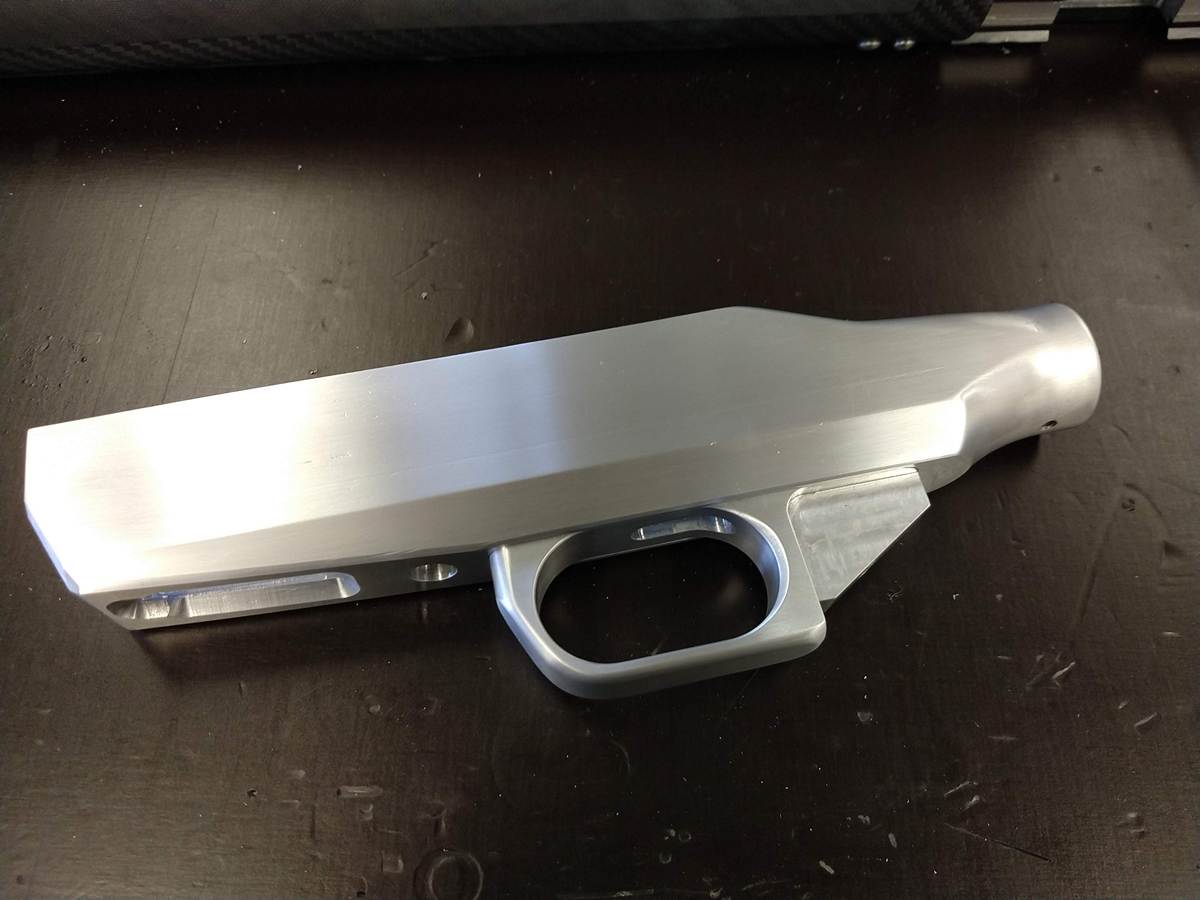
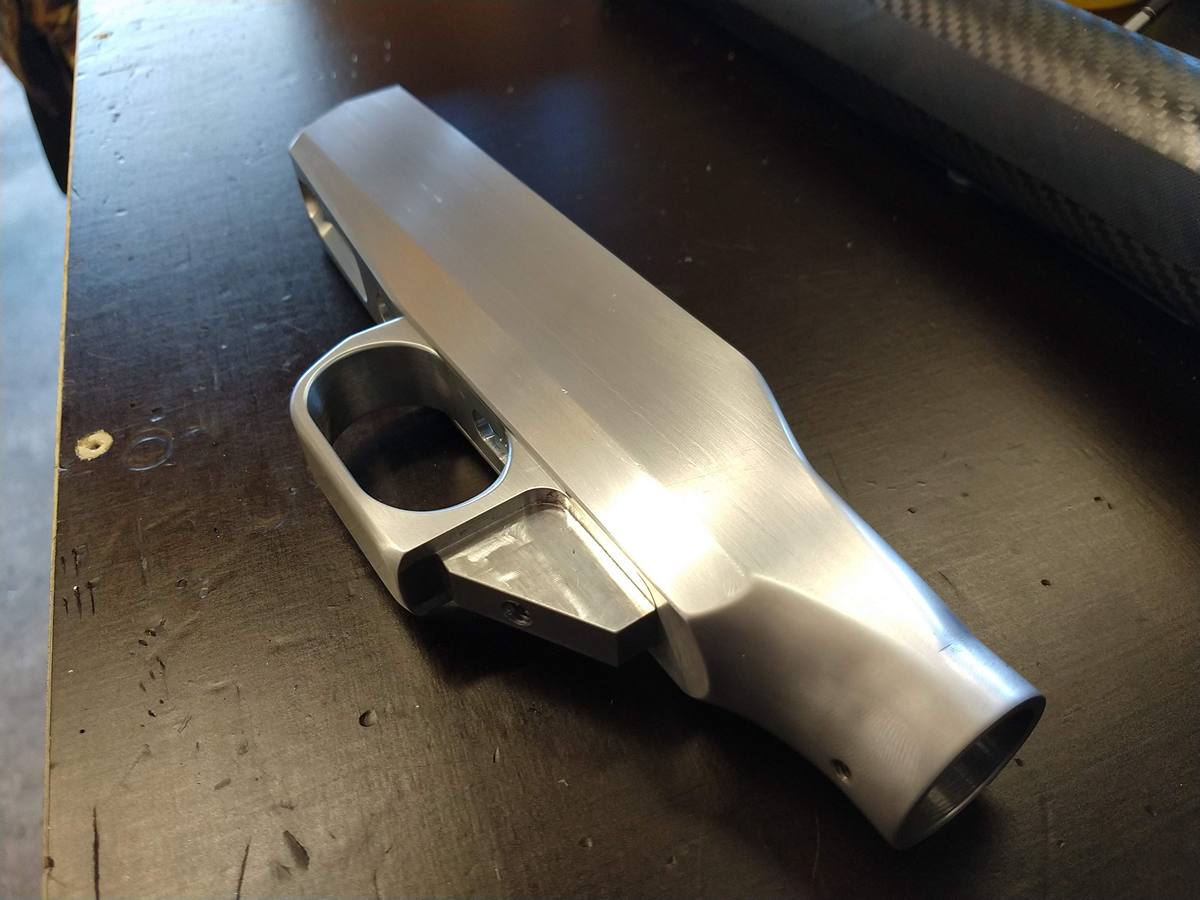
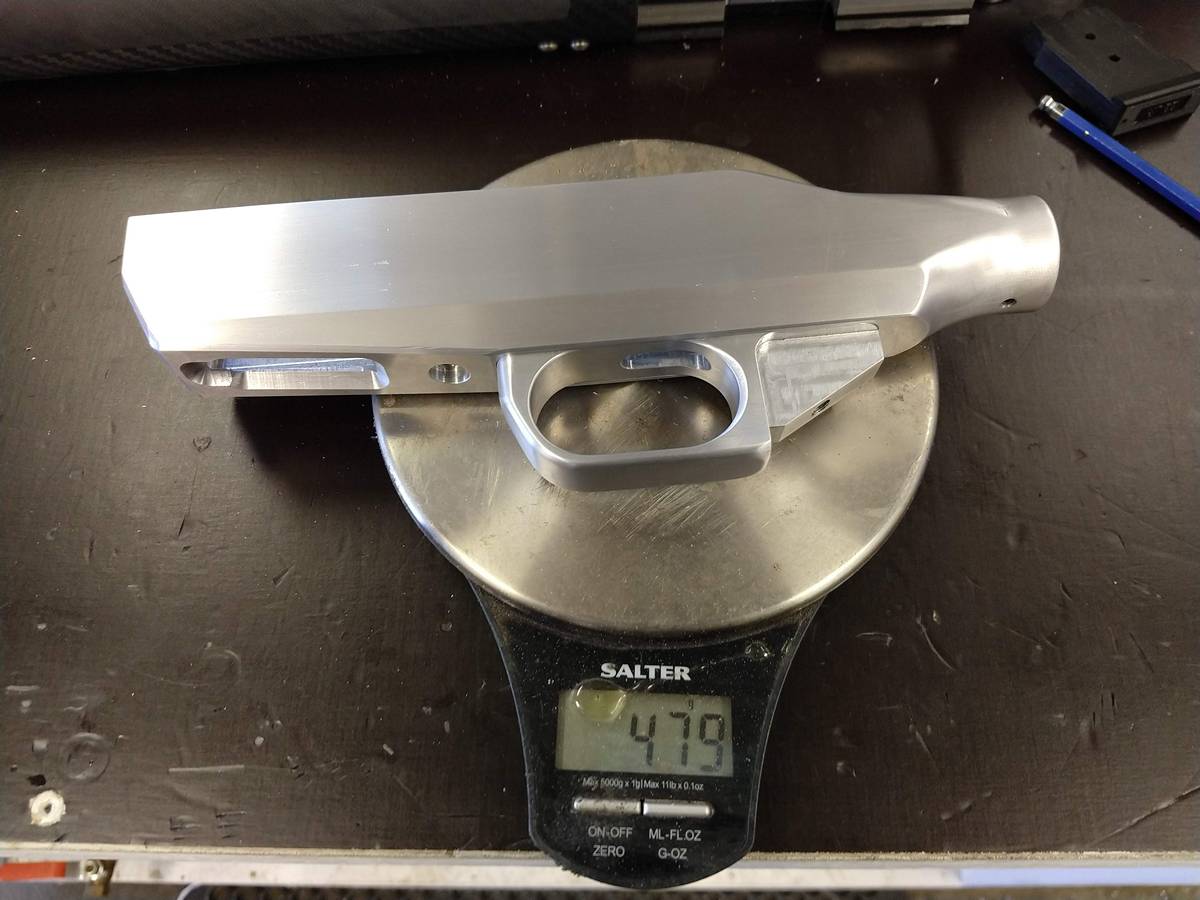
Next, I started on the Chassis, starting with the main block. I designed this without a built in trigger guard as it reduced the size of raw stock I needed considerably. The trigger guard is made separately and bolted on. This also had the benefit of allowing me to change from an AR-15 pattern pistol grip to something else if plod decides they are too dangerous for civilians.
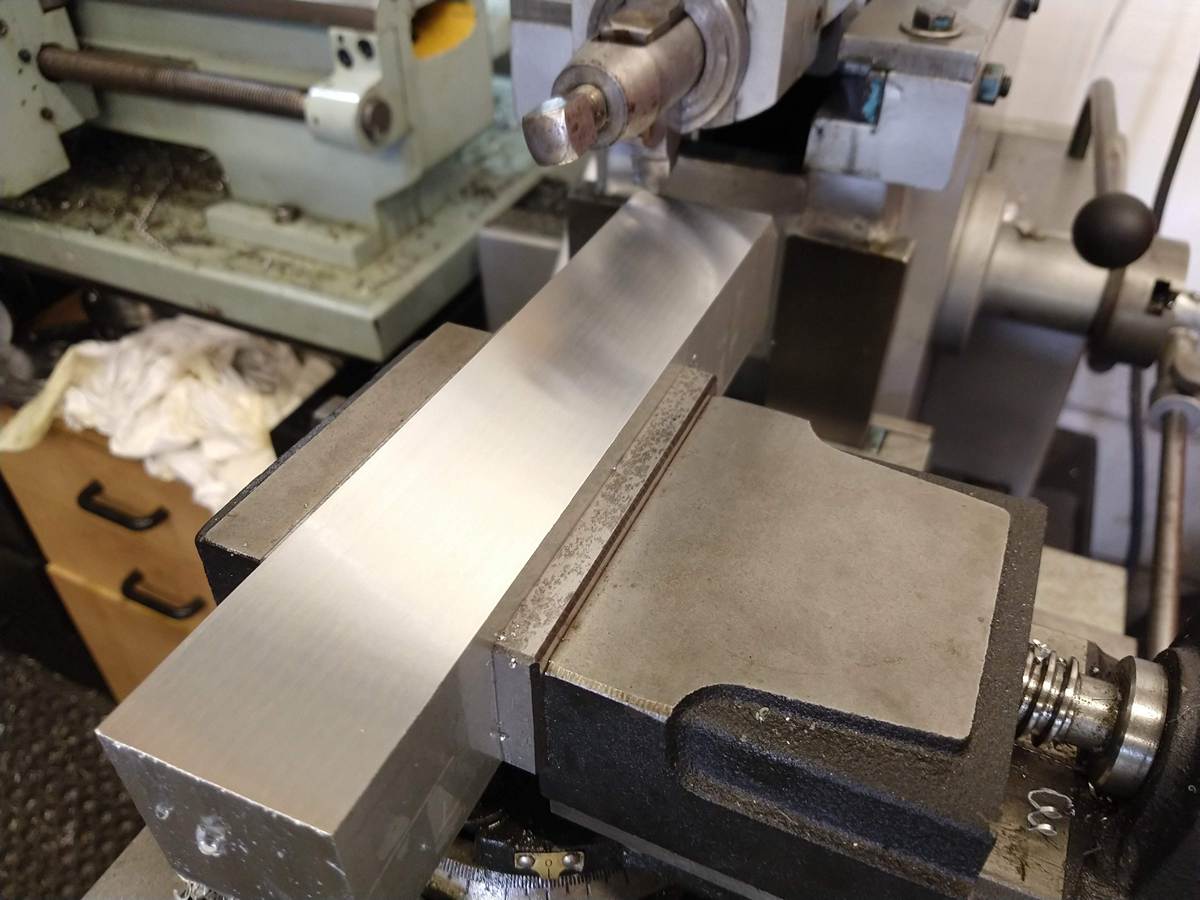
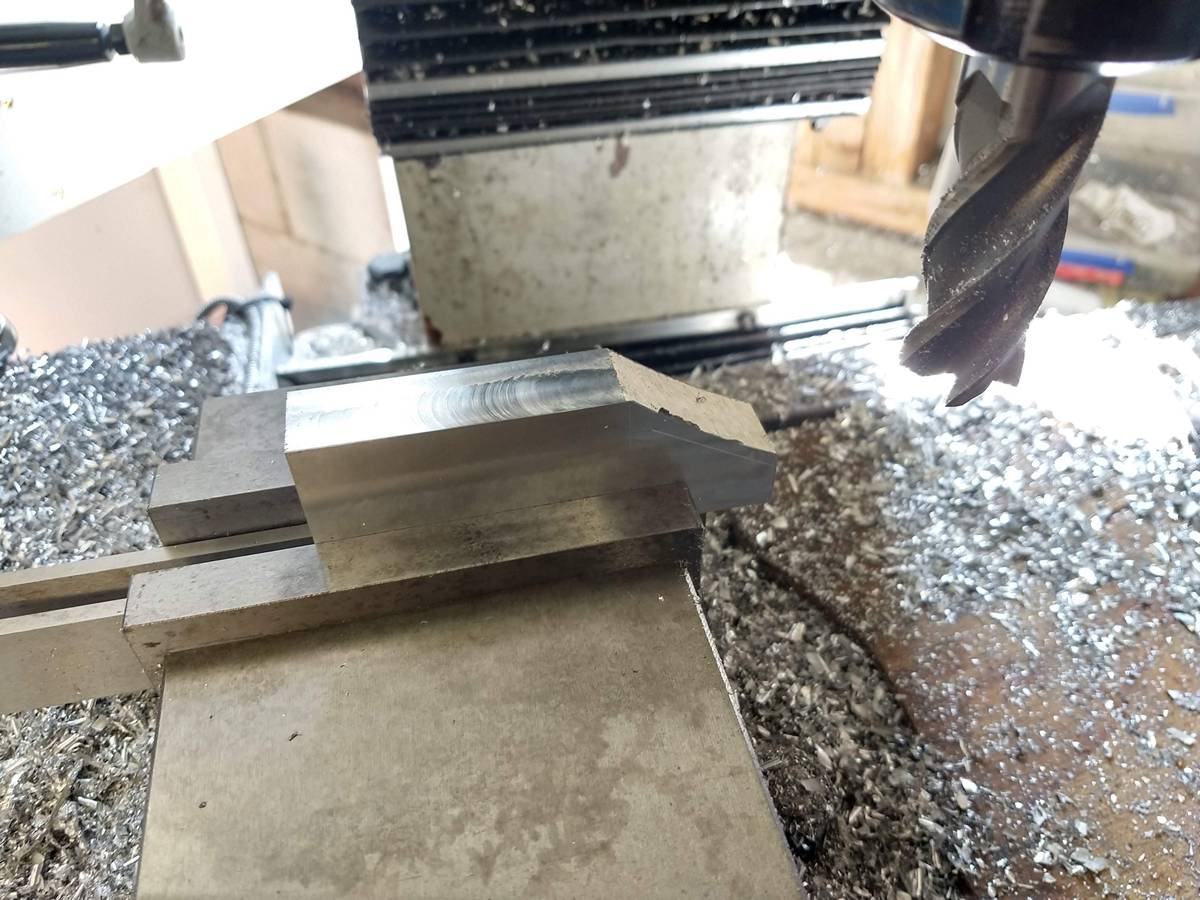
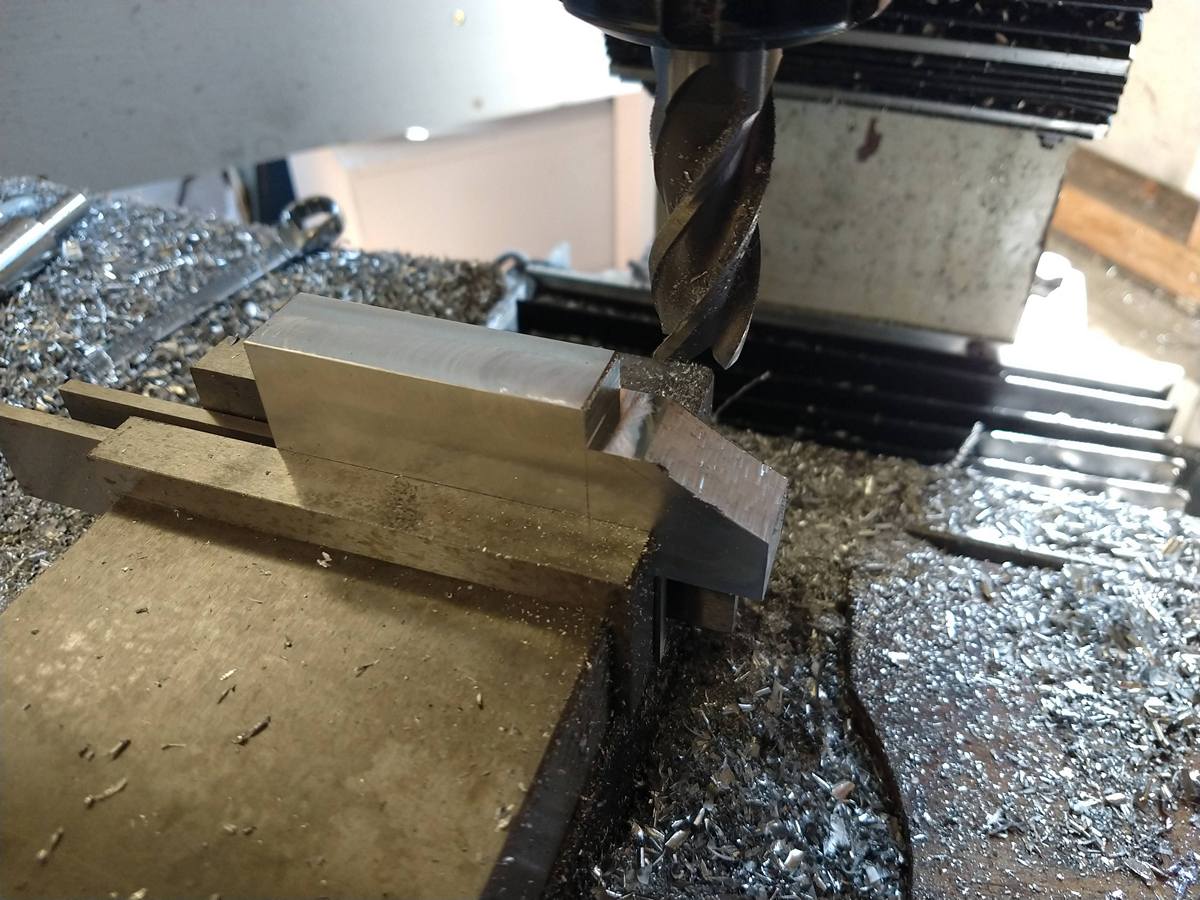
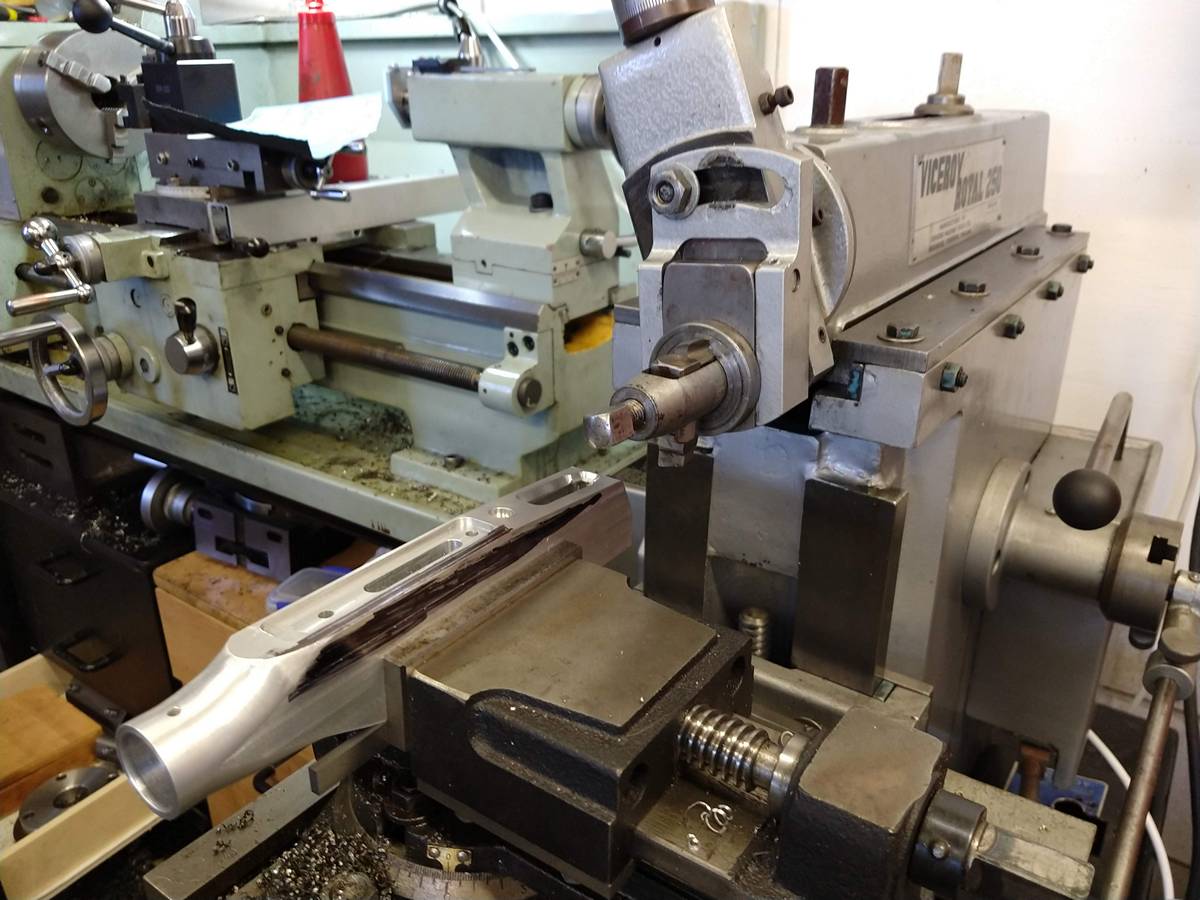
I started on the shaper as it hadnt been used for a while but quickly gave up and moved to the mill as I had about 15mm of thickness to remove and my shaper is only capable of around 0.8mm per pass in aluminium.
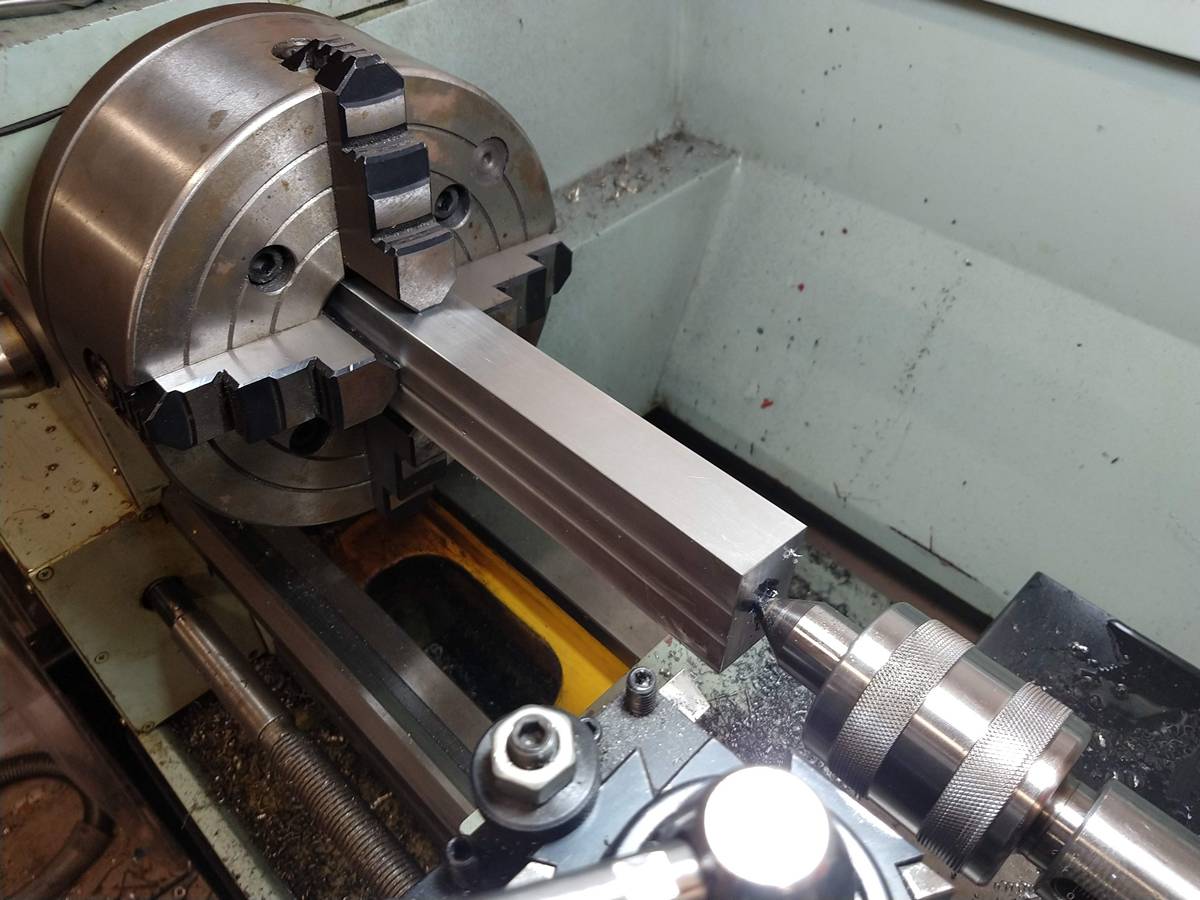
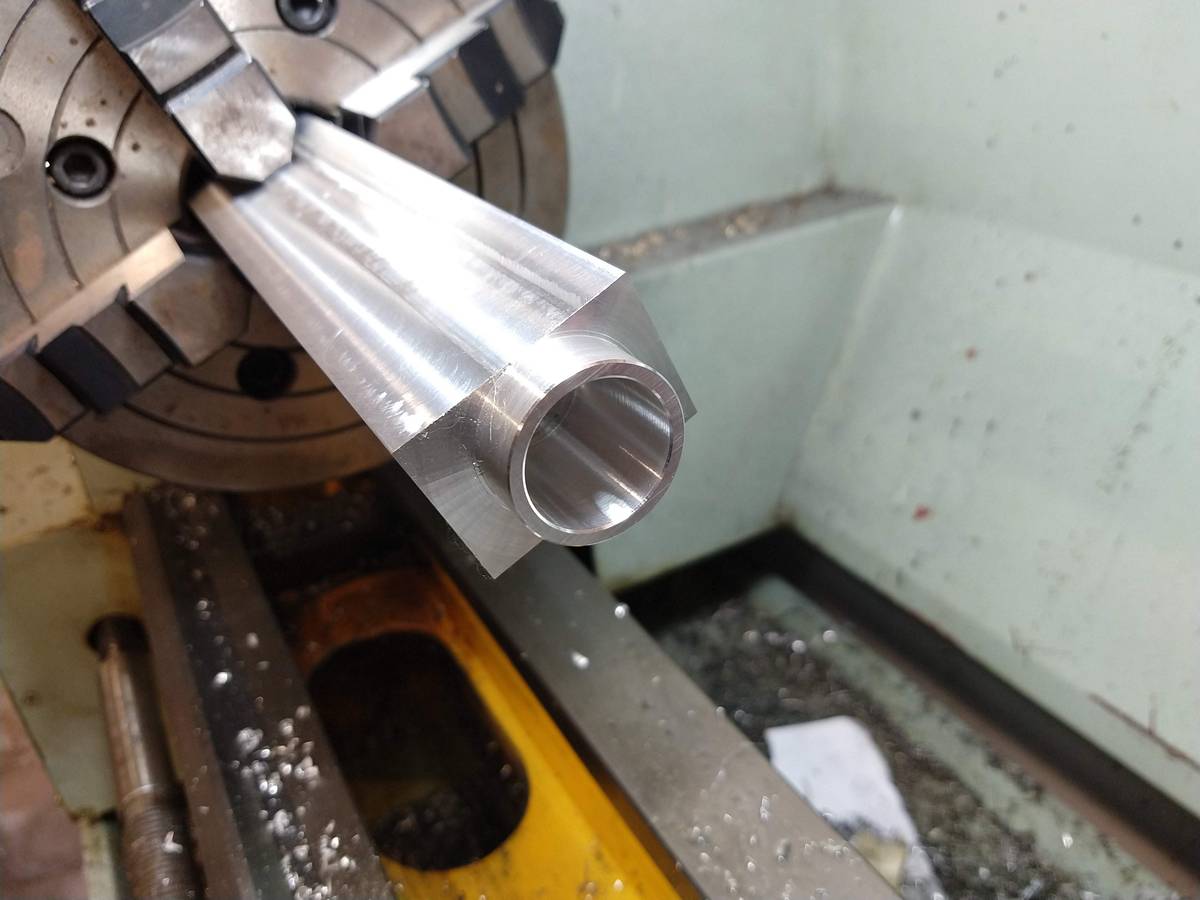
Once the block was squared up, I put it in the lathe to turn the end down where it would join with the stock. In hindsight I should have threaded this and the stock rather than using a grub screw.
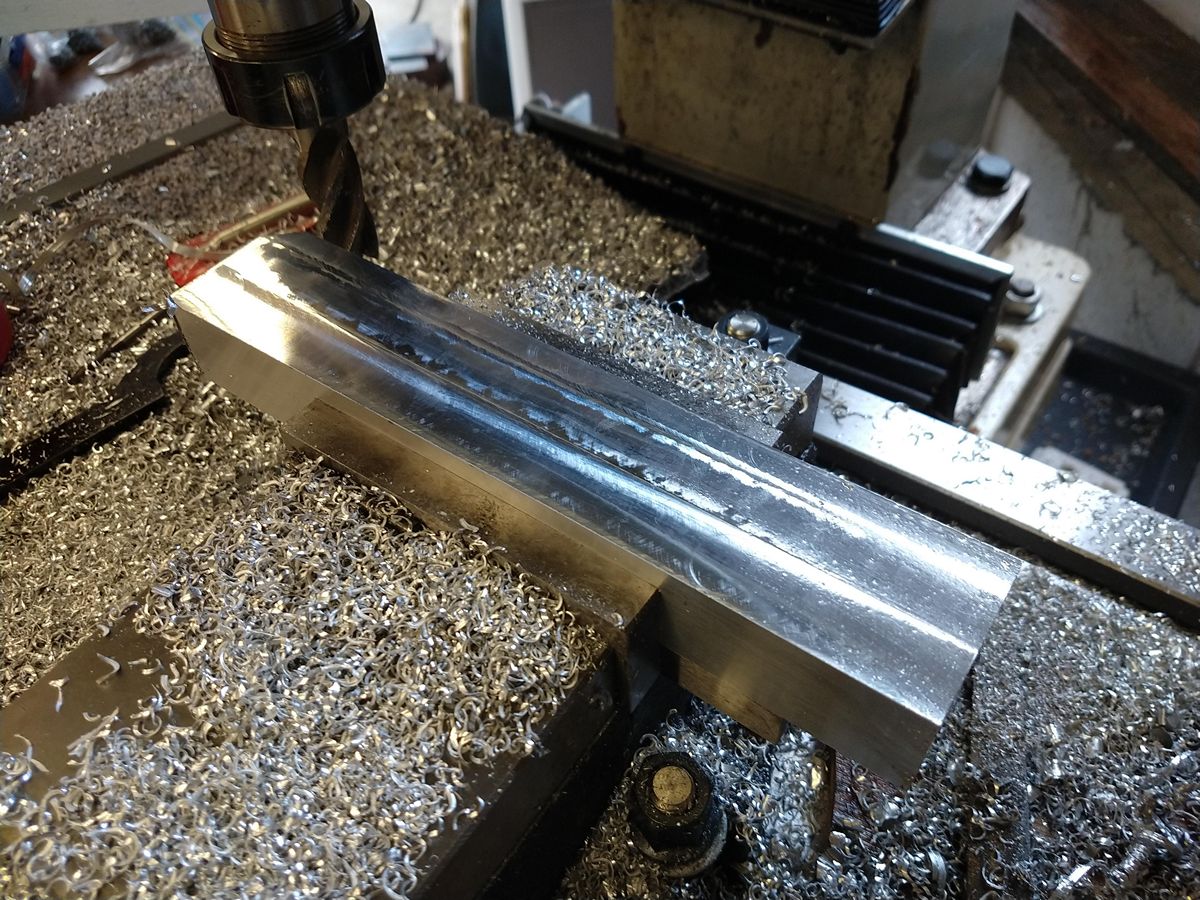
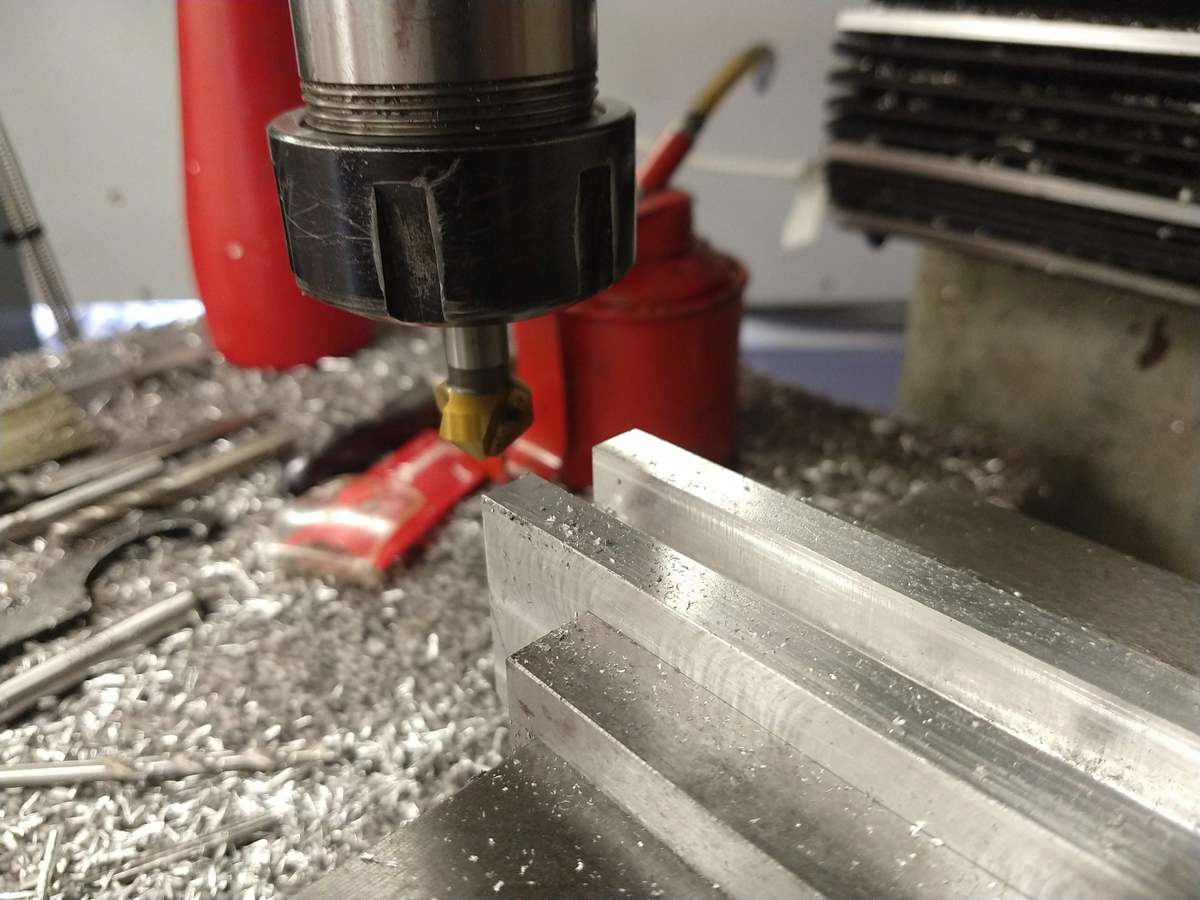
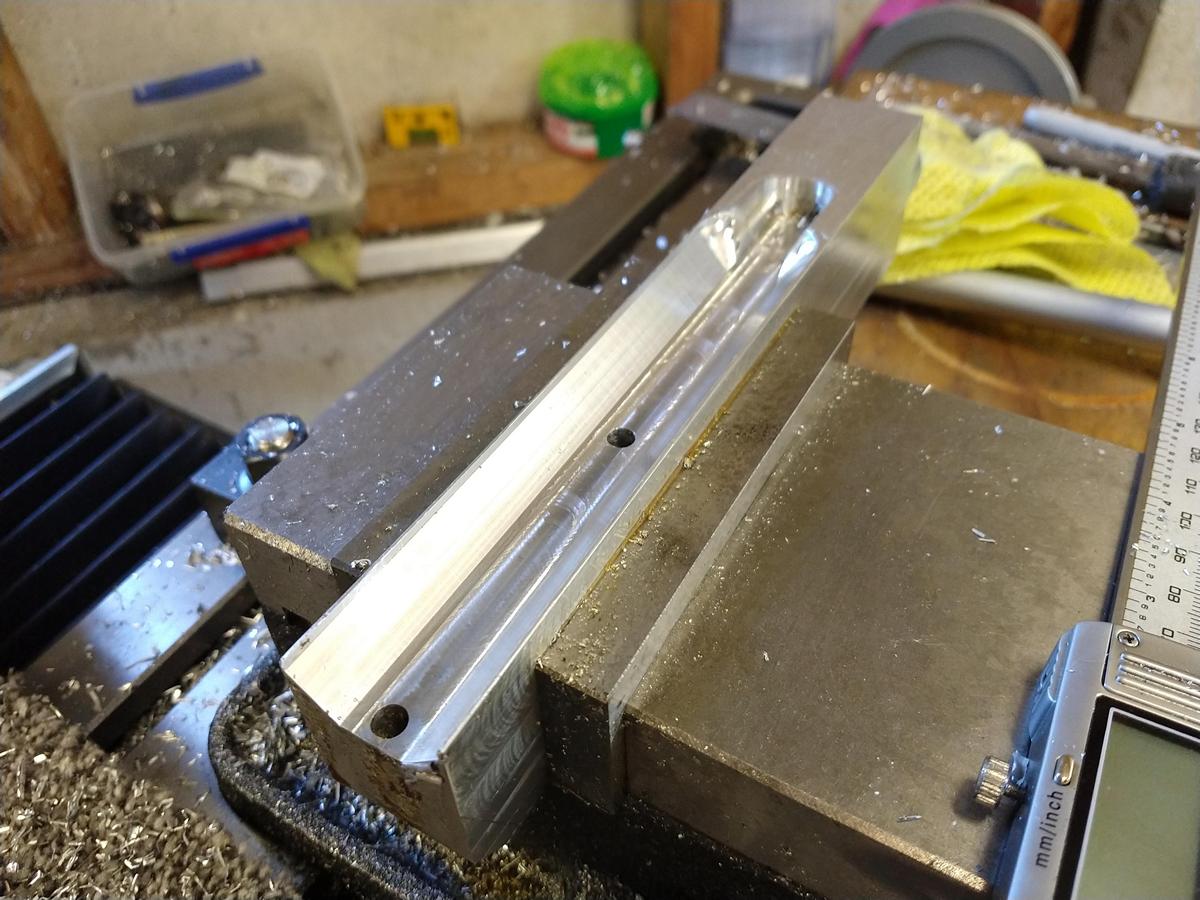
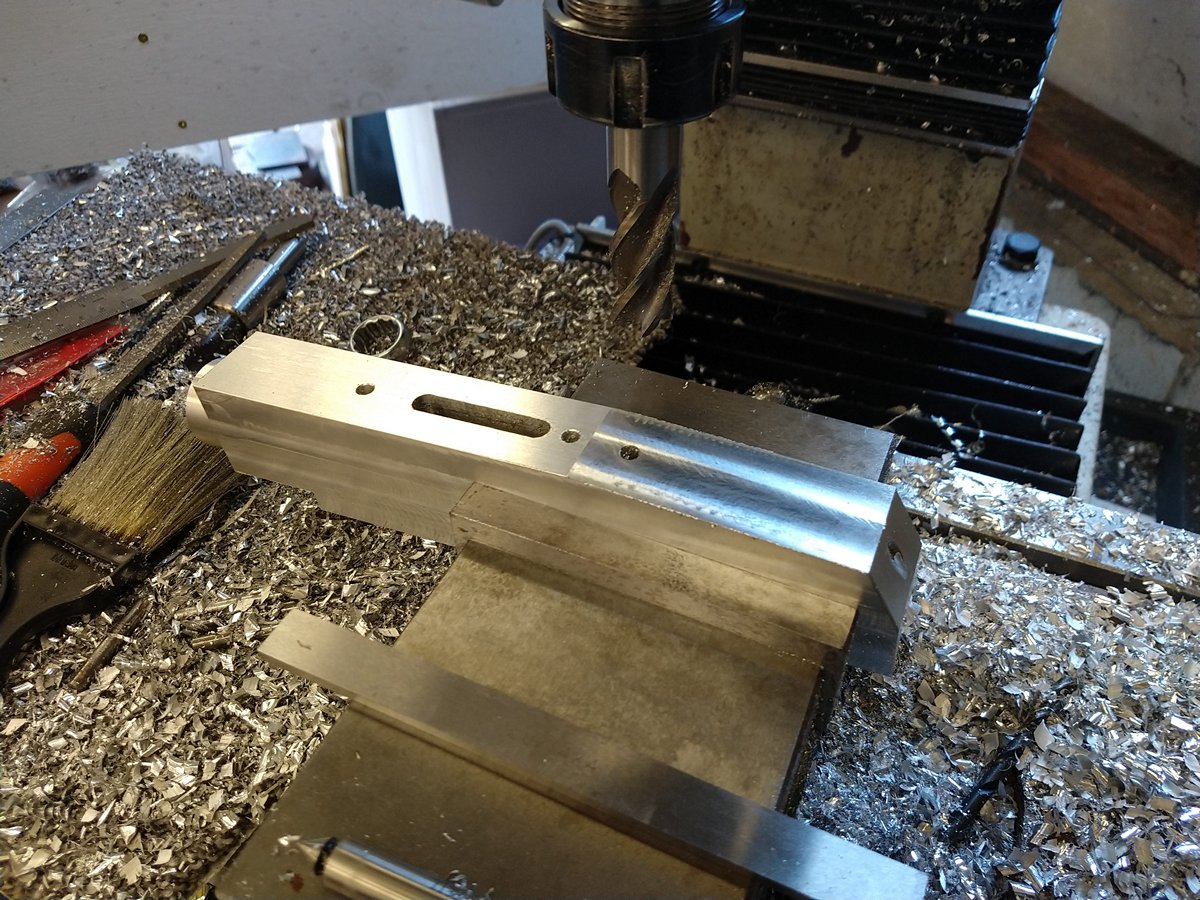
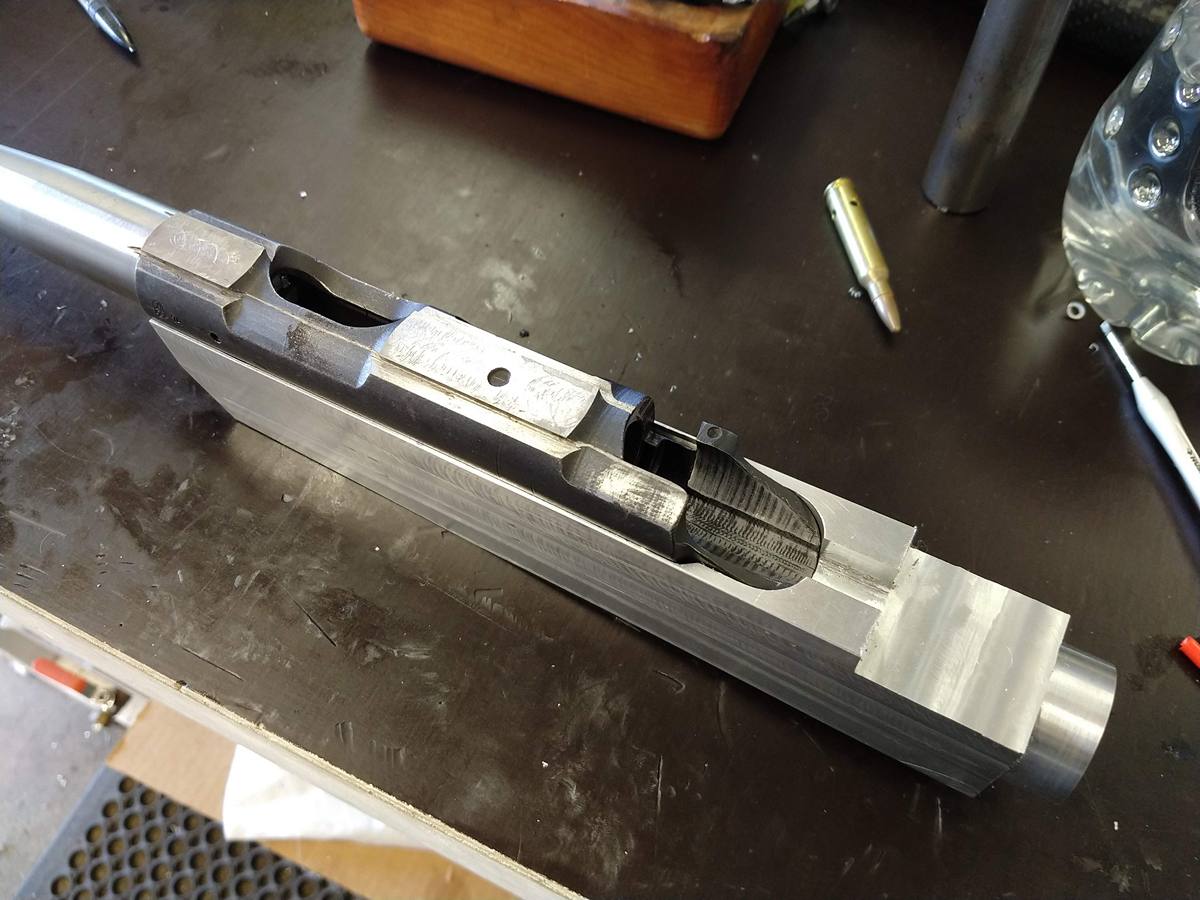
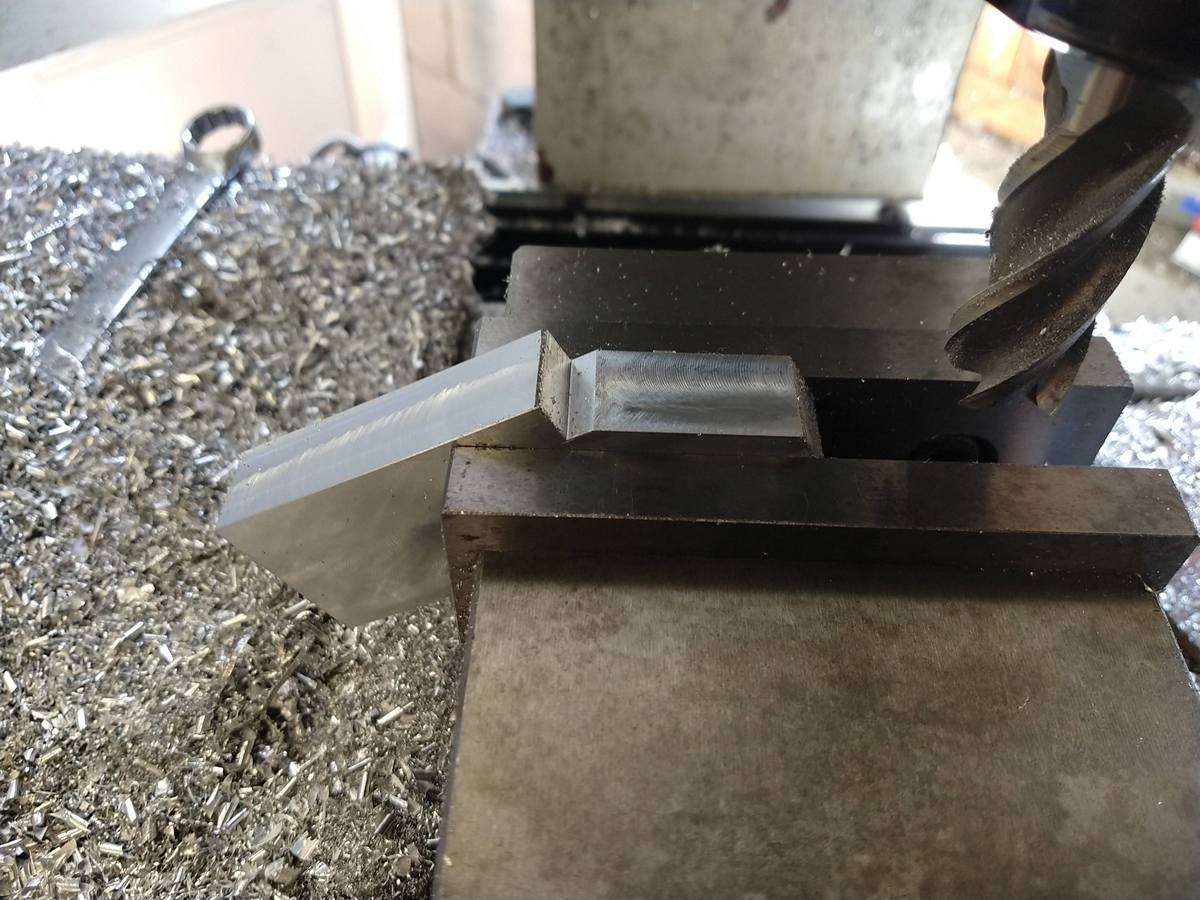
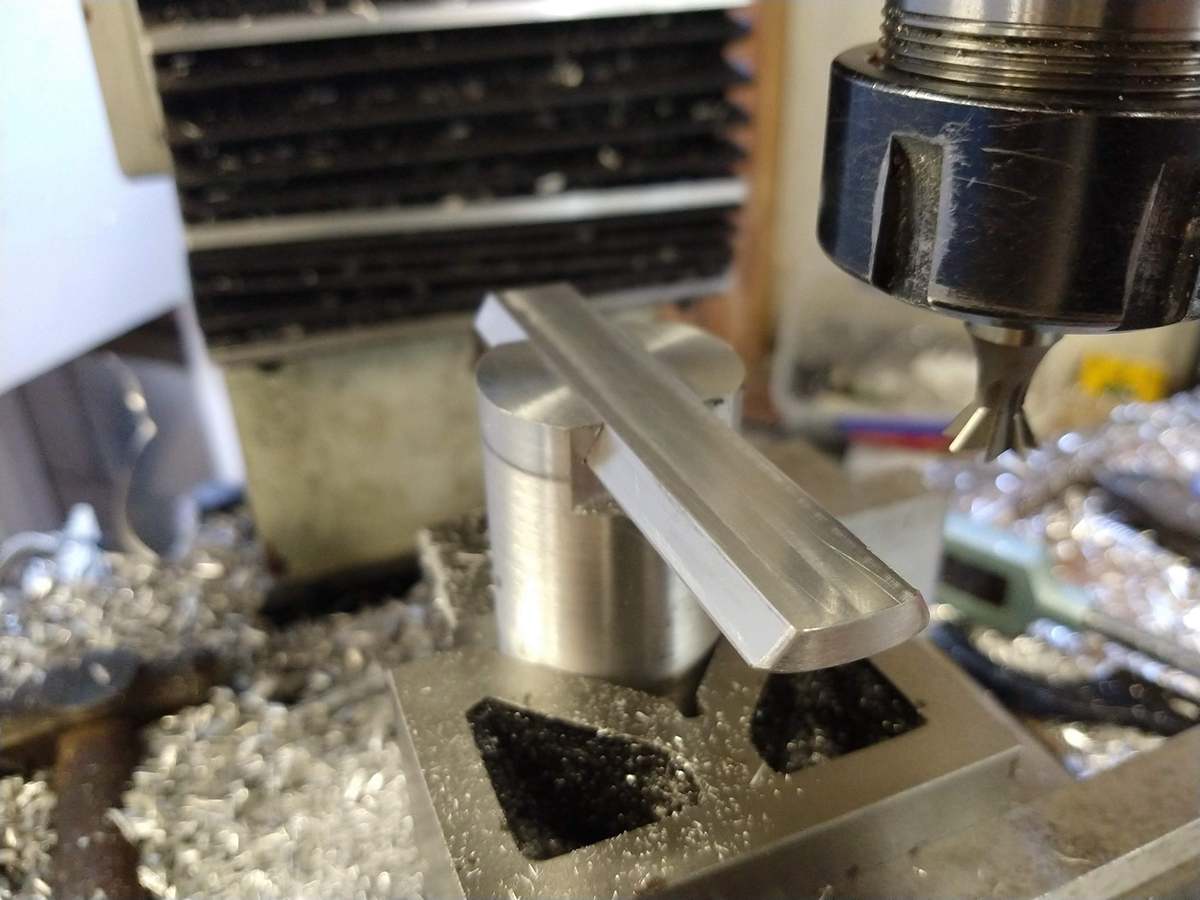
I cut the action channel by milling a slot and then chamfering the sides with a countersink bit (sounded horrible and took ages) This resulted in a V-block arrangement for the round action to pull down into.
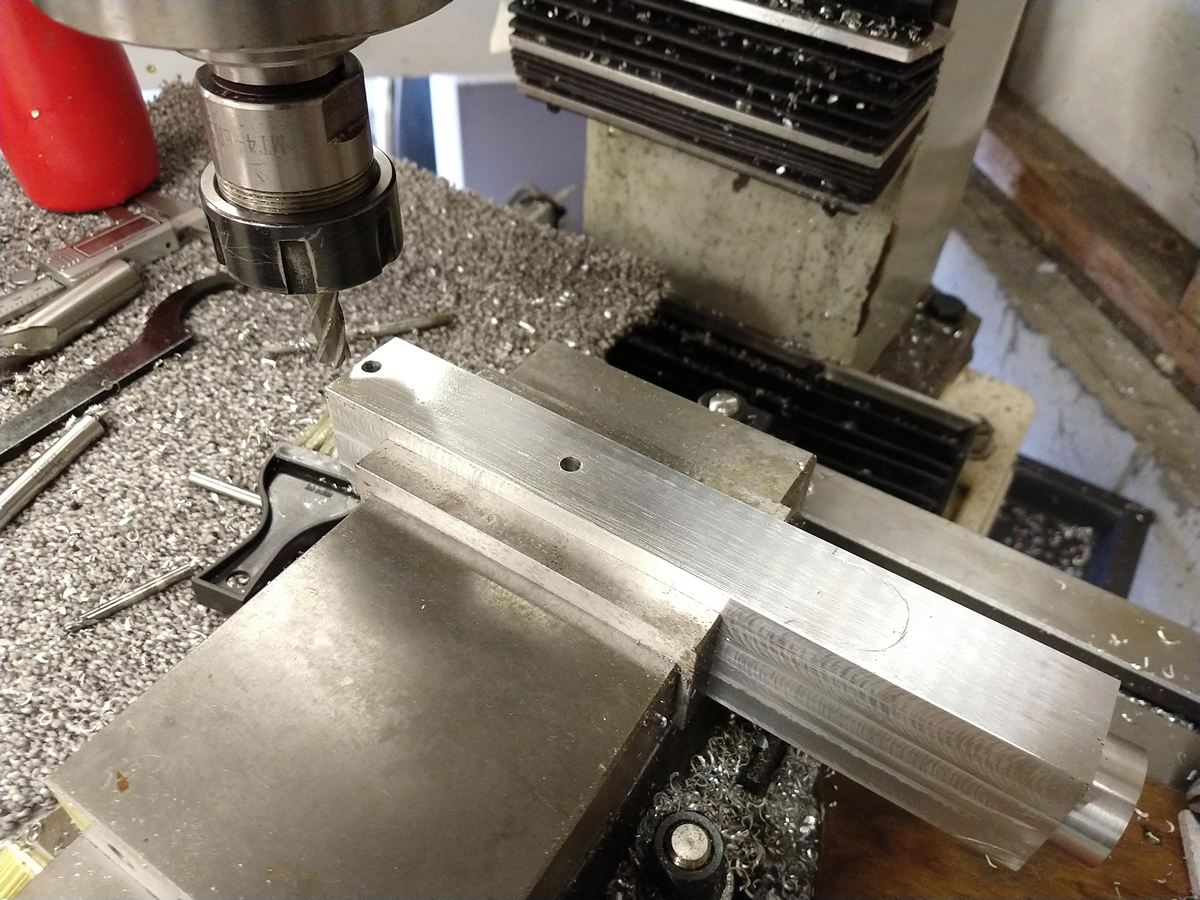
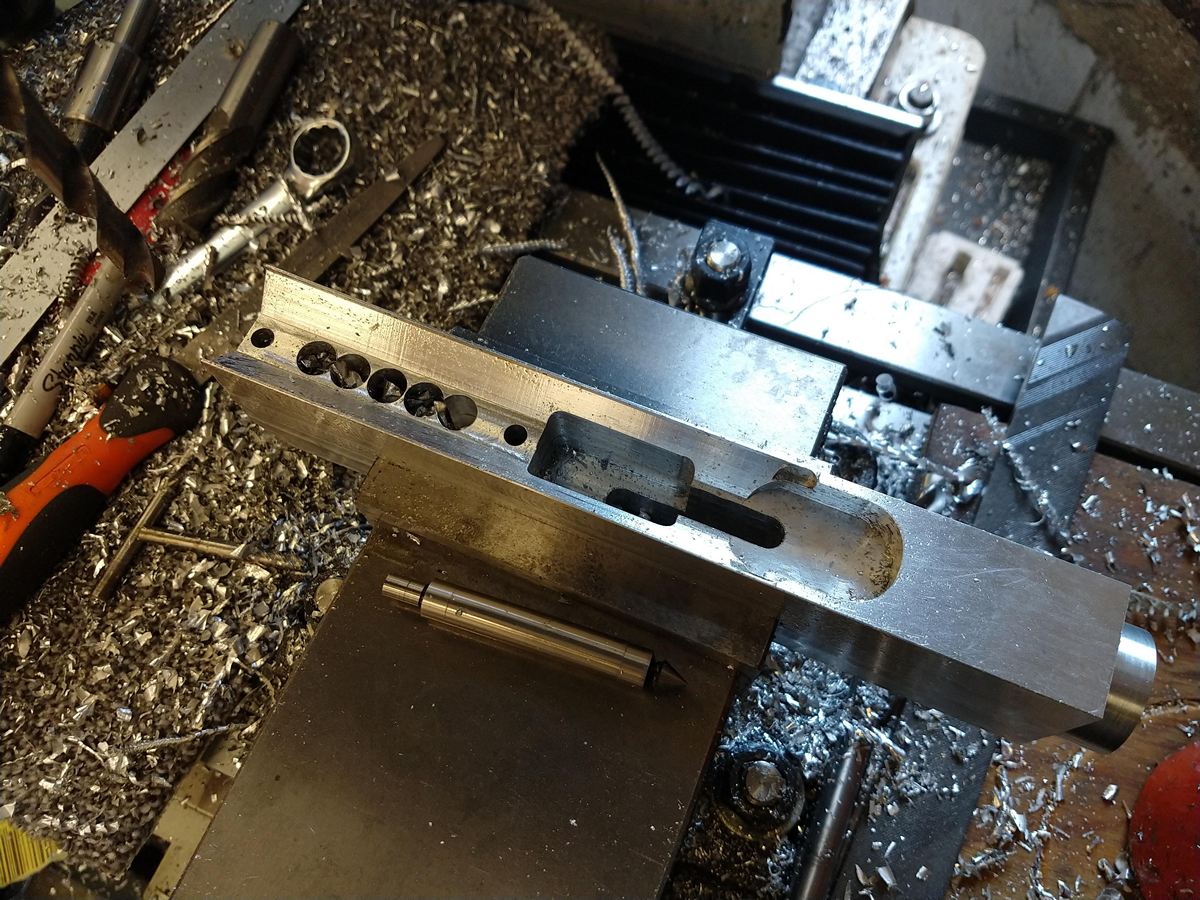
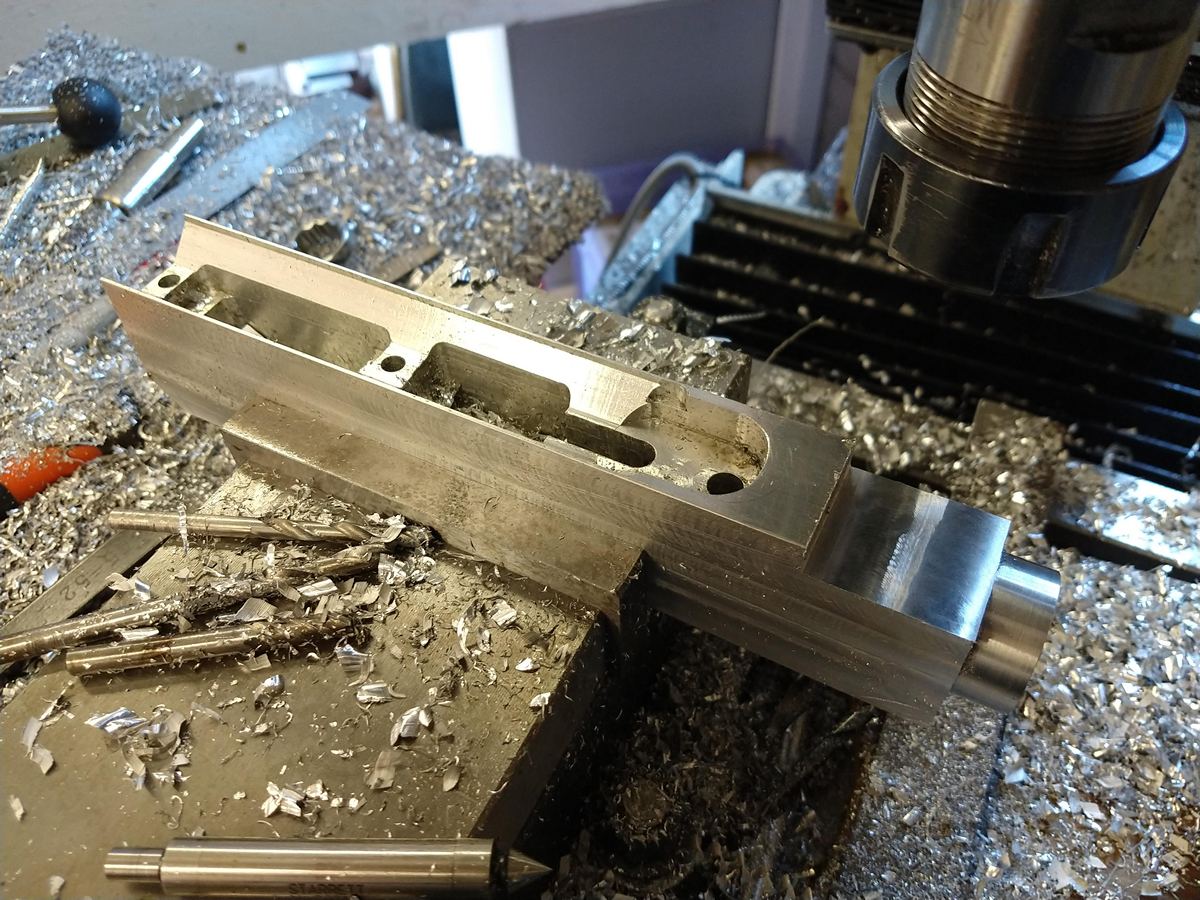
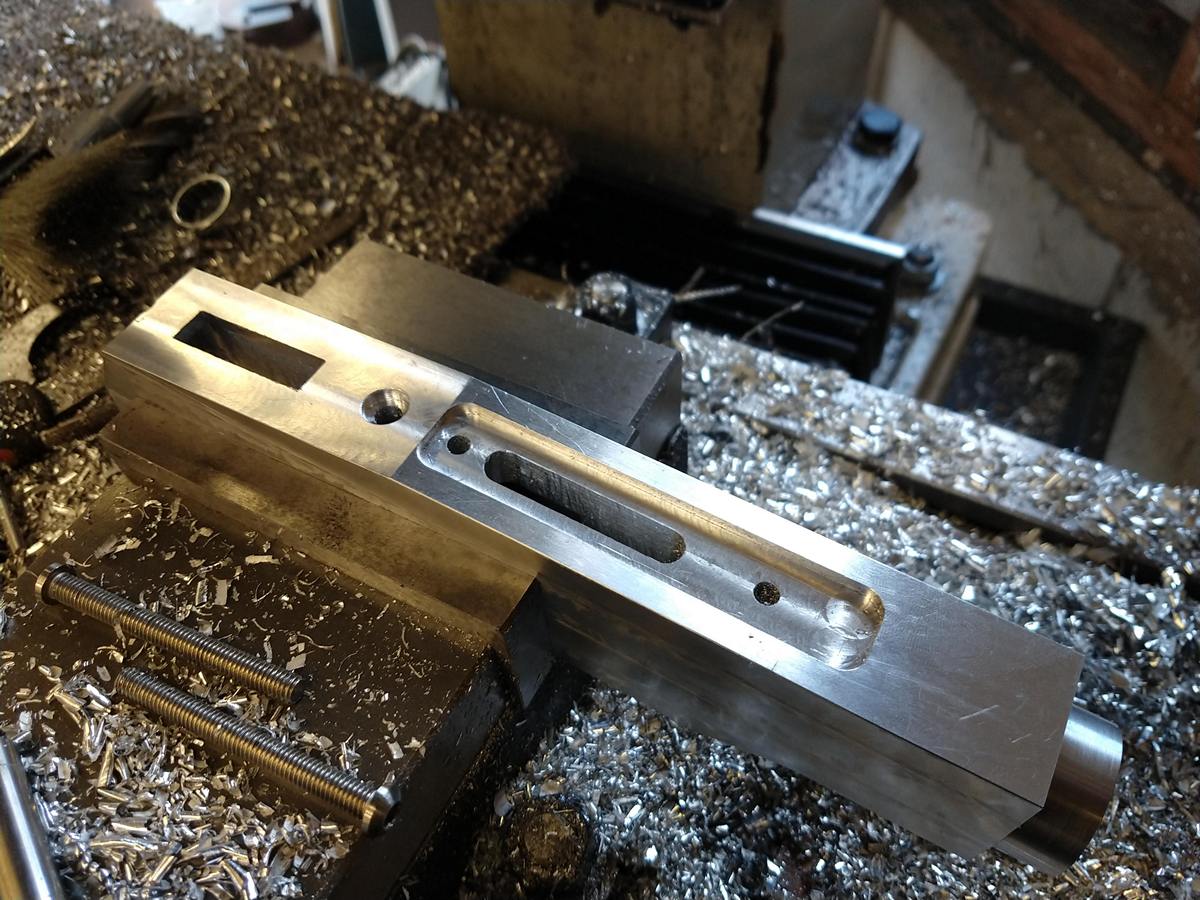
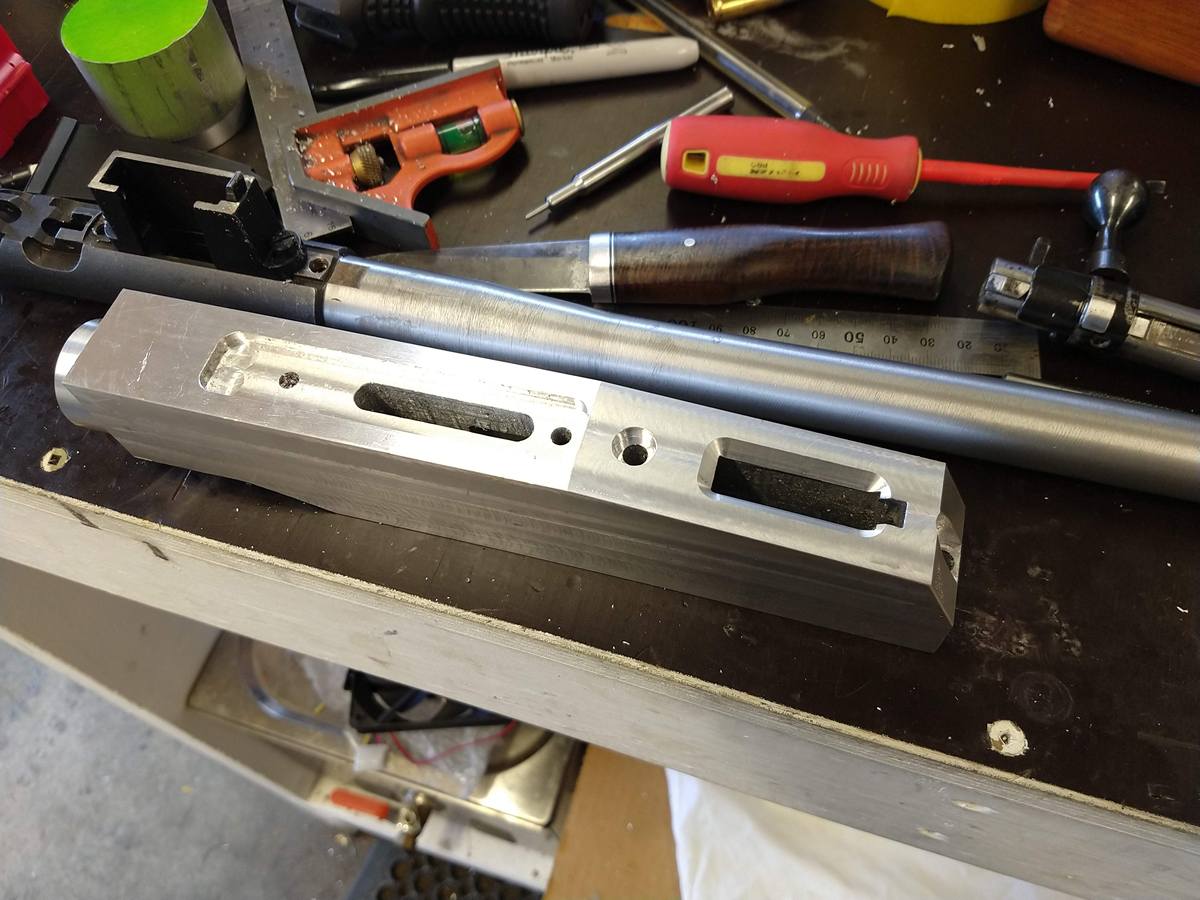
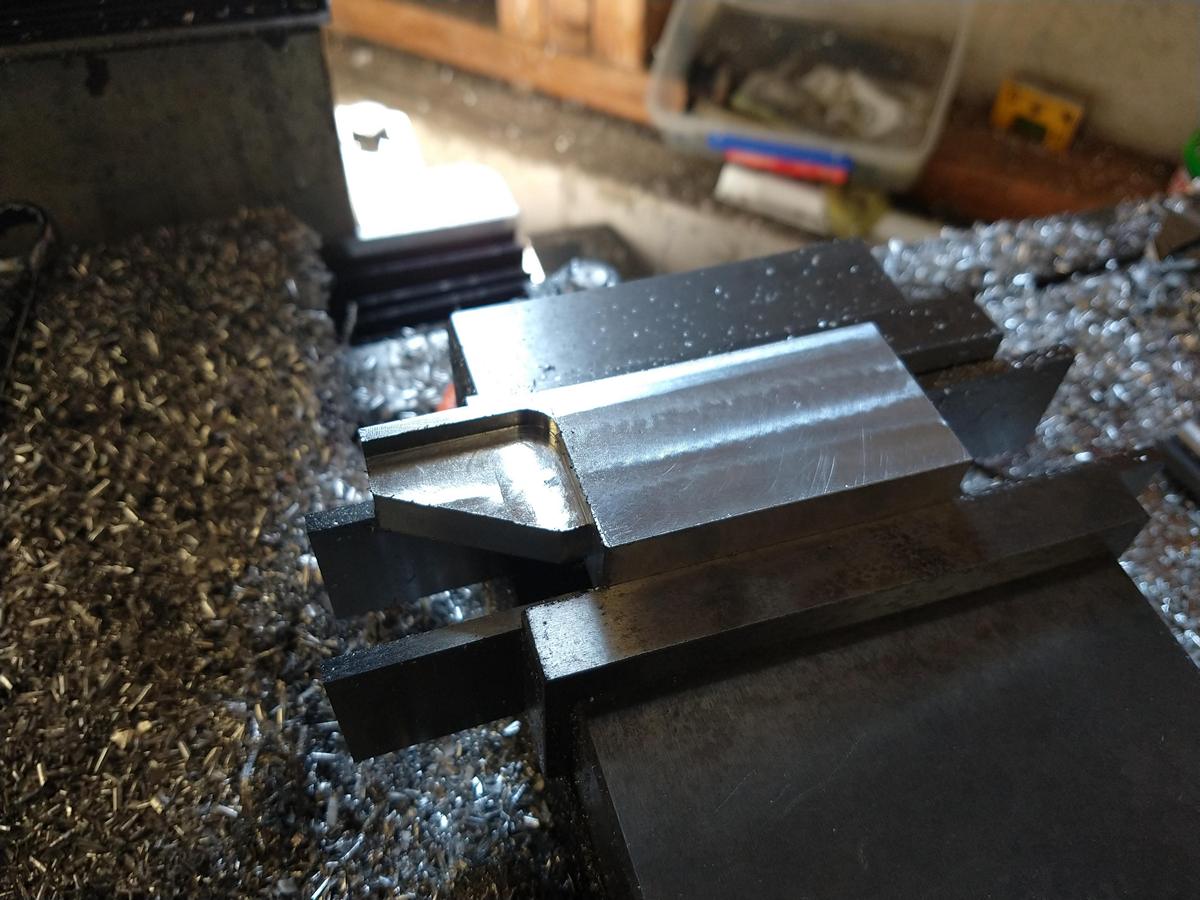
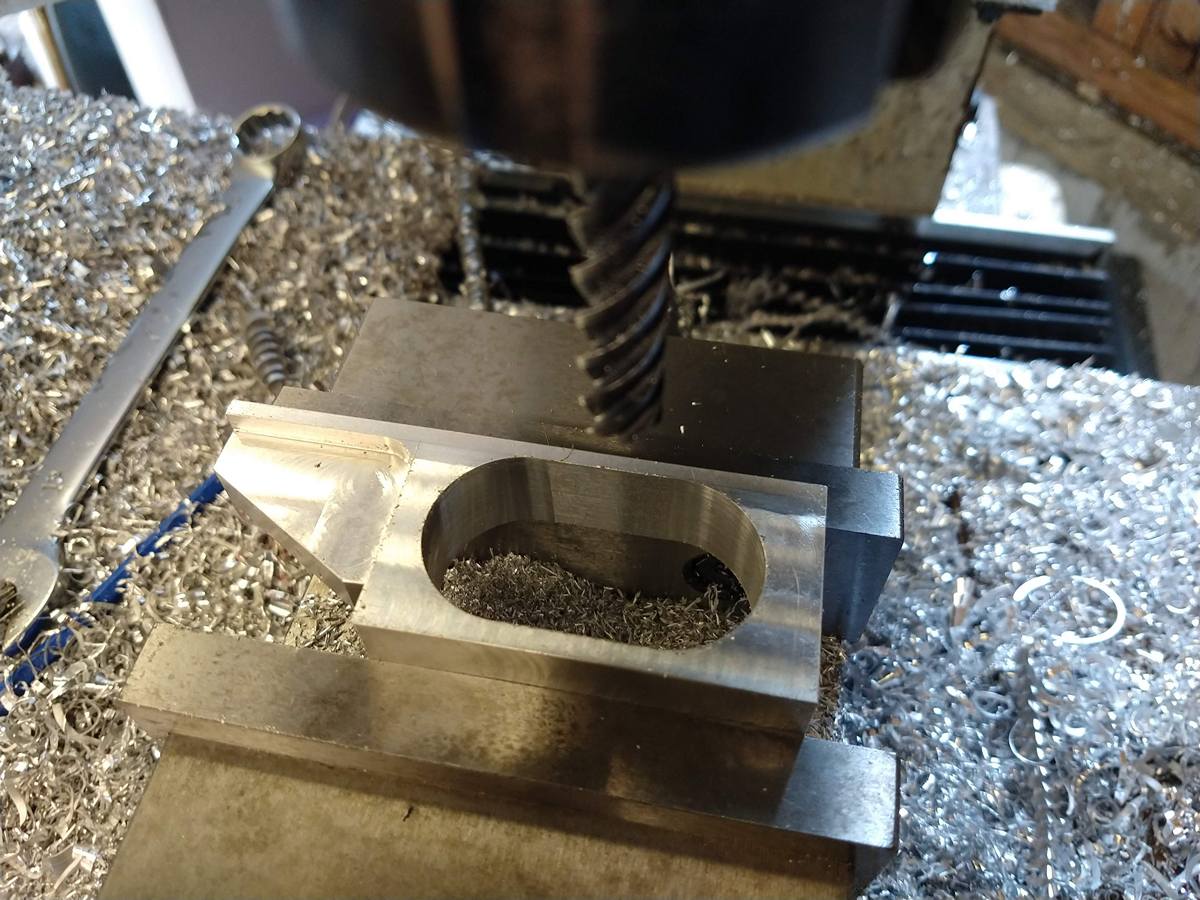
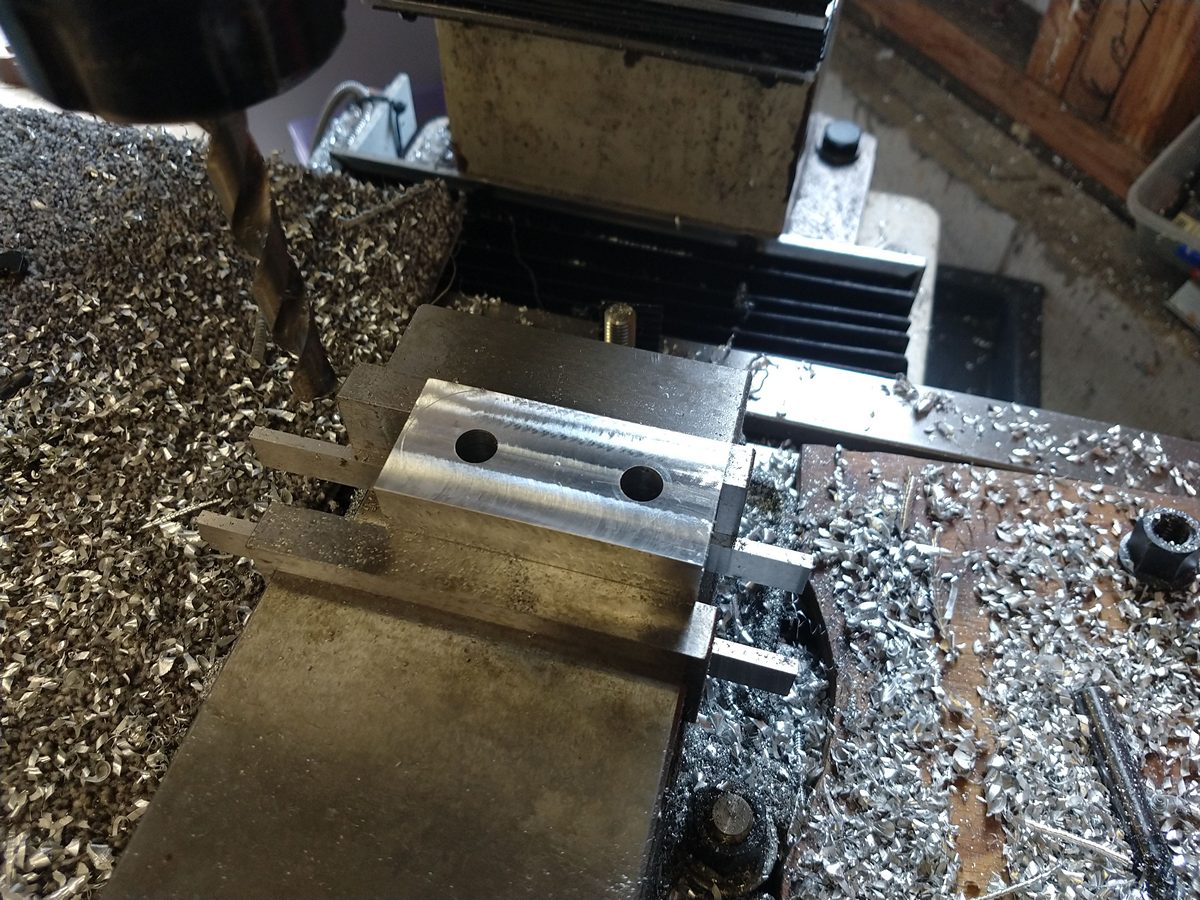
I then moved onto cutting the trigger and magwell pockets, drilling some material out first to reduce the load on the endmill and to allow chips to get out.
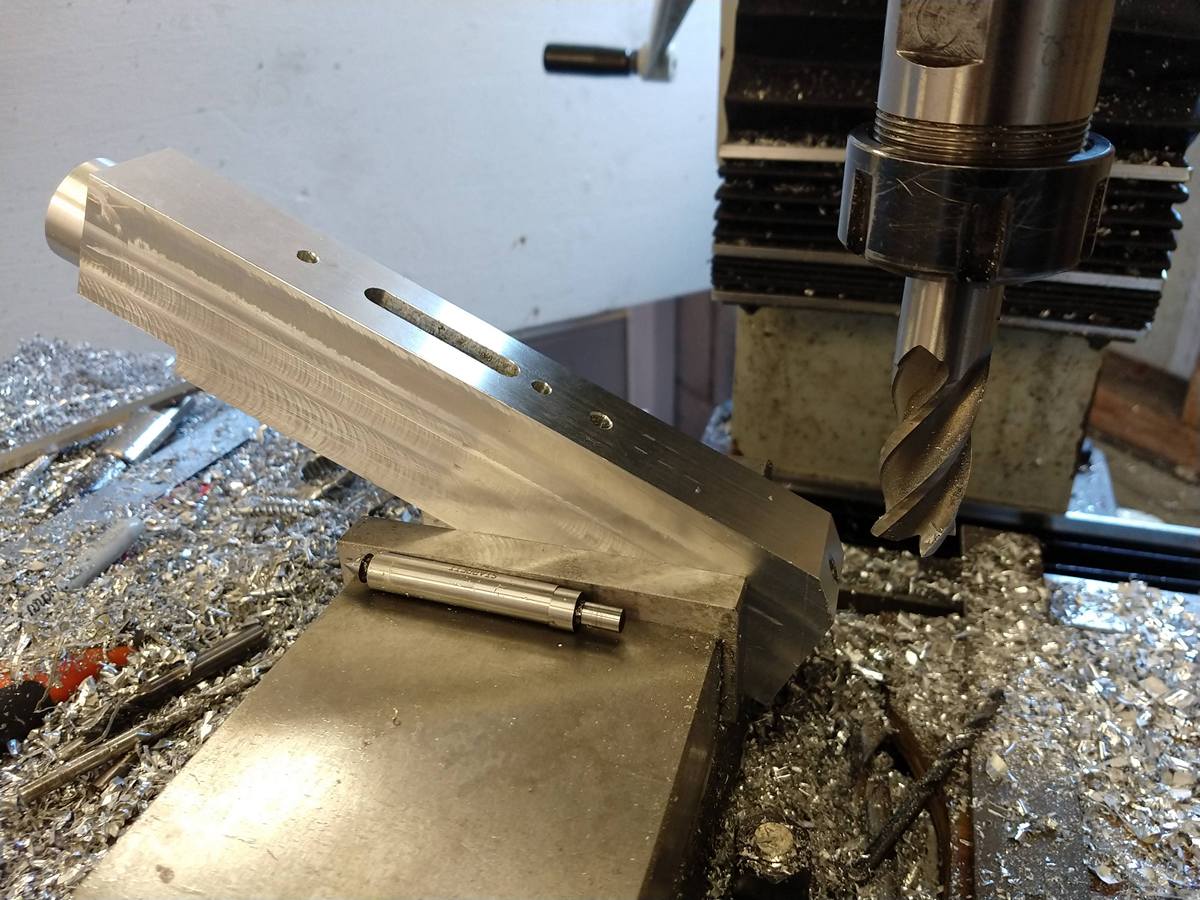
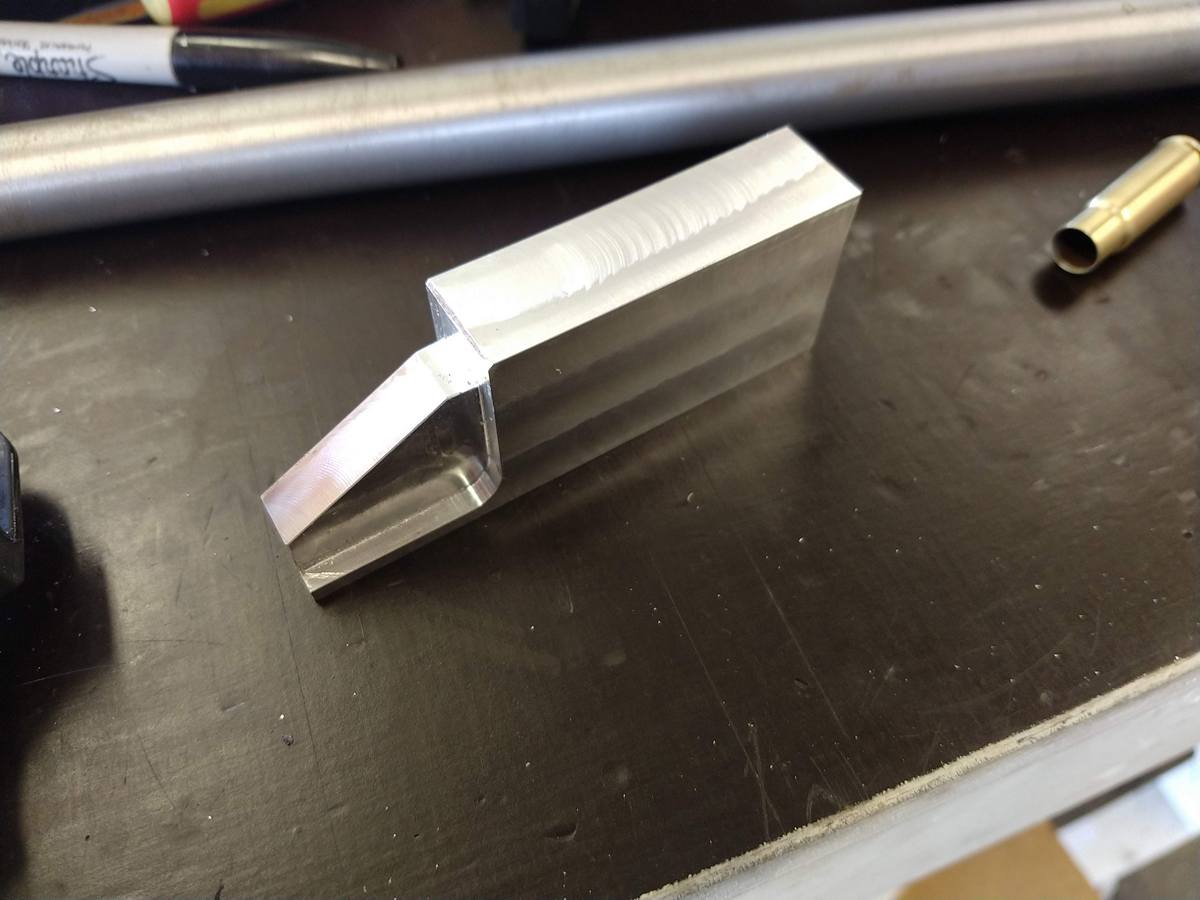
I then cut the various angles and flat surfaces. I designed the chassis specifically to be simple to machine like this.
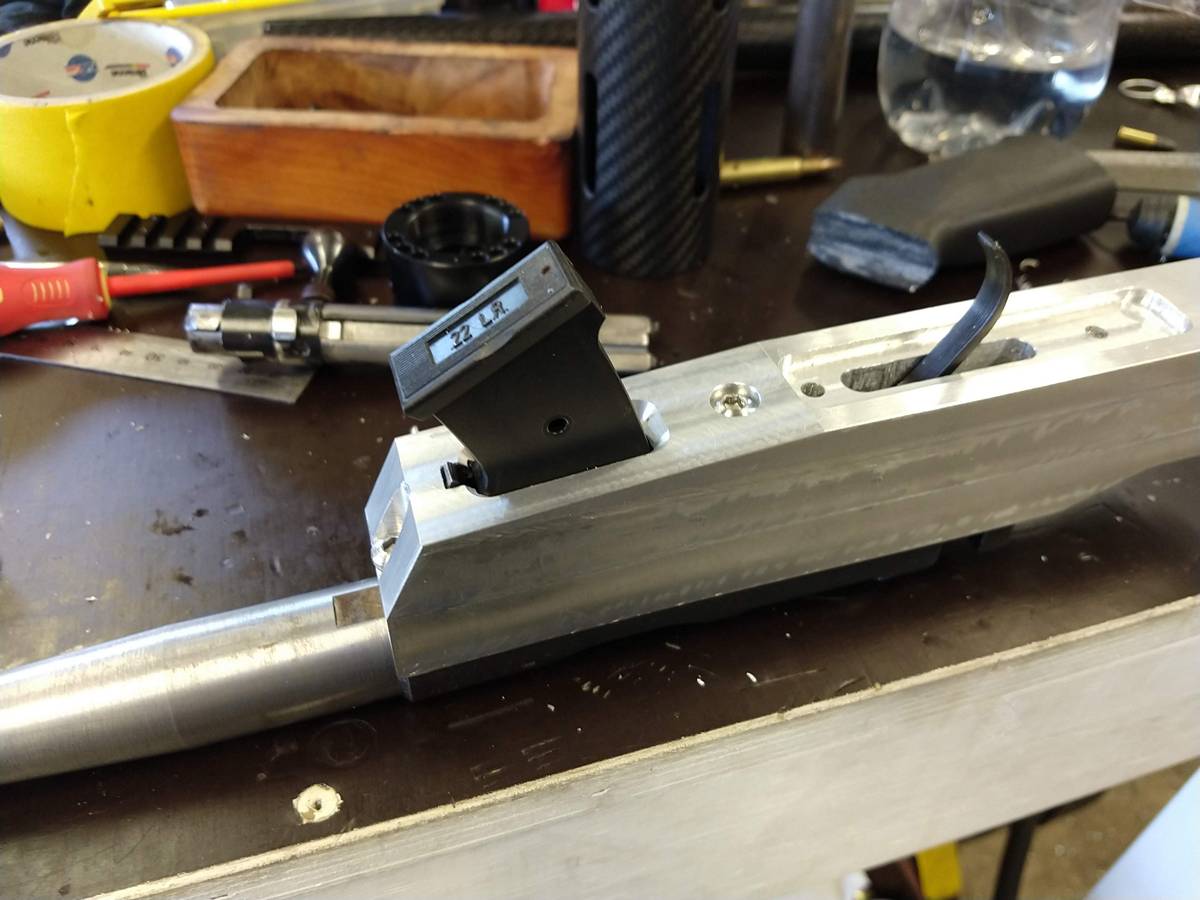
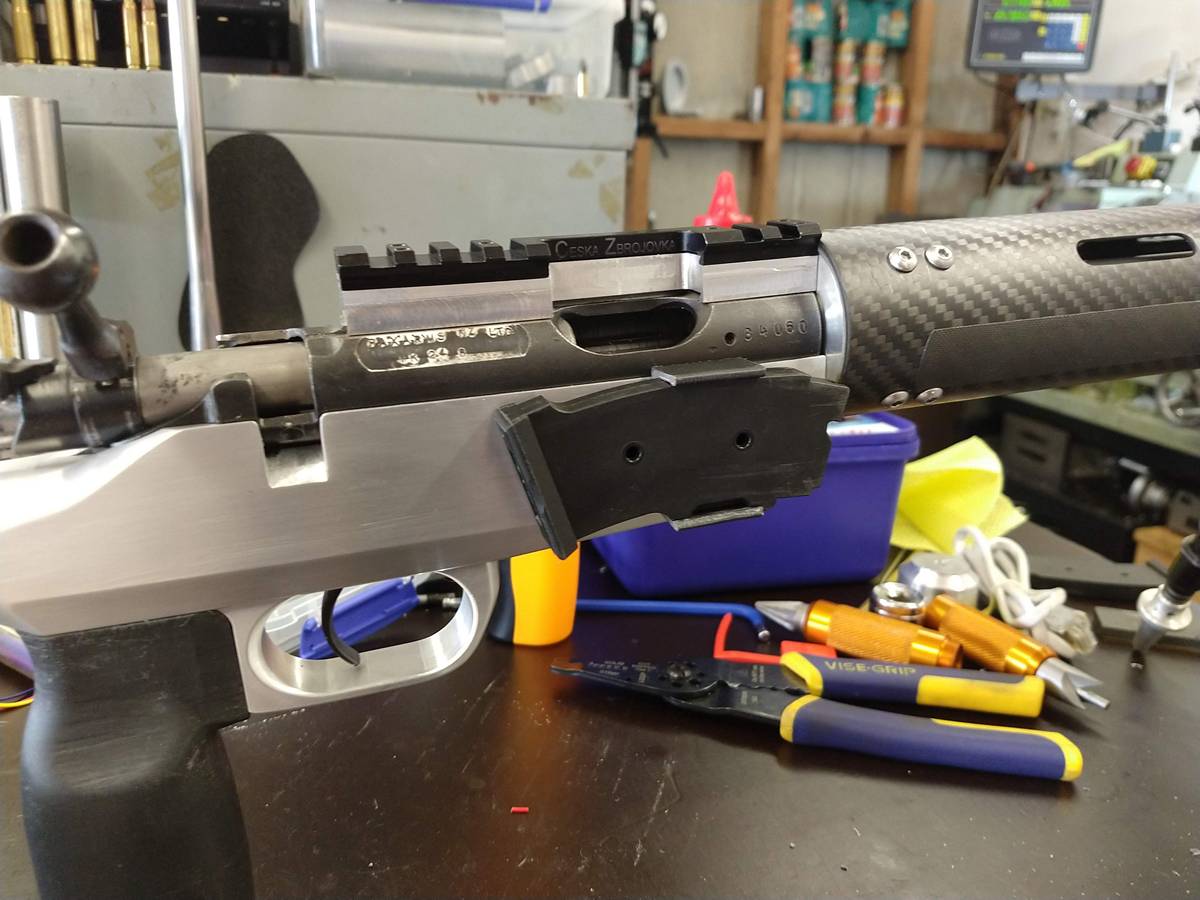
I cut the magwell and trigger guard recess. I put as large a chamfer around the magwell as I could to allow for easy mag changes.
Next was the trigger guard.
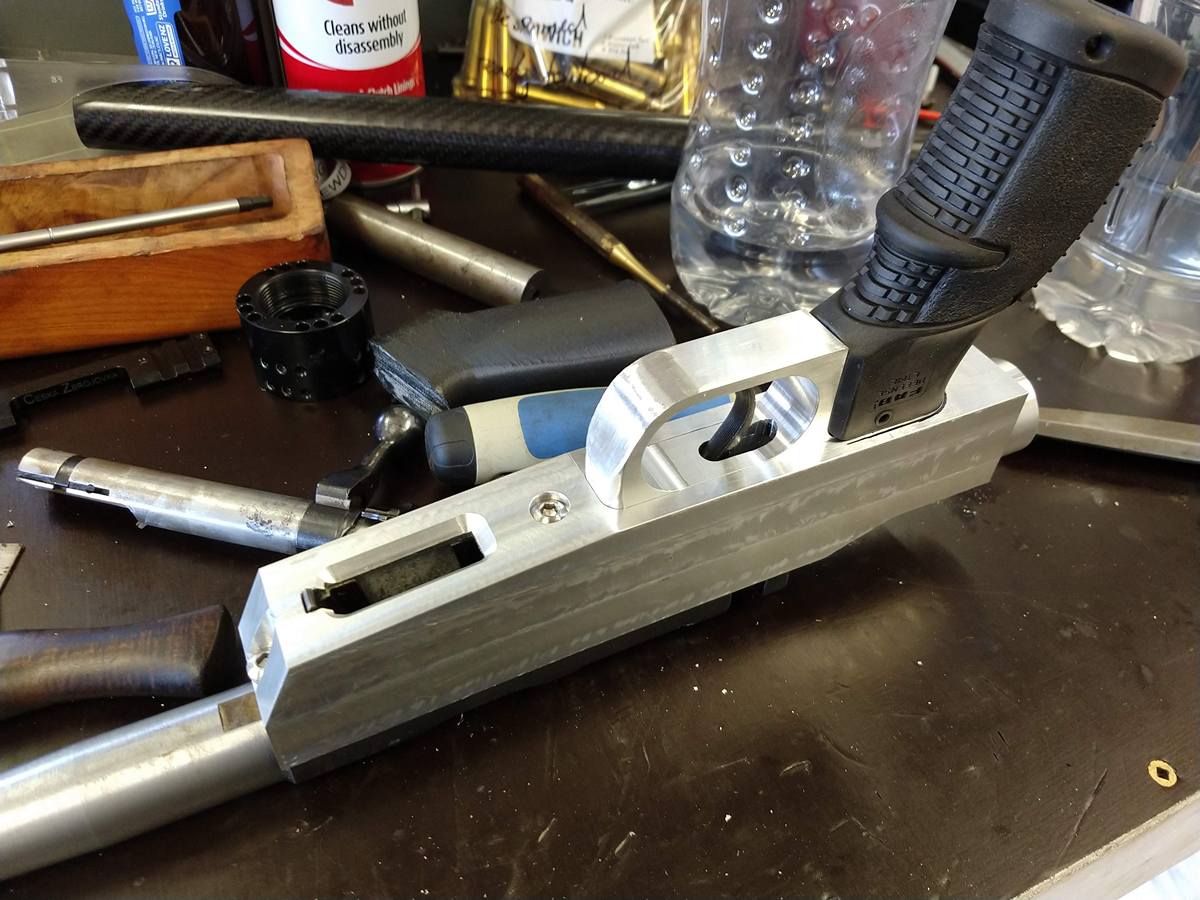
I trigger guard bolts in from the inside as well as being a press fit into the pocket in the chassis block. I thought it came out rather well.
The next stage was to start making the various components that make up the stock.
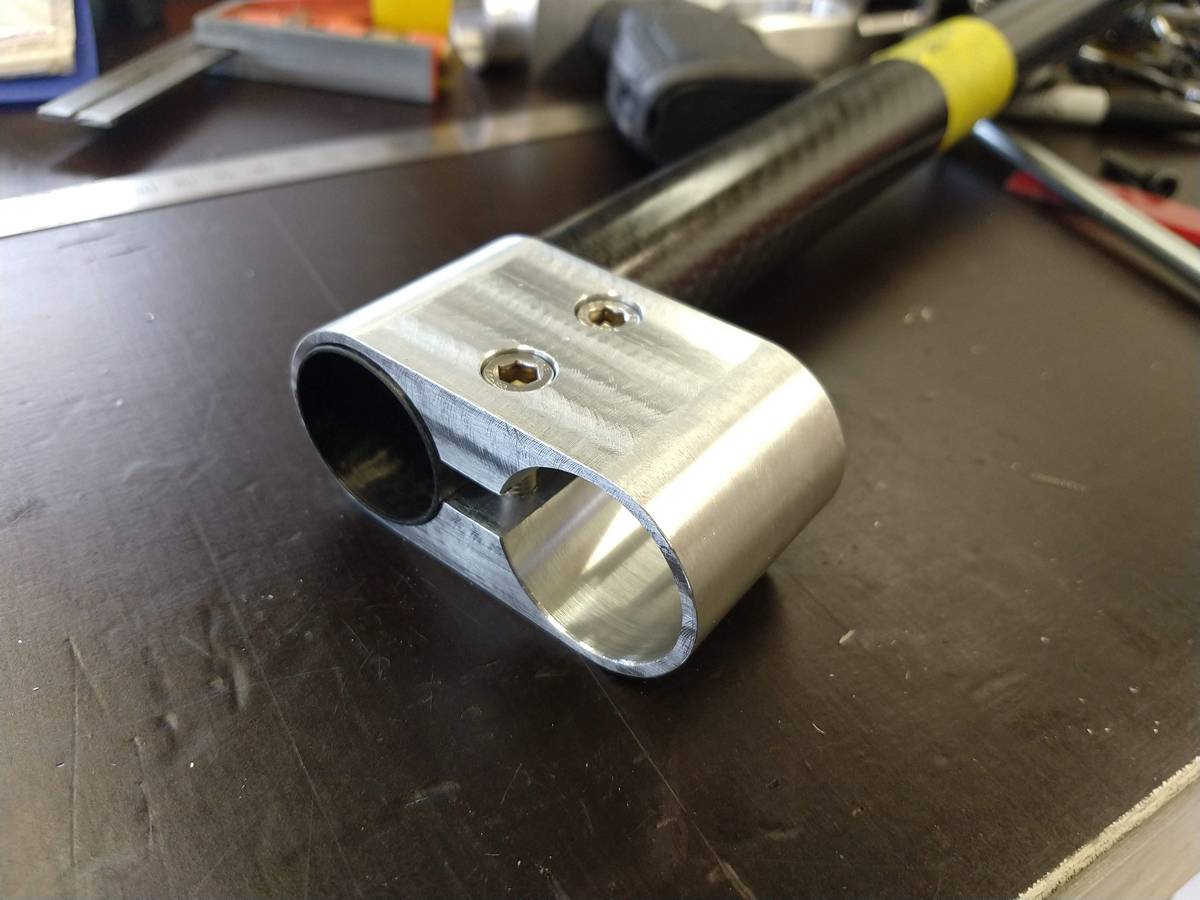
I am using chinese carbon tube from ebay for the stock connectors, which is actually not bad.
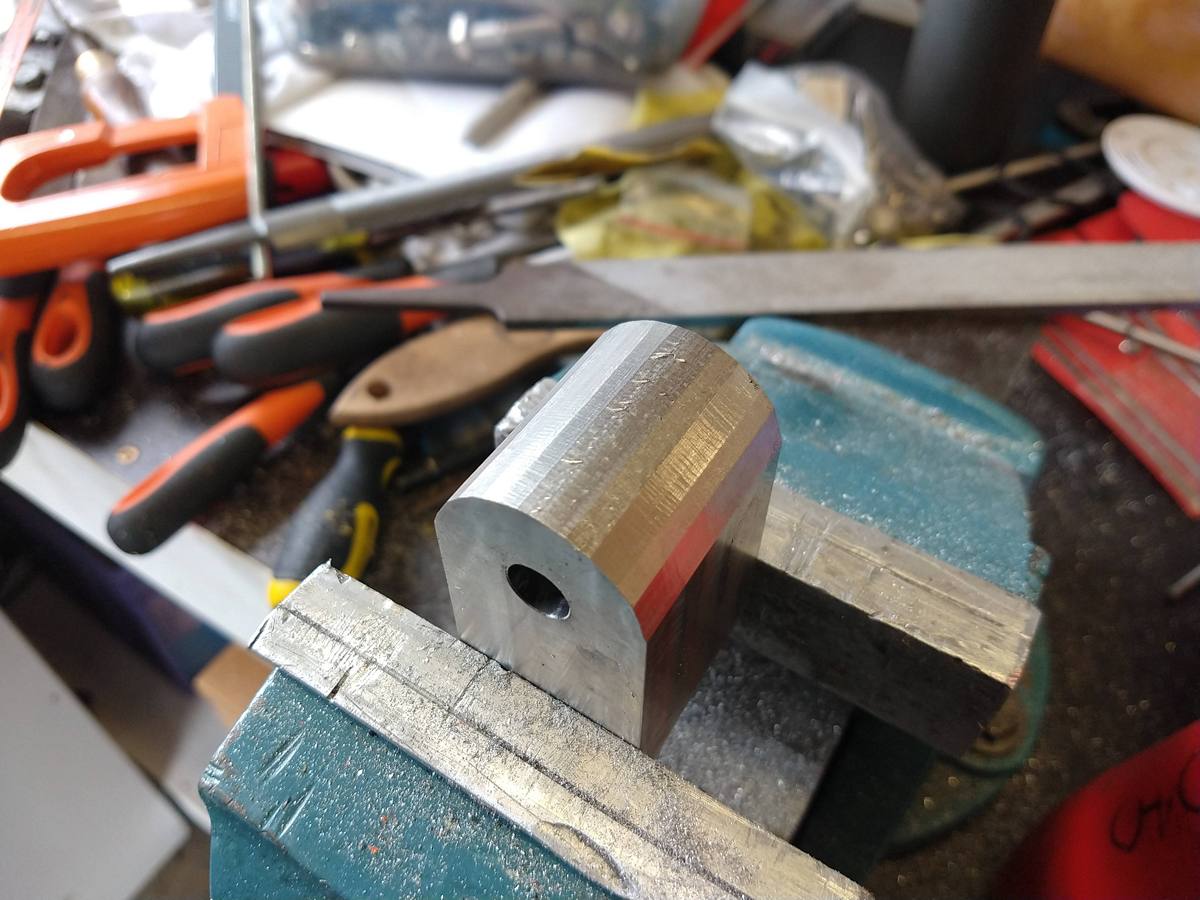
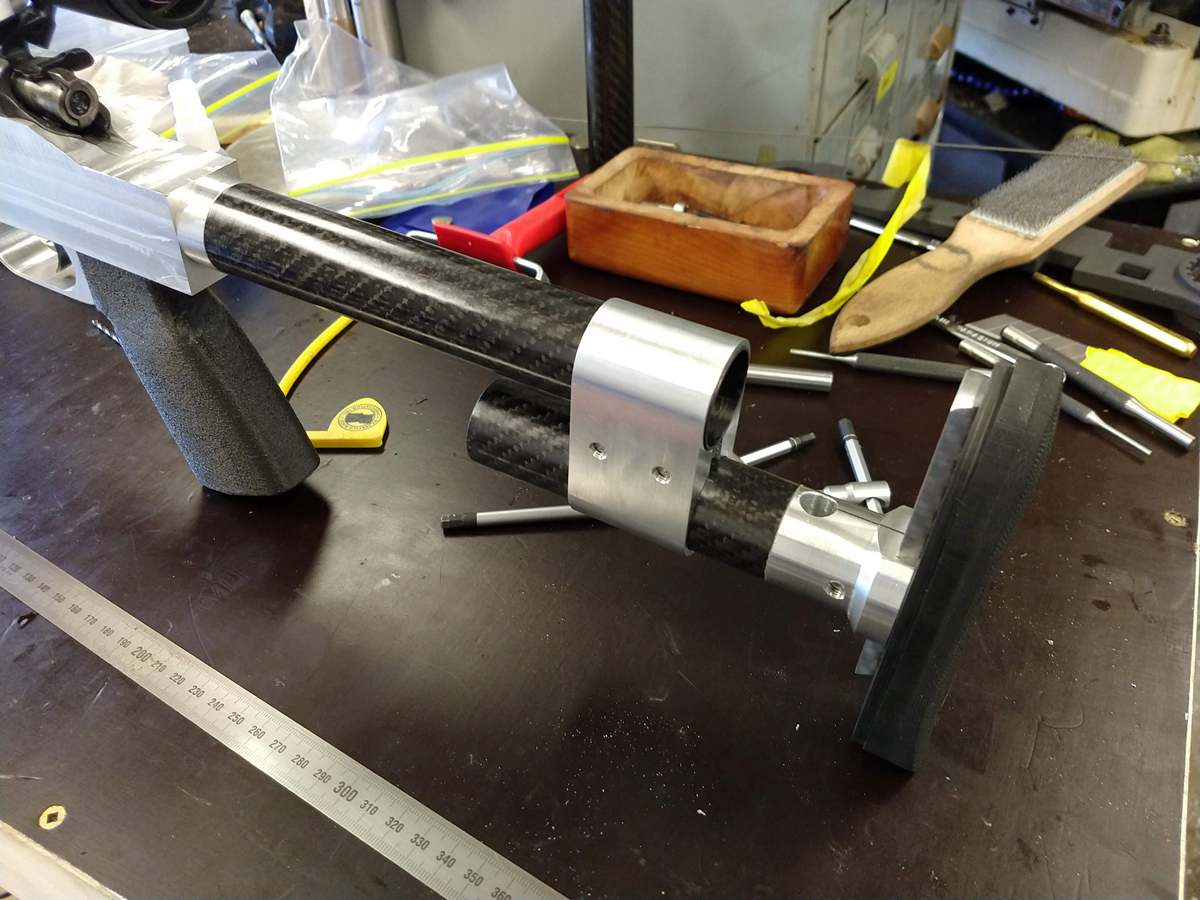
I first made the part that allows adjustment for length of pull, buttstock rotation, as well as cast on/off.
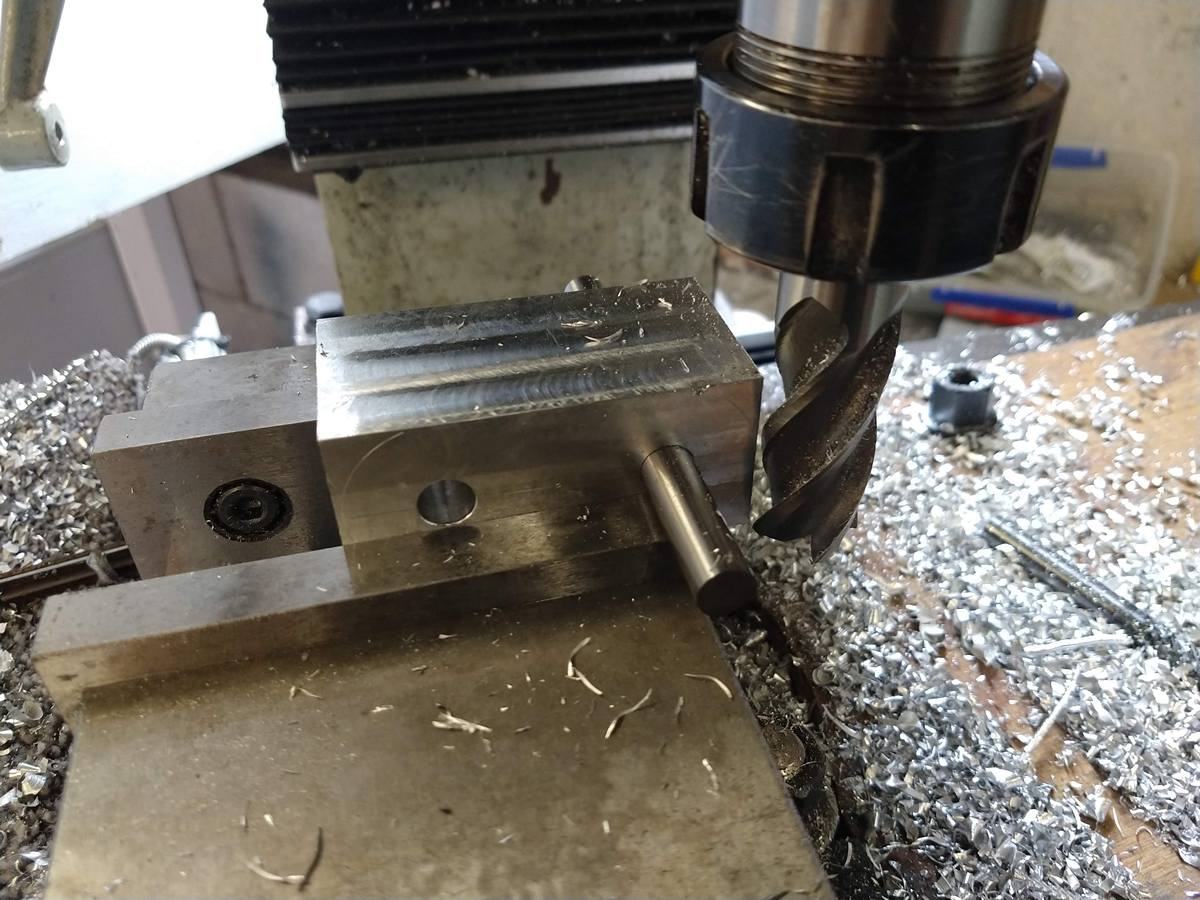
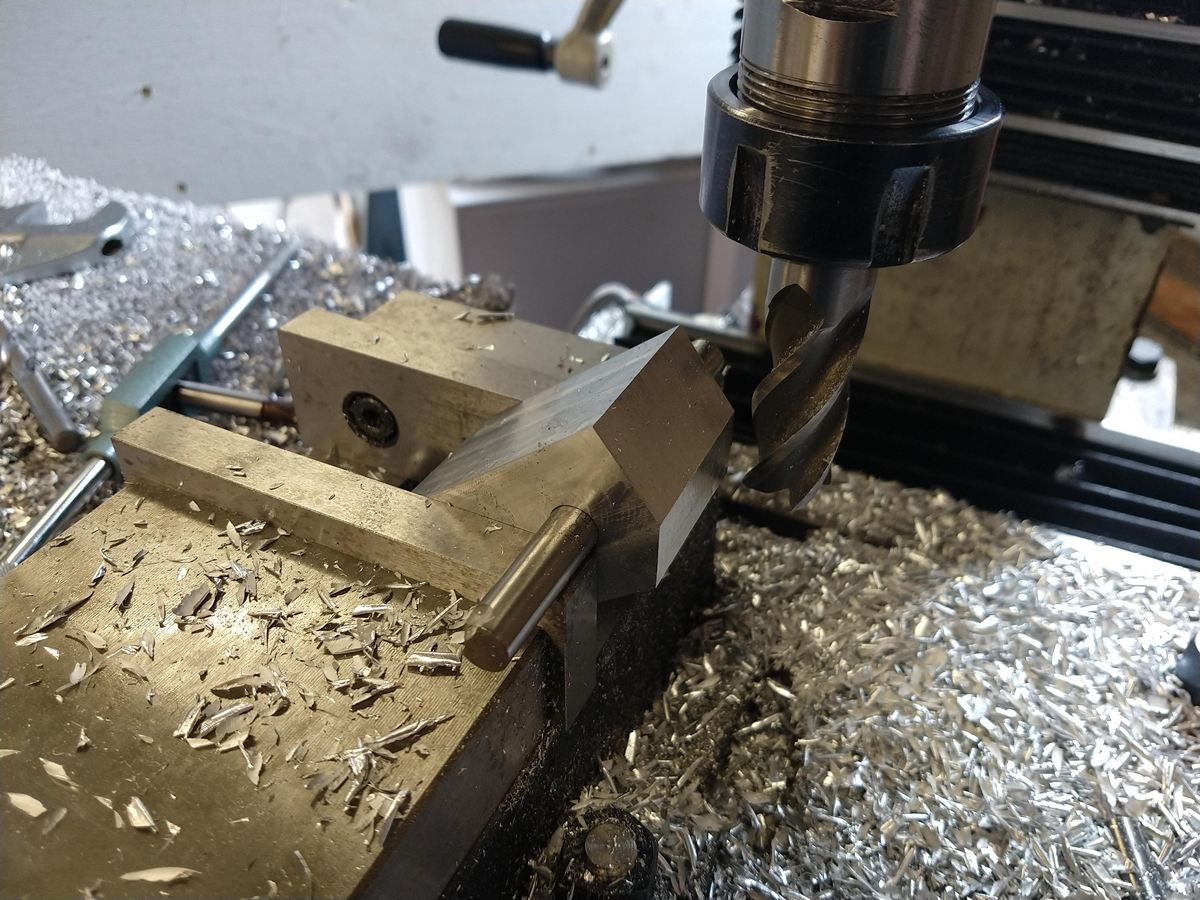
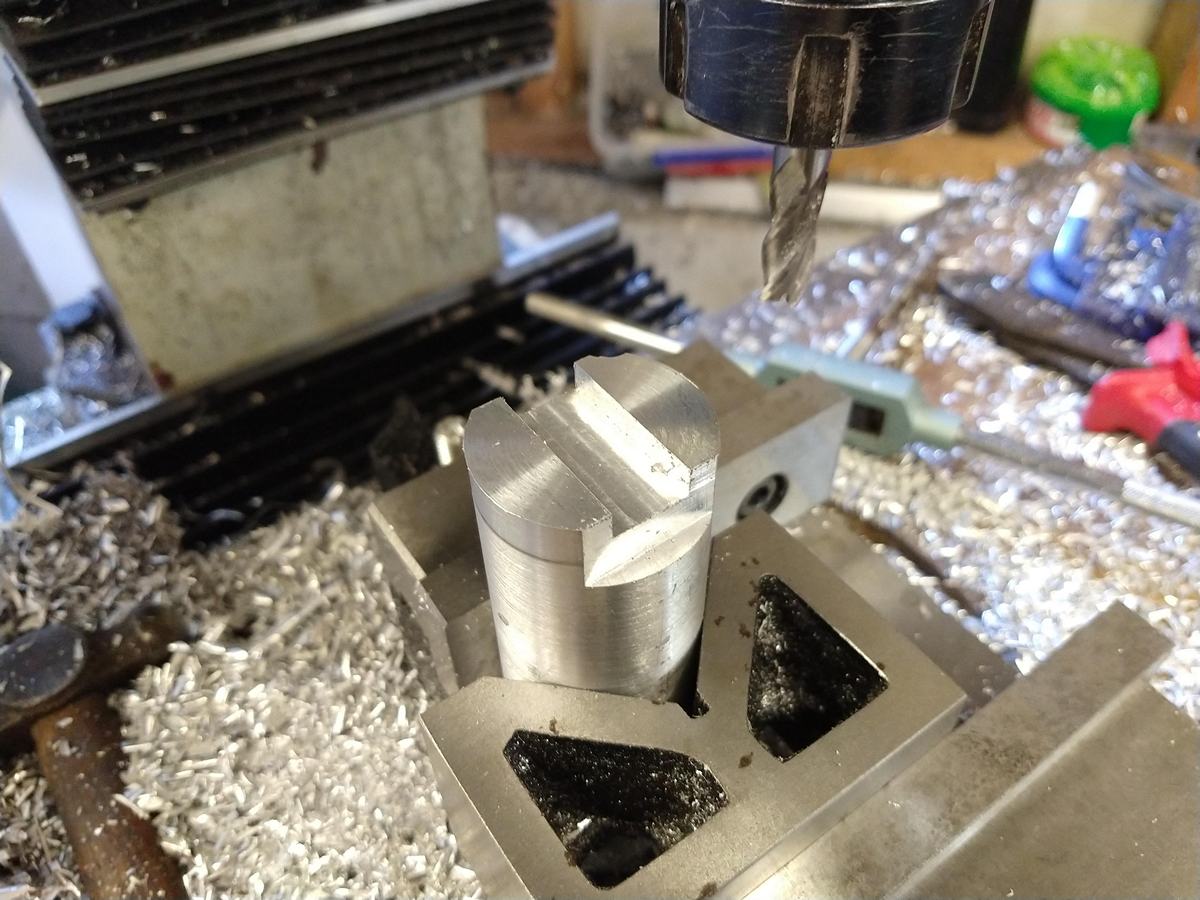
The method of machining the outside radius is very handy for non precision work, saves the hassle of rotary tables and all the clamping joy that goes along with them.
Basically, you drill a center hole to the same diameter for a pin you already have (I think I used 8mm here) and then you line the pin up with the edge of the vice and take a cut, rotate around a small amount, line the pin up again and take a cut. Continue like this until you have something closer to a circle than a square and then finish by hand with files and paper.
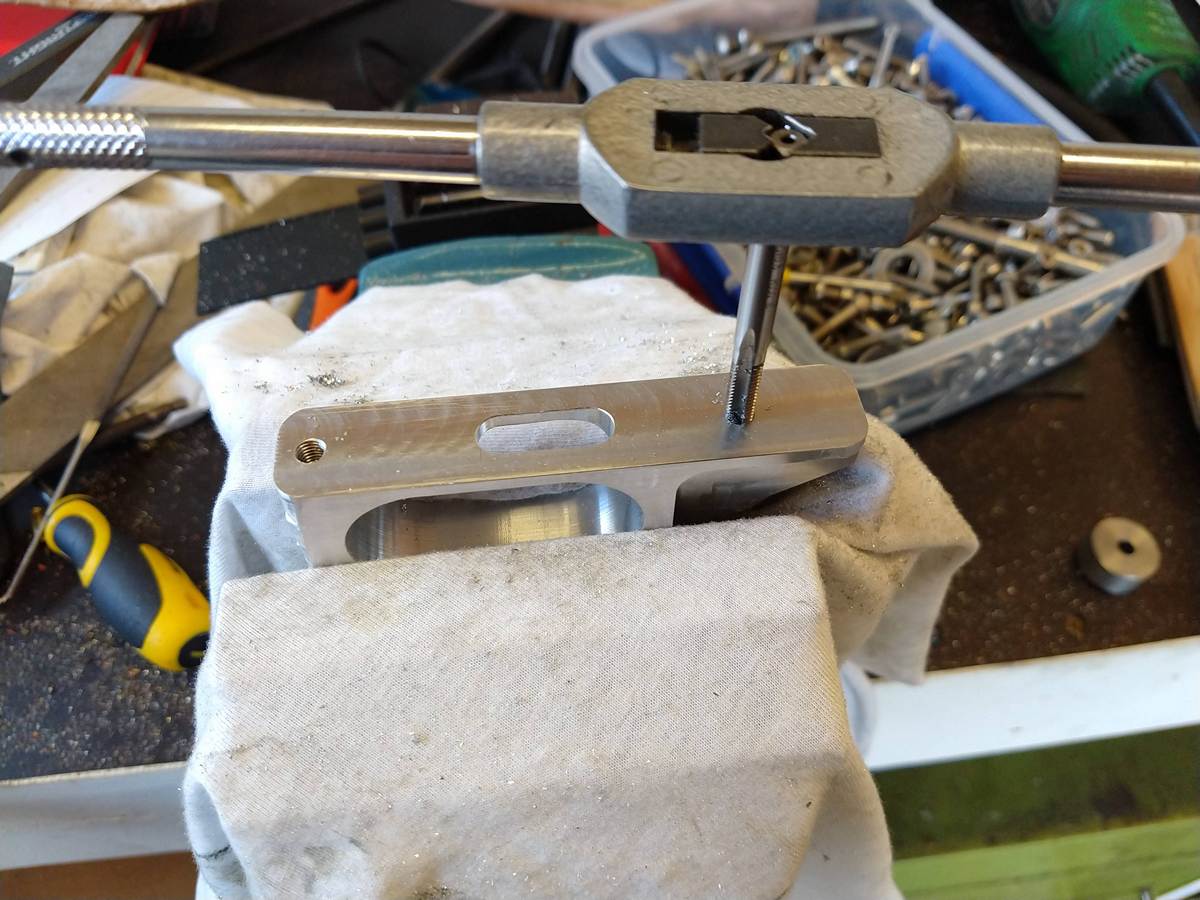
I lost a few photos here so I have to gloss over making the buttpad and clamping block, but basically, there is a dovetail rail bolted to the buttpad and then a matching dovetail clamp allows the buttpad to be adjusted for height.
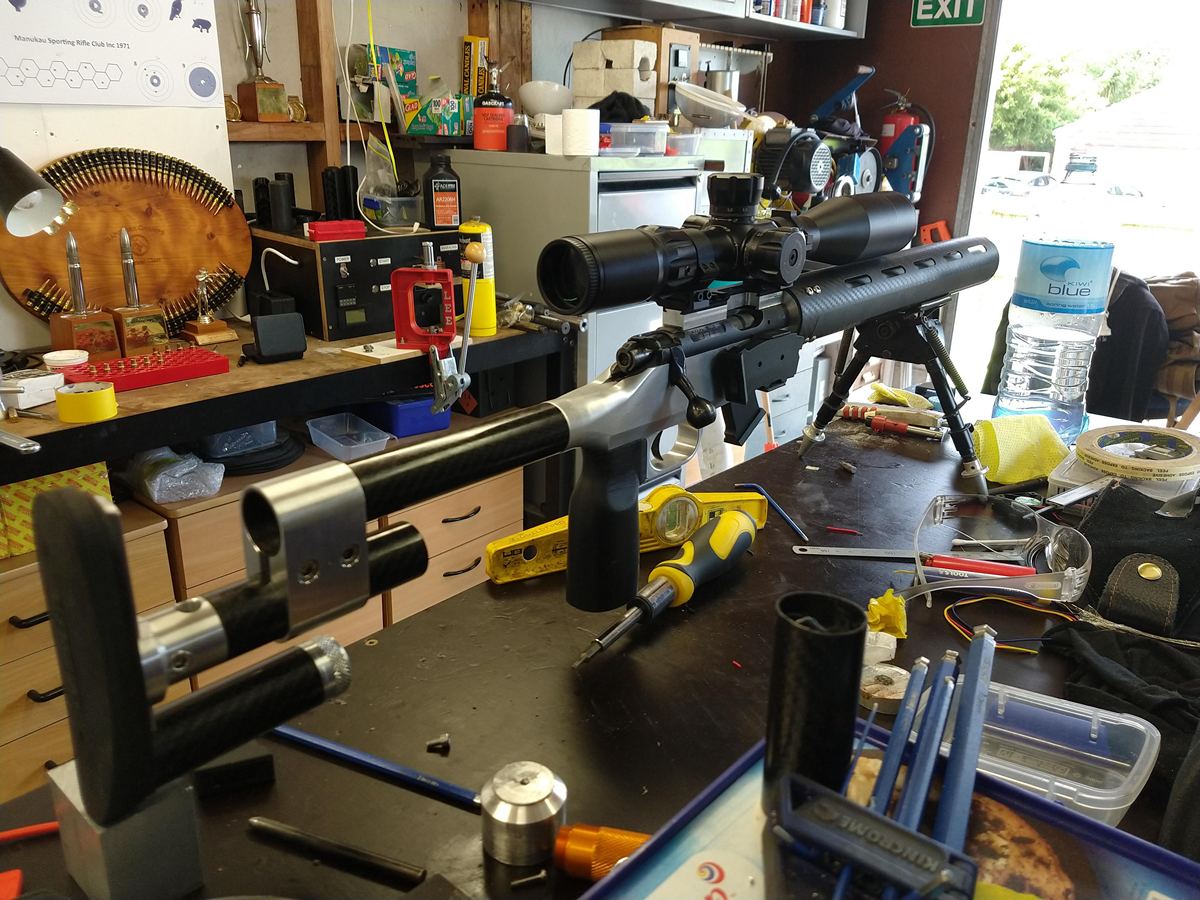
Its starting to look like a rifle. The forend was repurposed from the one I made for my AR-15. The forend bolts to a "barrel nut" that is simply held onto the barrel using a couple of grub screws (thanks Wingman for the idea)
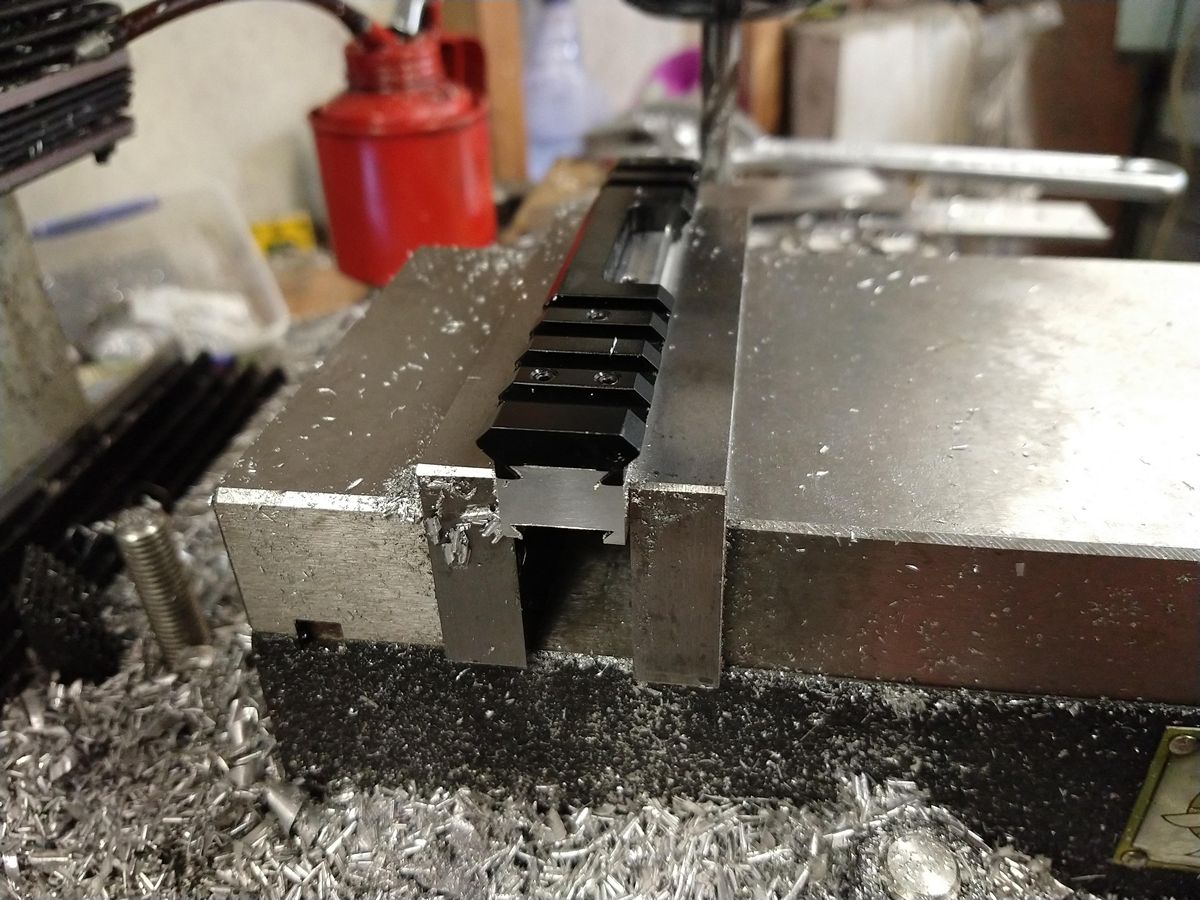
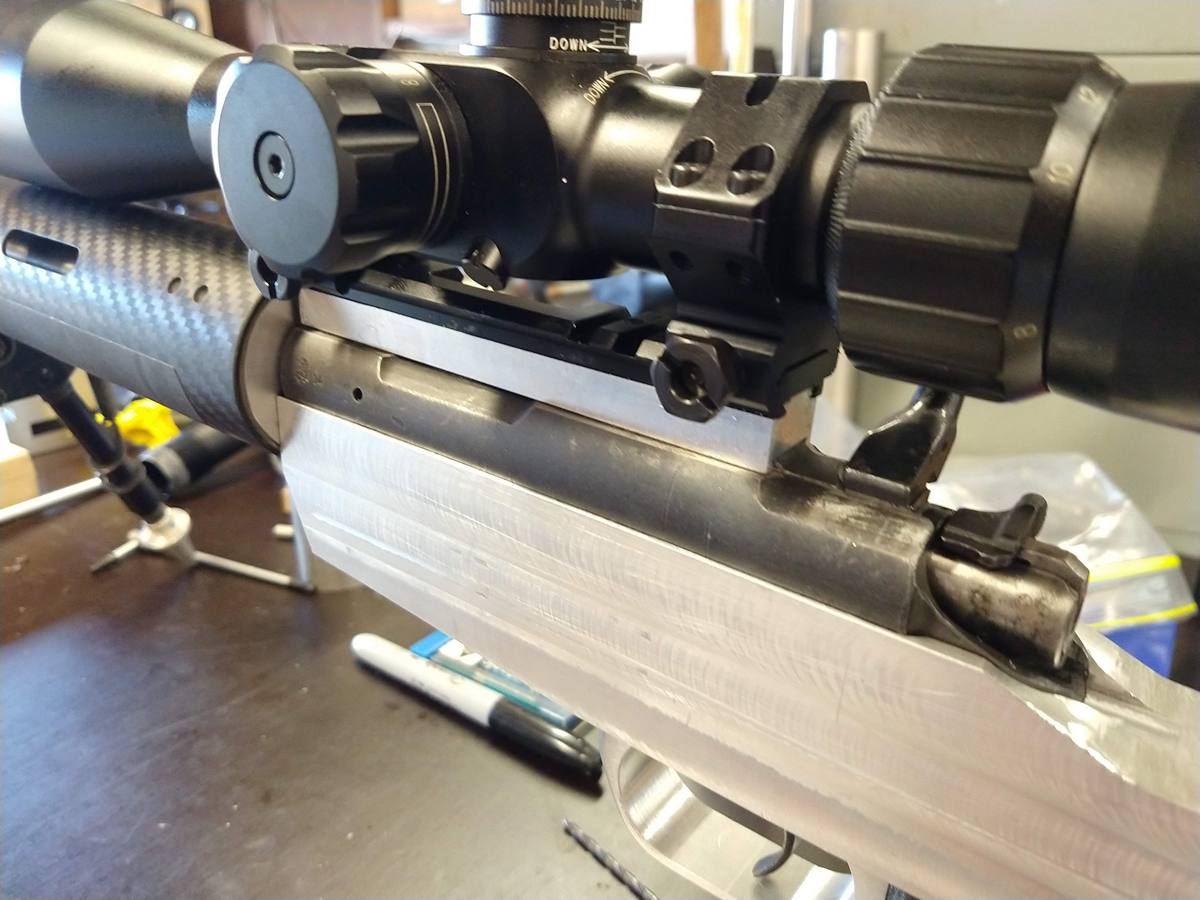
Once I had it mocked up, I could work out the height I would require for the rail riser so that I could use standard height rings rather than having to source new rings.
From here it was just a bunch of contouring and finishing to get everything looking professional.
My plan was to paint the aluminium parts with FDE duracoat but once I had it all assembled I decided I really liked the satin aluminium/carbon look.
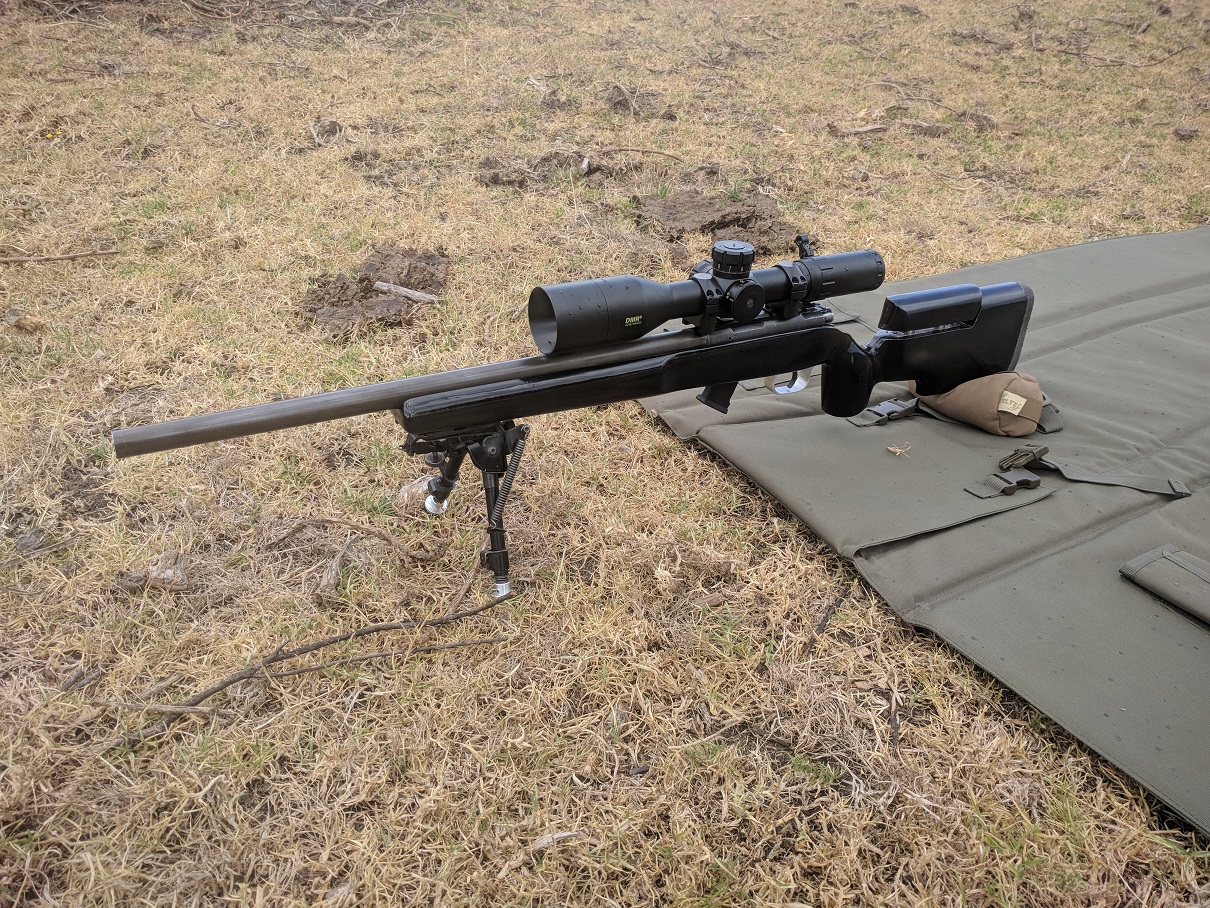
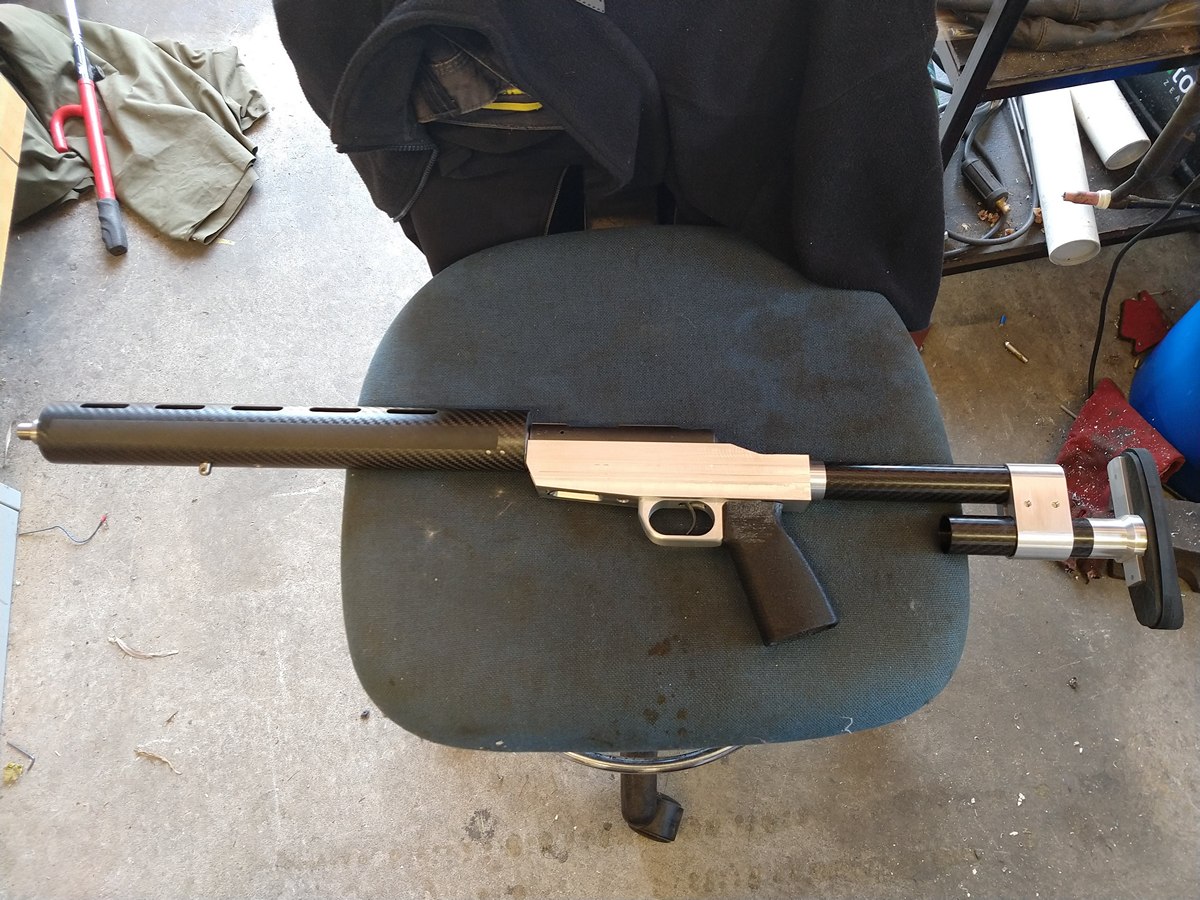
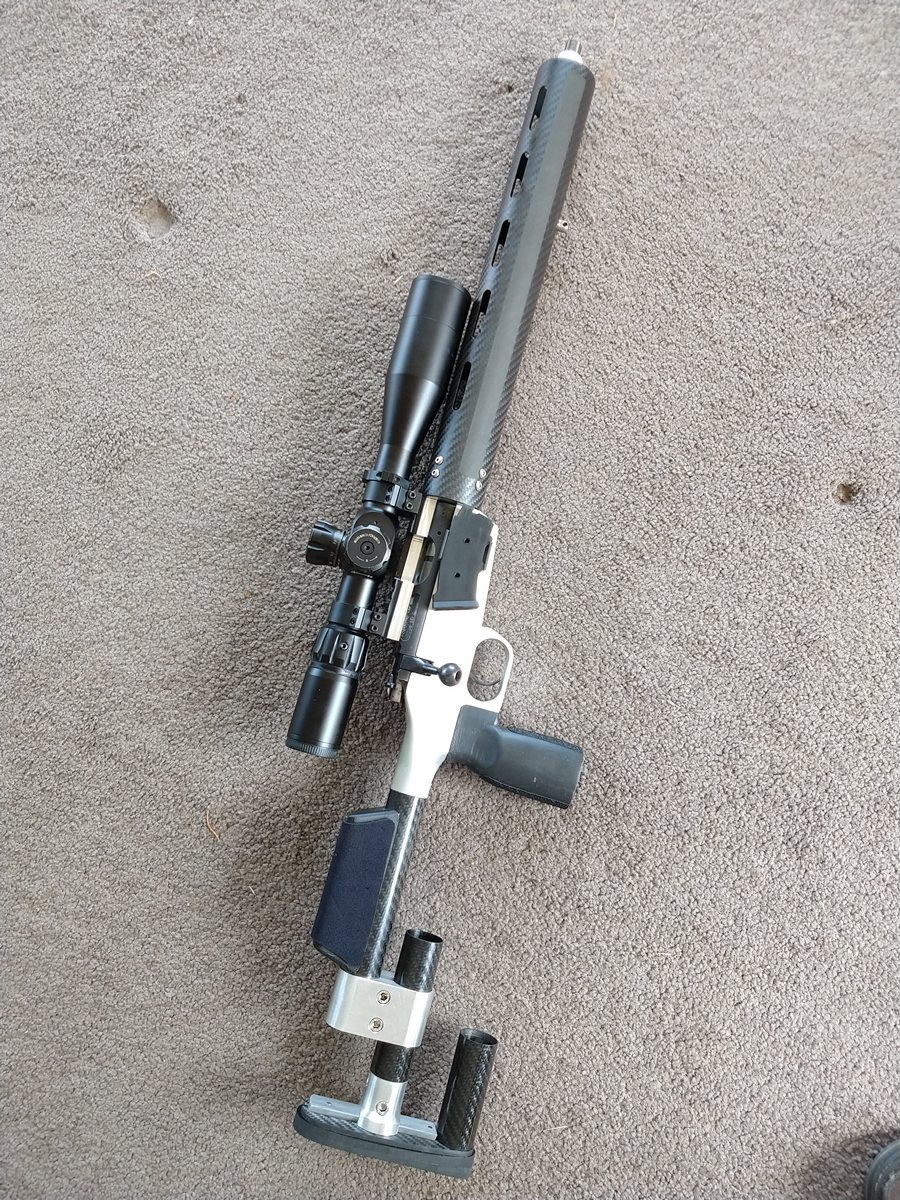
All polished and ready to go. It came out a little heavier than I would have liked, but this is a target rifle, so a little weight is not a bad thing.
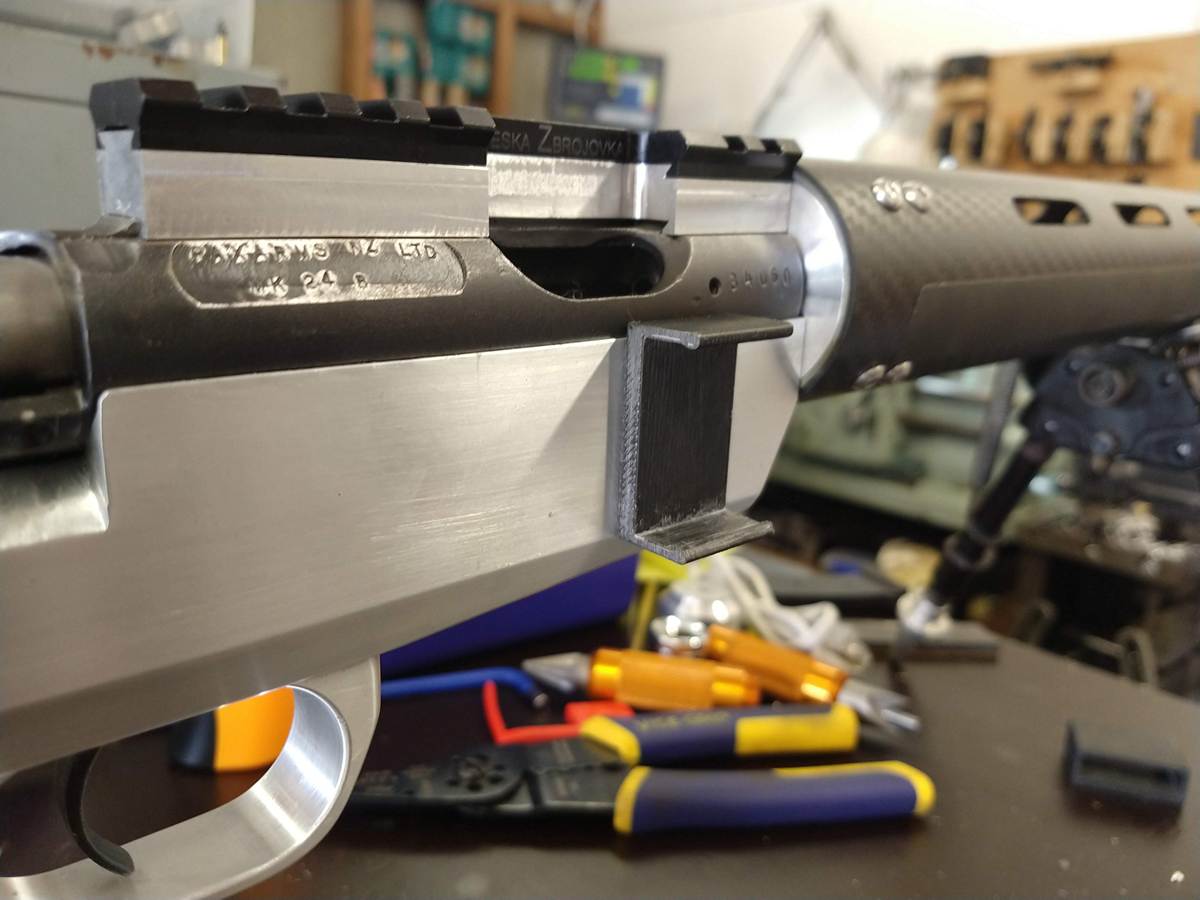
I had the idea to 3D print a small clip for a spare magazine. It is just double sided taped to the chassis and it works great.
Almost finished, just a cheek riser and some finishing work to go.
Done.
I had a competition coming up quickly that I wanted to shoot this rifle at and I did not have a cheek riser, so I 3d printed one and glued some neoprene to it, then double sided taped that to the stock, just to get me through the comp.
It worked really well and I have not changed it since.
The pistol grip is also 3D printed. It took me about 8 different designs to get the shape I wanted and im really happy with it now. I am planning to do a write up on how I made the pistol grips as I think people will be interested and it is quite simple.
I have been shooting this for a couple of months now and am very happy. It has become my go-to 22. Playing around with the adjustable stock allowed me to stabilize a couple of positions and having a vertical pistol grip really helps with sitting and kneeling positions. The extra weight in the barrel and round forend has also improved my standing shooting quite a bit. I still need to experiment with ammo for long range accuracy as CCI Std is not stellar at 100m.
Thanks for reading.
Welcome guest, is this your first visit? Create Account now to join.
Welcome to the NZ Hunting and Shooting Forums.
Search Forums
User Tag List
+ Reply to Thread
Results 1 to 15 of 16
Thread: Carbon / Aluminium Chassis Build
-
30-03-2020, 10:42 AM #1
Carbon / Aluminium Chassis Build
-
-
30-03-2020, 12:53 PM #2
Awesome work, tx for posting
 Viva la Howa ! R.I.P. Toby | Black rifles matter... | #illegitimate_ute
-
30-03-2020, 01:05 PM #3Member

- Join Date
- Mar 2018
- Location
- Turangi
- Posts
- 1,373
Awesome, very skilled work.
Meanwhile I still can't get the square peg through the round hole..
-
30-03-2020, 04:53 PM #4Member

- Join Date
- Feb 2017
- Location
- Jafa land
- Posts
- 5,520
Would it have been easier to do a wax mold and then cast it, followed by cleaning it up on the lathe and mill?
-
30-03-2020, 06:03 PM #5
I think it would take far longer and be much more complicated to cast this part. Plus you would end up with a cast aluminium part rather than it being machined from an extruded billet. Cast parts are very brittle compared to extruded and machined or forged parts, this applies to aluminium as much as to steel.
In the end, you would still be doing most of the same machine operations, just removing a little less material. Good Aluminium machines very nicely, even on hobby machines like mine, so it is setup and measuring that takes time rather than actual machine time.
Casting has its place for parts that would be very hard to machine, or are too large to make from billet economically, but for a single item like this, not a good choice.
Saying that, I'm not in a hurry to machine another chassis. They are very time consuming and I made mine as simple as possible.
-
30-03-2020, 06:36 PM #6
Good effort brother! Believe me I know the work and tooling set up that goes into making these custom jobbies. Love that printed grip too.
-
30-03-2020, 07:26 PM #7Fulla

- Join Date
- May 2012
- Location
- Cni
- Posts
- 1,660
nice one! I'm jealous of your gear, especially the mill, what brand is it?
-
30-03-2020, 08:01 PM #8
Well done. A lot of works gone in to that with a great result. Makes me really miss my days of machining.
-
30-03-2020, 08:16 PM #9
Great write up and pics too.. takes almost as much time as the machining part huh?

-
31-03-2020, 08:57 AM #10
Thanks!
I got it from Chevpac machinery in Auckland. I think the brand is "Global"
To be honest I would not buy the same one again. There is the same mill done by "Optimum" (sold by Scott Machinery in NZ?) that is better made and has a few features this one doesnt and only costs about $400 more.
I got a good deal on mine because I bent their ear about how much of a discount machinery house was offering me for the same thing, plus I was buying a bunch of tooling at the same time.
-
31-03-2020, 09:00 AM #11
Thanks, I always enjoy your write ups and the detail you go into, especially the quality of your photos. So I try to copy that, to limited success.
Yes the write ups do take some time, but at the moment, I have lots of time to spare. I also have about 2 years worth of unfinished projects in my workshop that I should be working on rather than mincing around on here.
-
31-03-2020, 09:21 AM #12Member

- Join Date
- Dec 2017
- Location
- Scotland
- Posts
- 127
Well done, looks really good! Thanks for taking the time to document it. I try my best to make stuff with a small milling attachment on my lathe.
-
31-03-2020, 08:06 PM #13Fulla

- Join Date
- May 2012
- Location
- Cni
- Posts
- 1,660
-
01-04-2020, 03:06 PM #14
-
15-04-2020, 03:18 PM #15Member

- Join Date
- Nov 2012
- Location
- AKL
- Posts
- 396
great job. lots of nice projects going on here bcs of the lockdown
Similar Threads
-
284 build. Carbon stock question. Slippery when wet?
By 284 Gypsy in forum Projects and Home BuildsReplies: 11Last Post: 08-06-2019, 11:17 AM -
Remington 700 Bullpup chassis build
By Wingman in forum Projects and Home BuildsReplies: 32Last Post: 18-12-2018, 05:01 PM -
Aluminium Dog Box
By Baz in forum DogsReplies: 7Last Post: 01-03-2012, 07:38 PM
Tags for this Thread
Welcome to NZ Hunting and Shooting Forums! We see you're new here, or arn't logged in. Create an account, and Login for full access including our FREE BUY and SELL section Register NOW!!


 35Likes
 LinkBack URL
 About LinkBacks


 Reply With Quote


Bookmarks