
 133Likes
 LinkBack URL
 About LinkBacks
FIRST STAGE CARVE THE PLUG
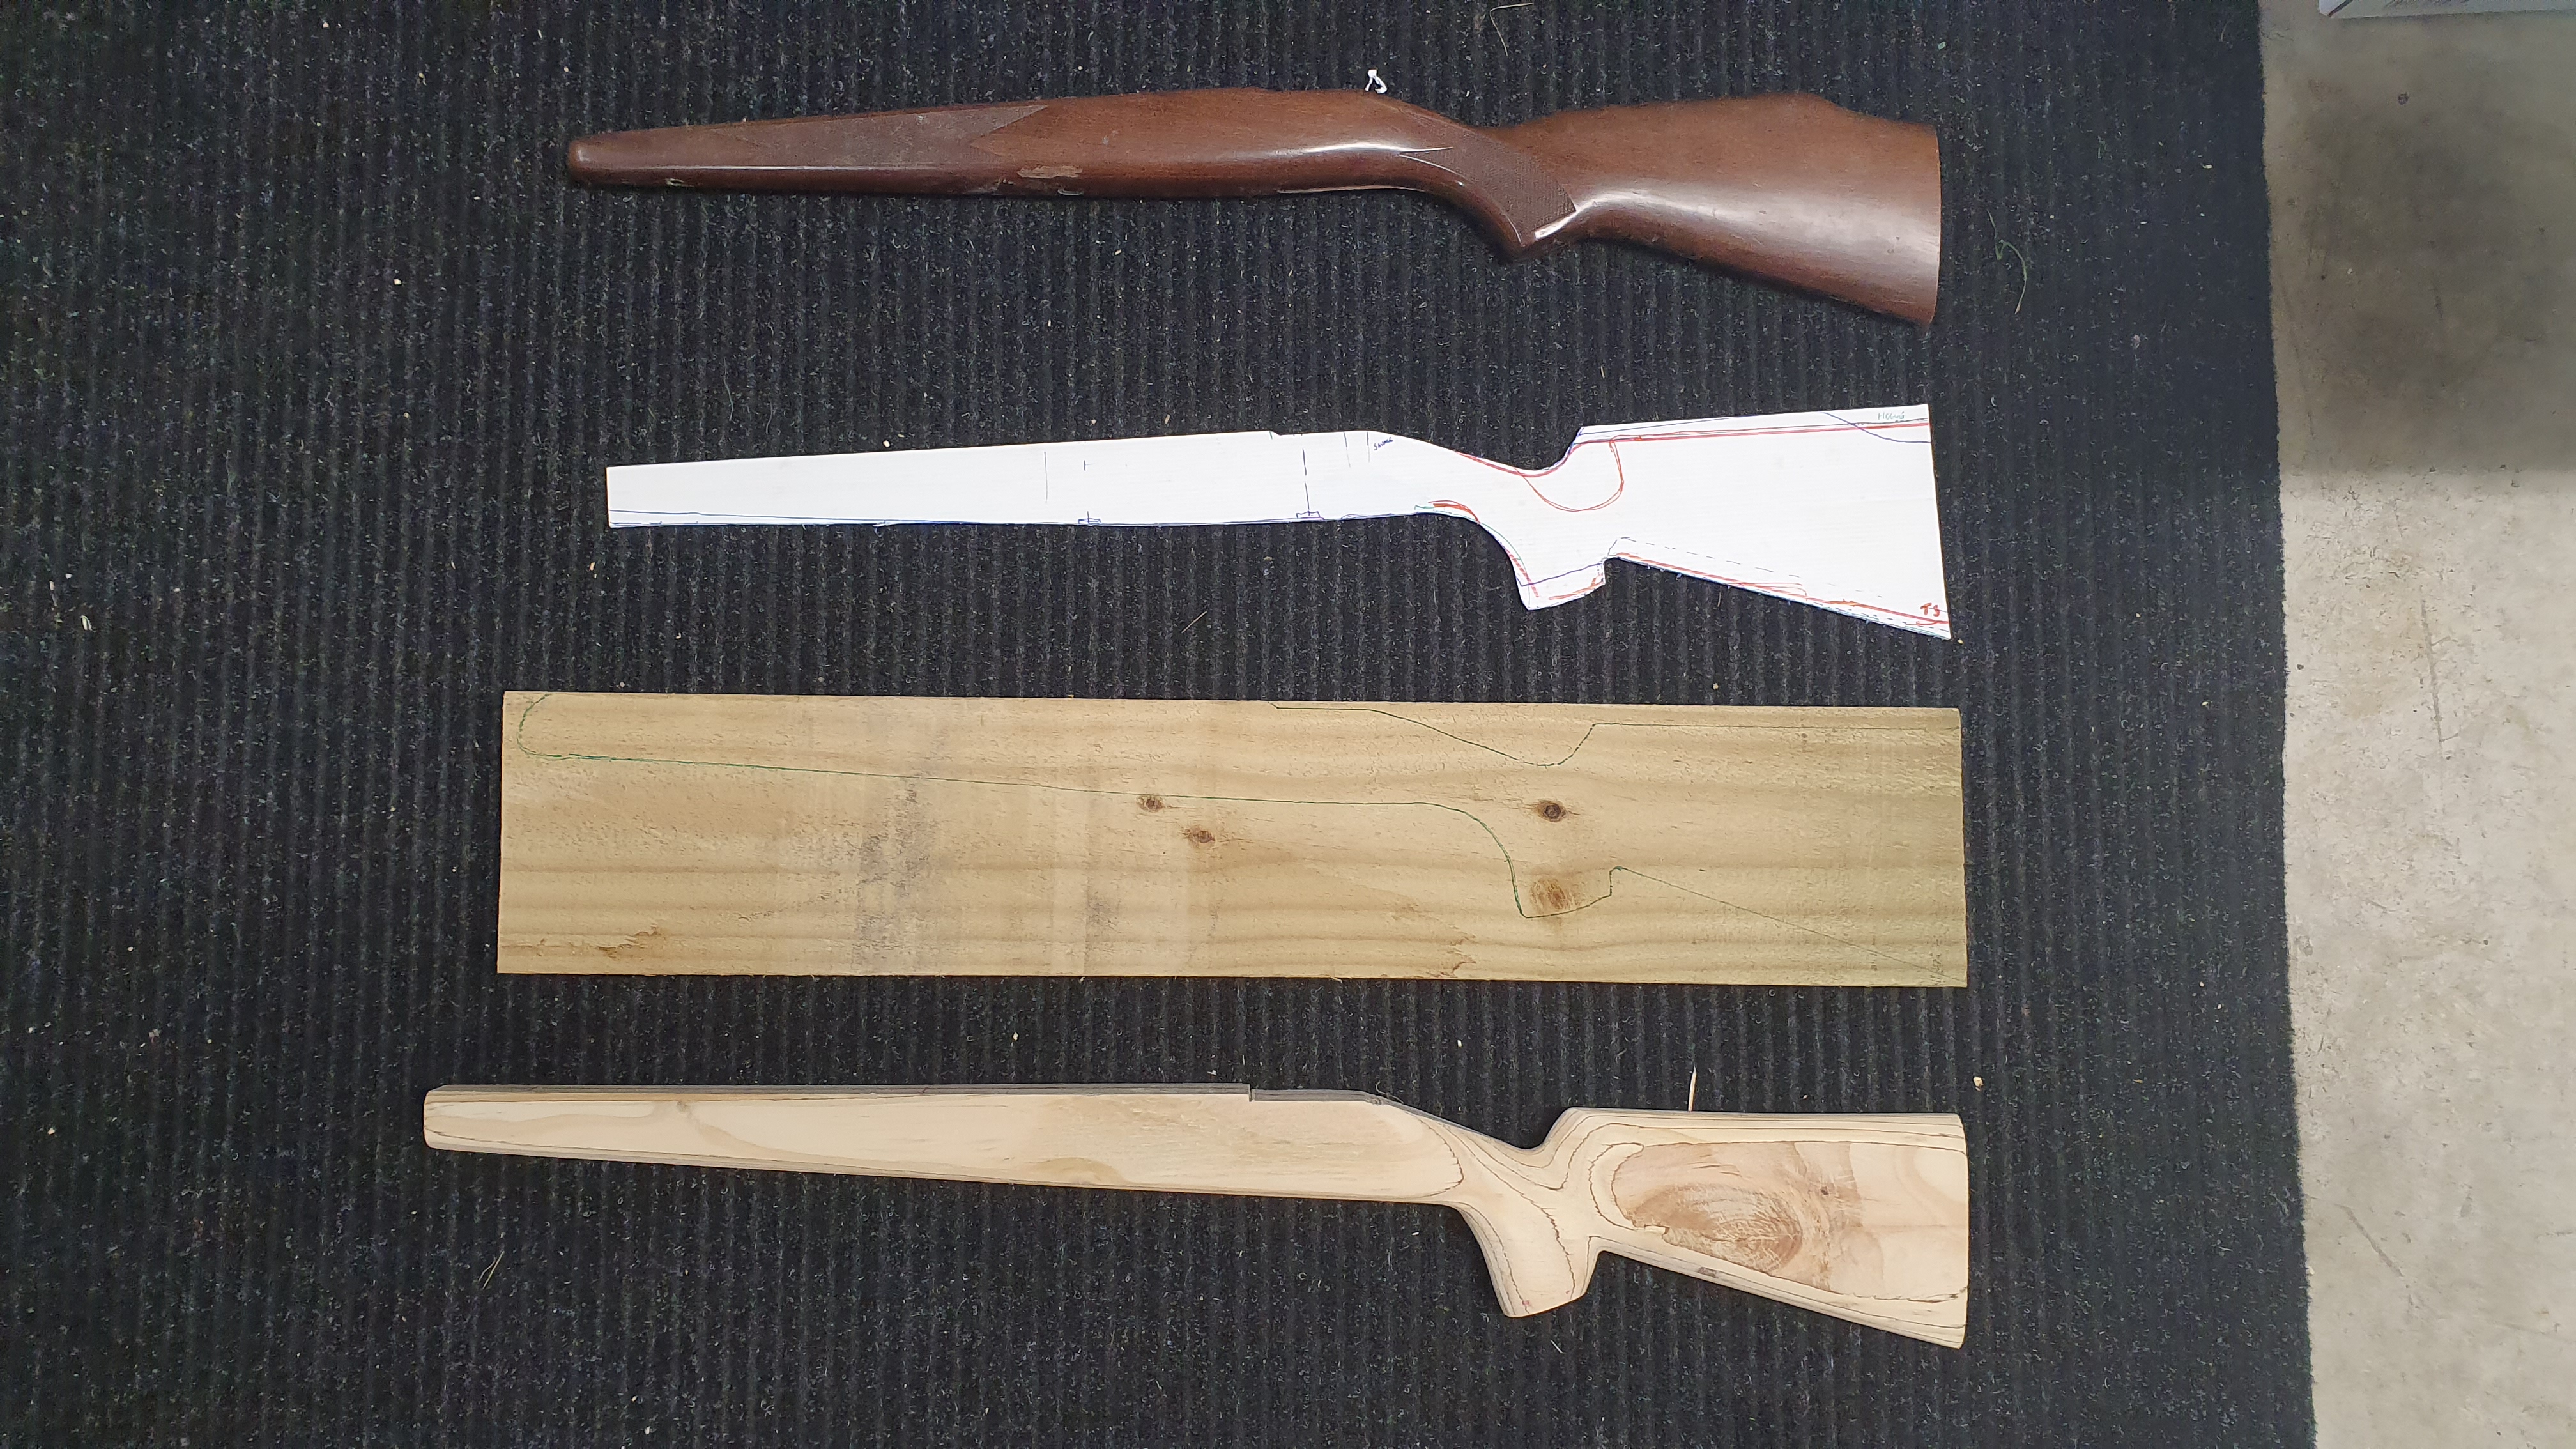
Now having only the one stock for a Savage rifle and no easy way to get a replacement if I destroyed it in the process, I made the decision to make a new rifle stock ‘plug’ from some ply I had lying around at home. I chose the ply as it was dry and less prone to warping.* If it had been a Remington 700 or a Tikka I wouldn't have been too fussed as replacement stocks are easily found for them in NZ.
The first step was to strip down and measure the rifle followed by tracing the factory stock outline on a piece of corflute. The key here was to ensure I had the correct shape and contour where the action and rear tang fit into the stock. From here it was a simple matter of drawing in the shape I wanted the stock to be. And transposing onto the ply.
I was after a more vertical pistol grip, a straight buttstock that was in line with the rifle bore and a slightly longer and beaver tailed fore-end. I used some other rifle stocks I had at home to trace out some shapes.
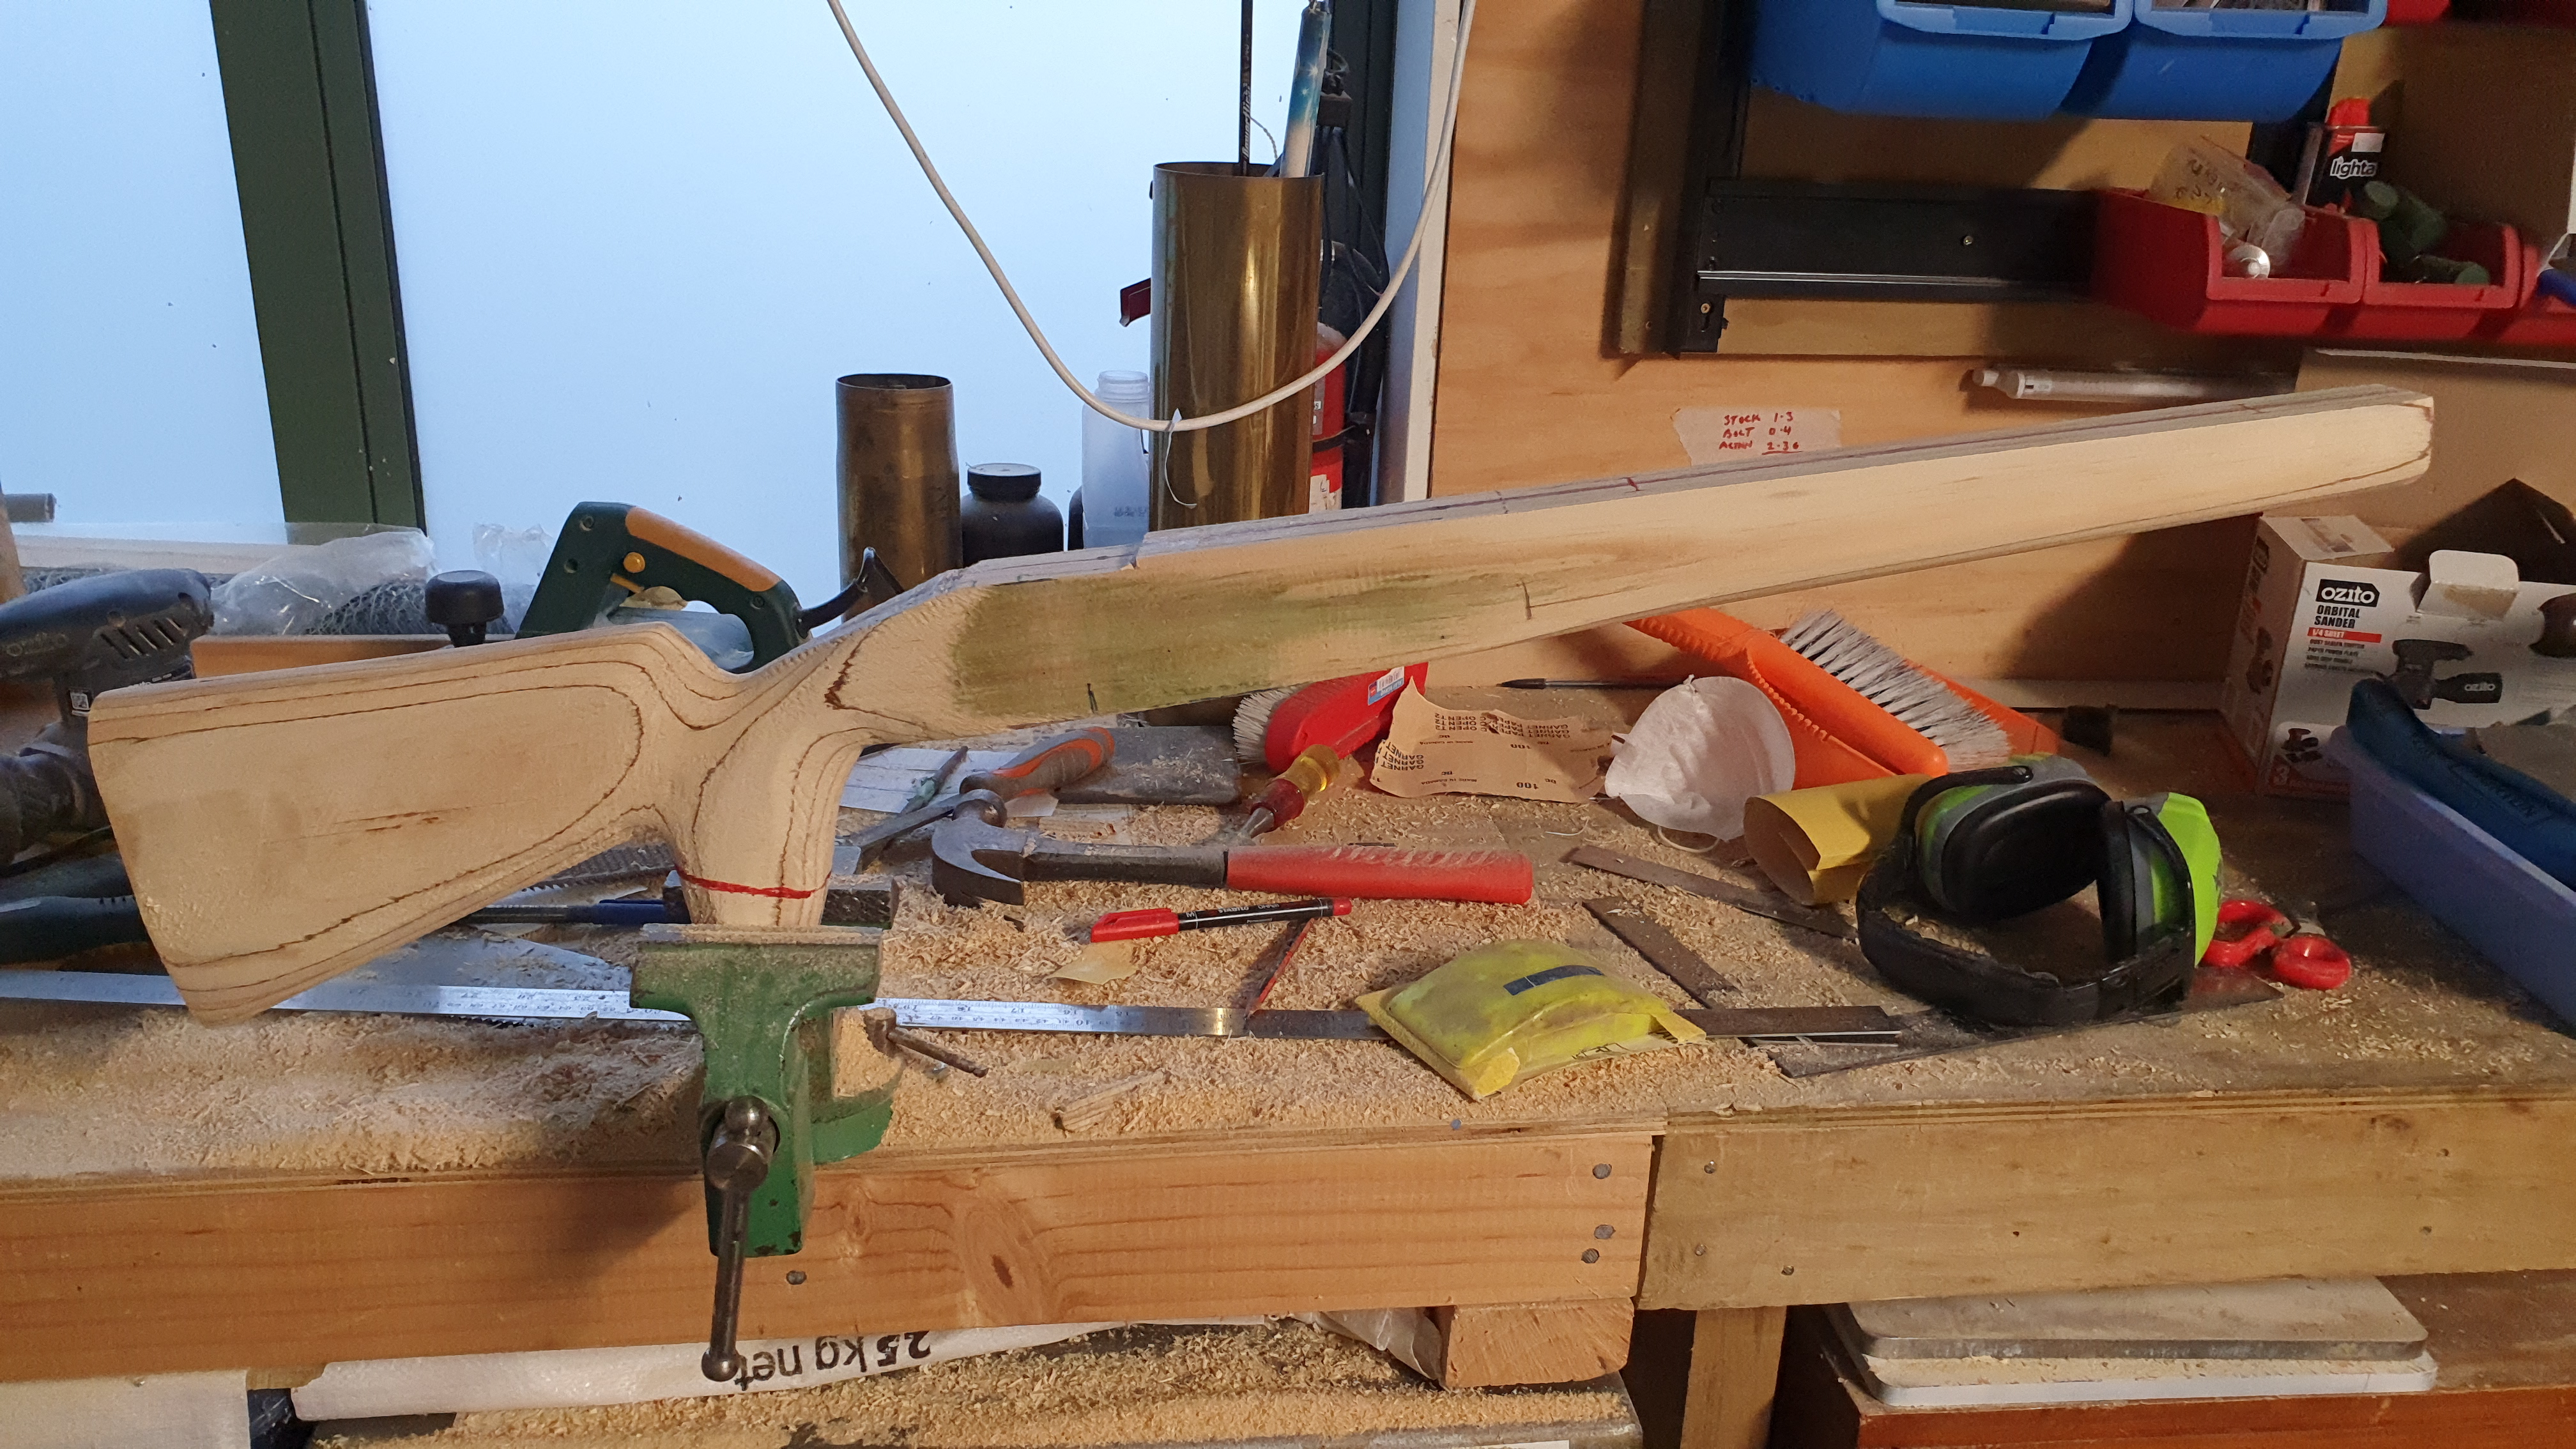
The next step was to laboriously carve out the ply to the shape and length of pull I wanted making sure I retained the original stocks upper rear tang shape and depth to accommodate action, blind magazine and bottom metal/trigger guard.
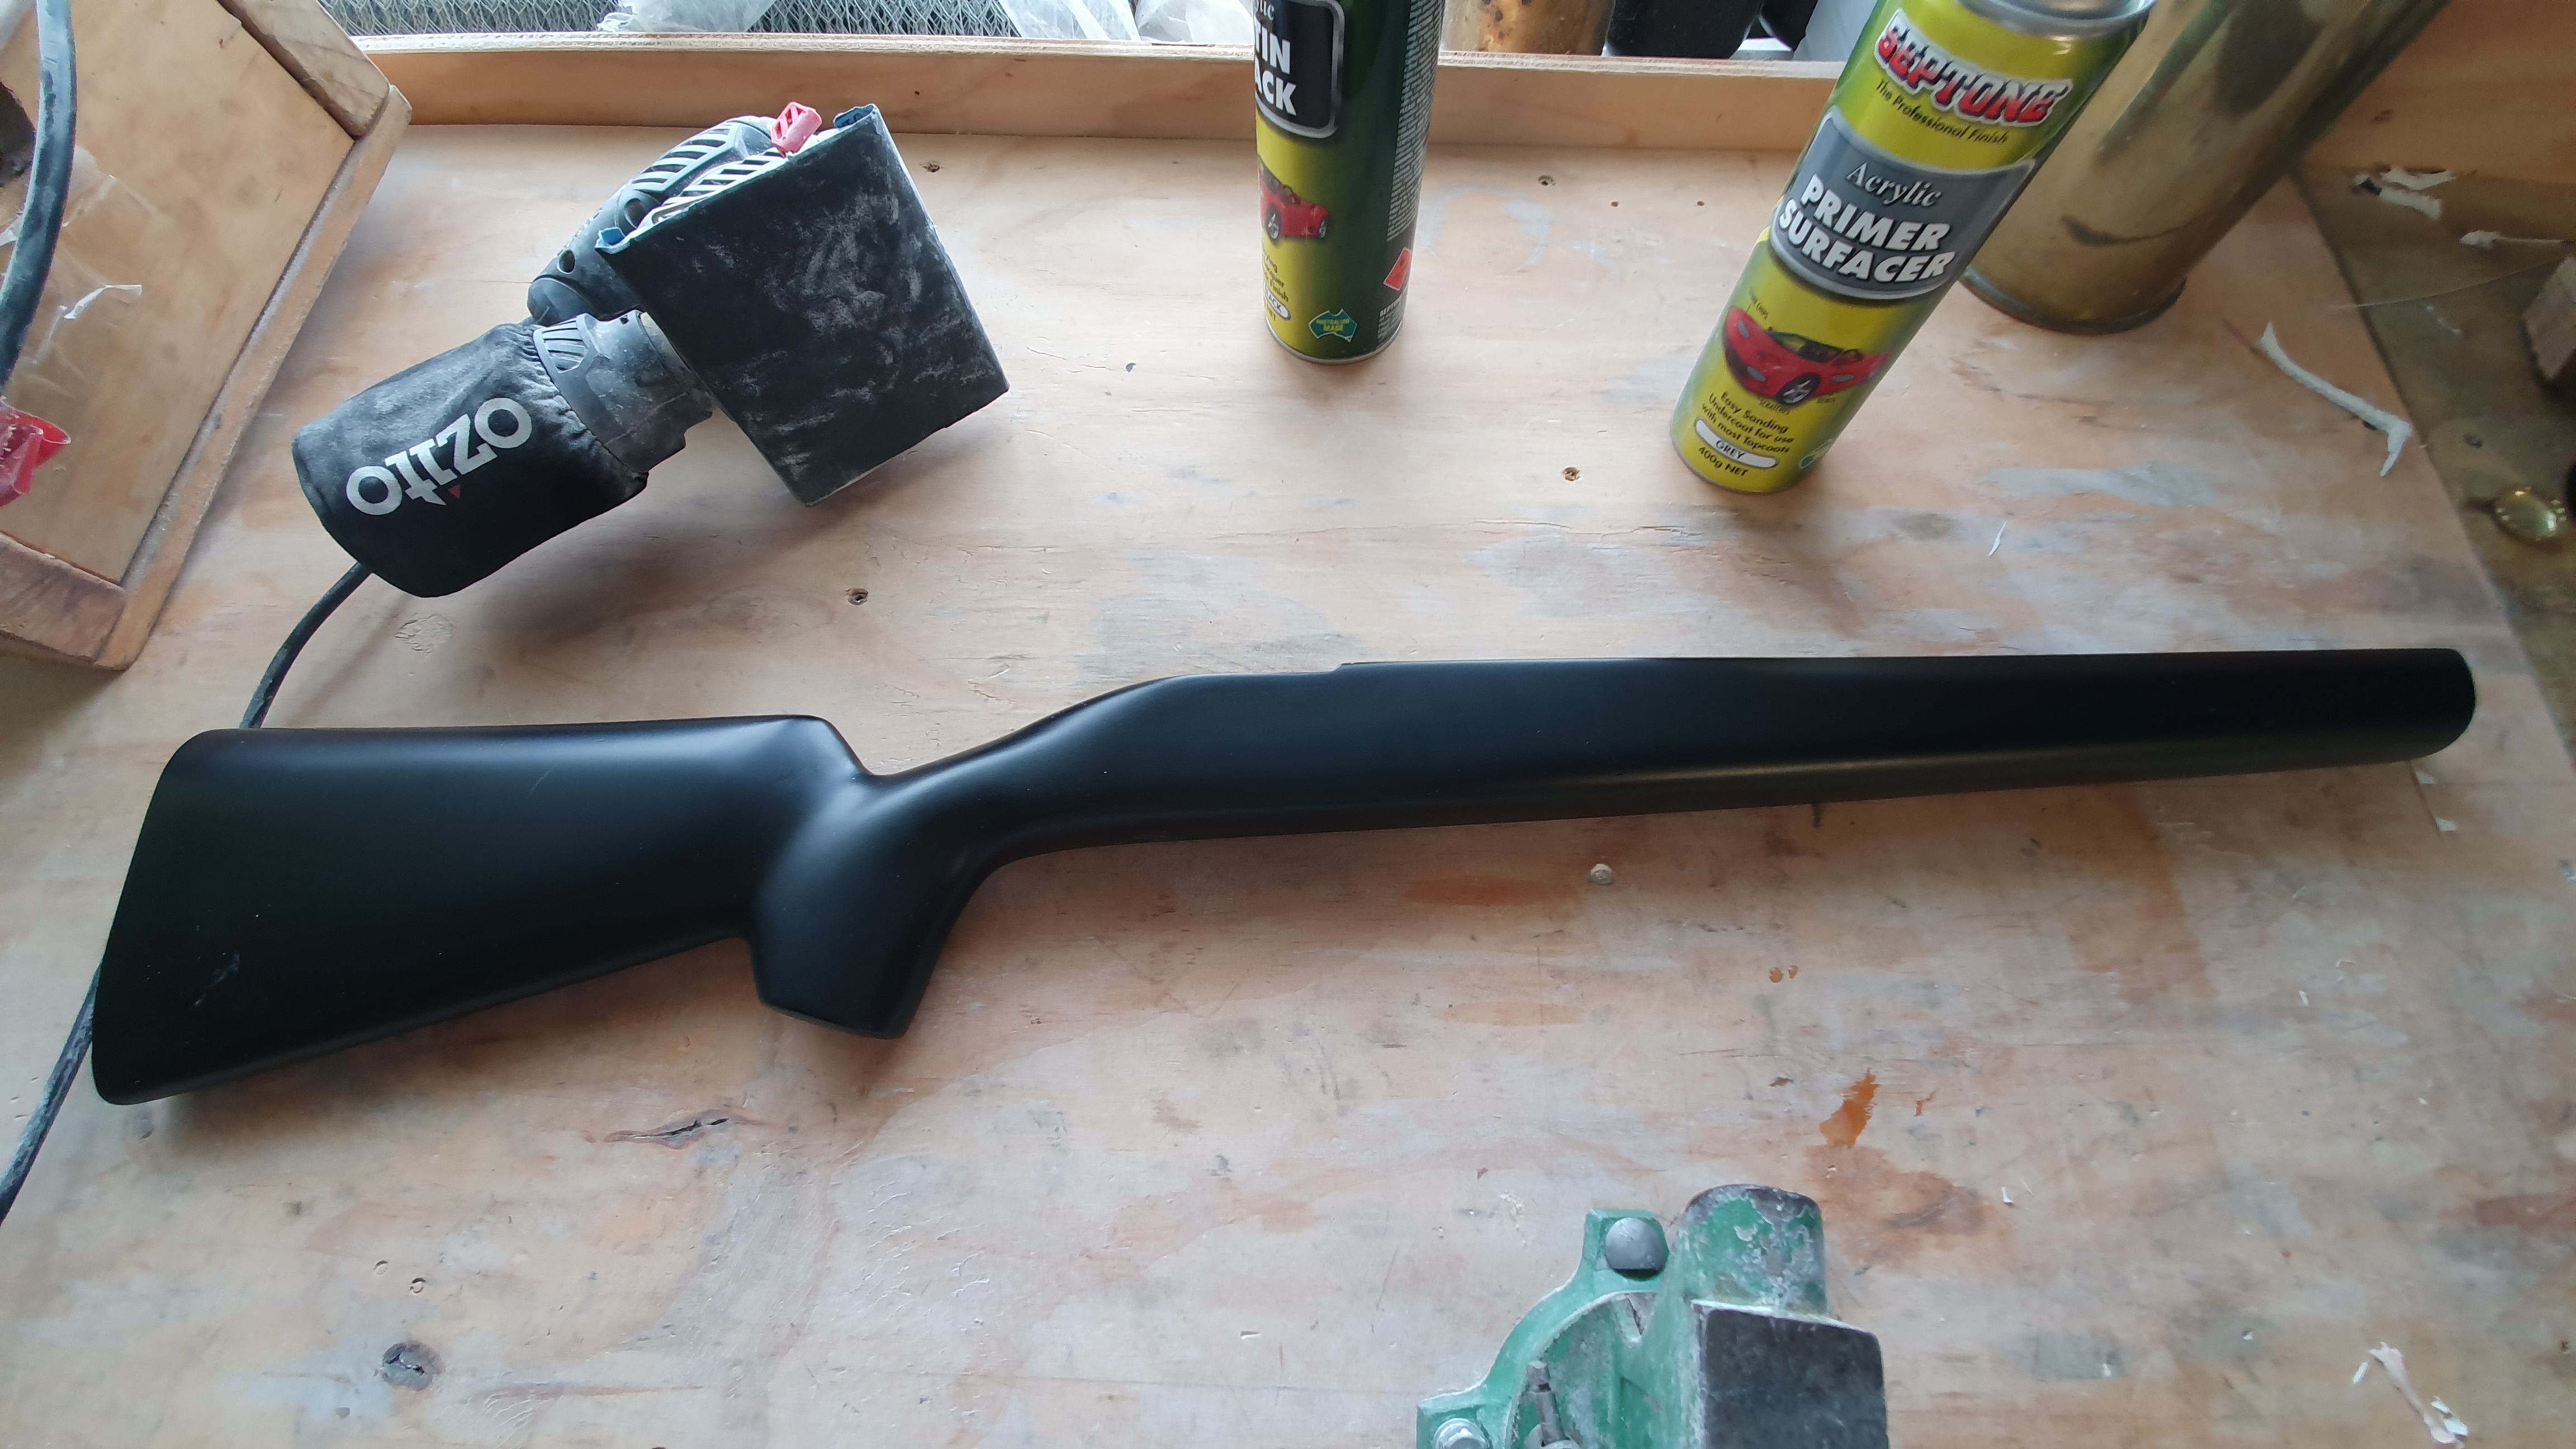
I used an acrylic primer filler and satin finish topcoat to seal the finished plug. The main problems I had in this stage was keeping track of where the centreline of the plug was so that I ended up with a symmetrical shape with no potential traps/overhangs to create the mold on. The last thing I wanted was to have the plug trapped in the mold.
*
More to follow.
Welcome guest, is this your first visit? Create Account now to join.
Welcome to the NZ Hunting and Shooting Forums.
Search Forums


User Tag List
Results 1 to 15 of 74
Thread: DIY Carbon Fiber Rifle Stock
Threaded View
-
24-02-2020, 02:43 PM #5Member

- Join Date
- Dec 2011
- Location
- North Island
- Posts
- 389


 Reply With Quote
Similar Threads
-
Hardys Carbon fiber Bipod - Any thoughts?
By Larskramer in forum Firearms, Optics and AccessoriesReplies: 35Last Post: 07-11-2019, 11:28 AM -
Carbon Fiber Stocks
By Ham 7mm in forum Firearms, Optics and AccessoriesReplies: 13Last Post: 09-10-2018, 08:58 AM -
carbon fiber vs steel
By r87mm in forum Firearms, Optics and AccessoriesReplies: 14Last Post: 26-07-2017, 07:55 PM -
Carbon Fiber stock maker Morrinsville area
By 260rem in forum Firearms, Optics and AccessoriesReplies: 2Last Post: 24-05-2012, 07:34 AM
Tags for this Thread
 Posting Permissions
- You may not post new threads
- You may not post replies
- You may not post attachments
- You may not edit your posts
Welcome to NZ Hunting and Shooting Forums! We see you're new here, or arn't logged in. Create an account, and Login for full access including our FREE BUY and SELL section Register NOW!!
All times are GMT +13. The time now is 01:39 PM.

Bookmarks