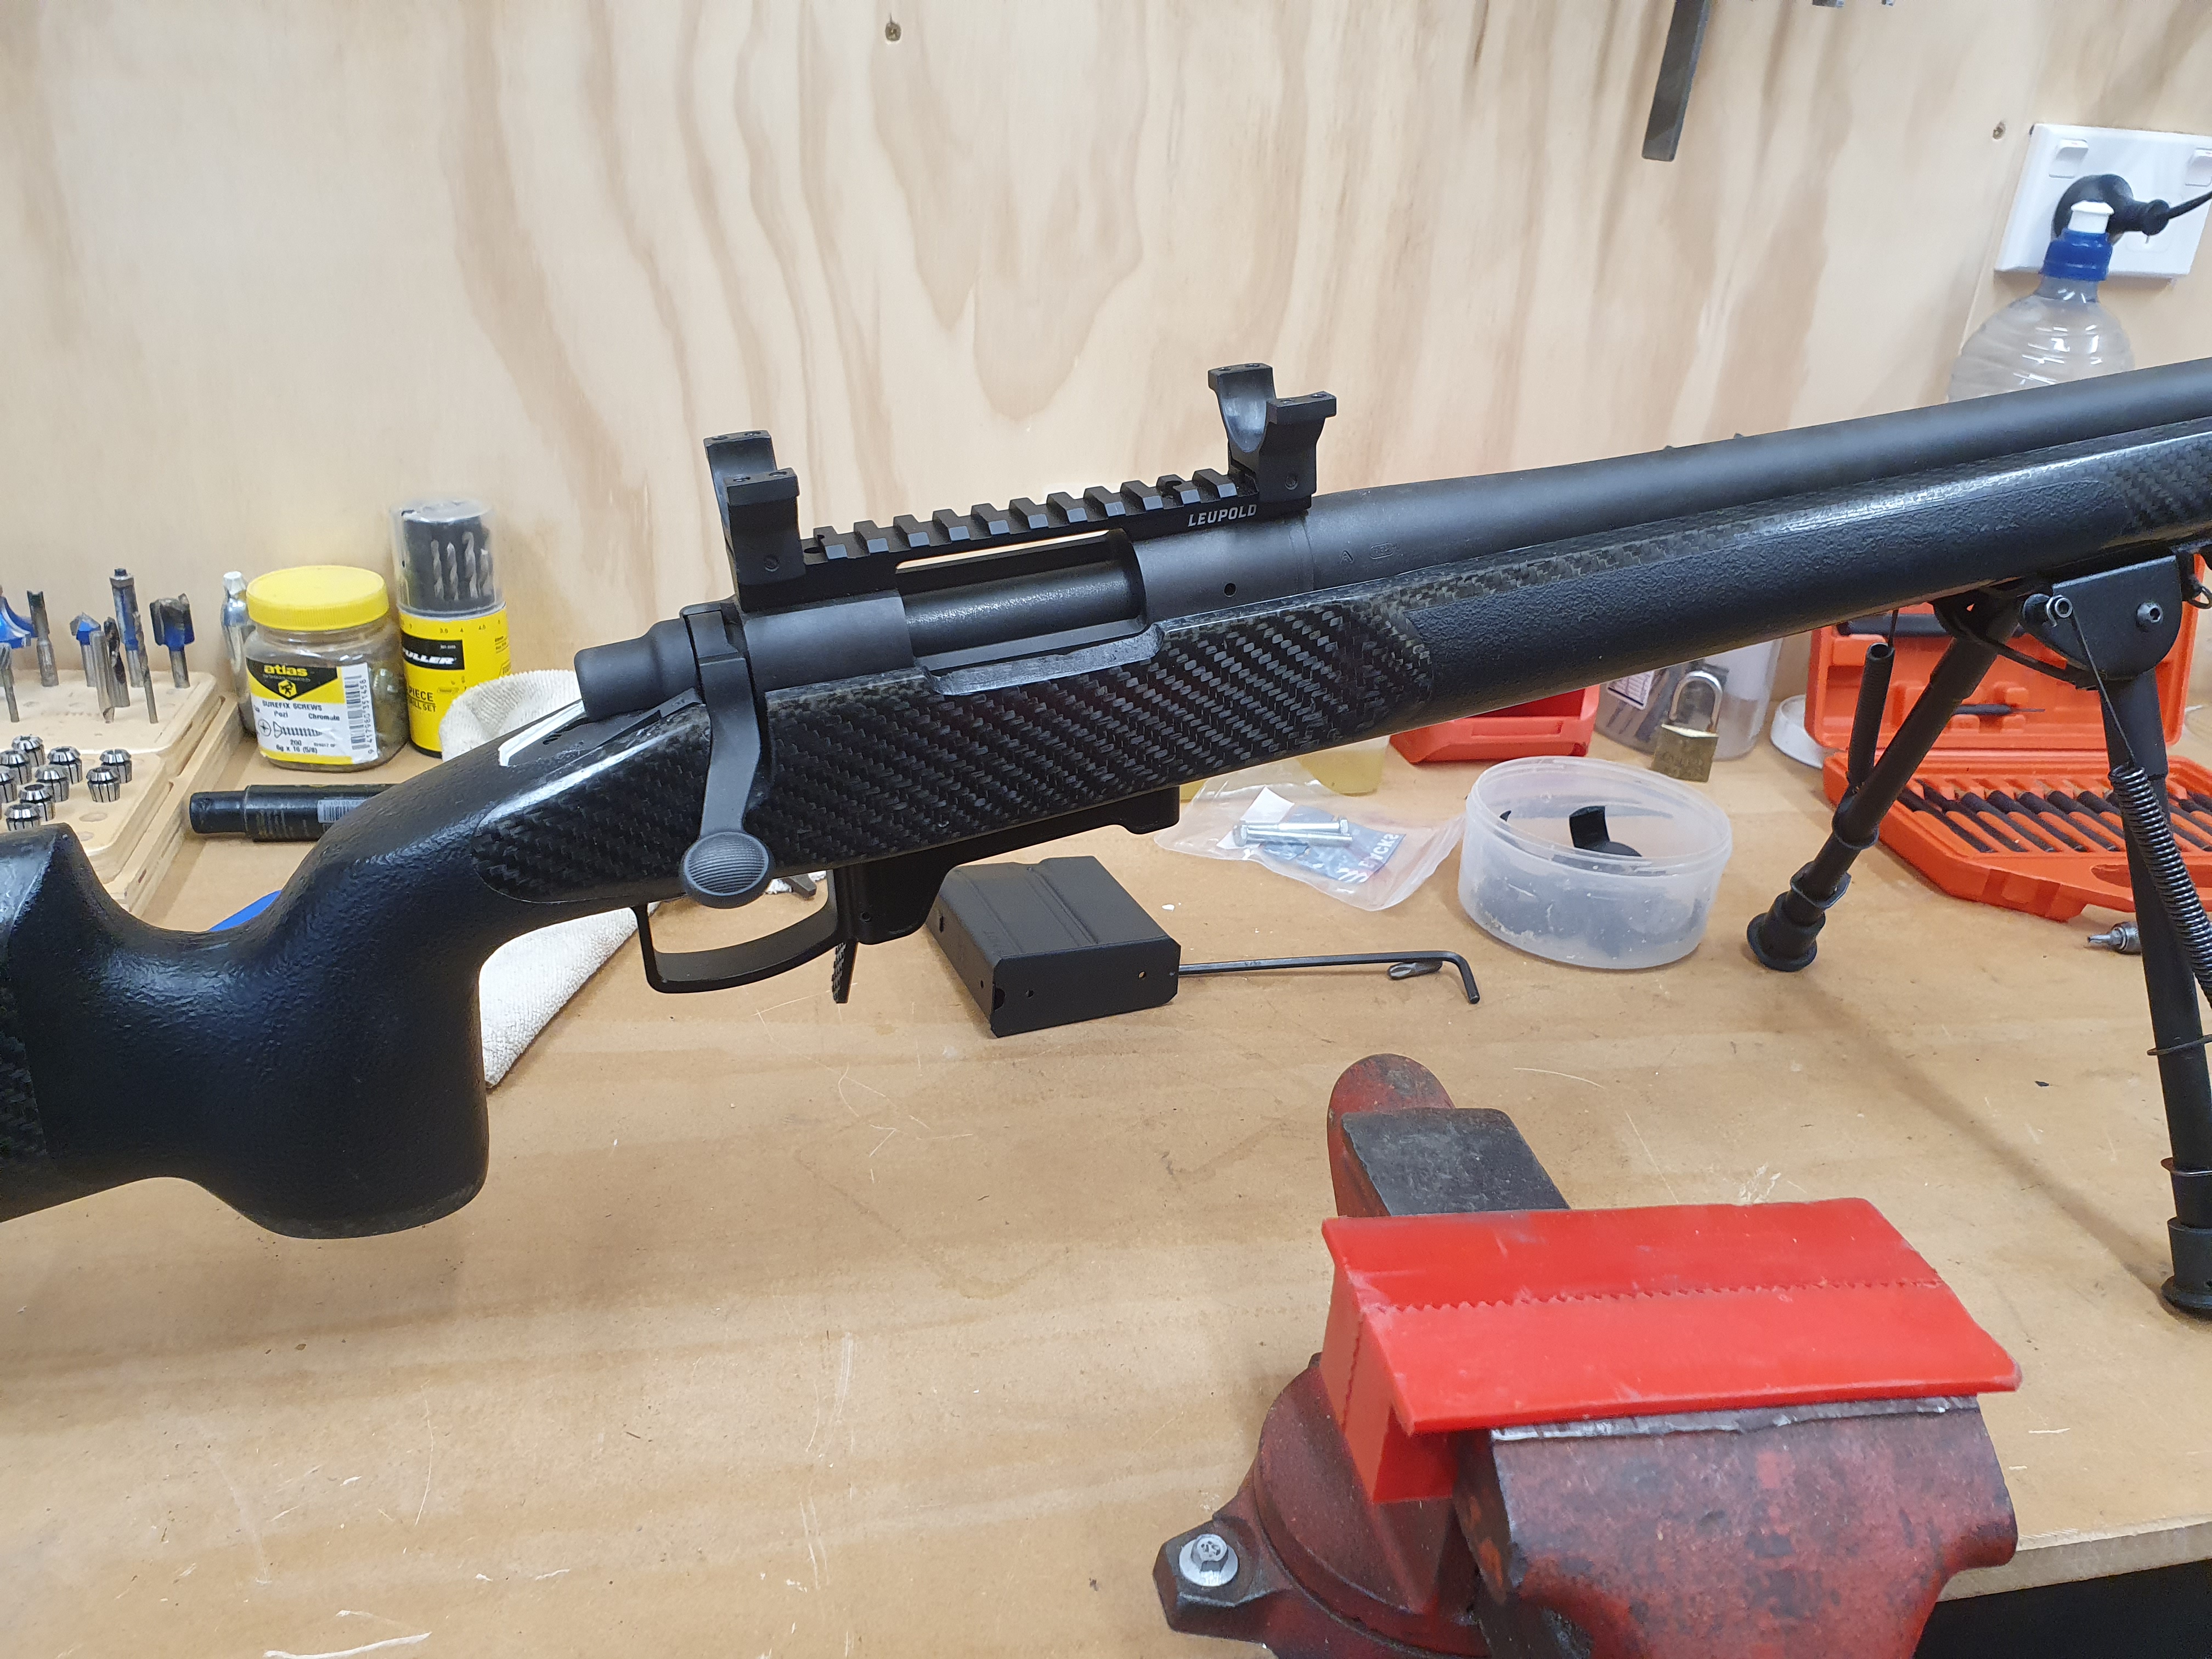
So I took a whole bunch of measurements and started drawing it up in CAD to see how low I needed to set the action into the stock to get the bottom metal close enough, and the action screws to actually reach. It took a while measuring the stock at both action bolt holes to get an accurate taper, then taking that and overlaying the action to bottom metal dimensions I needed and finding the right compromise of action height. Which ended up about .5mm above the top of the stock.
Once I had that sorted I modeled the 3d stock area with the inletting details I needed. Created the tool paths and started mounting the stock up in the CNC, which took a bit to get square and level.
Attachment 159174
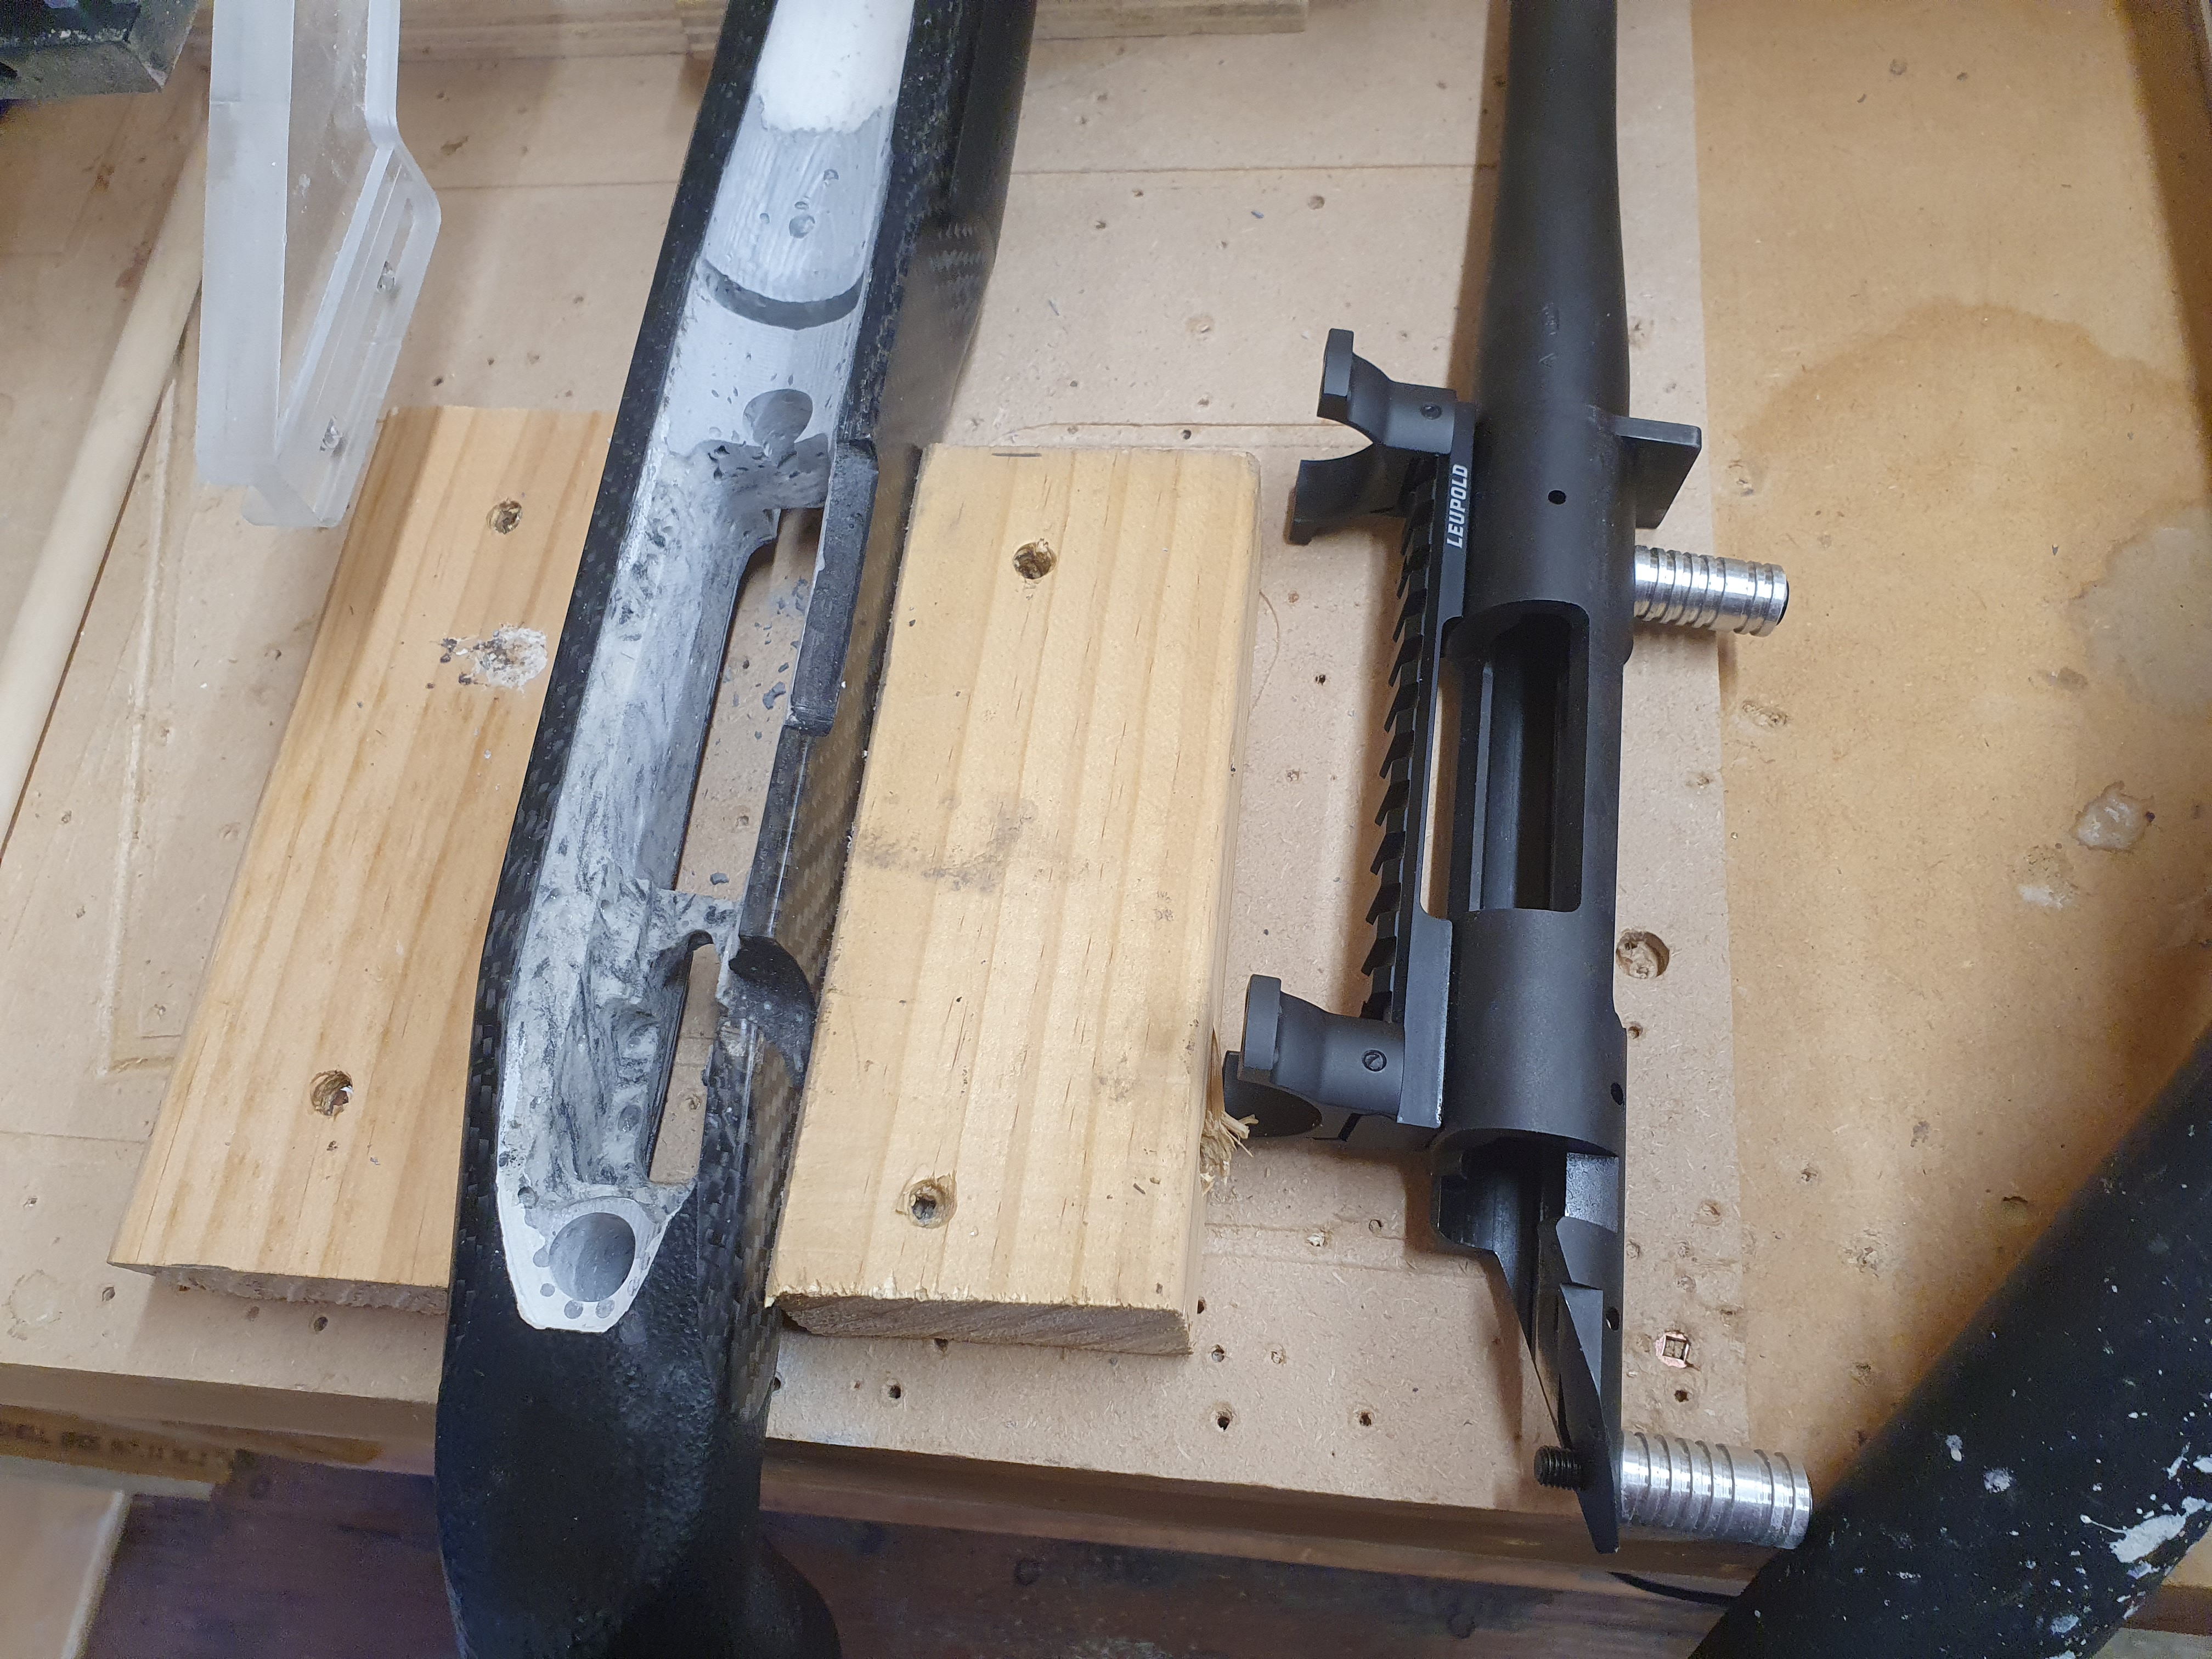
I then machined the inletting to fit, with no allowance for bedding, so I could test everything. Also opened up and centered the barrel channel.
It took a couple of goes to get the action area wide enough so it was clamping down to the bottom rather than the sides.
Attachment 159175
Attachment 159177
Attachment 159178
Attachment 159179
Then test fit, bit sloppy but everything was close enough that I was happy with the height.
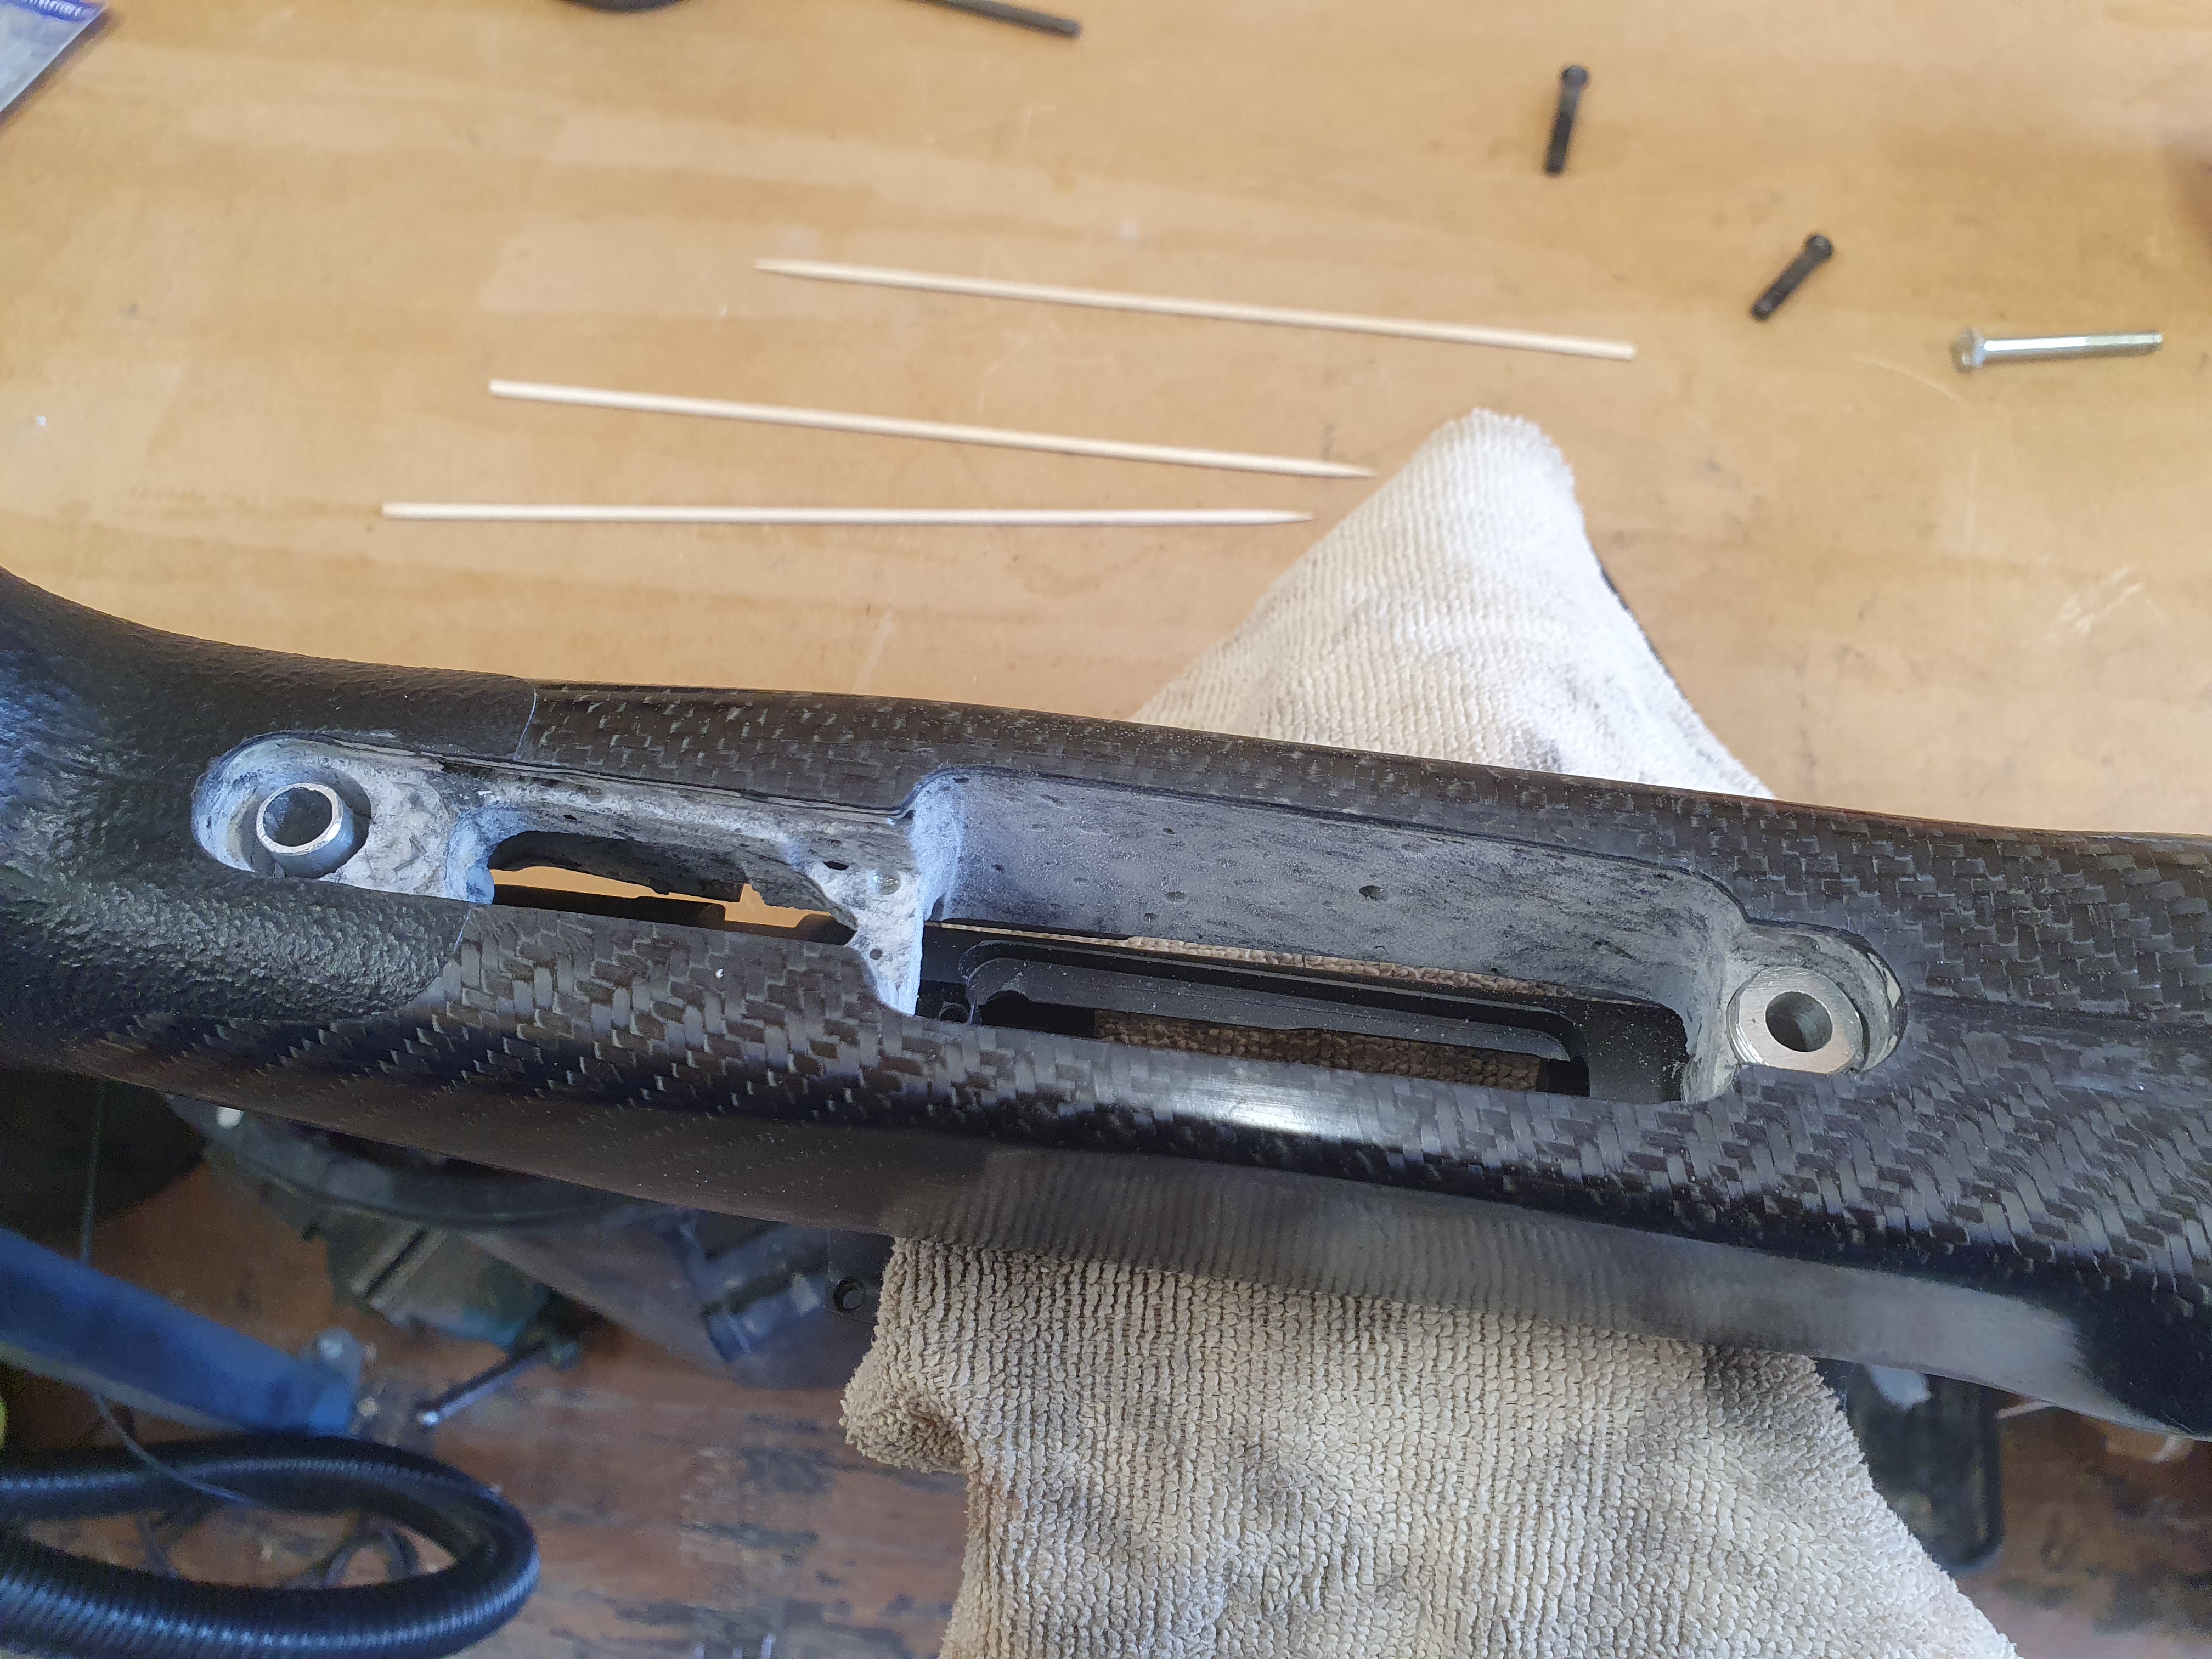
Next to put it back in, bore holes for the pillars and machine a 2mm clearance in everything except two height references.
I also filed one pillar to legnth, and one was too short, so I drilled it out half way and epoxied in another small aluminum tube in. Not ideal, but I made do and glued it clamped together so it shouldn't have any crush.
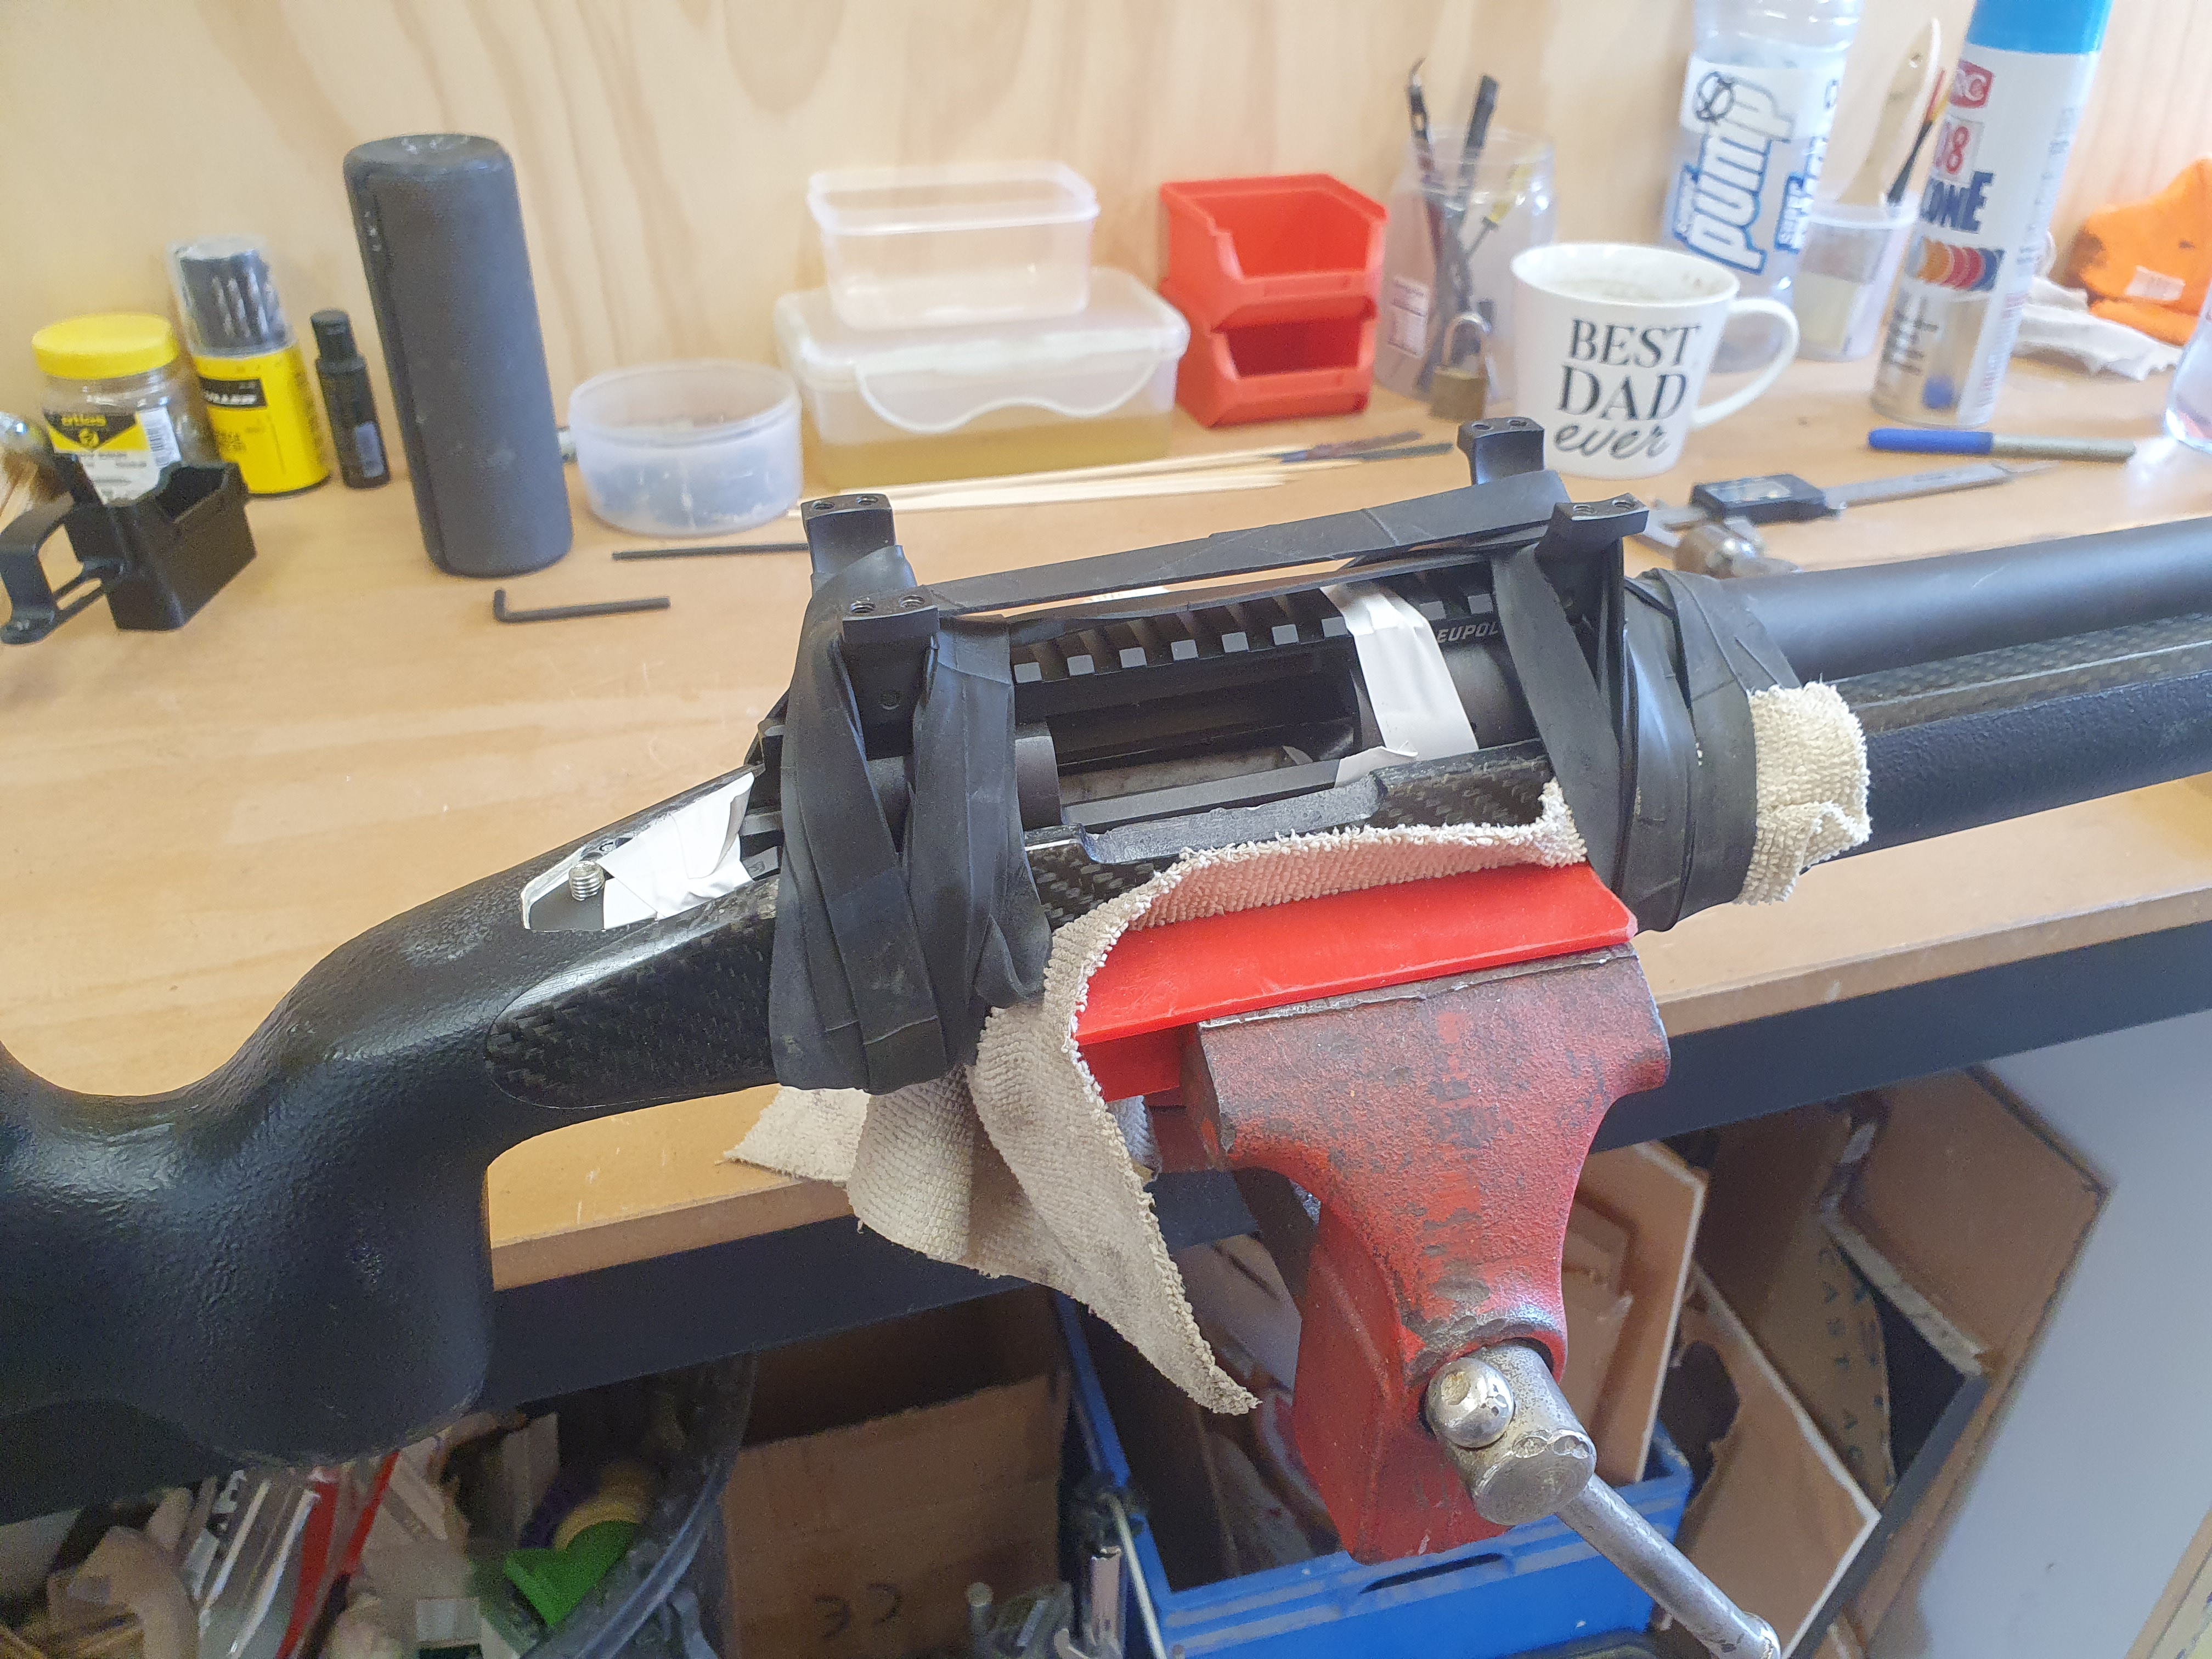
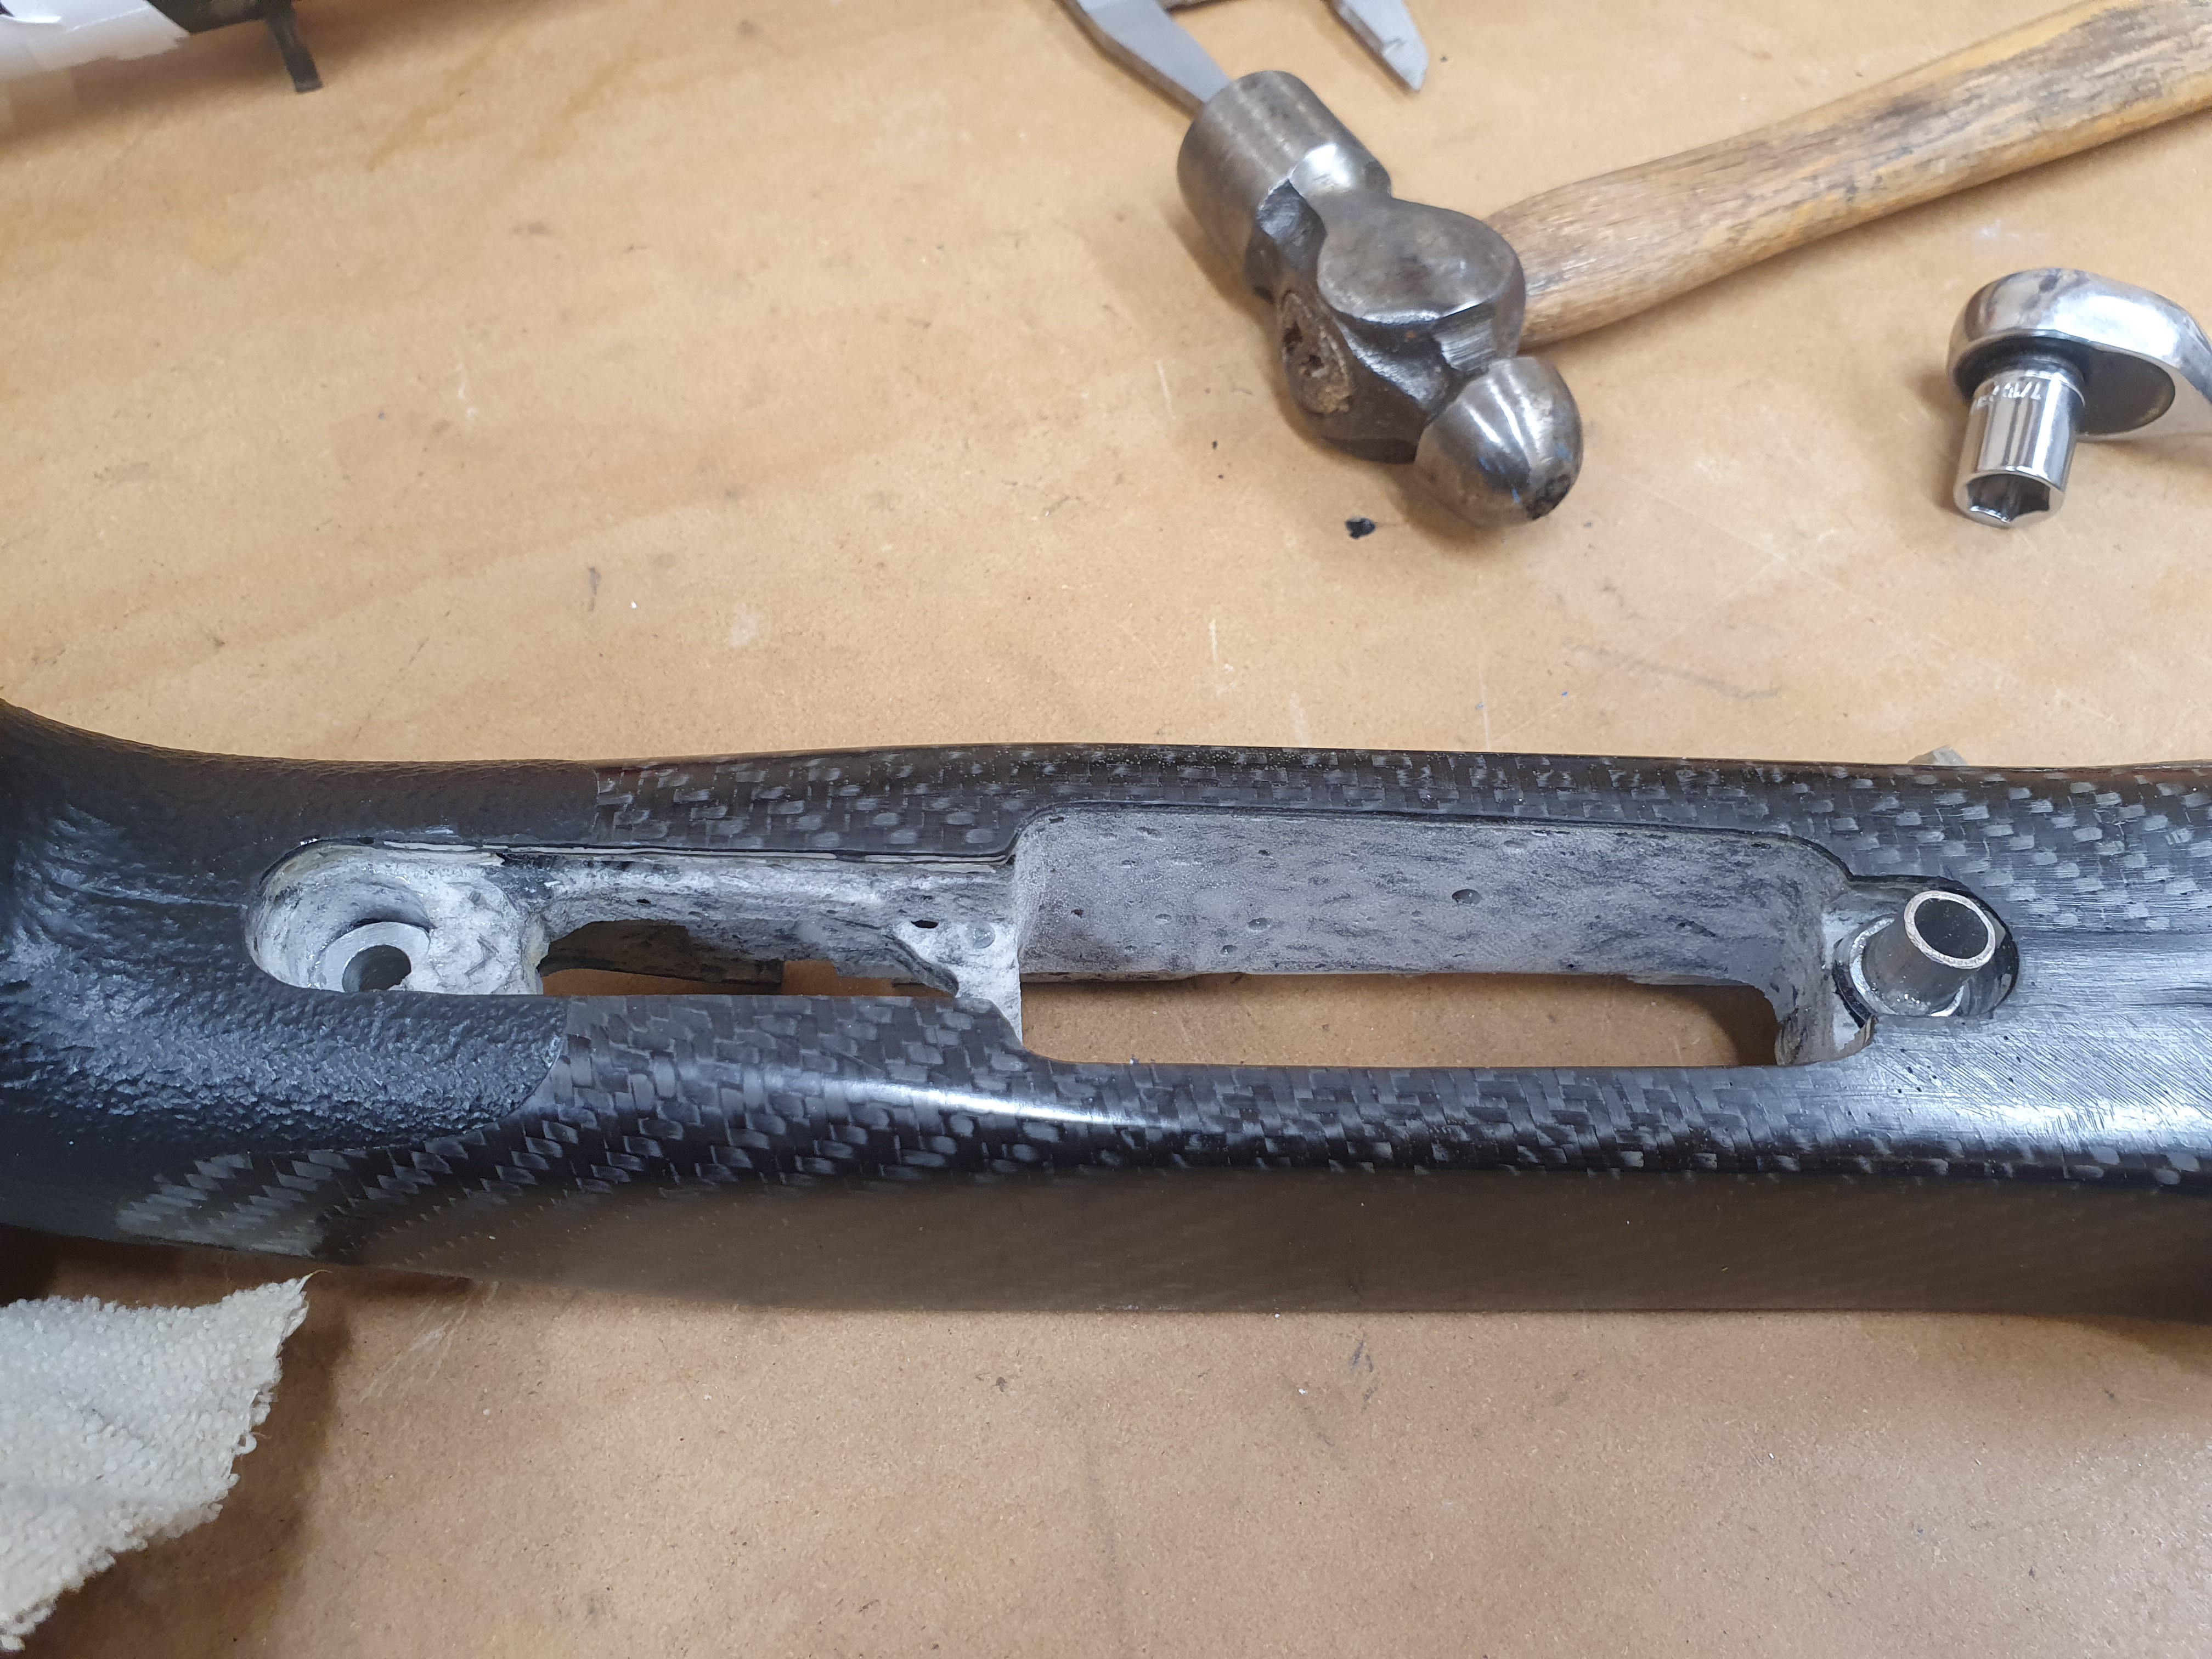
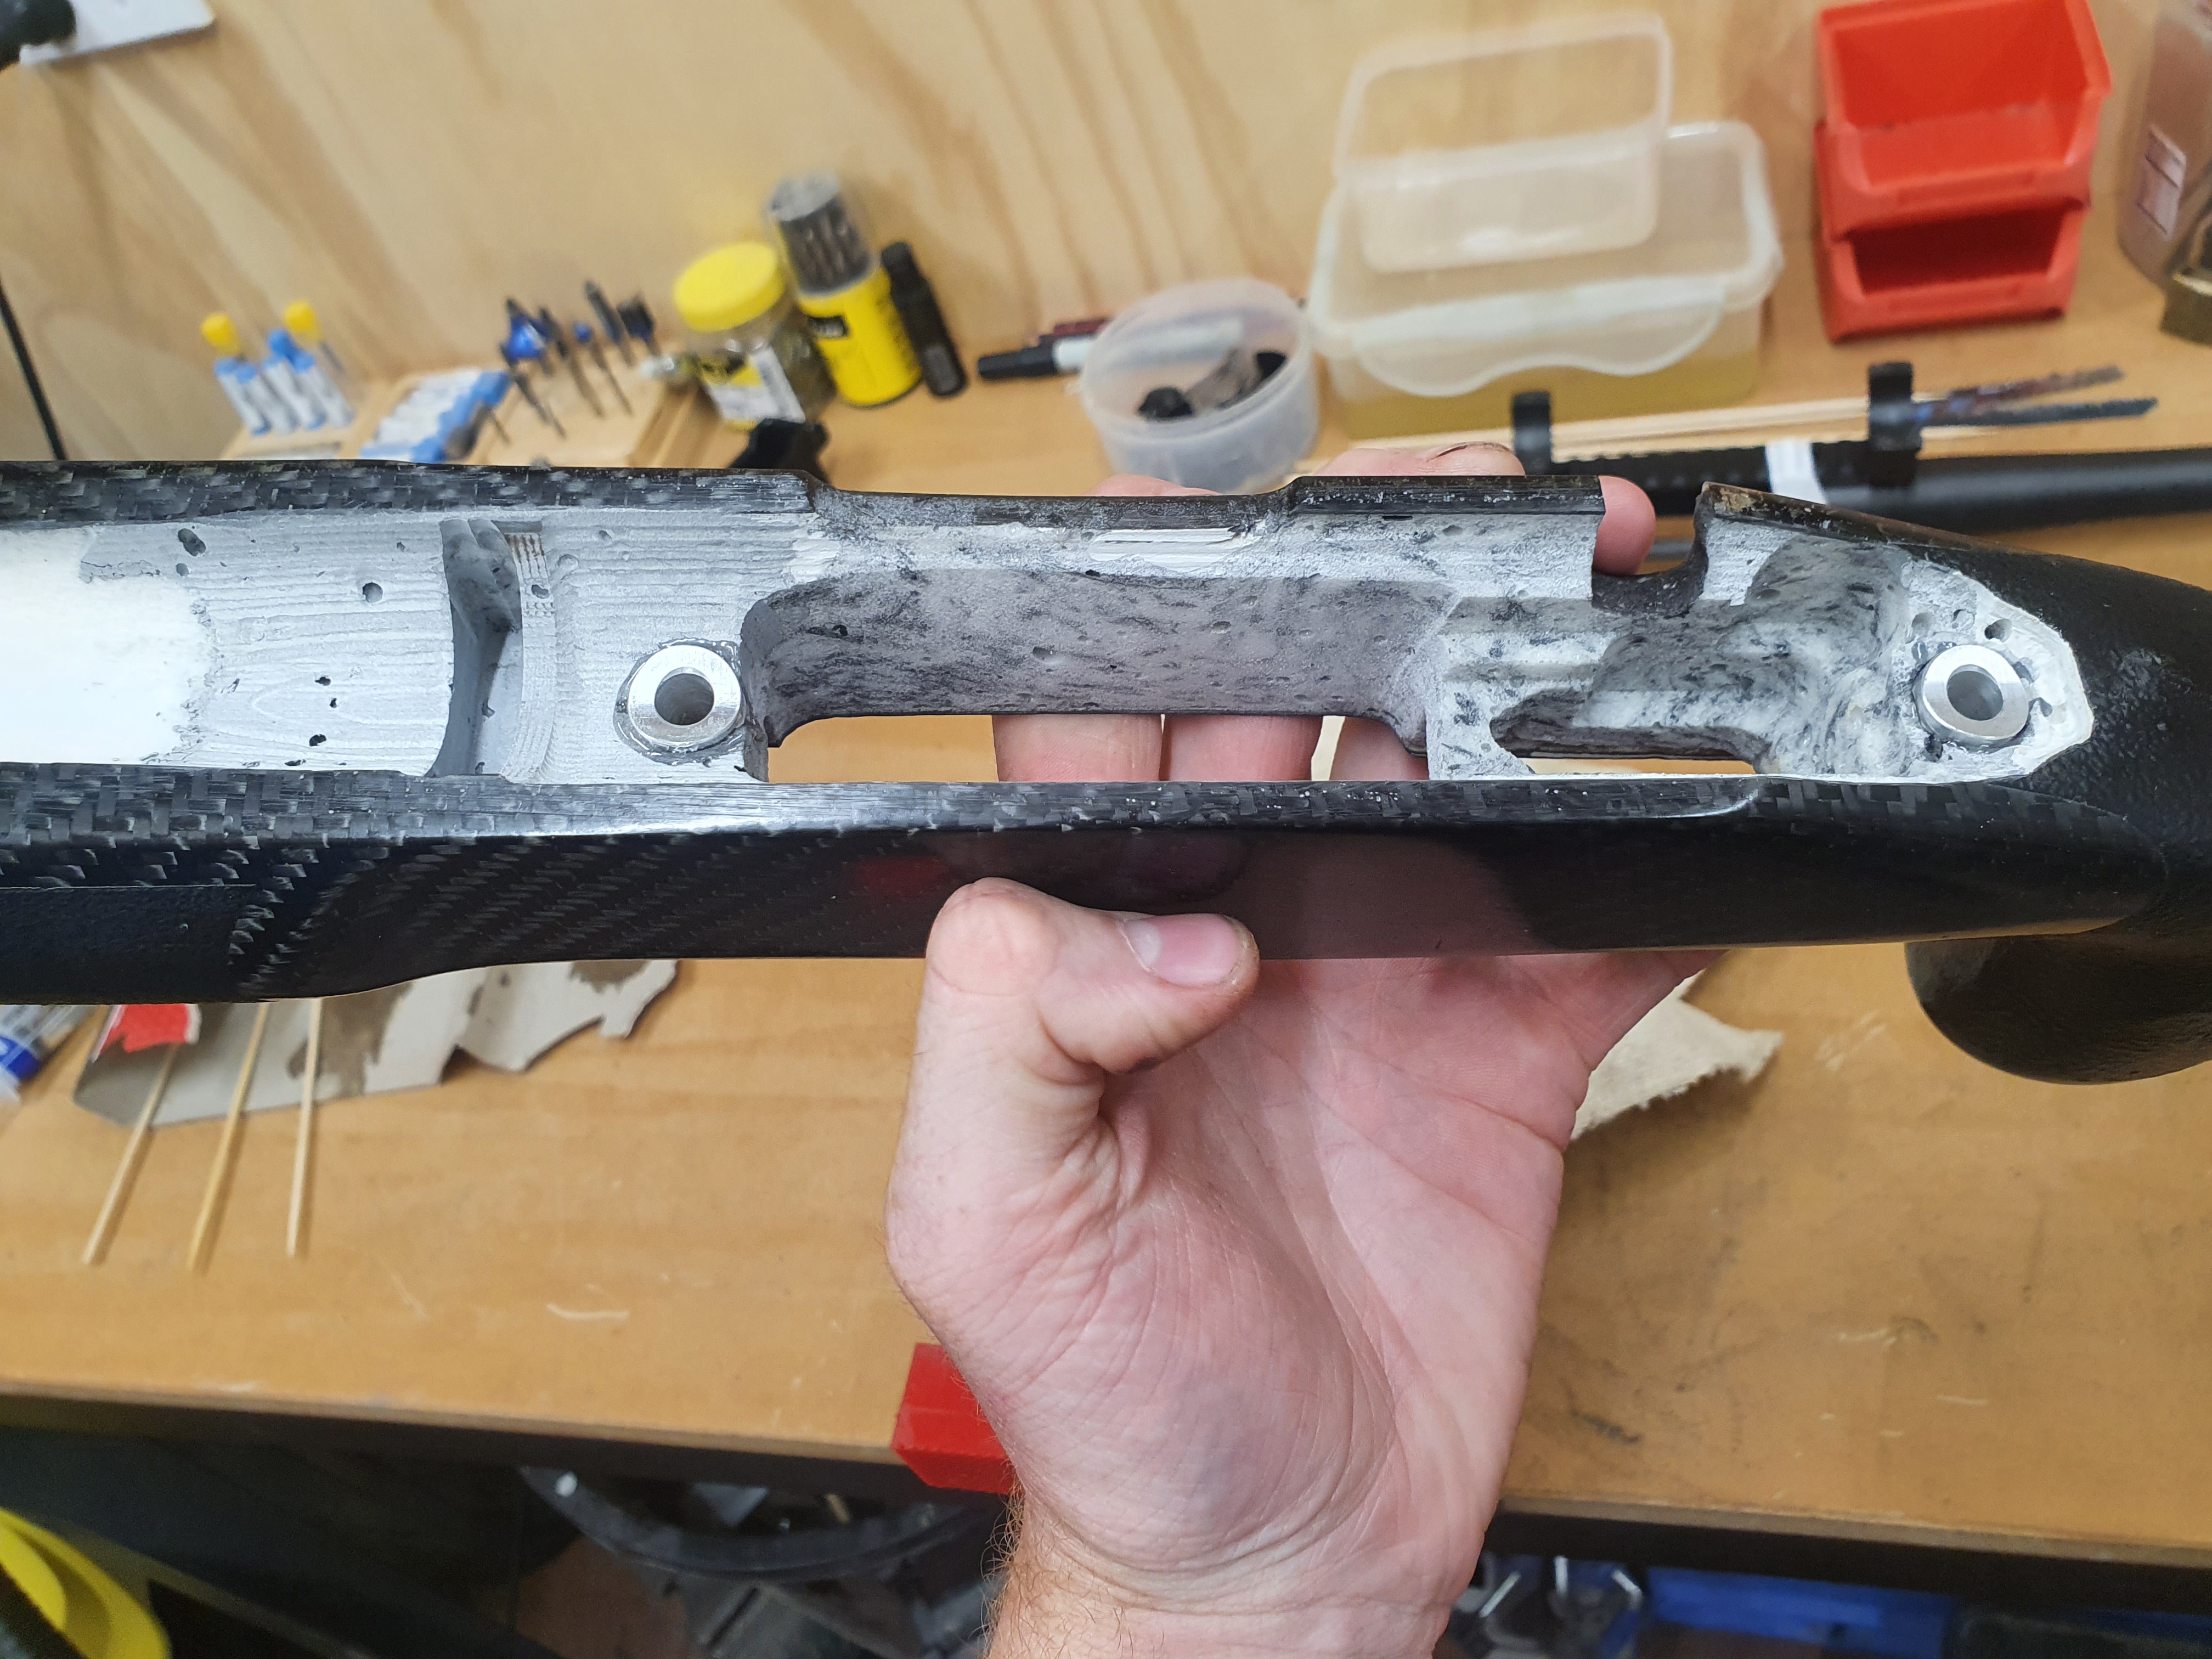
Then apparently going slow enough to take a photo but not slow enough to notice id got the pillars around the wrong way, I got the action masked, and glued the pillars in at height, just clamping the action in and making sure the barrel was centered and at height.
Then I had a fun time extending one of the pillars in place and cutting them both to legnth....
Welcome guest, is this your first visit? Create Account now to join.
Welcome to the NZ Hunting and Shooting Forums.
Search Forums
User Tag List
Results 1 to 12 of 12
 28Likes
Thread: First stock bedding Job
Threaded View
-
30-01-2021, 09:33 AM #2Member

- Join Date
- Jan 2021
- Location
- Methven
- Posts
- 152
Similar Threads
-
Carbon stock bedding
By Gusto in forum Firearms, Optics and AccessoriesReplies: 2Last Post: 21-08-2020, 12:00 PM -
Bedding flush cups into a carbon fiber stock
By dannyb in forum Projects and Home BuildsReplies: 15Last Post: 06-07-2020, 02:34 PM -
Bedding a 2 part stock Forend on a Savage 99
By ZQLewis in forum Projects and Home BuildsReplies: 0Last Post: 12-06-2018, 11:30 PM -
auckland stock bedding job
By quadhunter260 in forum Firearms, Optics and AccessoriesReplies: 8Last Post: 29-01-2018, 12:40 PM -
Winter Rifle Maintenance: stock and bedding
By Bagheera in forum Firearms, Optics and AccessoriesReplies: 2Last Post: 01-09-2016, 11:34 PM
Tags for this Thread
Welcome to NZ Hunting and Shooting Forums! We see you're new here, or arn't logged in. Create an account, and Login for full access including our FREE BUY and SELL section Register NOW!!


 LinkBack URL
 About LinkBacks


 Reply With Quote


Bookmarks