
 38Likes
 LinkBack URL
 About LinkBacks
Haven't posted in a while.
Been working on an updated stock design for ages, finally got my ducks lined up to make another prototype.
I bought a used CNC router off a farmer in Gore for a steal and this is the first major project I've done with it:
Bit of background;
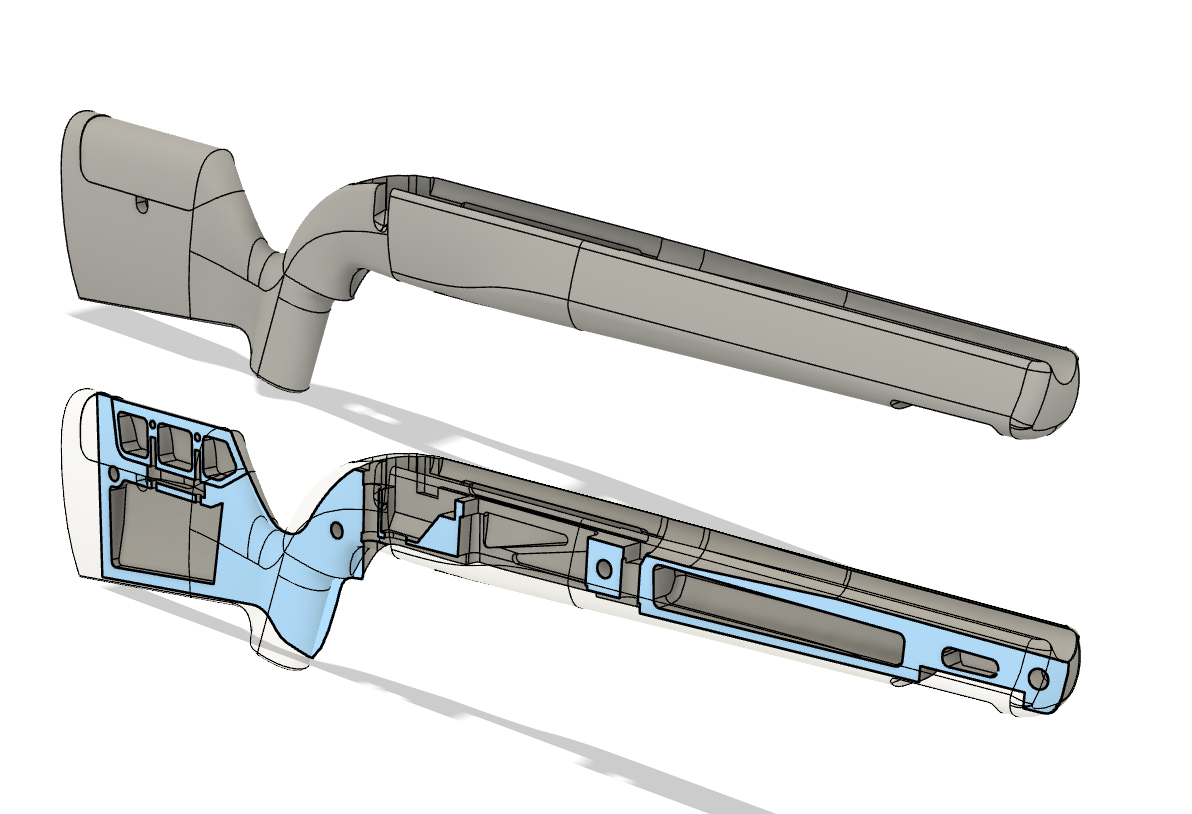
Cad done in Fusion 360. Hollowed voids to reduce weight like last time, but targeting better prone ergonomics and adjustability.
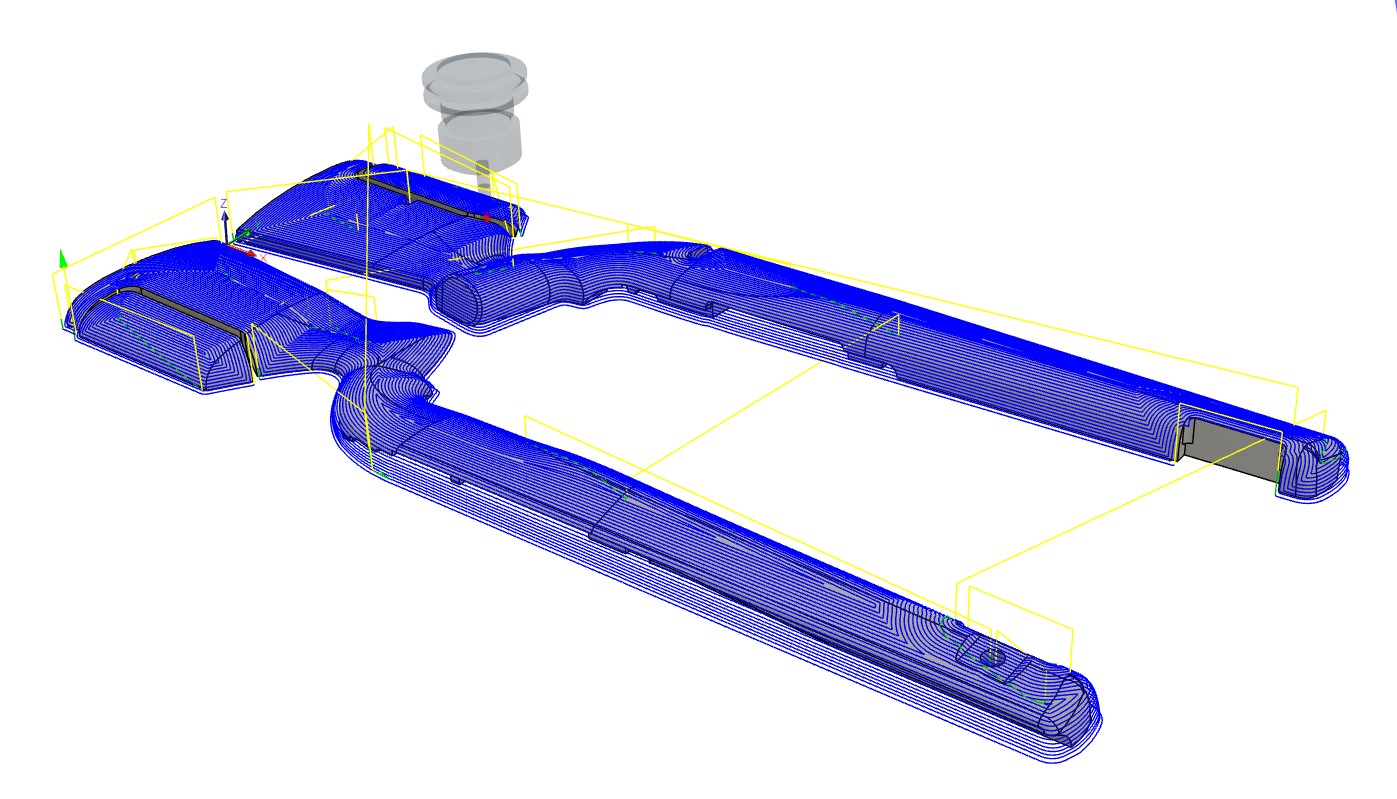
This was the first major CAM project for me. While it worked OK with only 2 set ups, the next time I will do this differently (likely more set ups, but should be a more accurate and consistent end result).
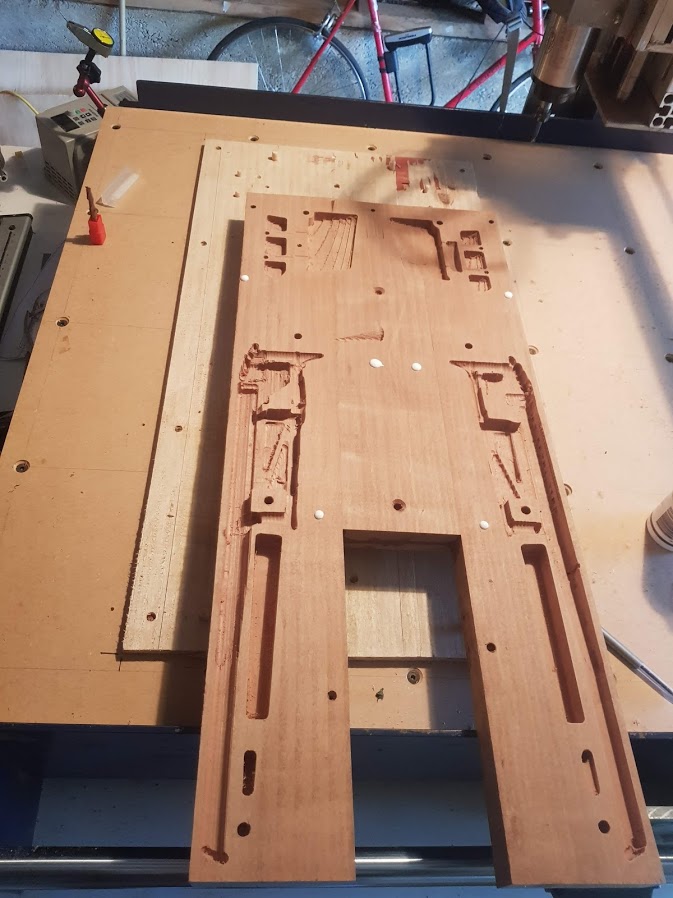
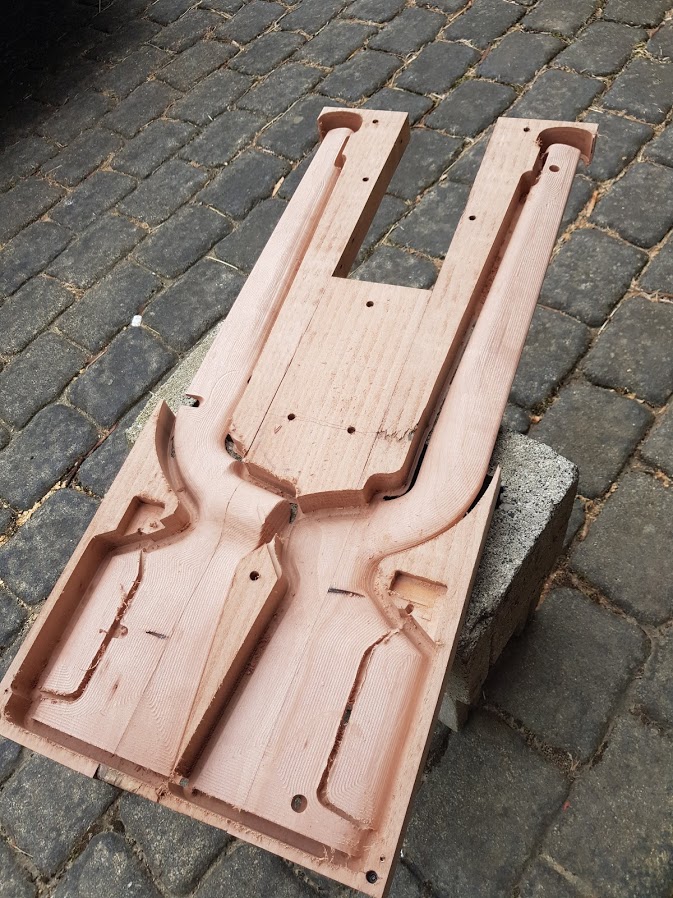
Blank surfaced and internal voids cut, including inletting.
Outer surfacing cut. Unfortunately this revealed a couple of nail holes in the blank, and there were evidently a couple of tool path errors - see the diagonal cut across the bottom of the grip.
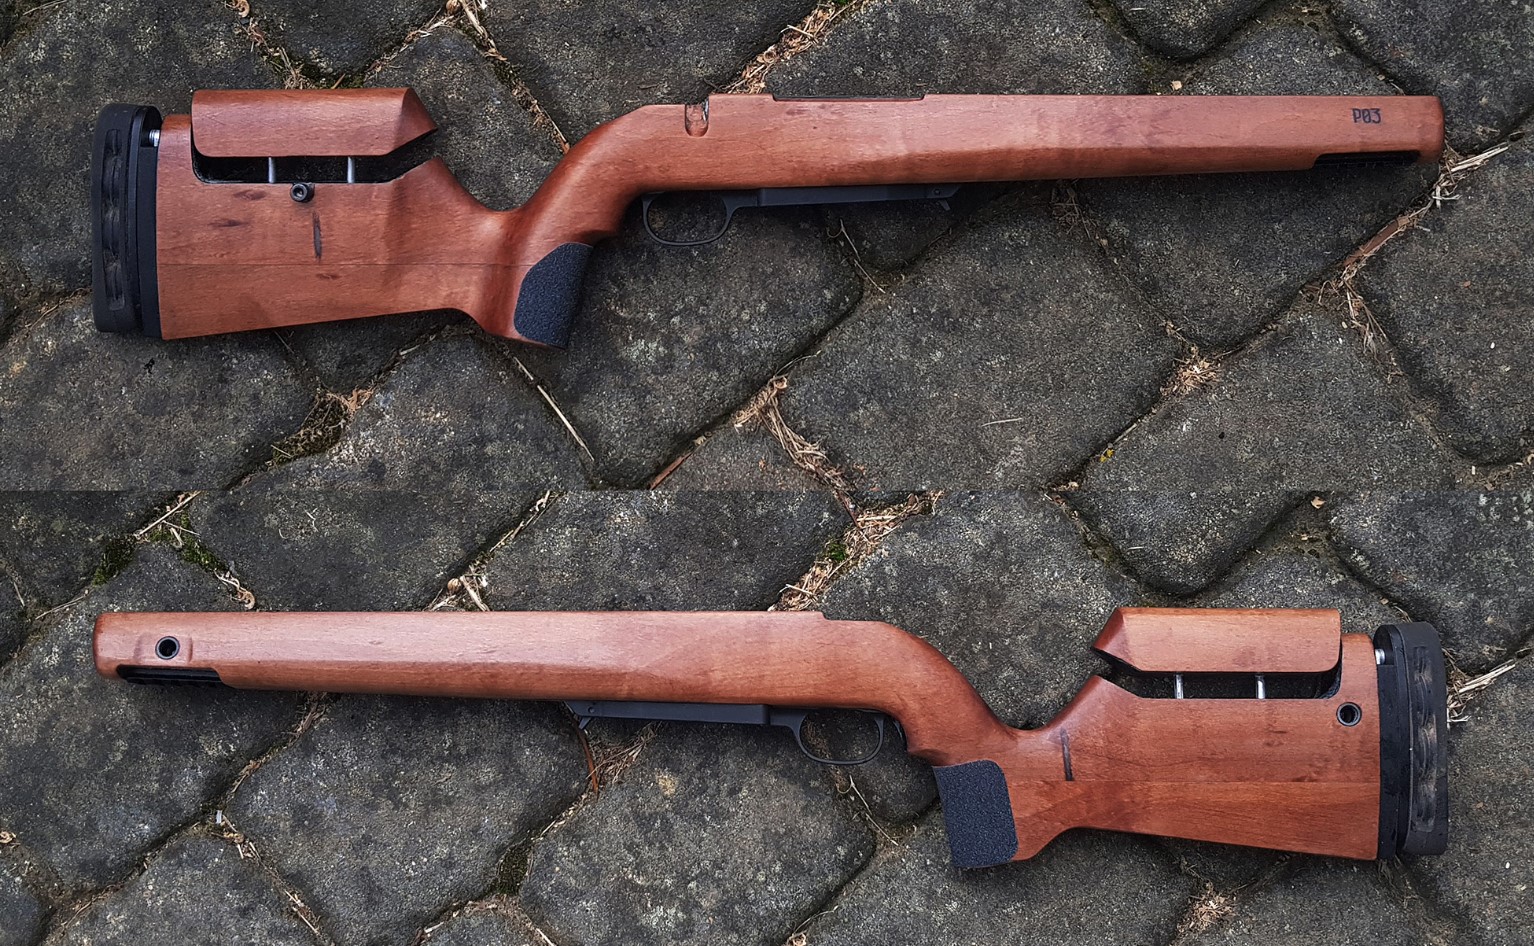
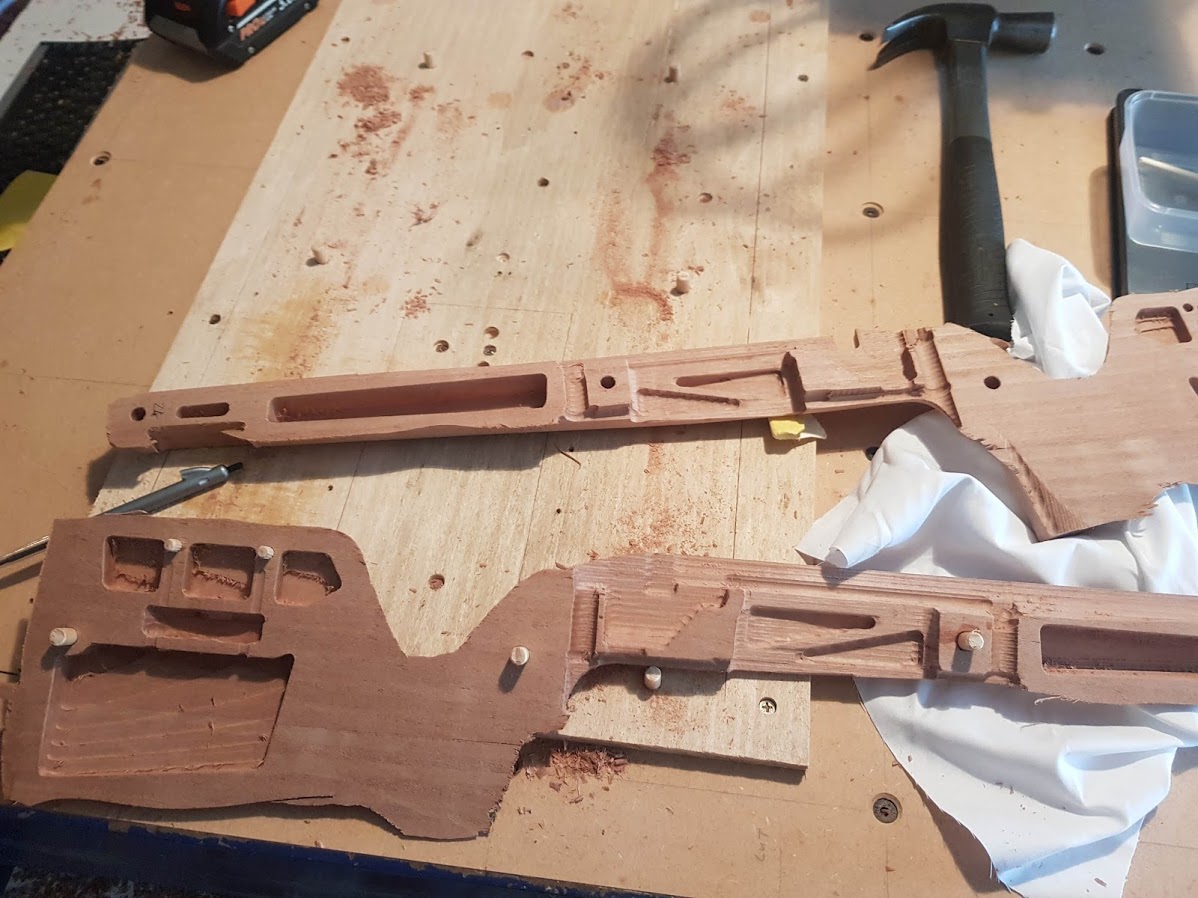
You can see here the sides aren't symmetrical - the grip is canted to the right by 5 degrees or so (similar to a GRS)
Two halves freed from the blank and mating holes pinned.
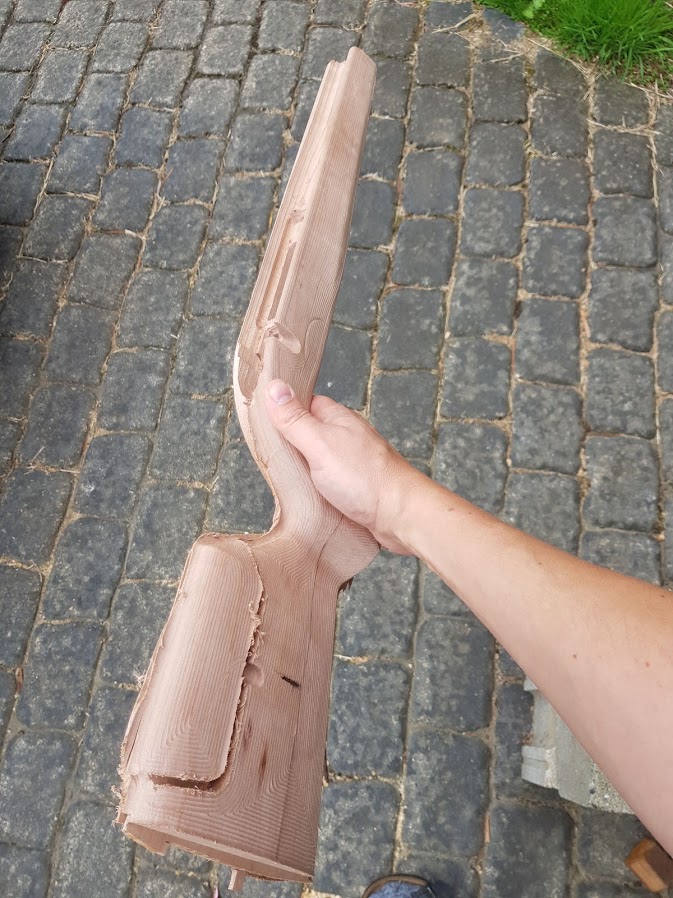
Two halves assembled
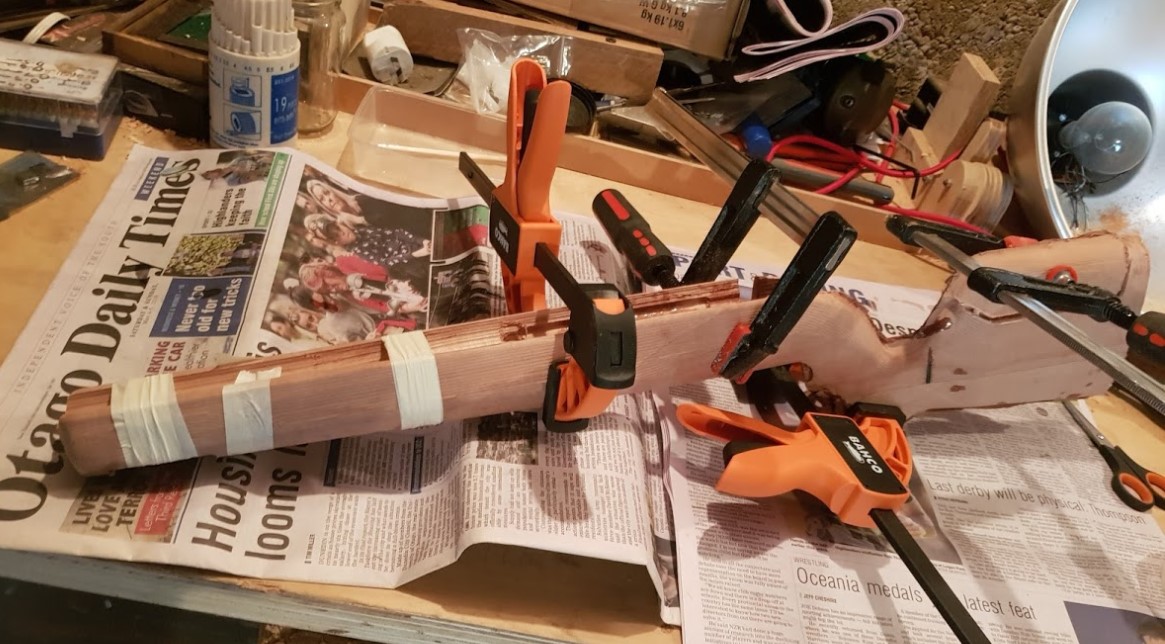
Gluing with epoxy
Before starting serious work on the outside surfaces, I pillar bedded the action. Work bench is getting pretty messy now.
Was a bit of a push for my mill to cut the aluminium clamp for the adjustable height comb, but it did work!
Adjustable height comb clamp fitted, and adjustable height & angle butt plate. I will replace the socket cap screw with a thumb screw once the lockdown is over. The adjustable butt pad slider housing is a 3d printed part - it should have been flush with the stock, but I made it months ago. Adjustment needed for next time.
Inletting done and everything fitting up well, time for lots and lots of sanding.
First coat of epoxy. Timber is red beech.
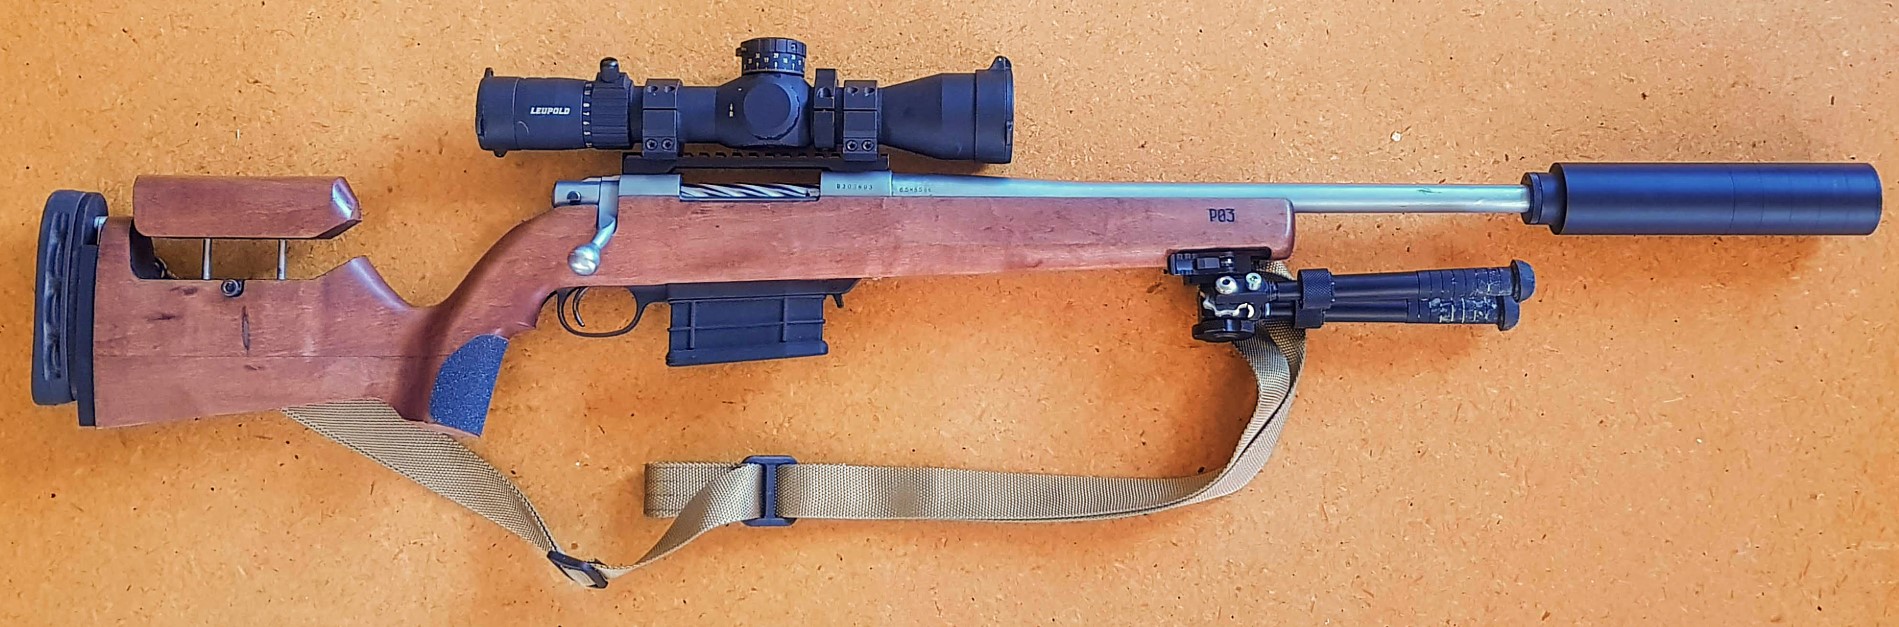
3 coats epoxy later, buffed down to matte finish with scotchbrite. Skateboard grip-tape for a little more security, flush cups and picatinny rail rail installed in the forend. I STILL didn't create enough bolt clearance to the comb in this design (it's becomming a tradition) so this got a minor adjustment - but I'm really happy with the outcome so far.
Unfortunately I'm missing ONE M4 screw to fully fasten the pic rail in the forend - I'll have to wait until after the lockdown unless I can rustle one up in the shed. Other than that I'm pumped to get behind it at the range.
Cheers
Welcome guest, is this your first visit? Create Account now to join.
Welcome to the NZ Hunting and Shooting Forums.
Search Forums


User Tag List
Results 1 to 15 of 19
Threaded View
-
14-04-2020, 11:05 PM #1Member

- Join Date
- Jul 2013
- Location
- Otago
- Posts
- 316
New stock


 Reply With Quote
Tags for this Thread
 Posting Permissions
- You may not post new threads
- You may not post replies
- You may not post attachments
- You may not edit your posts
Welcome to NZ Hunting and Shooting Forums! We see you're new here, or arn't logged in. Create an account, and Login for full access including our FREE BUY and SELL section Register NOW!!
All times are GMT +13. The time now is 04:33 AM.

Bookmarks