This is a follow-up design to the original wooden item shown here:
https://www.nzhuntingandshooting.co....-review-52321/
In use the jig is either held in a vice, or in a wooden tabletop cradle. There are some links to parts at the end of the post.
This update addresses some deficiencies in the earlier design. Iíll go through these now.
For starters, when sharpening 3-5" blades, the clamp on the original was too wide. 50mm is about right. Itís a clearance issue. Too wide and the stones can contact the clamp when they are rotated for sharpening out towards the belly of the blade, since that part of the blade will tend to be closer to the clamp. If the jig will be used for a mix of blade lengths, and on the longer ones the flexibility of the blade is a concern, then - if the design will accommodate these - being able to add a second narrow clamp (similar to the Scary Sharp) is the better option rather than a single wide clamp.
With a fixed blade - moving stone design like this one, the angle the blade makes with each stone needs to be absolutely repeatable. This is so that the progressively finer grits of stone will, in turn, immediately contact the full width of the bevel where material is to be removed. Courser grit stones may be able to re-establish a new and slightly different apex angle, but if the geometry is not kept identical then the finer stones will end up either contacting the bevel where it meets the primary grind, or adding a micro-bevel of their own.
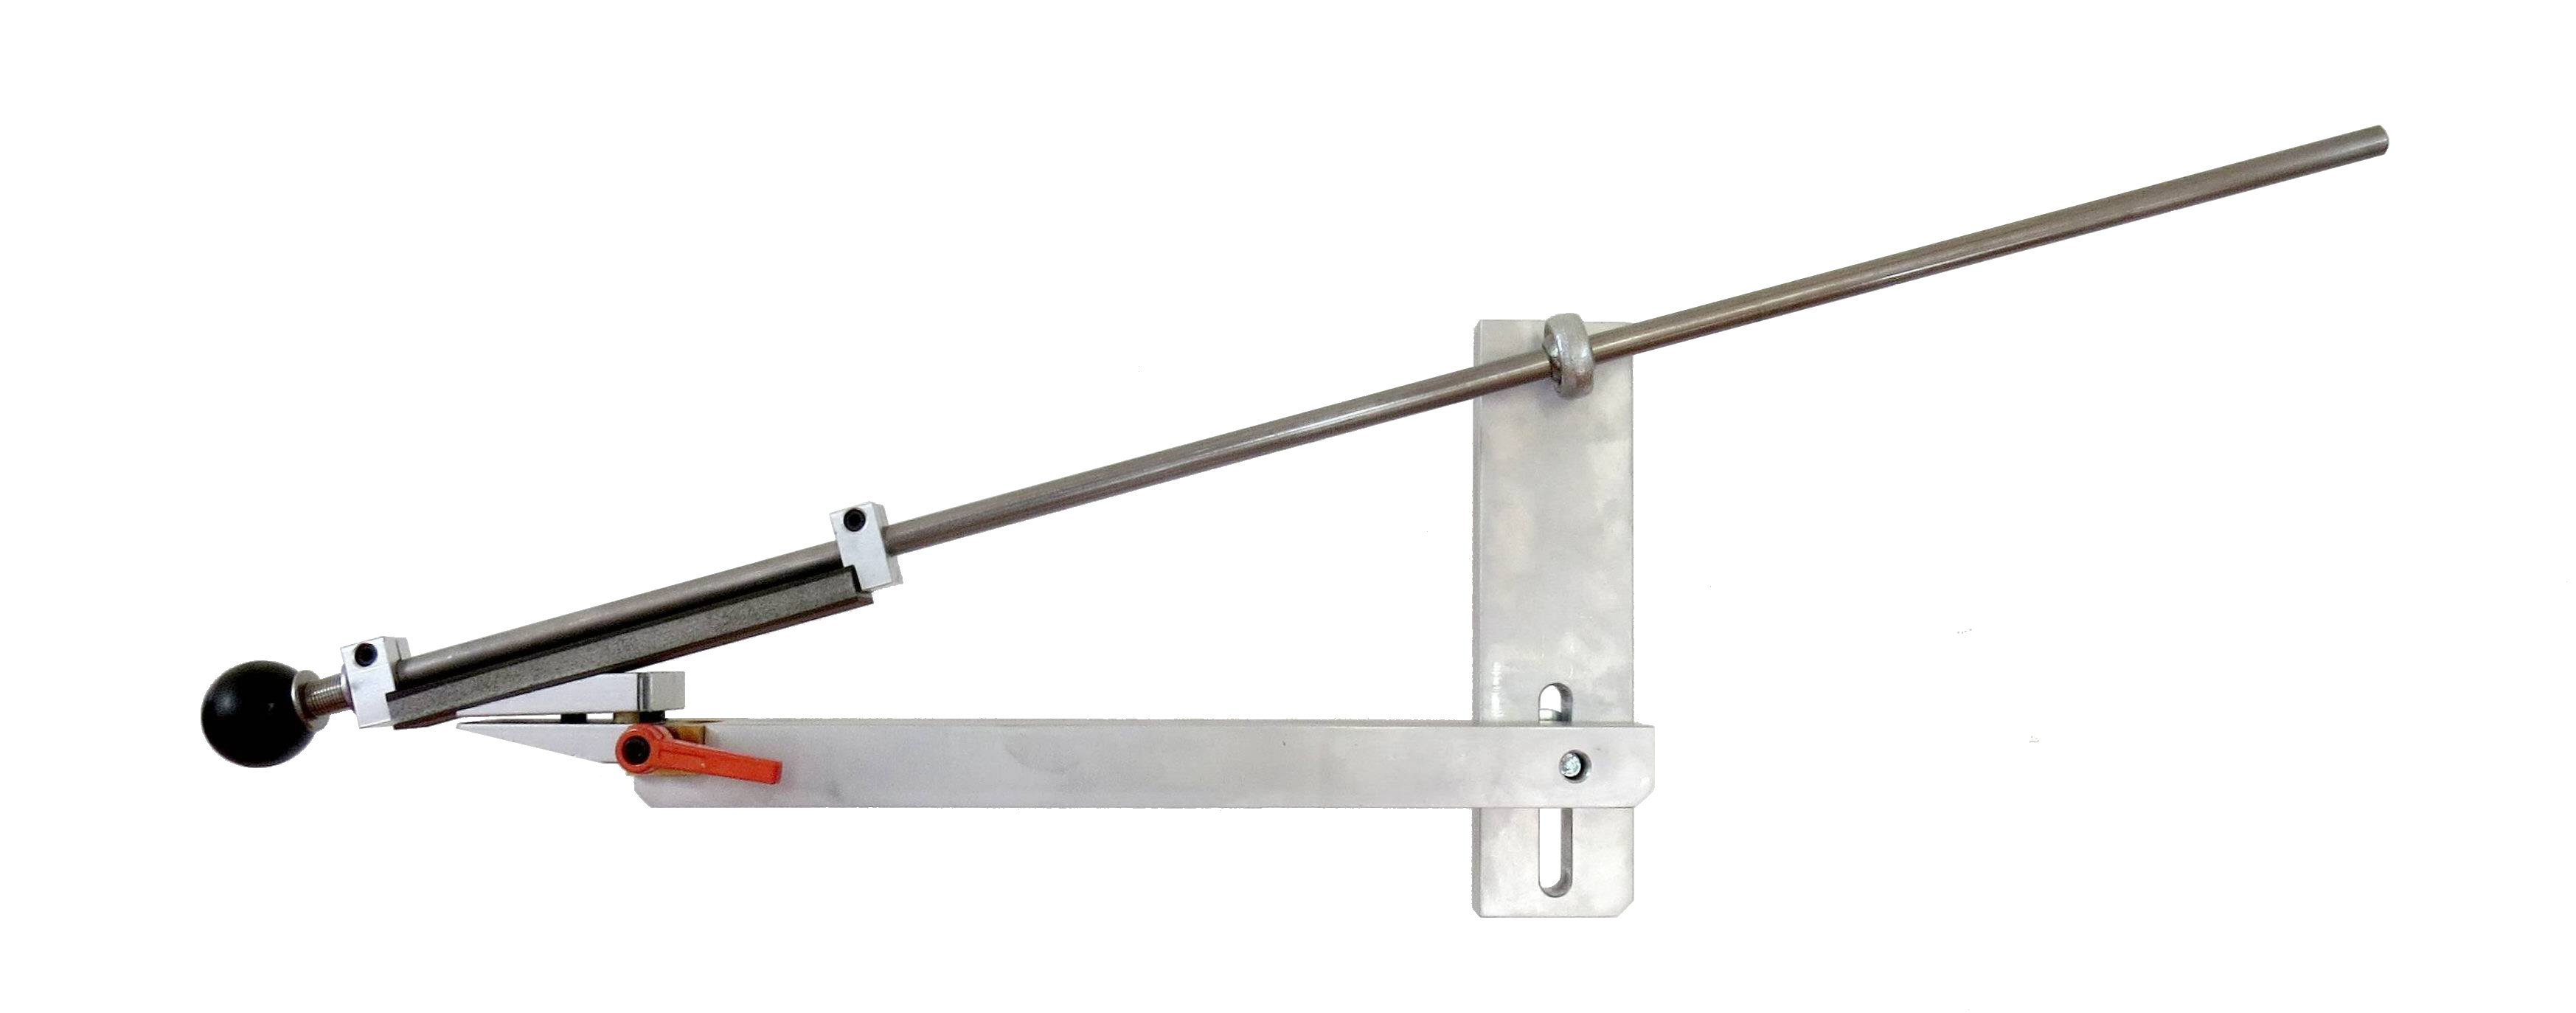
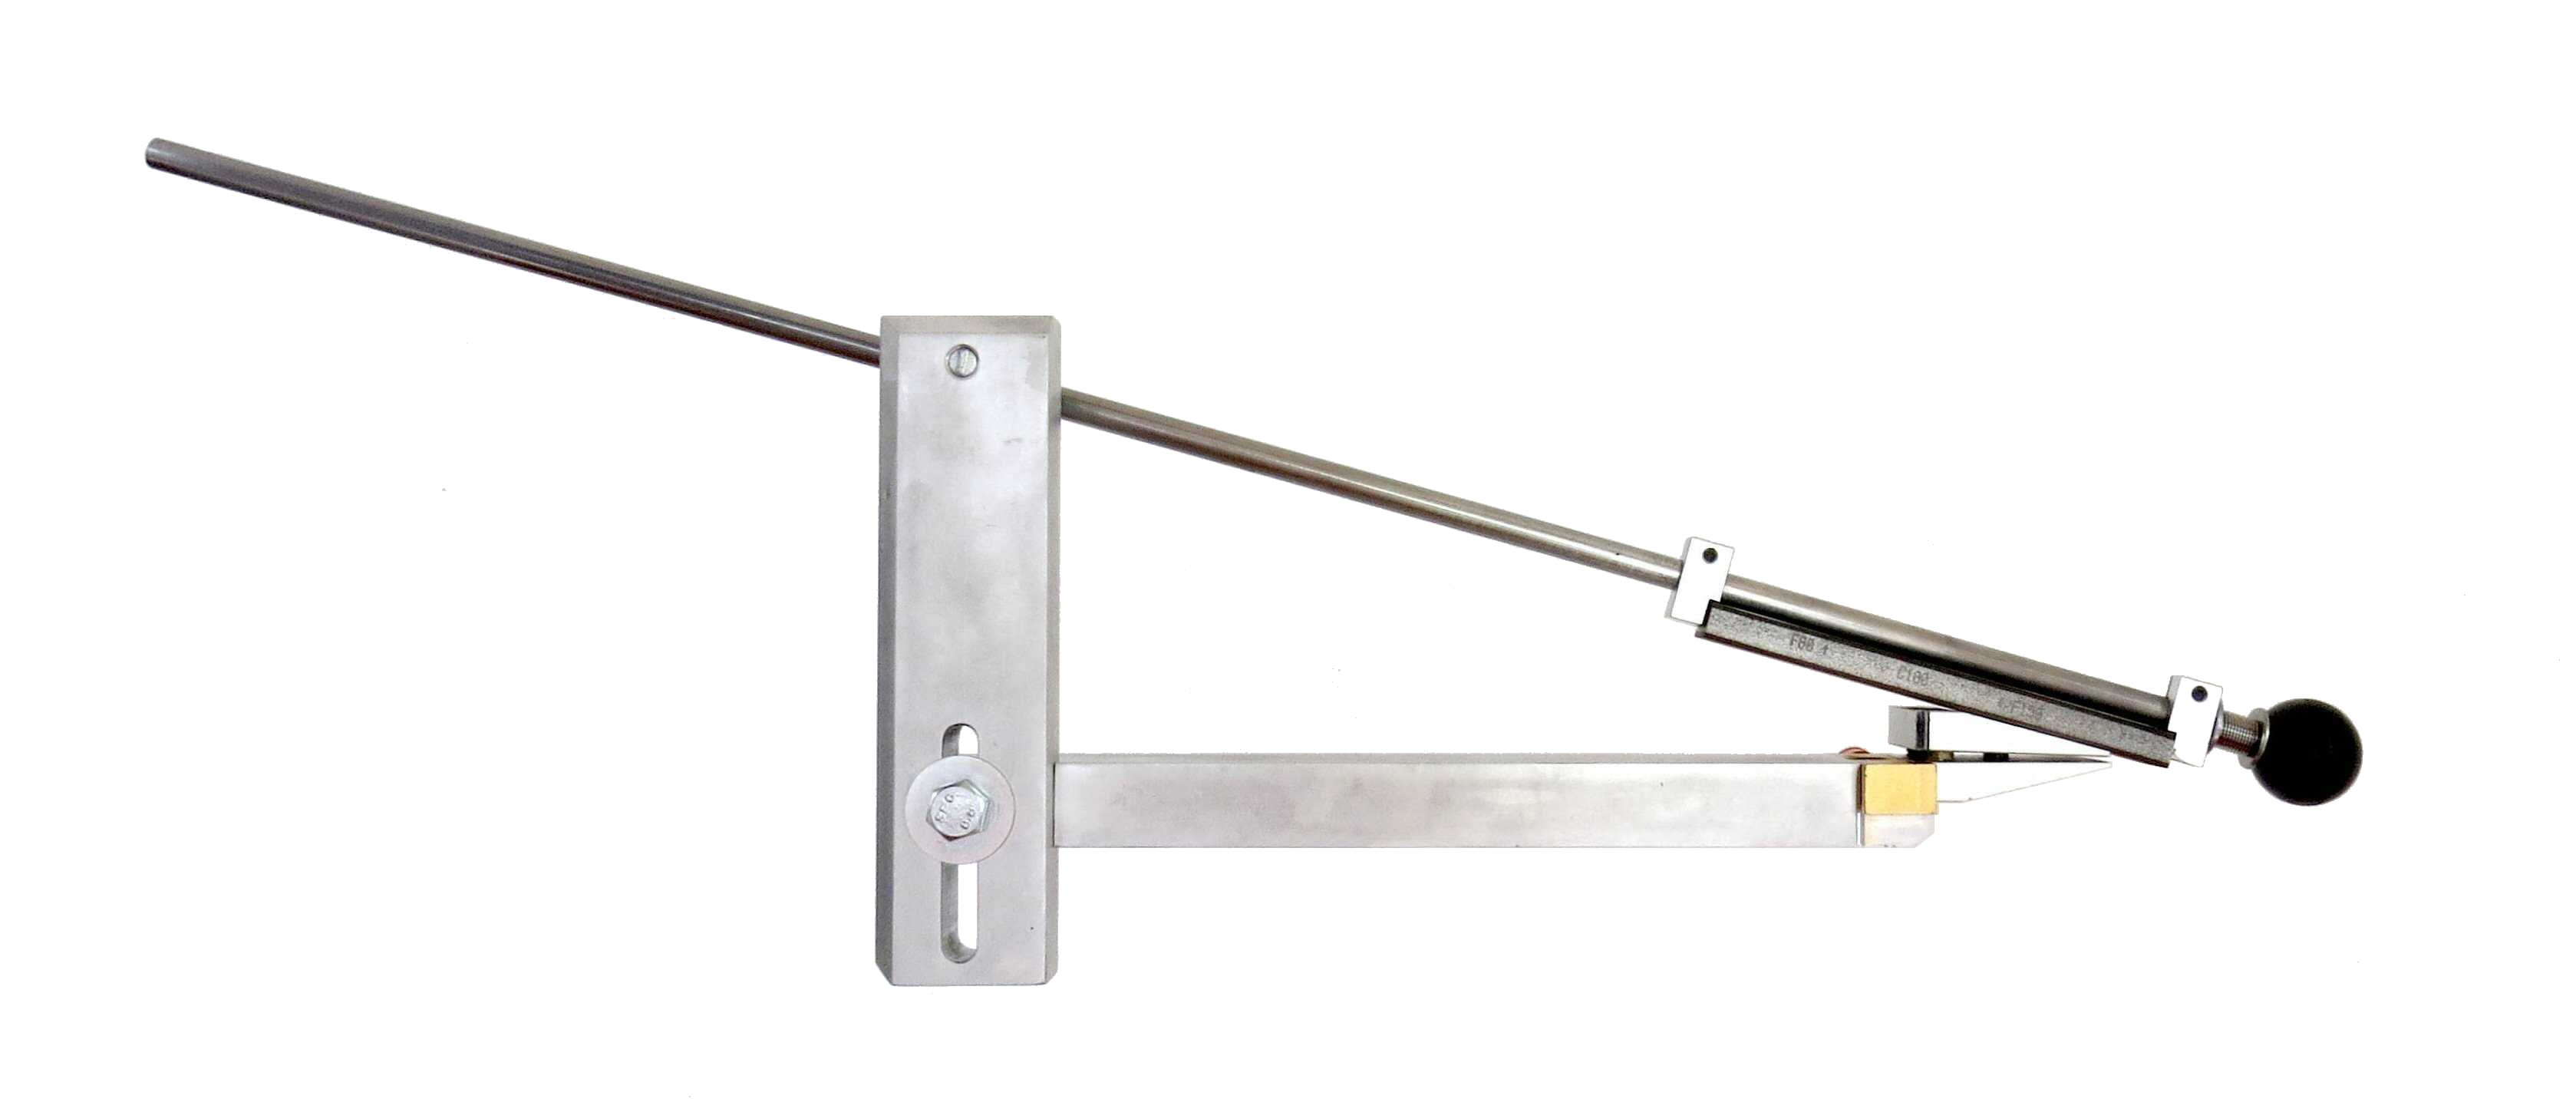
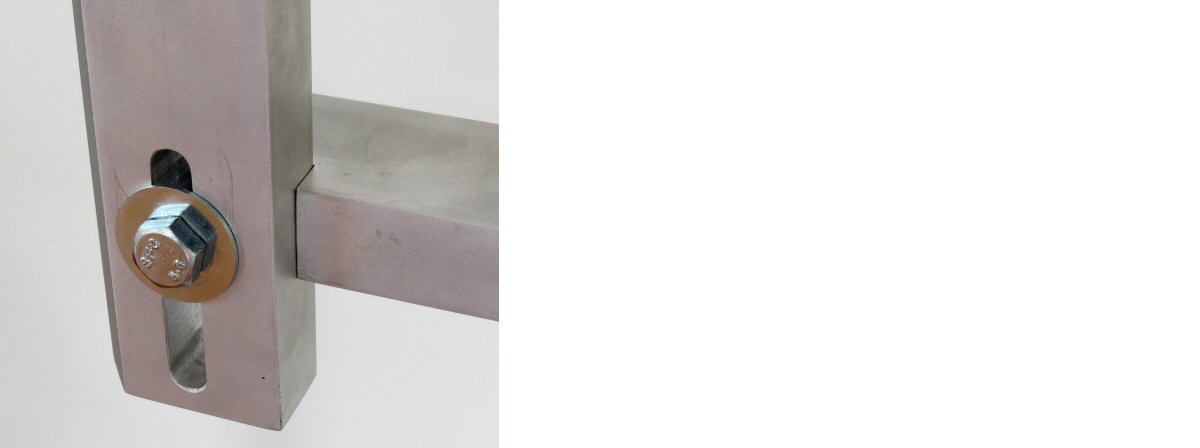
This introduces some requirements for a sharpener of this type. Firstly the jig should be rigid and with minimum of play in the moving parts. The alloy bar construction and the addition of a rod end bearing for the slider address this. Also the larger the functional sides of the jig then the less variation any play will make in the resulting applied angle, though a reasonable compromise obviously needs to be struck. The base of the Mk2 here is 360mm.
Itís worth here mentioning another detail: the geometry must stay the same between stones - they should all be of the same thickness - which the Venev stones are - to avoid having to reset the jig for the differences.
Lastly, but perhaps of most importance, each time the blade is flipped the jig should position the apex with absolute consistency of position and angle.
In the original sharpener having to release and reset the blade in the clamp each time it was turned was problematic in this regard, particularly with any blades that had full width primary grinds where there was little or no parallel surfaces to clamp. An alternative is to not move the blade at all during sharpening and use pairs of stones such as in the Wicked Edge.
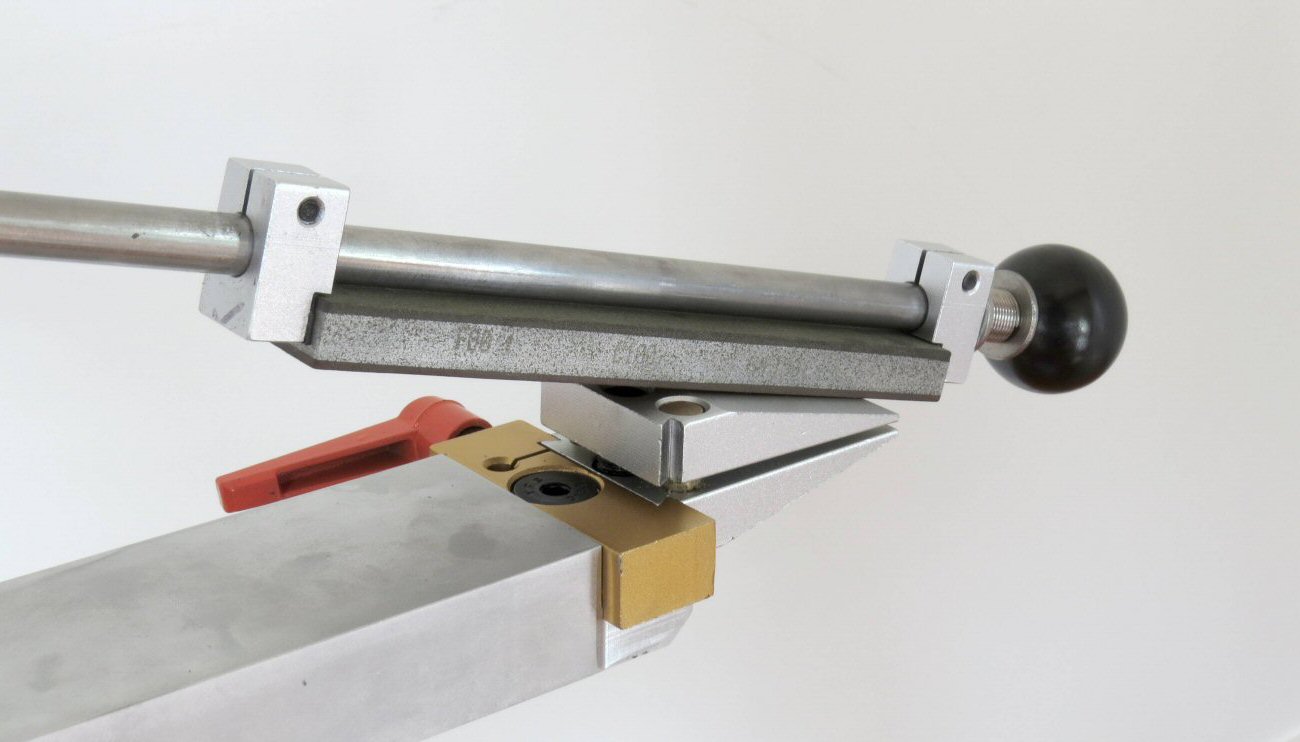
For this sharpener I opted for the reversible dovetailed clamp over the more popular arrangement where the clamp and knife are rotated 180į axially. This clamp system overall is very rigid, and quick and easy to use.
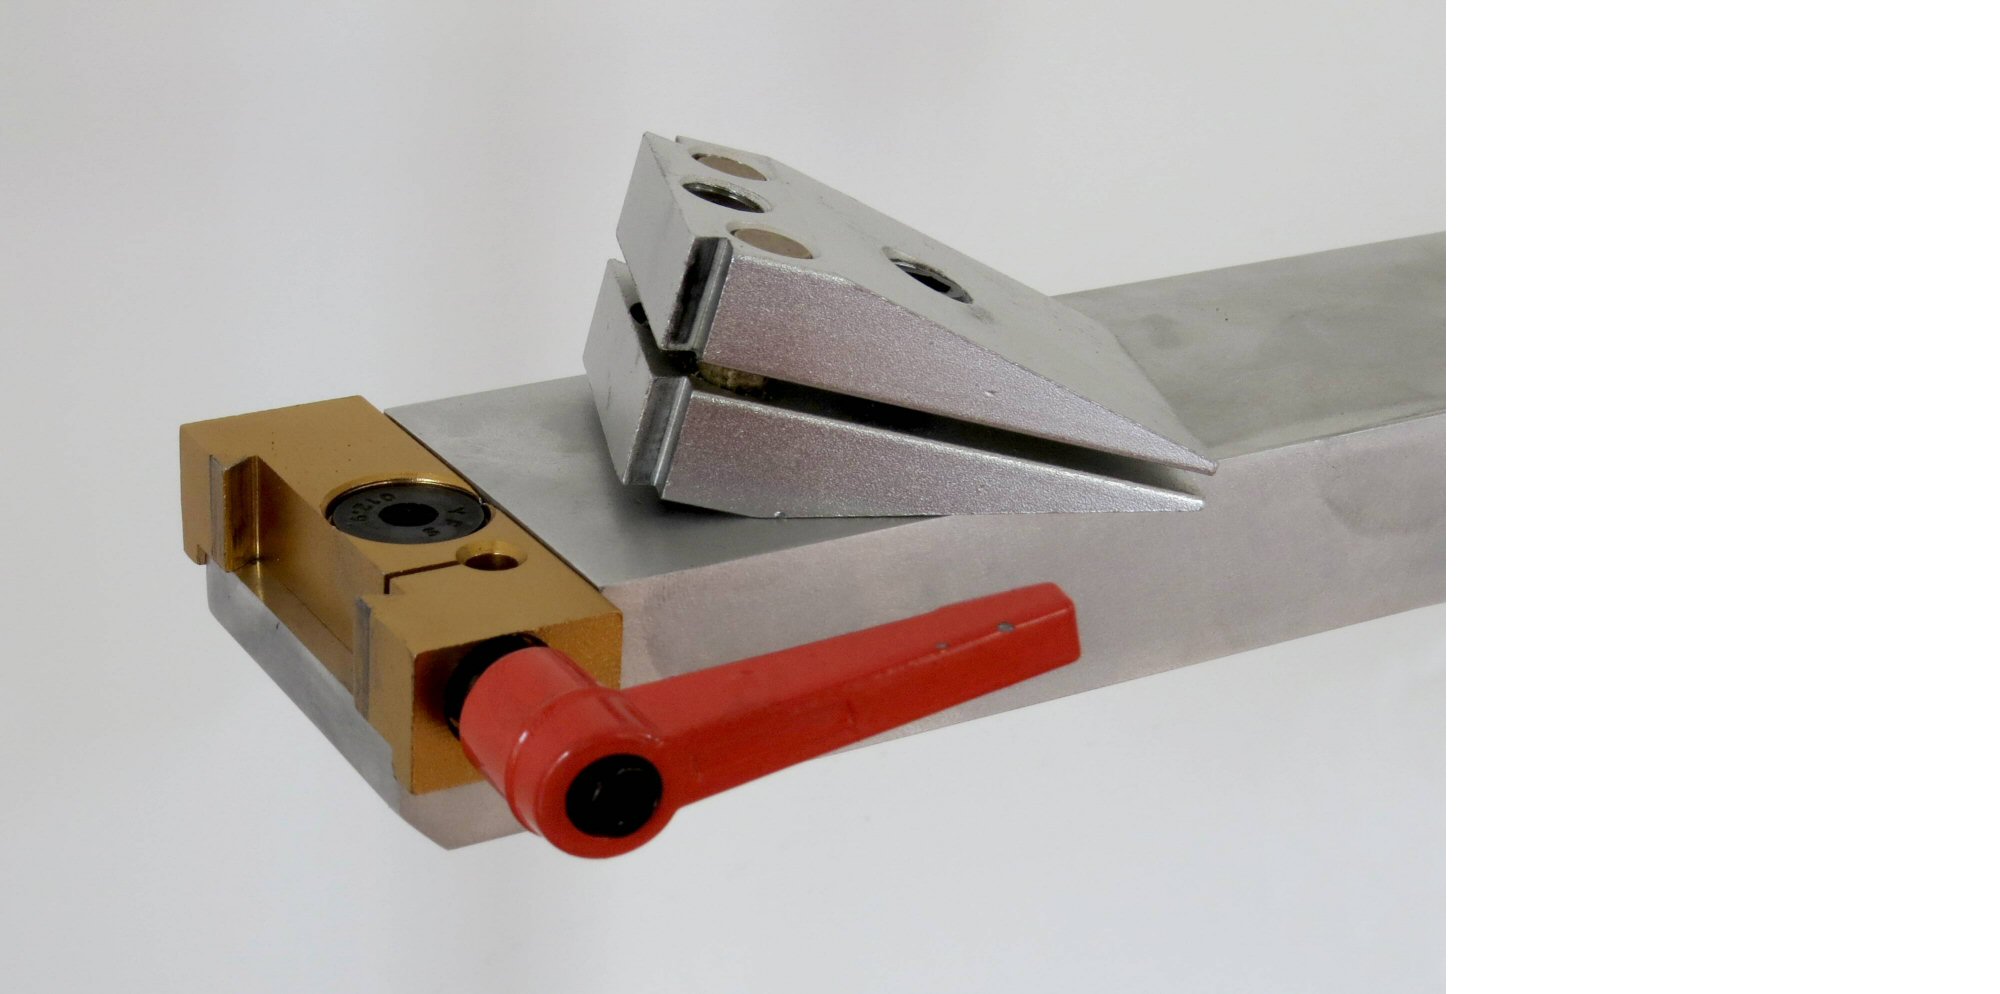
The two brass pins help keep the fingers aligned. The centrally positioned adjustment is threaded into both halves with opposing LH and RH threads. While the rear adjustment looks like it might be there for angling the fingers, forcing these out of parallel will likely end up damaging the threads of the main adjustment, so I have until now just used it as a secondary adjustment for increasing the clamping force. The clamp is machined for an M8 countersunk screw and is milled out for dropping over 50mm wide bar. I used a 2Ē wide bar and machined it down for a snug fit.
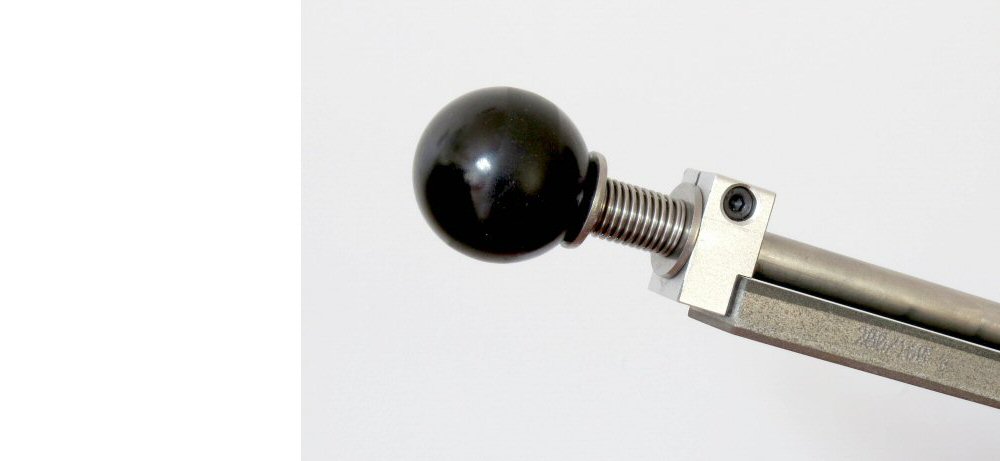
The clamps for the stones are made from shaft mounts that have been machined down. Thin rubber packers were added to the two surfaces contacting the stones. The remote clamp not pictured above is nipped up tight while the spring-loaded one behind the ball handle is allowed to slide. I did all my machining on the router table using a straight 10mm and 20mm diameter bits as I donít have a mill.
Here are links (that are good at the time of posting) to sources for the bits and pieces used, or similar parts:
For the reversible blade clamp:
https://www.aliexpress.com/item/3282...d-37070fe5b598
Shaft mounts, 10mm:
https://www.aliexpress.com/item/3277...6d444c4dvAlclG
Knob, M10x1.5 thread:
https://www.aliexpress.com/item/3296...6d444c4dvAlclG
Spring, 10mm ID, 50mm long:
https://www.aliexpress.com/item/3300...6d444c4dvAlclG
Rod end bearing, 10mmID with M10 thread:
https://www.aliexpress.com/item/3295...27424c4dP04fCR
The only parts Iím still waiting on are some stops for resticting the slider travel:
https://www.aliexpress.com/item/4000...6d444c4dvAlclG
Welcome guest, is this your first visit? Create Account now to join.
Welcome to the NZ Hunting and Shooting Forums.
Search Forums
User Tag List
+ Reply to Thread
Results 1 to 10 of 10
Thread: Sharpener Mk2 with Venev stones
-
02-02-2020, 04:40 PM #1
Sharpener Mk2 with Venev stones
-
-
02-02-2020, 09:49 PM #2Member

- Join Date
- May 2018
- Location
- Porirua
- Posts
- 1,342
Iíve been thinking about locating the knife back in the clamp for subsequent sharpening, how about a couple of 1/8in holes just back from the clamping edge that you could put pins in for the back of the knife to rest against while clamping and be removed before sharpening?
P.S. Iíll bring all my knifes around for a test. Maybe a bottle of something too.Remember the 7 ďPĒs; Pryor Preparation Prevents Piss Poor Performance.
-
03-02-2020, 07:01 AM #3
Thanks @Puffin , interesting read and an evolution of the original system that like nearly all these systems seem to have a weakness in their design on certain blade designs, weather it's a width , length or flexing issue.
I have been looking at the Tormek systems and their Chinese rip off versions.
Again great system but not without issues.
It seems a blade with plenty of belly causes issues for most systems .
-
03-02-2020, 02:41 PM #4Member

- Join Date
- Oct 2012
- Location
- Invercargill
- Posts
- 1,925
Following
Fascinating!!!
-
03-02-2020, 05:16 PM #5northdudeGuest
I've got a ruxin or something like that they all look pretty much the same type of setup do you guys use the stones dry or put something on them when sharpening
-
03-02-2020, 09:47 PM #6
This:
Personal preference really.
The Venev diamond stones use water. A dash of a surfactant of some sort allows the loading to be more easily removed.
For a more thorough clean I use Jif on a sheet of glass. This is also the way to rejuvenate the surface by abrading away some of the binder to expose fresh diamonds.
-
06-02-2020, 07:21 PM #7Member

- Join Date
- Aug 2014
- Location
- Auckland
- Posts
- 719
If you want elaborate look at the tsprof, the advantages are that you can use what ever abrasives your want, if you want simple then the scary sharp is that, not as many bells and whistles but efficient.
If you want a super fine and fairly quick edge then the wicked edge has to be your best bet as far as I have found, it’s not cheap but being that you can do both sides almost simultaneously means that your edge gets done both fast and even.
-
07-02-2020, 08:32 AM #8
Pictures here: https://www.nzhuntingandshooting.co....arpener-57848/
tsprof = tech studio profile
Similar Threads
-
Venev 150mm x 25mm Diamond Water Stones - Review
By Puffin in forum Gear and EquipmentReplies: 7Last Post: 05-08-2019, 09:12 AM -
sharpening stones back in stock
By terryf in forum Knives 4 AfricaReplies: 14Last Post: 05-07-2019, 06:57 PM -
Victorinox Dealer/Sun Tiger stones
By terryf in forum Forum SponsorsReplies: 0Last Post: 31-01-2019, 08:38 PM
Tags for this Thread
Welcome to NZ Hunting and Shooting Forums! We see you're new here, or arn't logged in. Create an account, and Login for full access including our FREE BUY and SELL section Register NOW!!


 1Likes
 LinkBack URL
 About LinkBacks


 Reply With Quote


Bookmarks