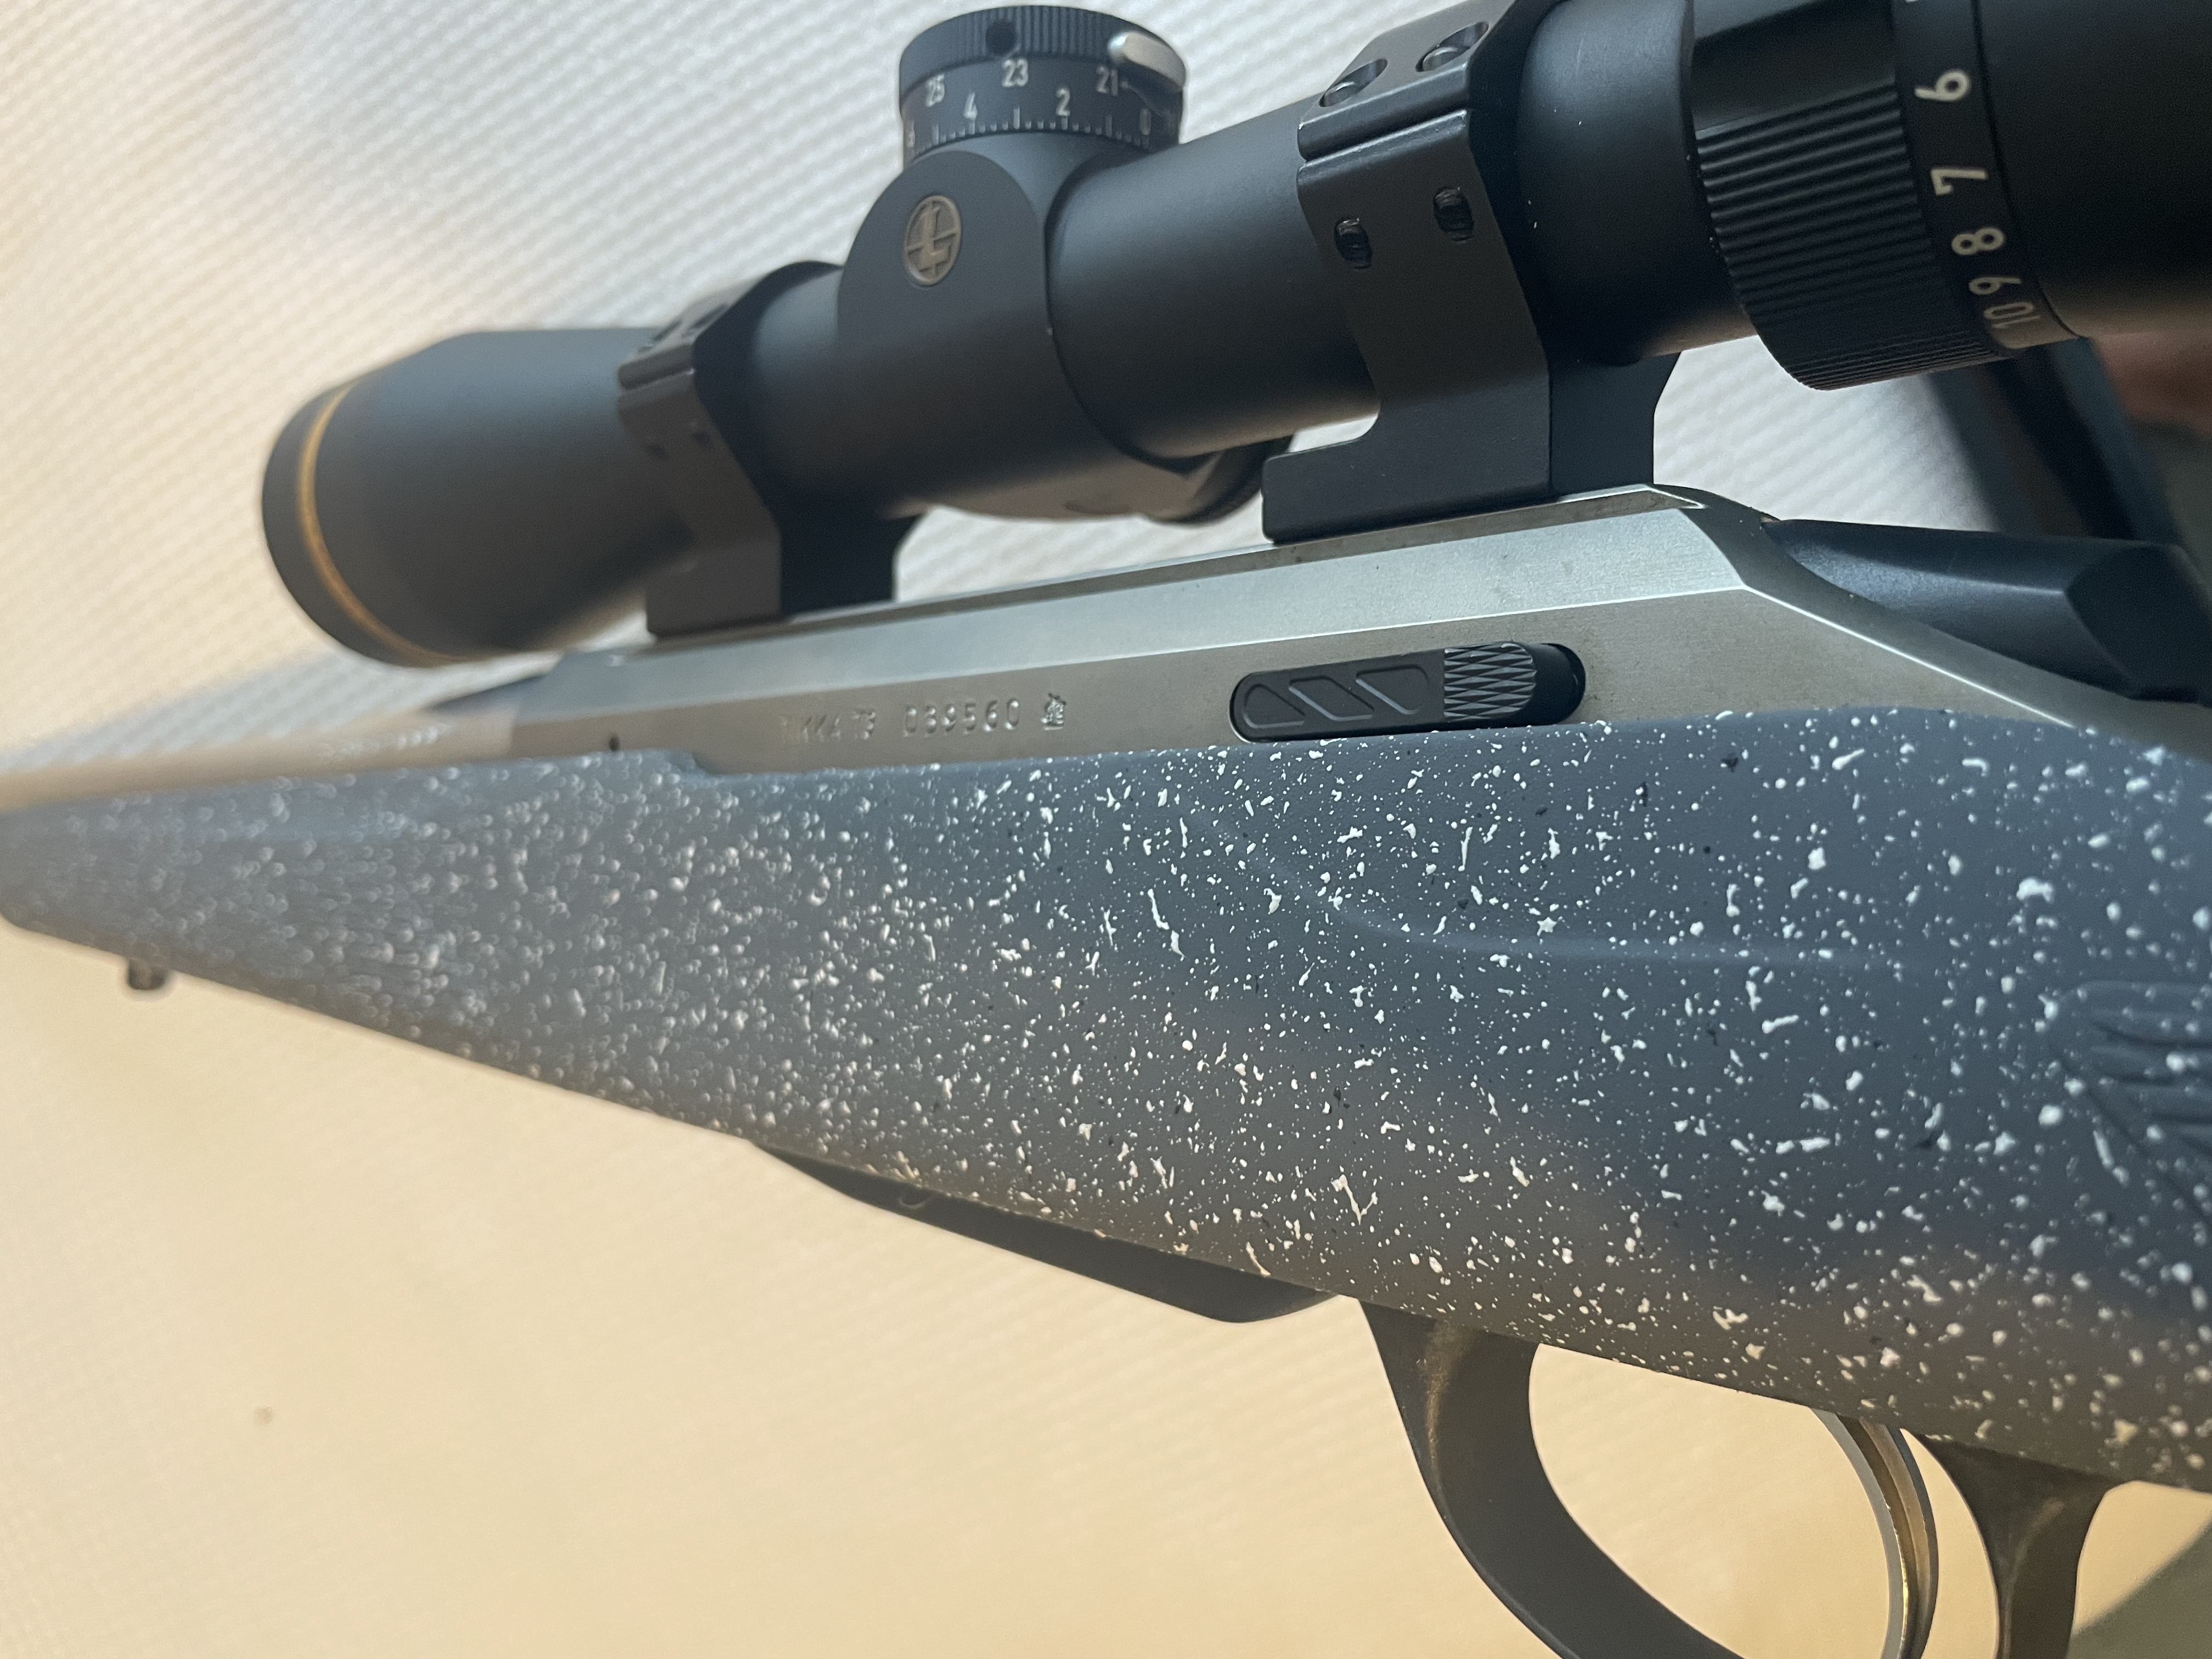
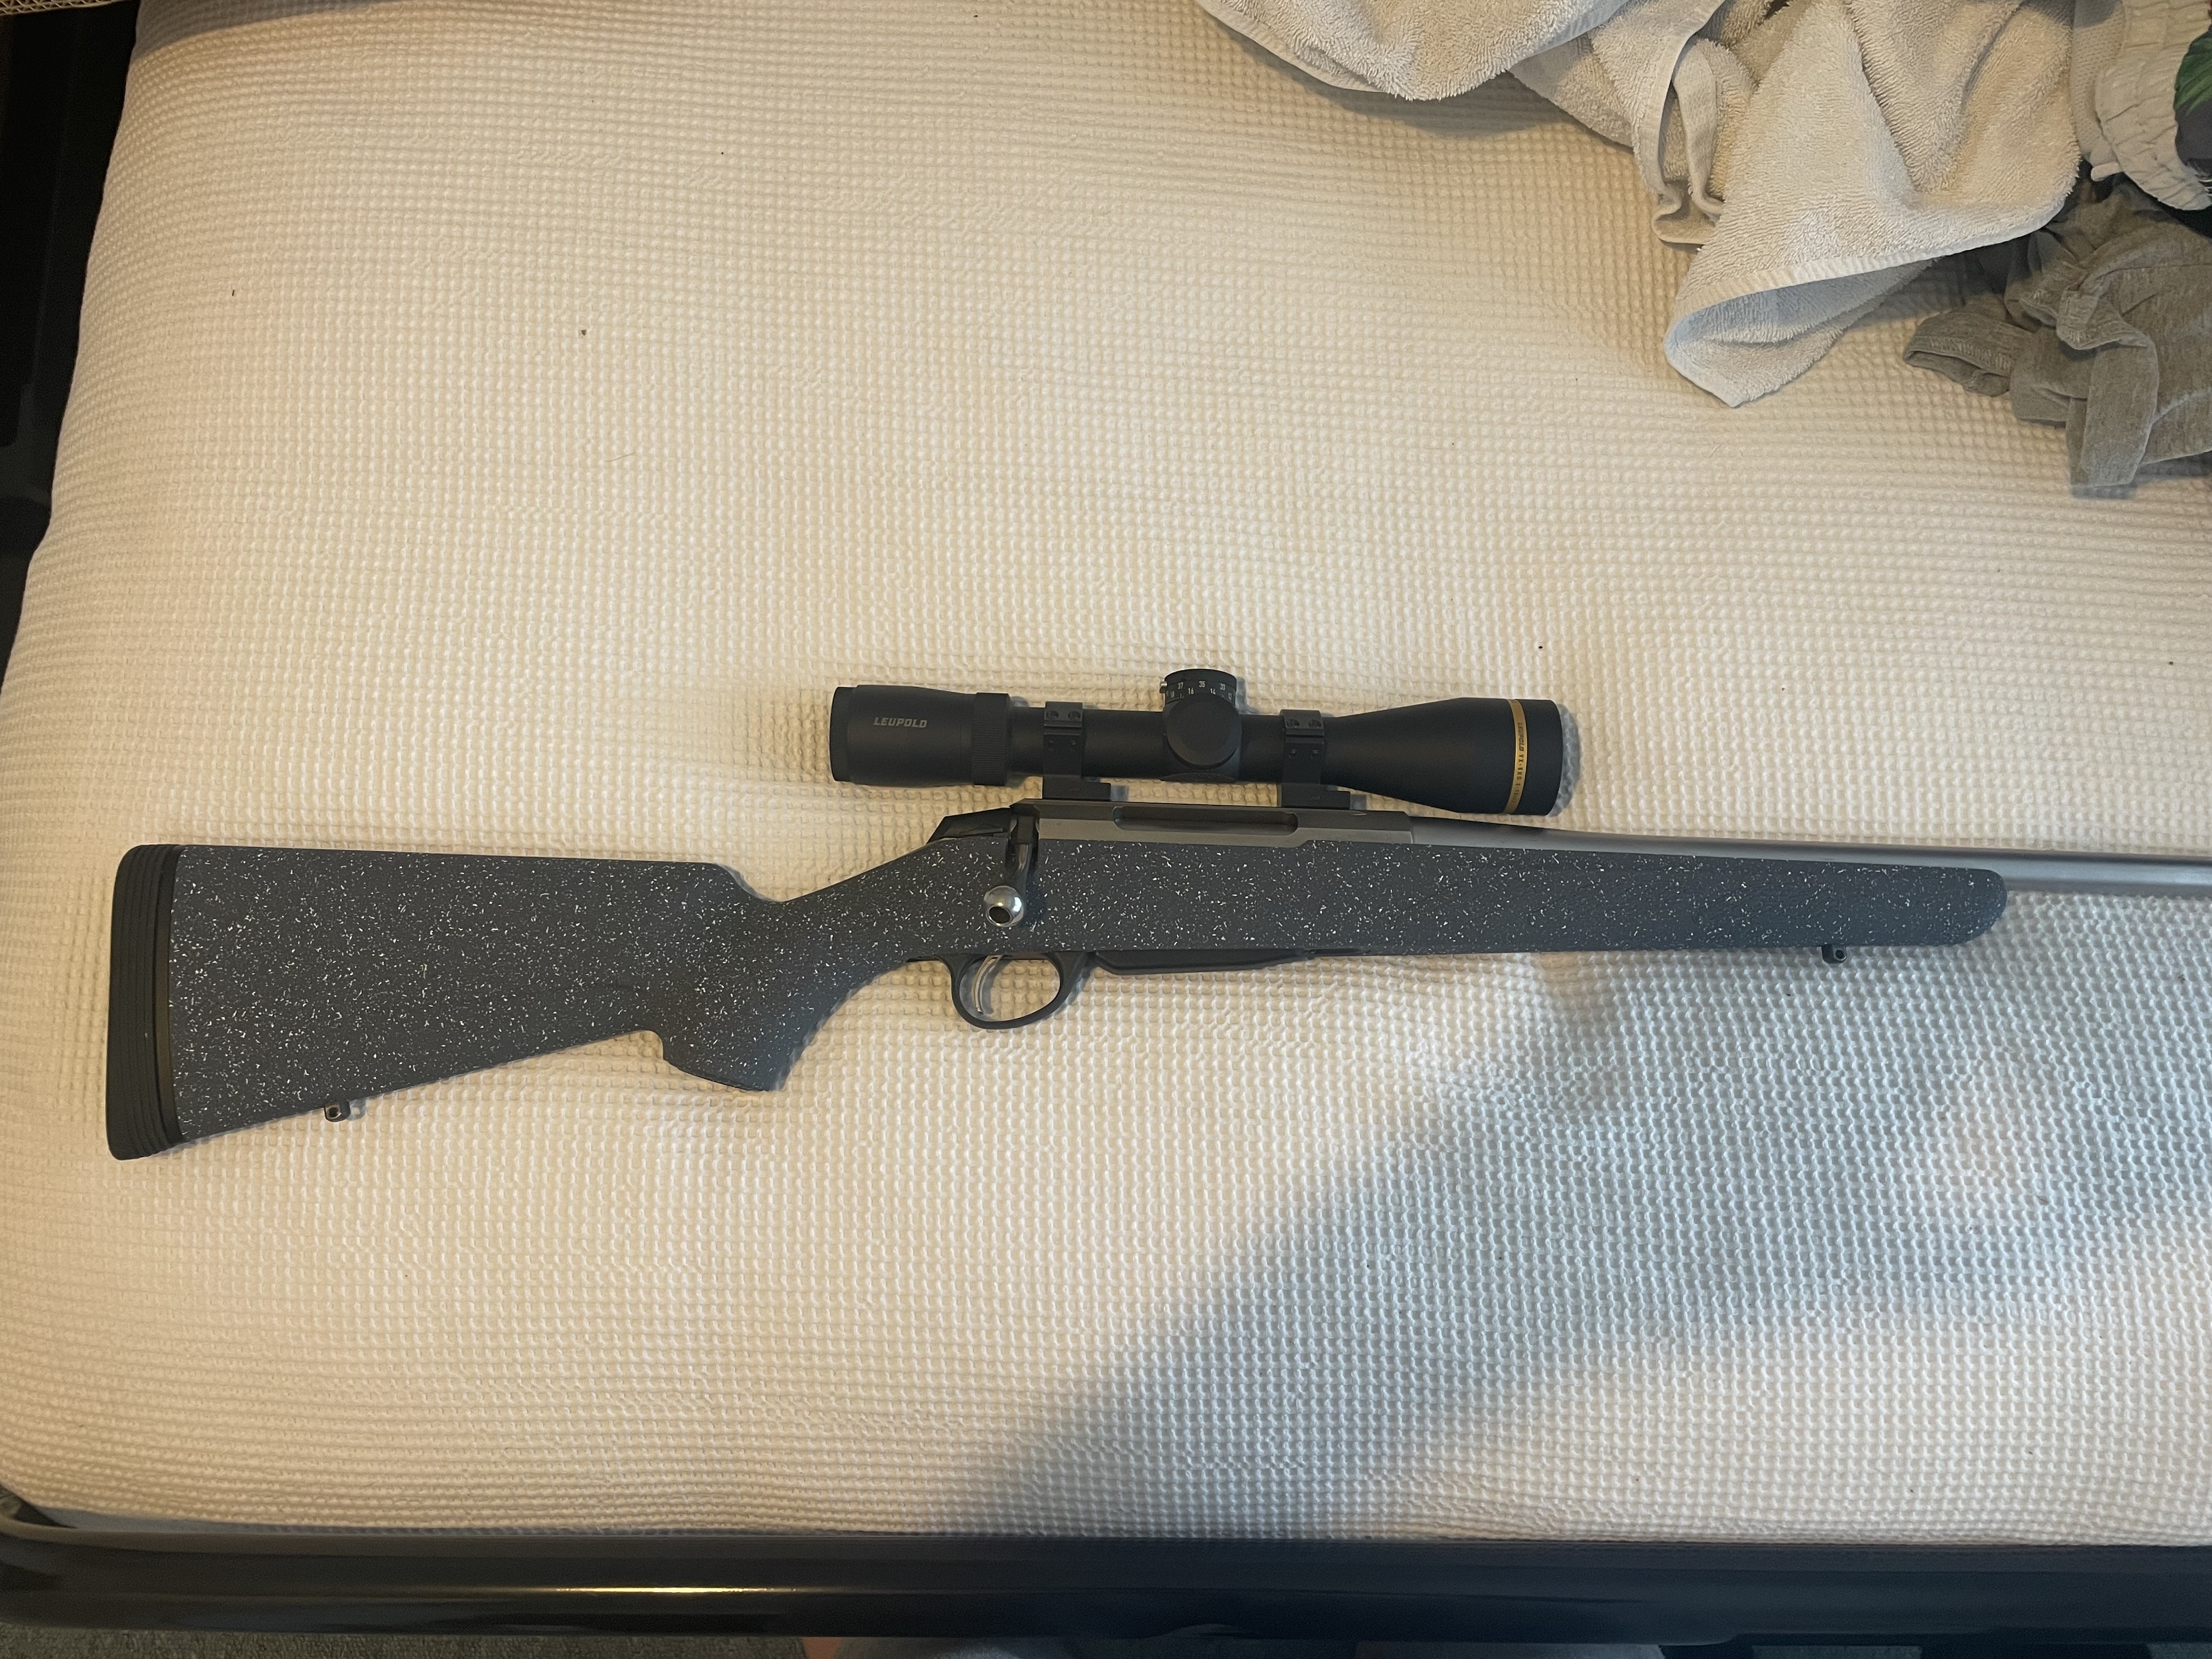
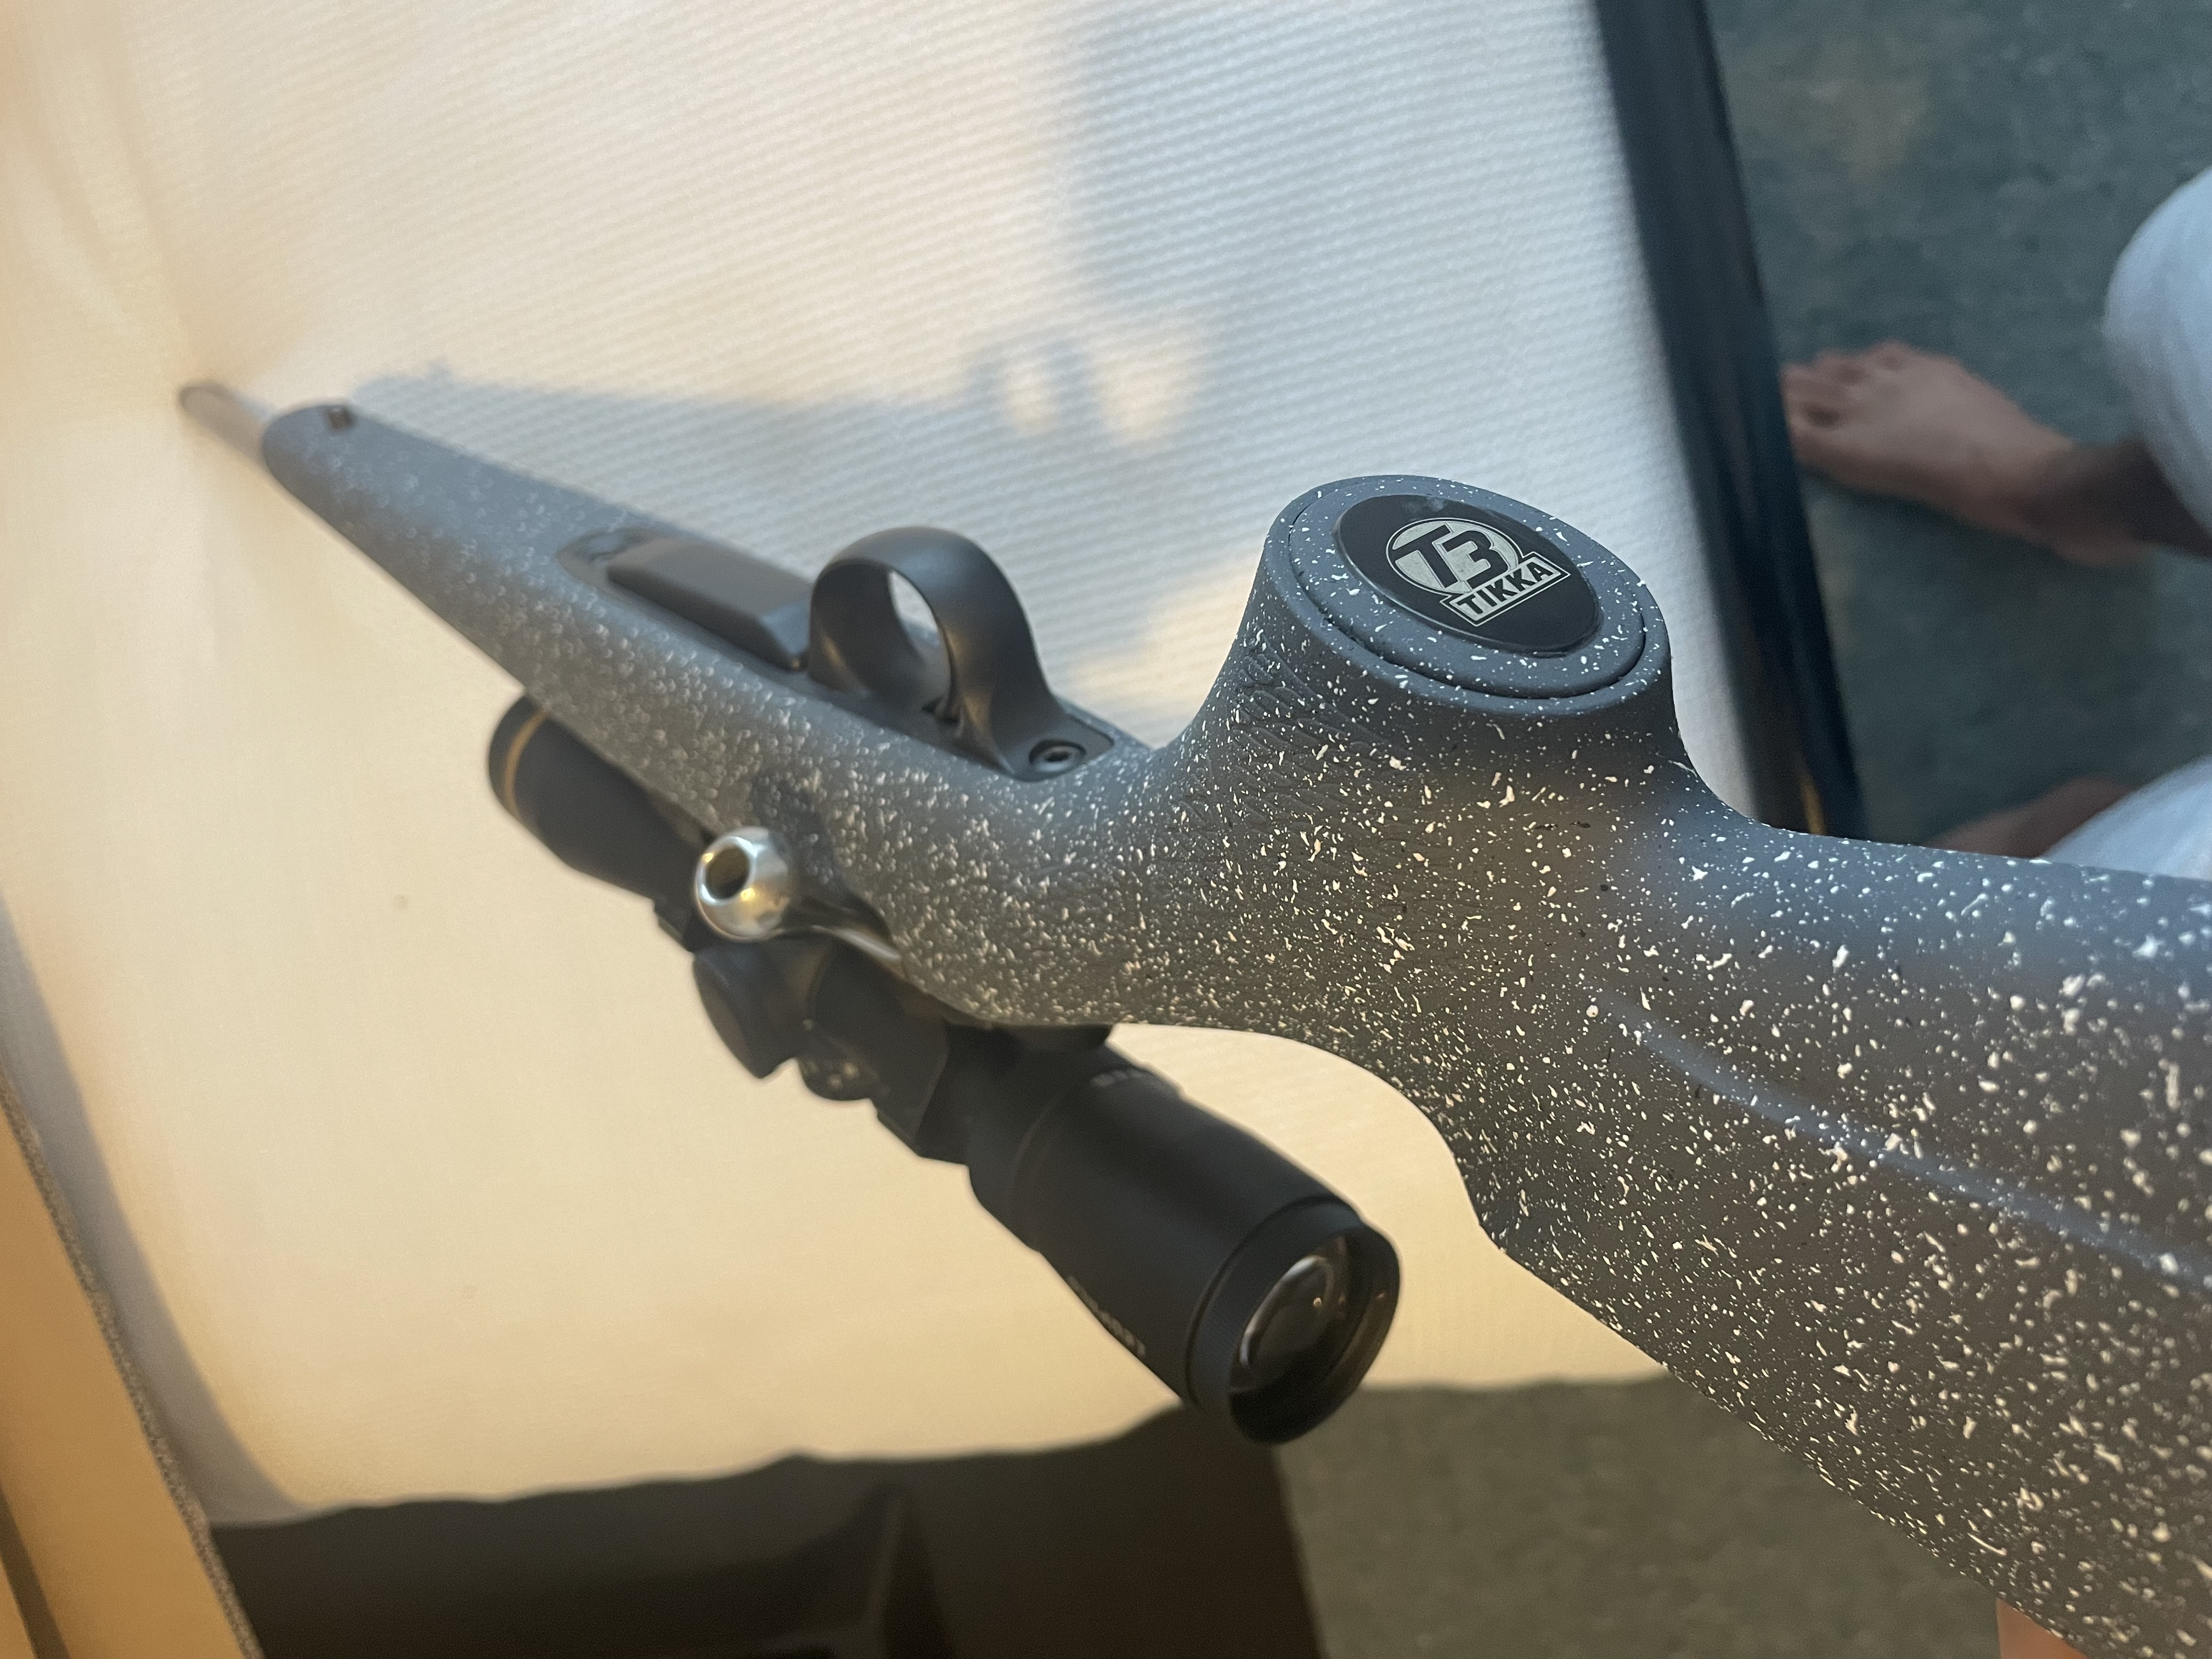
Did this over a week.
Came up pretty well.
Will see how it lasts with a bit of abuse.

Welcome guest, is this your first visit? Create Account now to join.
Welcome to the NZ Hunting and Shooting Forums.
Search Forums
User Tag List
+ Reply to Thread
Results 1 to 15 of 22
Thread: Tikka T3 Stock Paint job
-
14-04-2024, 09:19 AM #1Member

- Join Date
- Aug 2022
- Location
- Taupo
- Posts
- 89
Tikka T3 Stock Paint job
-
-
14-04-2024, 09:33 AM #2Member

- Join Date
- Mar 2022
- Location
- Catlins
- Posts
- 537
Very nice. I found the whole exercise a very satisfying experience when I did my first one and the finish has been surprisingly robust. Great job.
ďAge is a very high price to pay for maturityĒ
-
14-04-2024, 11:08 AM #3Member

- Join Date
- Aug 2022
- Location
- Taupo
- Posts
- 89
-
14-04-2024, 11:17 AM #4Member

- Join Date
- Jul 2013
- Location
- Tasman
- Posts
- 1,886
What product have you used for the fleck effect?
Looks real good.
-
14-04-2024, 12:22 PM #5Member

- Join Date
- Oct 2022
- Location
- Pukekohe
- Posts
- 1,159
Looks great. Good colour.
-
14-04-2024, 12:34 PM #6Member

- Join Date
- Aug 2022
- Location
- Taupo
- Posts
- 89
@Moutere Duramax Granite effect
Entire Process:
-Light sand 240grit
-Wipe down with isopropyl (wore gloves from this point on)
-Taped all the inletting, stud holes etc.
-3 coats of grey
-1 coat of duramax granite effect
-Leave for 7 days to gas out
-3 coats of matte topcoat
The reviews of the duramax were shit, but I think people don’t follow the directions accurately and don’t use an appropriate topcoat.
It leaves a really nice gritty/grippy effect. The duramax also doesn’t spit out any colour. Just the black and white fleck. So what ever base coat you use will be the colour that comes through.
If you don’t want the fleck effect but just the grippy raised spots, doing the duramax first then your base colour over top would be very effective too.
Hope this helps someone.
-
14-04-2024, 12:40 PM #7Member

- Join Date
- Aug 2022
- Location
- Taupo
- Posts
- 89
-
18-04-2024, 10:16 PM #8
Great info, thanks for that. I spent ages looking for something to add some texture to mine, from nonskid grit for boats to truck bed liner. Never though about using this underneath a colored top coat. I ended up using a ripped up sponge and dabbing at the last base coat, same with the first clear coat, then a couple more unmolested clears over that. Turned out ok.
-
23-04-2024, 11:57 AM #9Member

- Join Date
- Apr 2024
- Location
- Waikato, Hamilton
- Posts
- 16
Im impressed looks awesome

-
23-04-2024, 11:16 PM #10Member

- Join Date
- Jul 2013
- Location
- Waikato
- Posts
- 2,574
Just did my A400 shotgun with rattle cans from Bunnings ready for d-day.the texture looks good on yours though.reakon the clear coats will make a difference?
-
24-04-2024, 06:56 PM #11Member

- Join Date
- Aug 2022
- Location
- Taupo
- Posts
- 89
Yea it’s an important step. The duramax product I used said specifically to use some.
And from what I’ve read the flecks don’t like the water much. The other important factor was time, allowing enough time for things to cure.
I don’t enjoy following rules at the best of times. But when chemical reactions are in play ie. painting, epoxy, baking, concrete… it’s pretty important to follow the rules.
-
06-05-2024, 08:35 AM #12Member

- Join Date
- Aug 2022
- Location
- Taupo
- Posts
- 89
Update: I went into the bush for three days.
Bush bashed pretty hard. Stock got wet & very cold. Paint job held up really well, with no signs of wear.
Didn’t help shoot a sika though, so there is that….
-
09-05-2024, 08:38 PM #13Member

- Join Date
- Sep 2022
- Location
- Upper Hutt
- Posts
- 640
Which matte clear did you use?
-
09-05-2024, 10:06 PM #14Member

- Join Date
- Aug 2022
- Location
- Taupo
- Posts
- 89
https://www.mitre10.co.nz/shop/colou...B&gclsrc=aw.ds
I didn’t look into this product at all, but it was the only matte clear I could find in Taupo.
I was pretty liberal with the application as it sprayed pretty thin.
-
15-05-2024, 05:09 PM #15Member

- Join Date
- Nov 2015
- Location
- Waikato
- Posts
- 743
I used the same granite effect paint on my stock. Went overboard on the granite effect for more texture then top coat painted over the granite effect followed by a light granite effect for looks and finally several top coats to seal it over. Seems to be lasting well so far.
Similar Threads
-
Best paint for CF stock
By longshot in forum Firearms, Optics and AccessoriesReplies: 14Last Post: 26-03-2024, 10:01 PM -
Hydro dipped stock - how to remove paint?
By hotsoup in forum Firearms, Optics and AccessoriesReplies: 4Last Post: 23-07-2019, 07:36 PM -
Paint advice for Boyds stock
By Flyblown in forum Projects and Home BuildsReplies: 1Last Post: 29-12-2018, 02:05 PM -
Stevens stock paint job
By Aurochs in forum Firearms, Optics and AccessoriesReplies: 16Last Post: 13-08-2014, 04:31 PM
Tags for this Thread
Welcome to NZ Hunting and Shooting Forums! We see you're new here, or arn't logged in. Create an account, and Login for full access including our FREE BUY and SELL section Register NOW!!


 29Likes
 LinkBack URL
 About LinkBacks


 Reply With Quote


Bookmarks