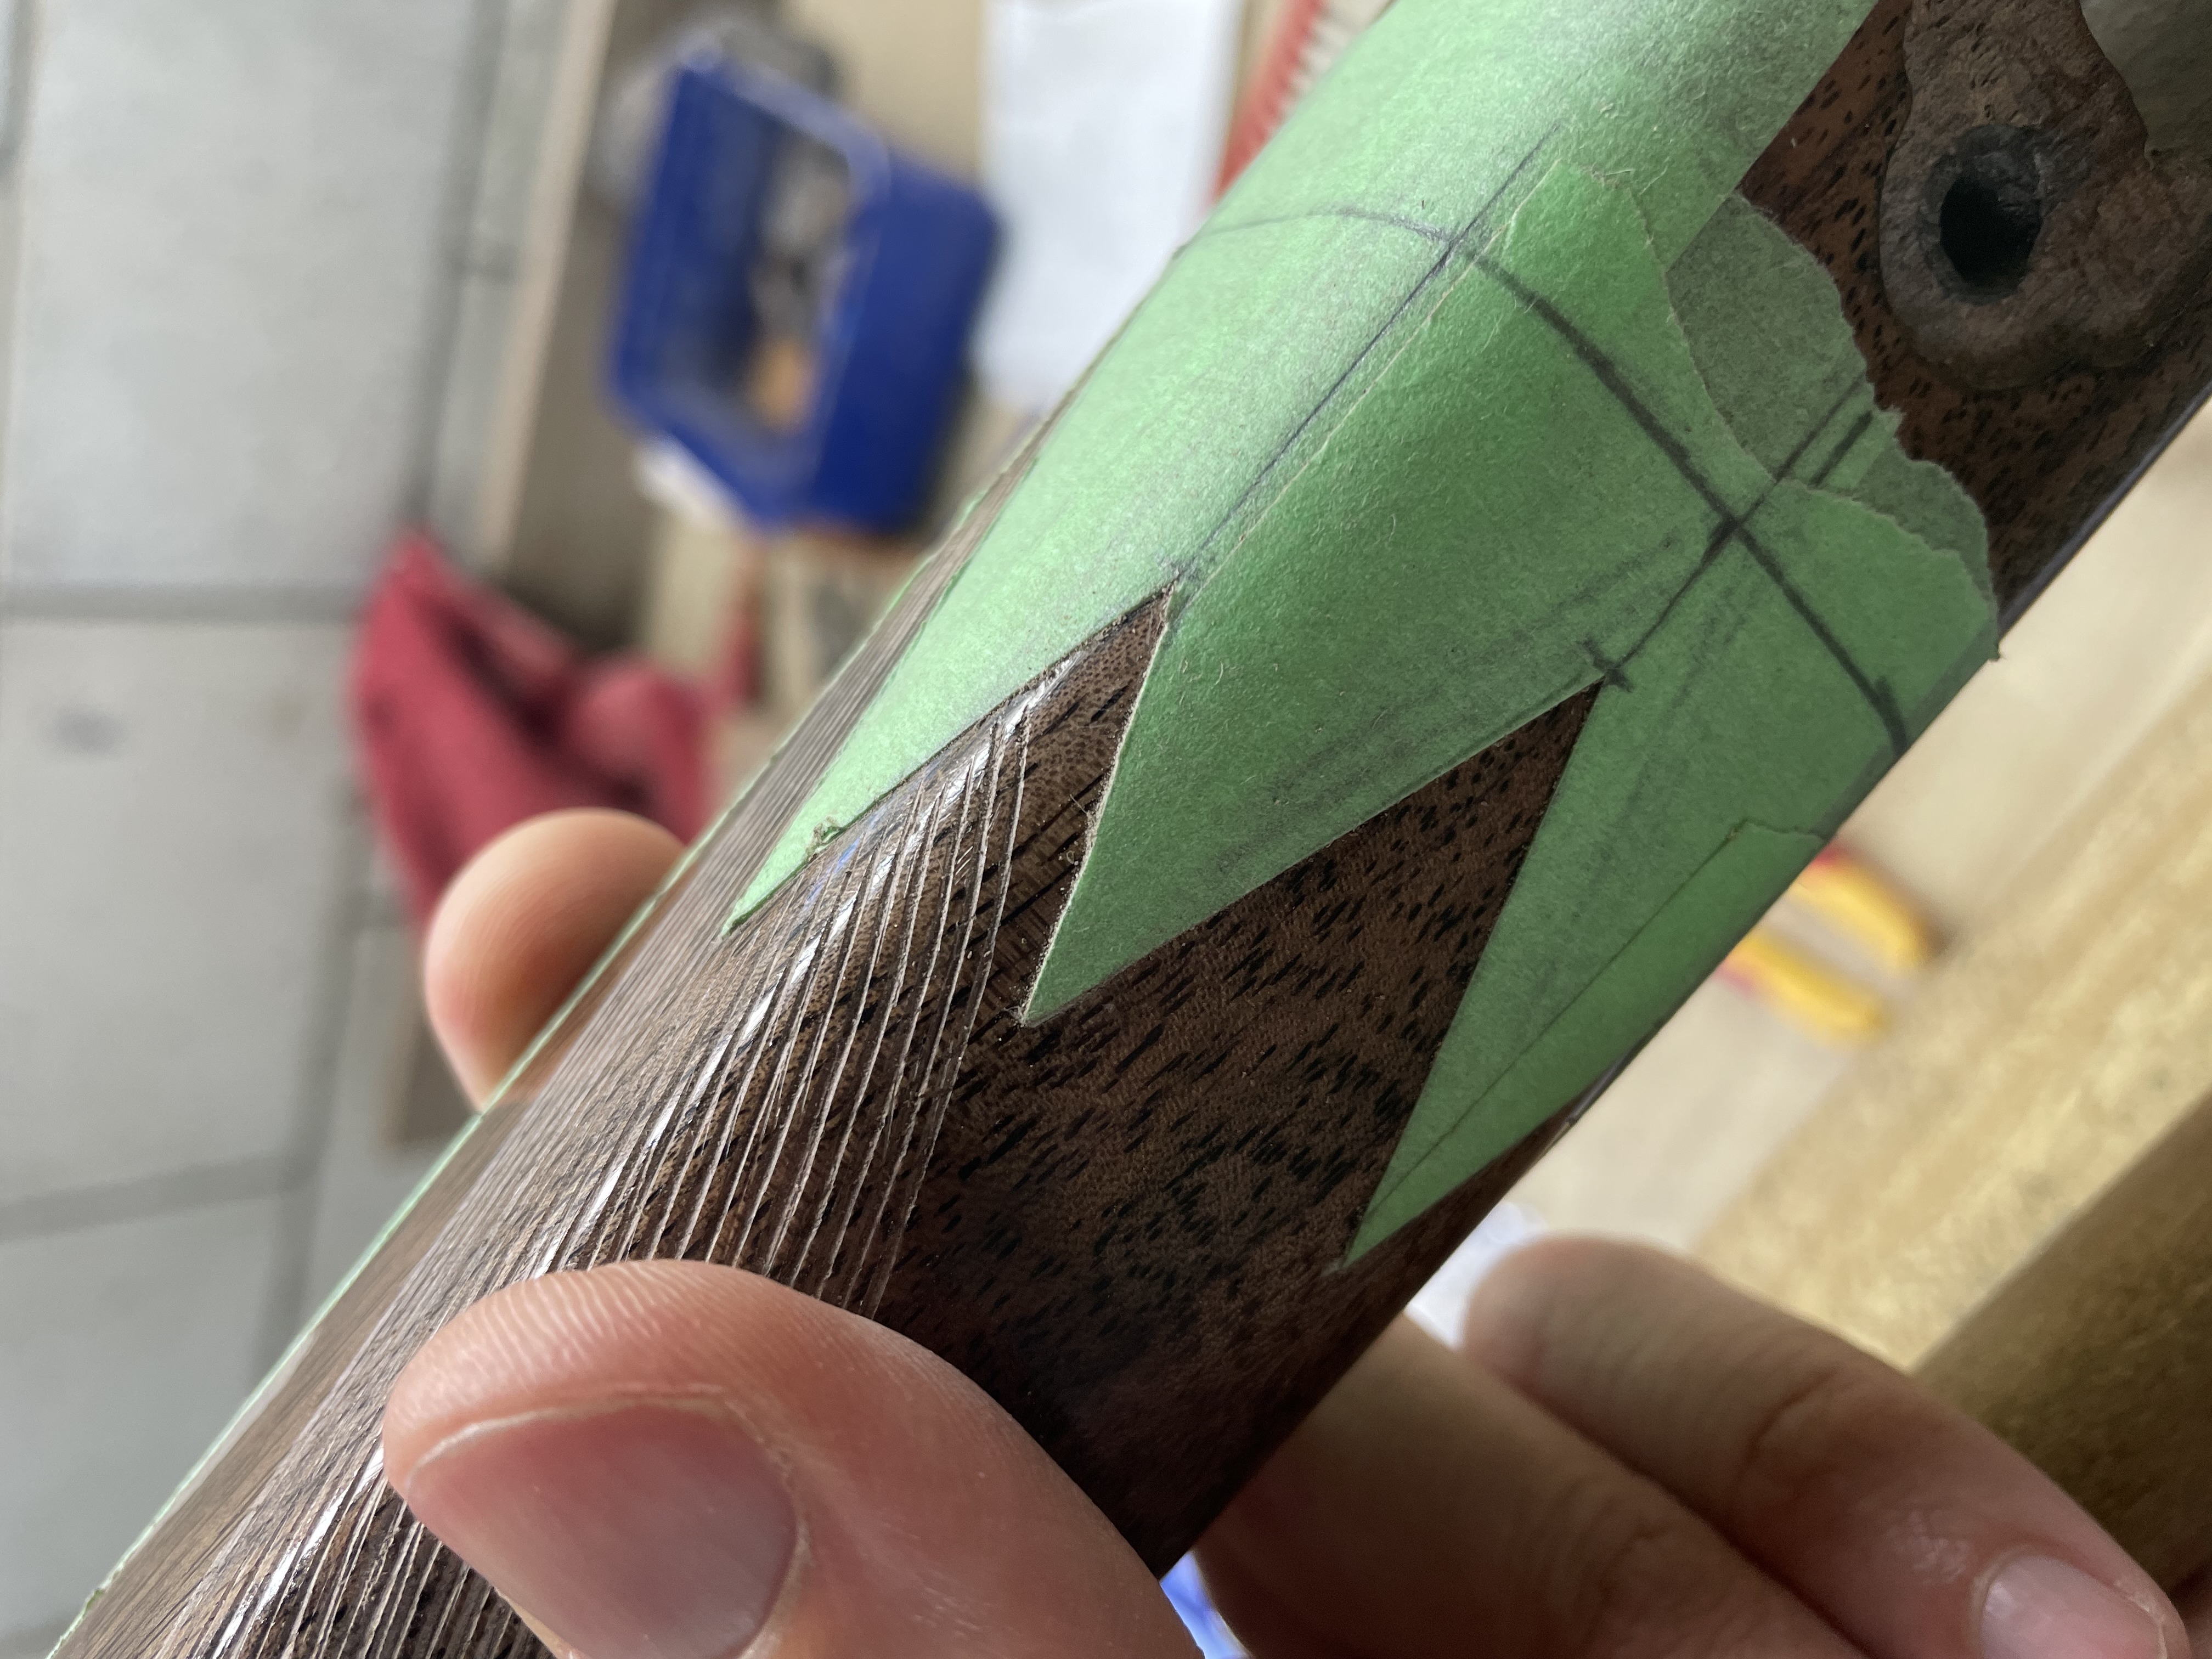
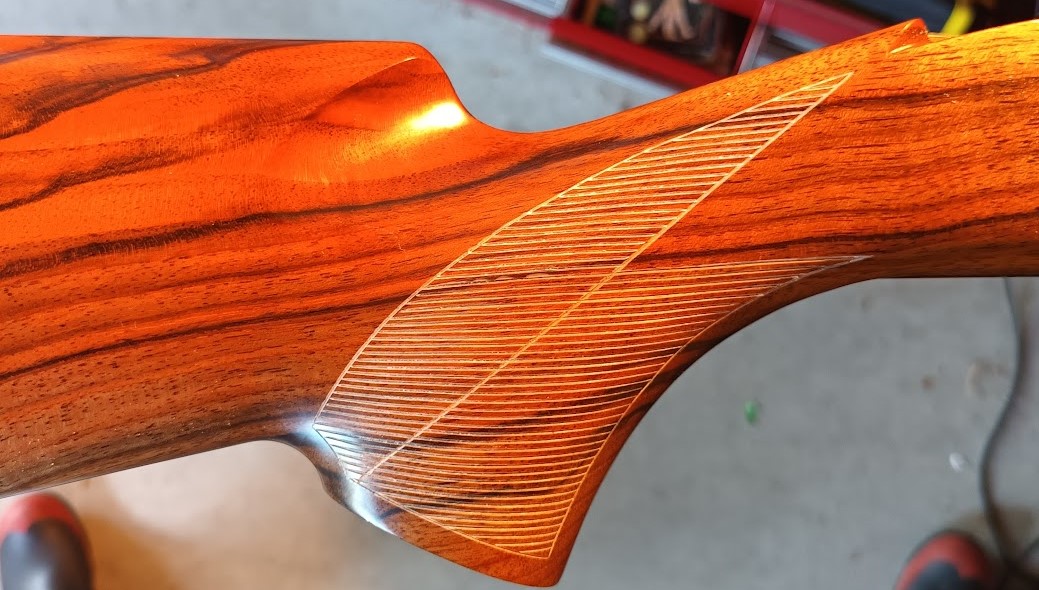
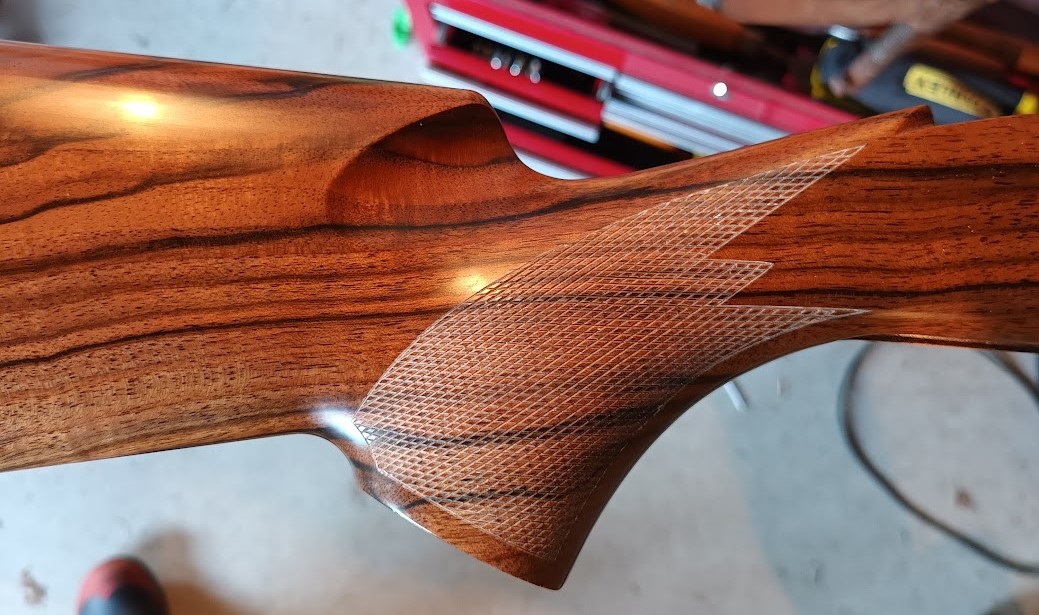
Well, based on my vast experience of having checkered precisely one stock :D ... I think it's natural that as you take parallel checkered lines from a flat surface across a curve, the lines themselves become curved. If you want to force them to become visually straight, the spacing changes subtly. In part, I think it's to do with the checkering cutter being rocked over to keep both the cutter and follower engaged on the surface, but the whole length of the resulting line is then viewed from a single viewpoint which doesn't take this into account - hence the appearance of curvature. At least that kind of makes sense in my head... :wtfsmilie:
Anyway, your example seems to be particularly pronounced because of the compounding effect of spacing one line from the next without making any correction. What I found helped was that after I had roughed in each new line I would straighten it before starting the next one. A checkering jointer is supposed to be the correct tool for this, but I found that triangle and square section needle files - used carefully and at a low angle to the surface - worked well for correcting any minor wobbles and curves. They've got a much longer effective cutting length than standard checkering cutters. Do this before taking the line to full depth.
This is my set of needle files and I highly recommend them - well formed fine teeth that come to beautifully sharp corners.
http://https://www.trademe.co.nz/a/m...B&gclsrc=aw.ds
Hopefully that helps, at least until the proper checkering experts come along.
