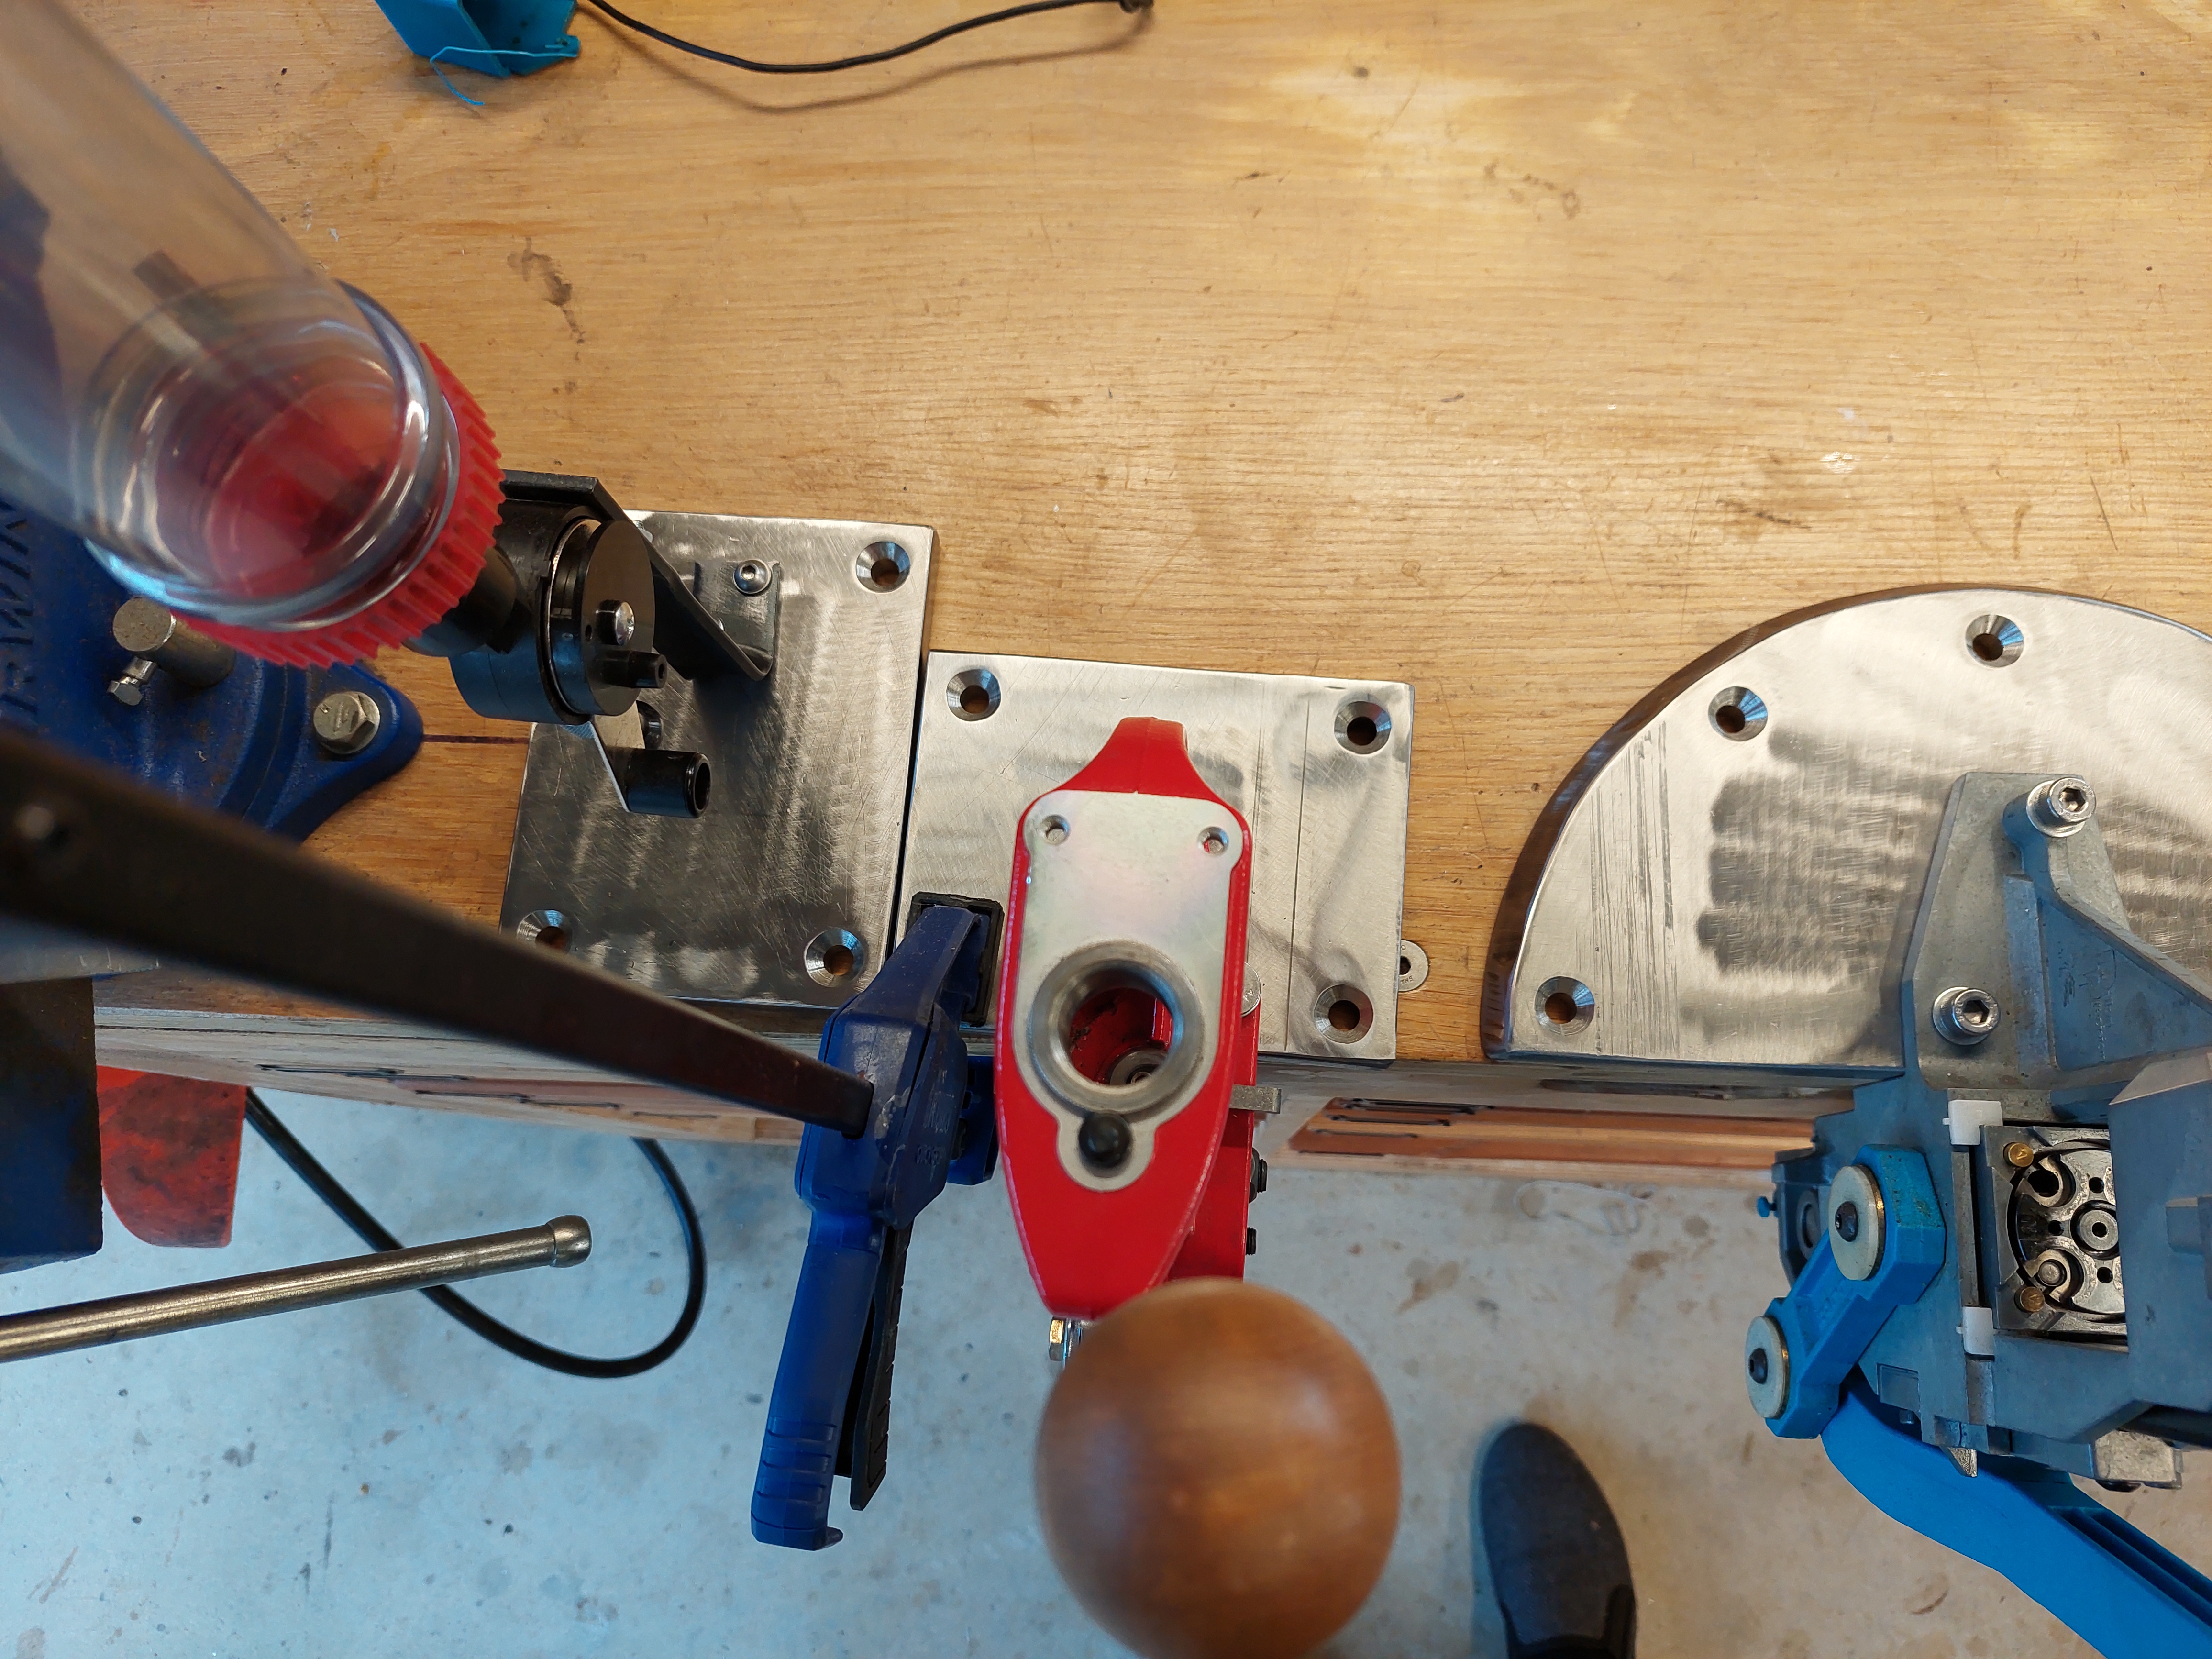
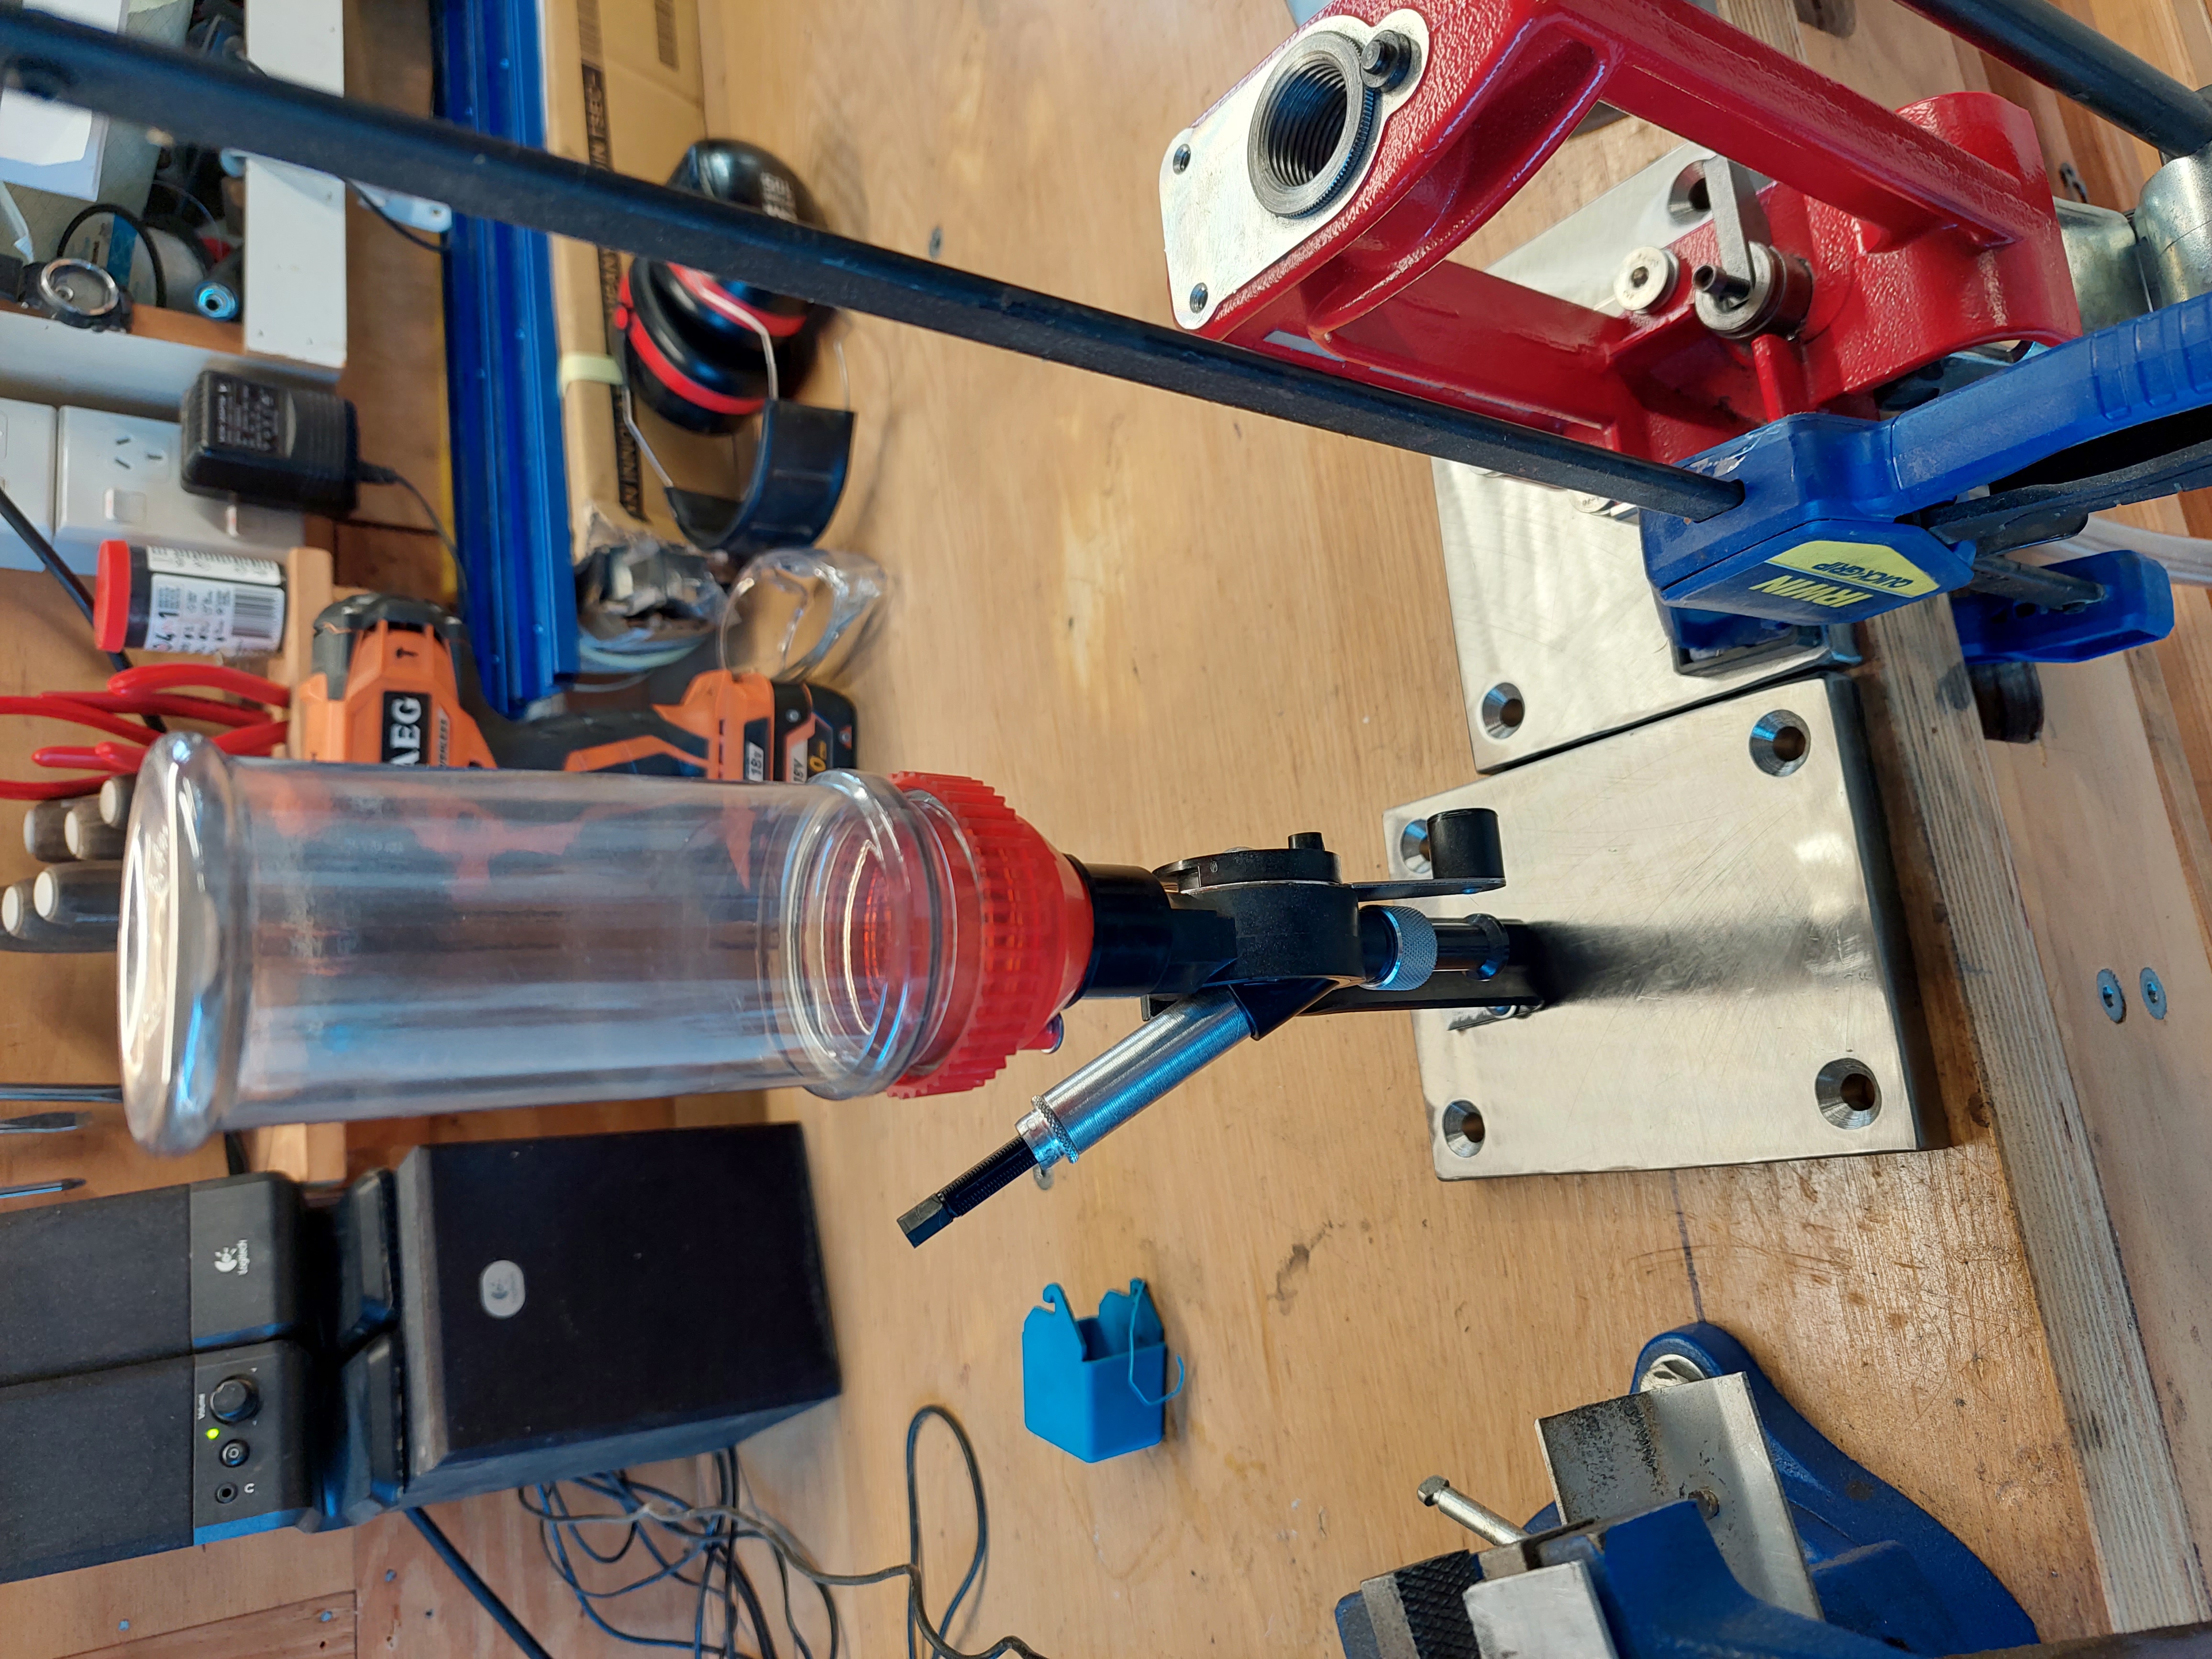
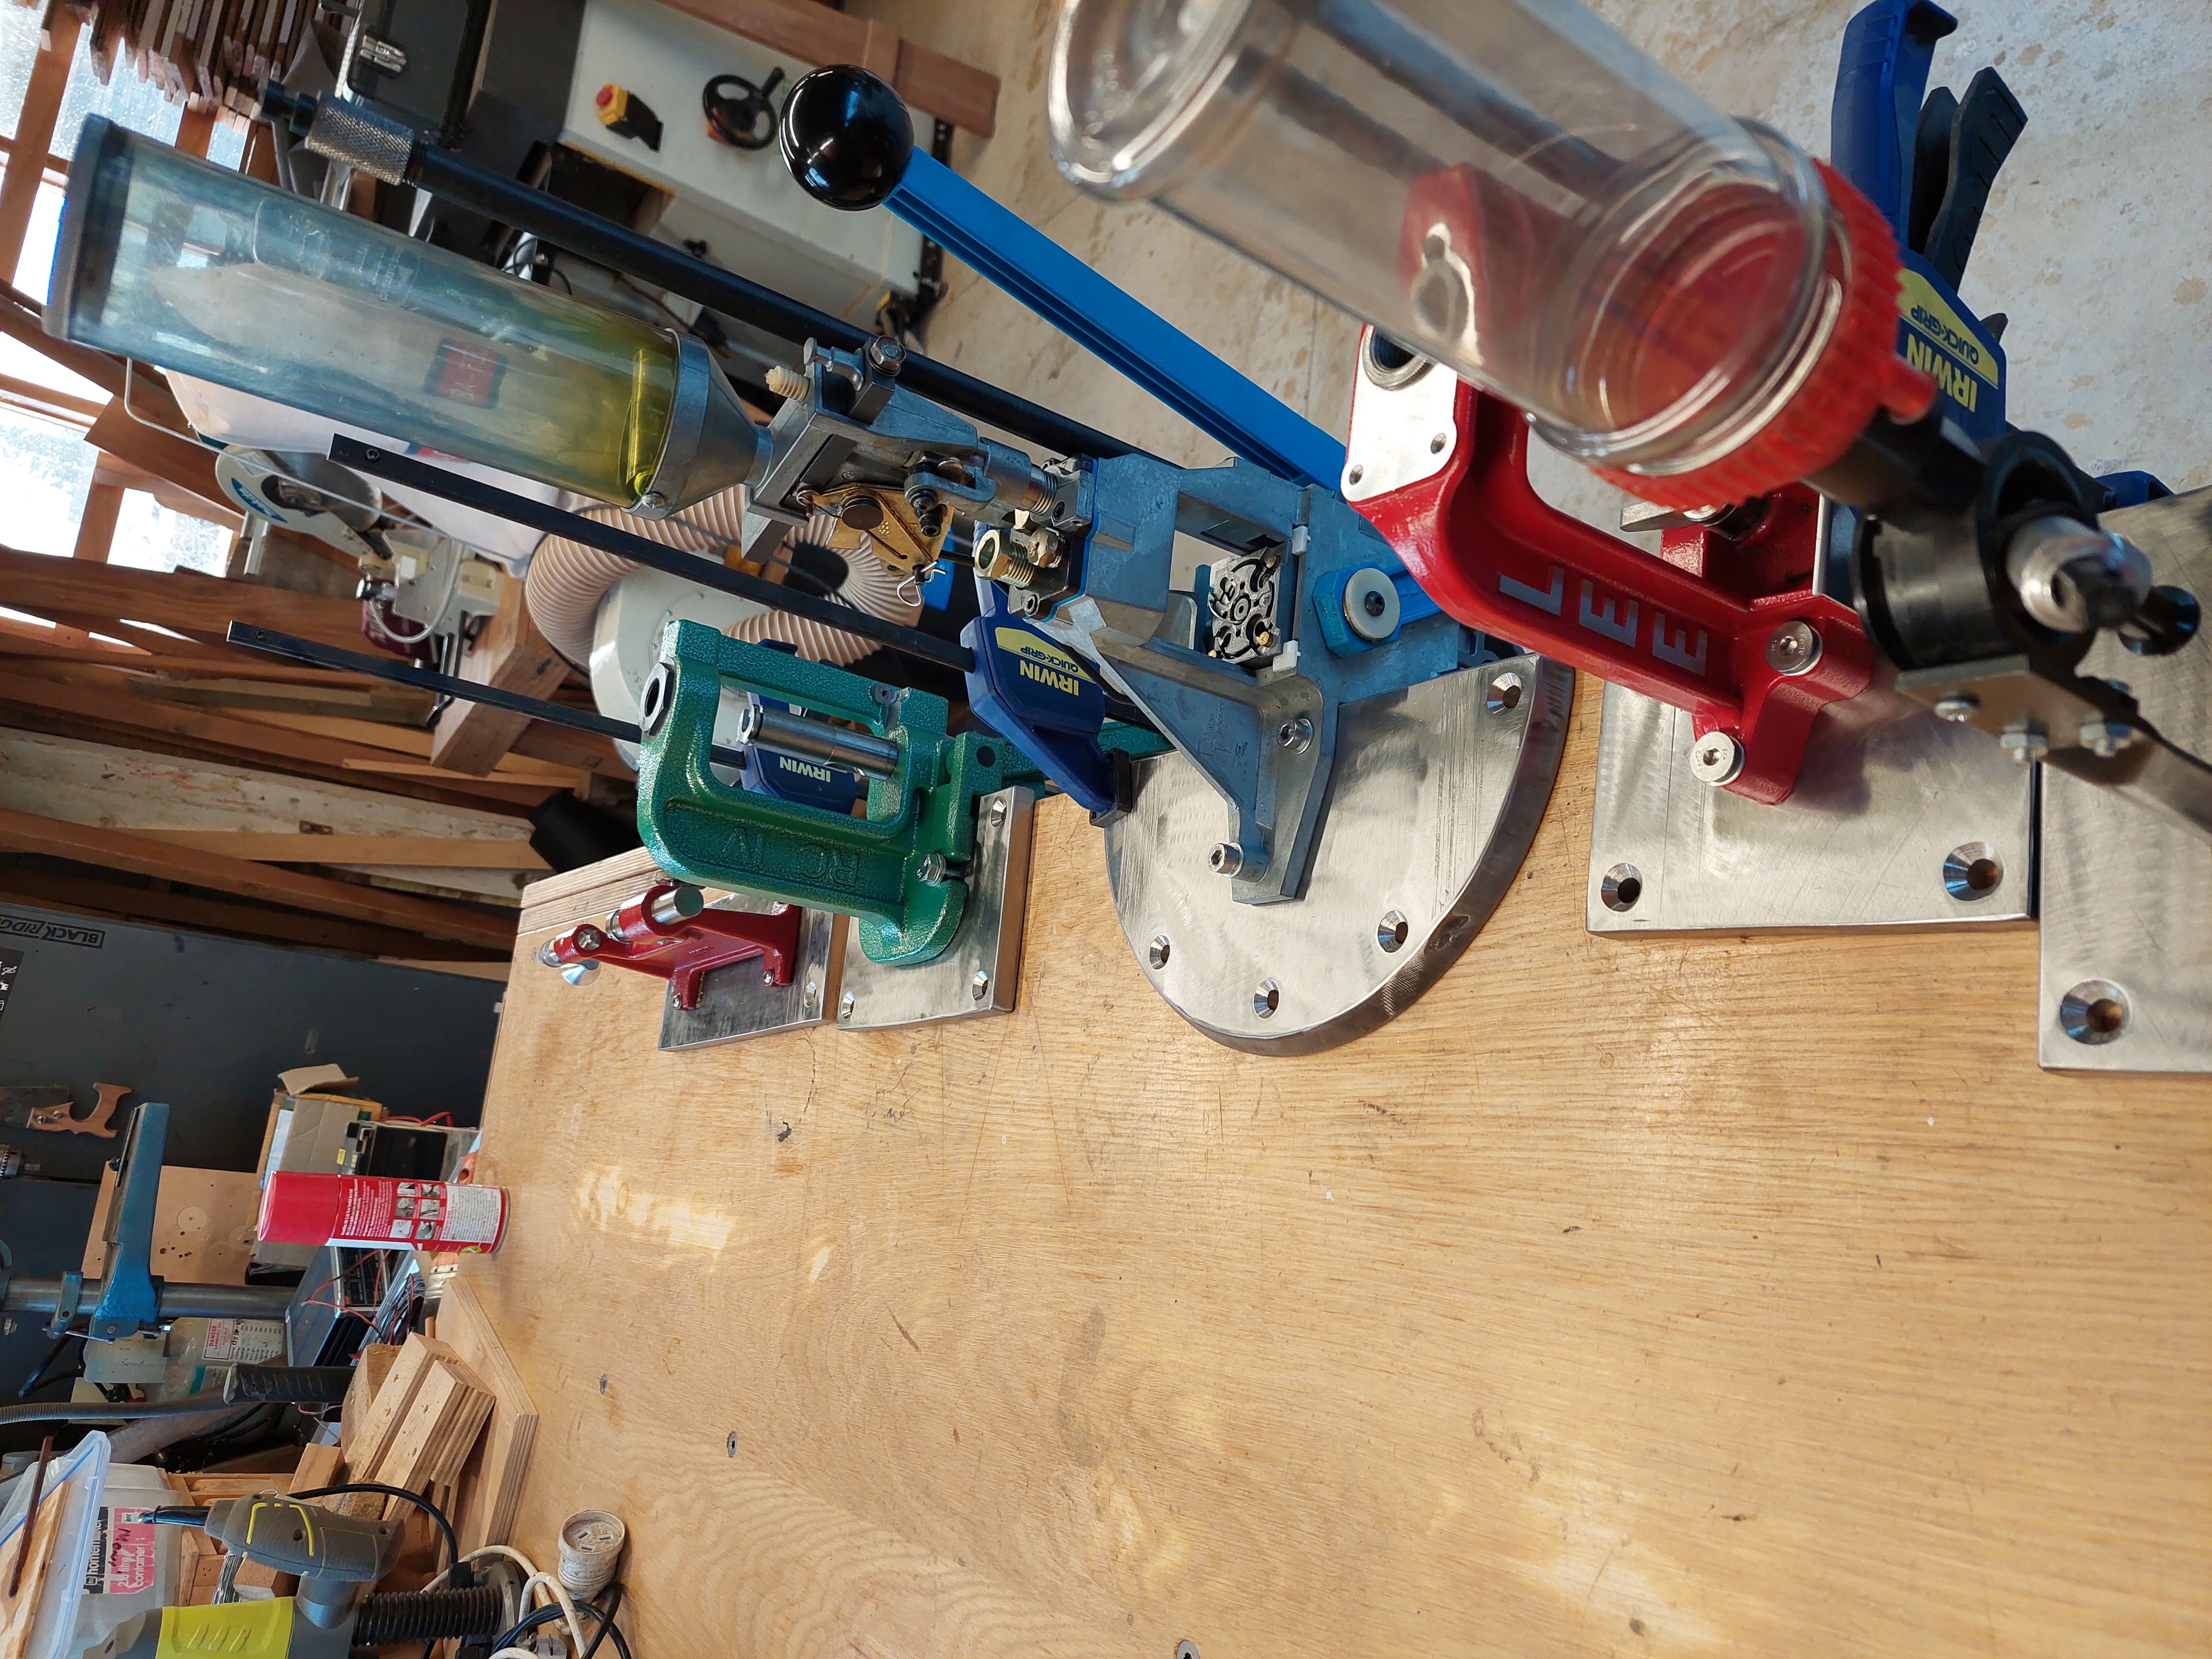
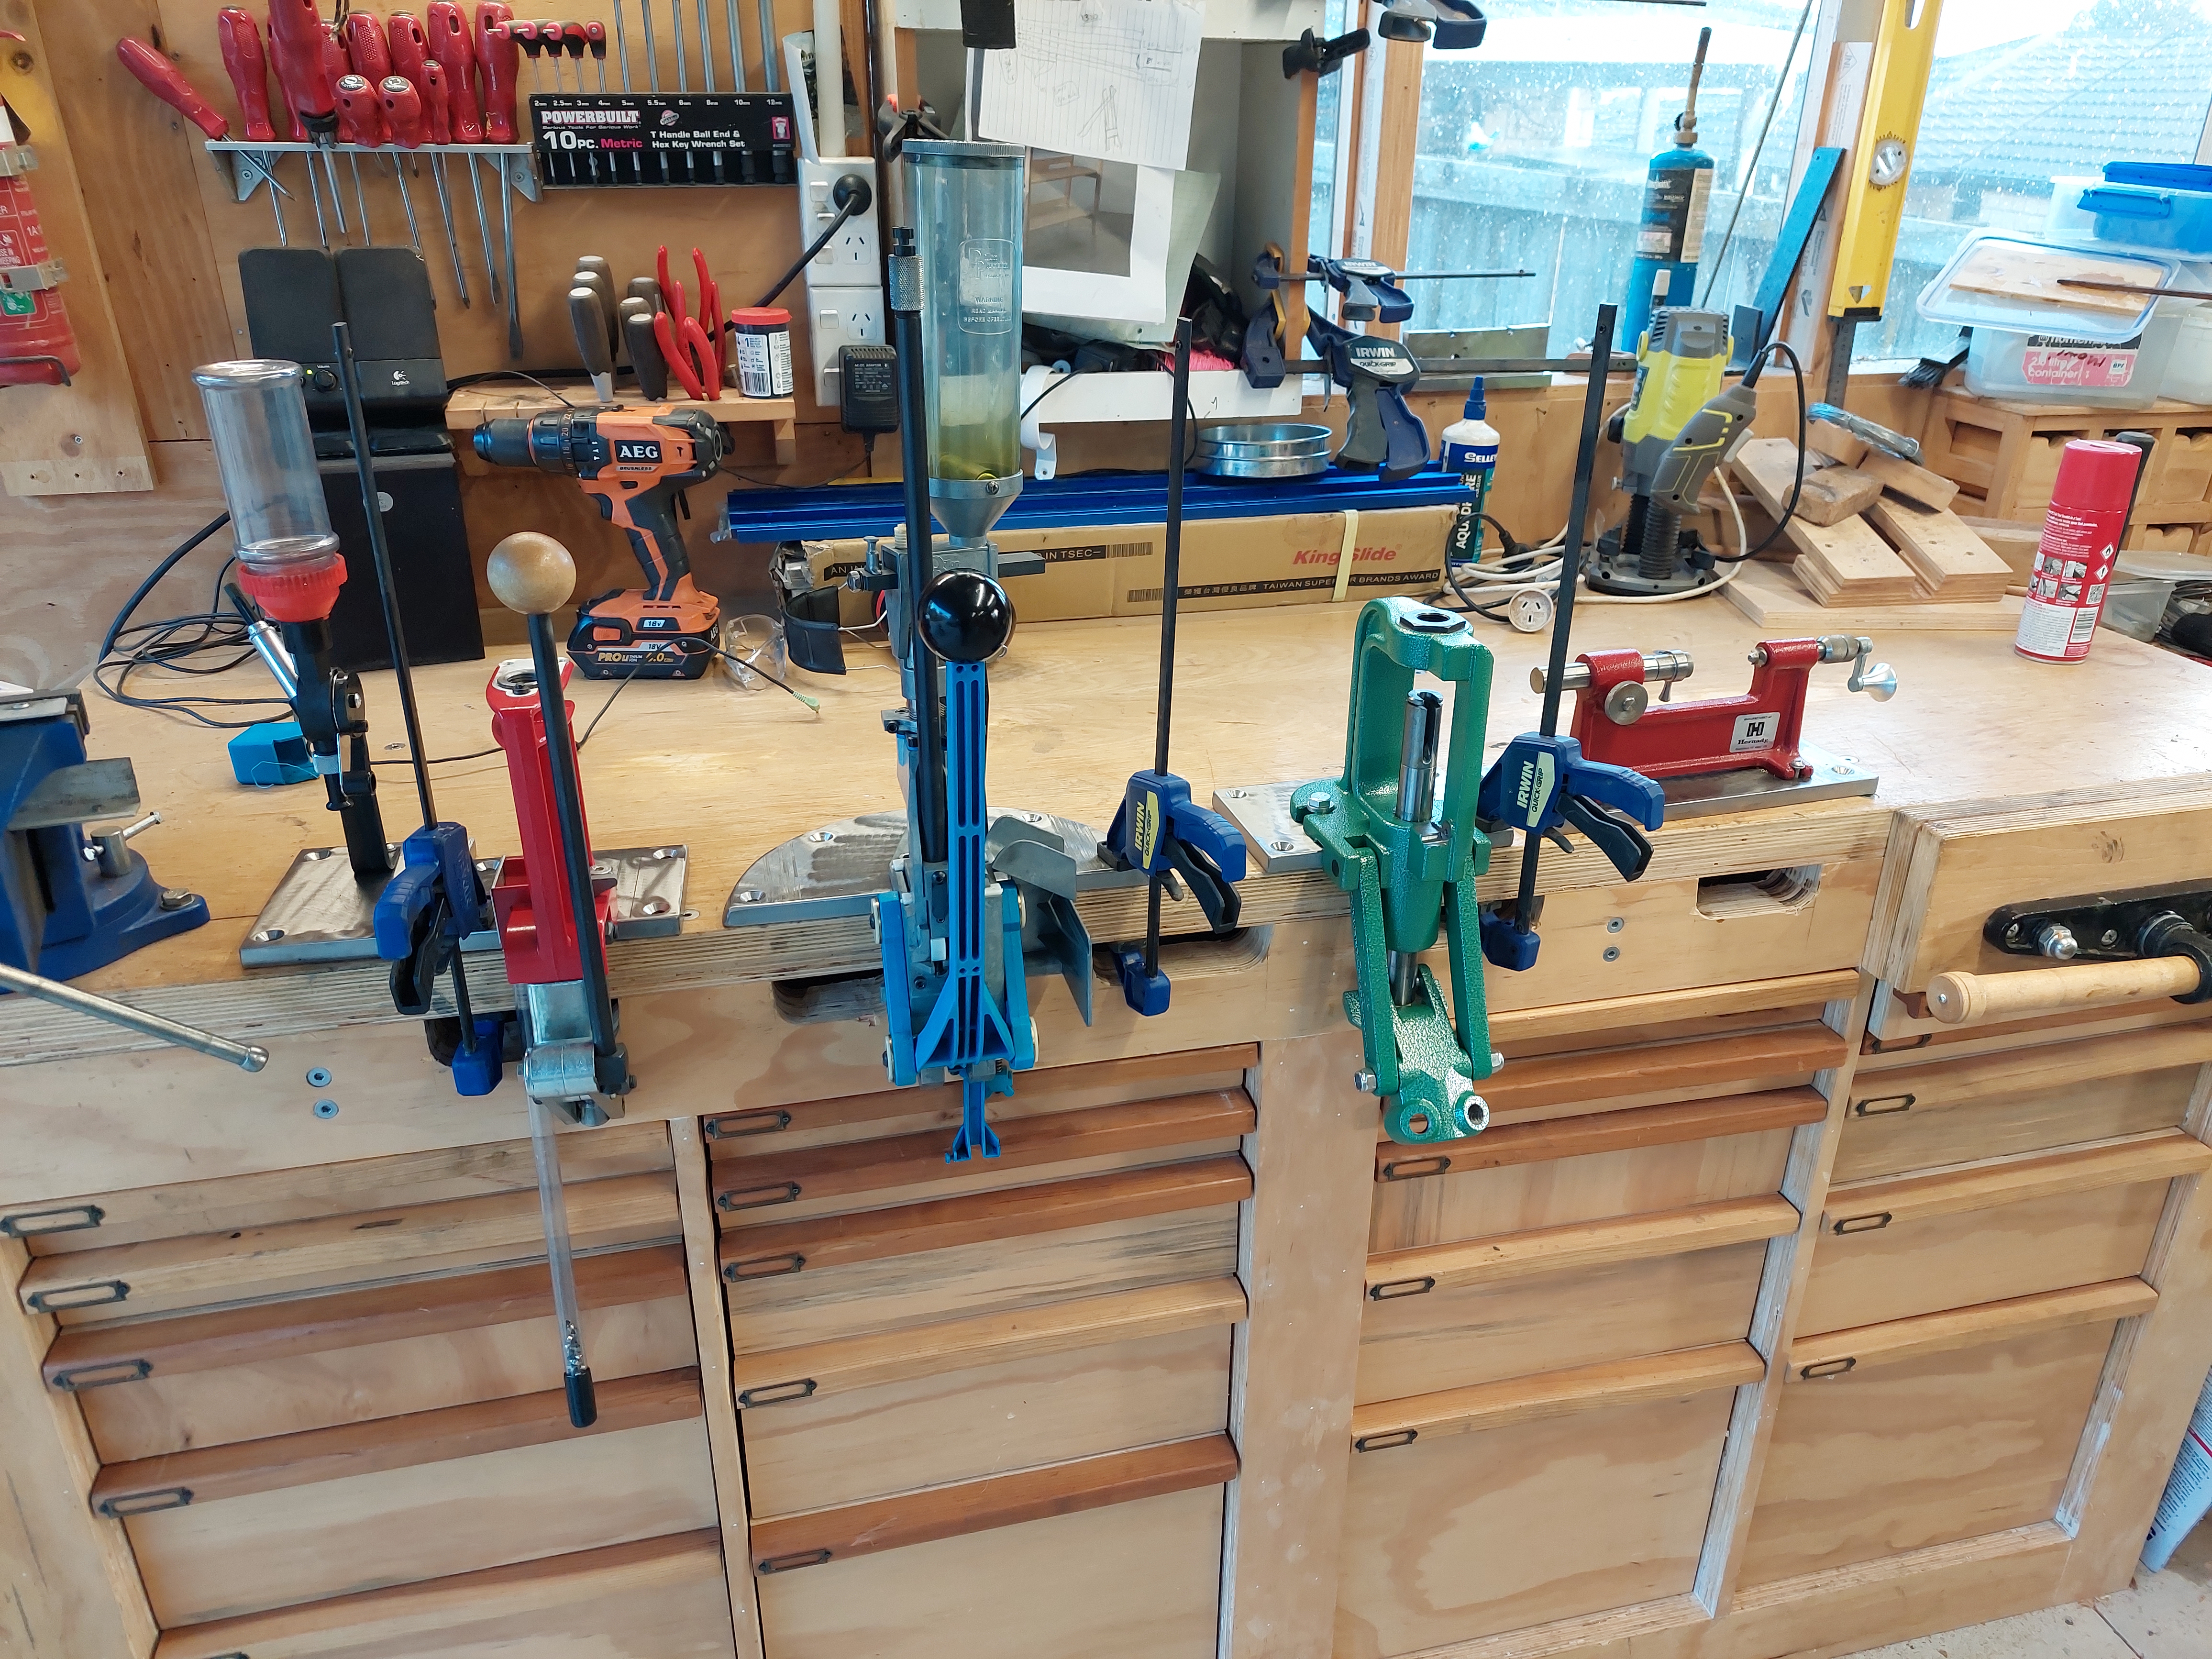
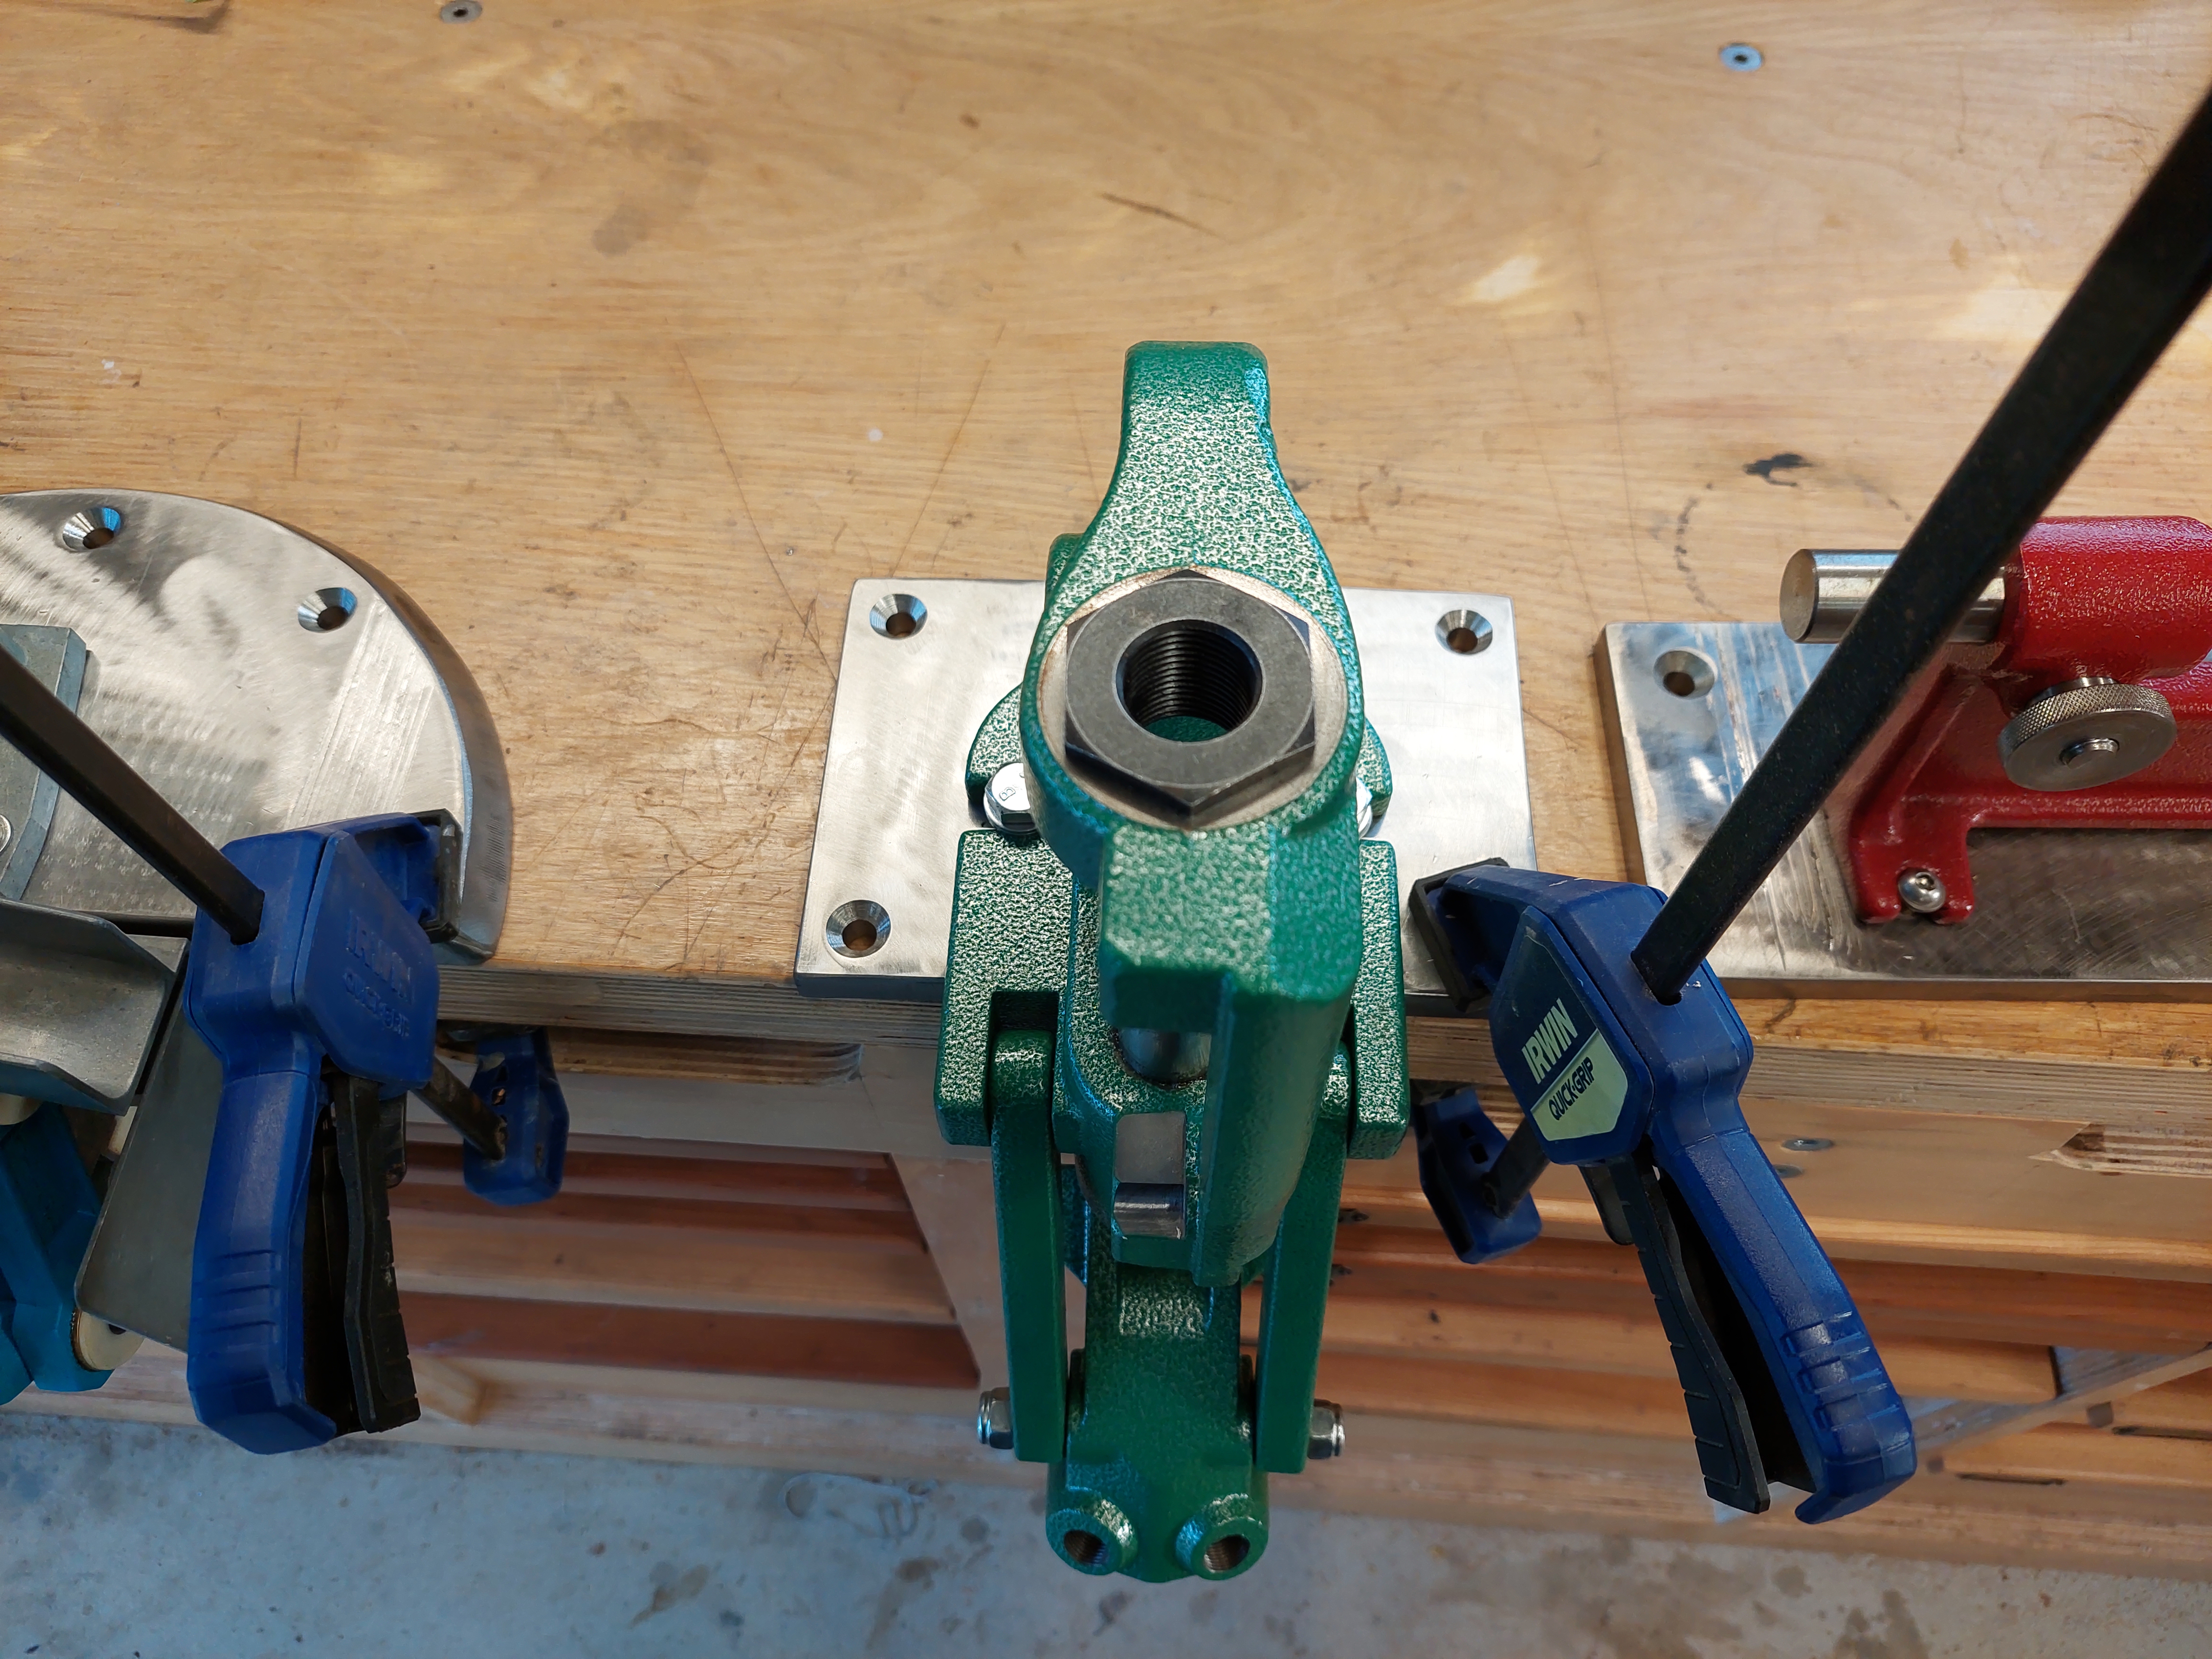
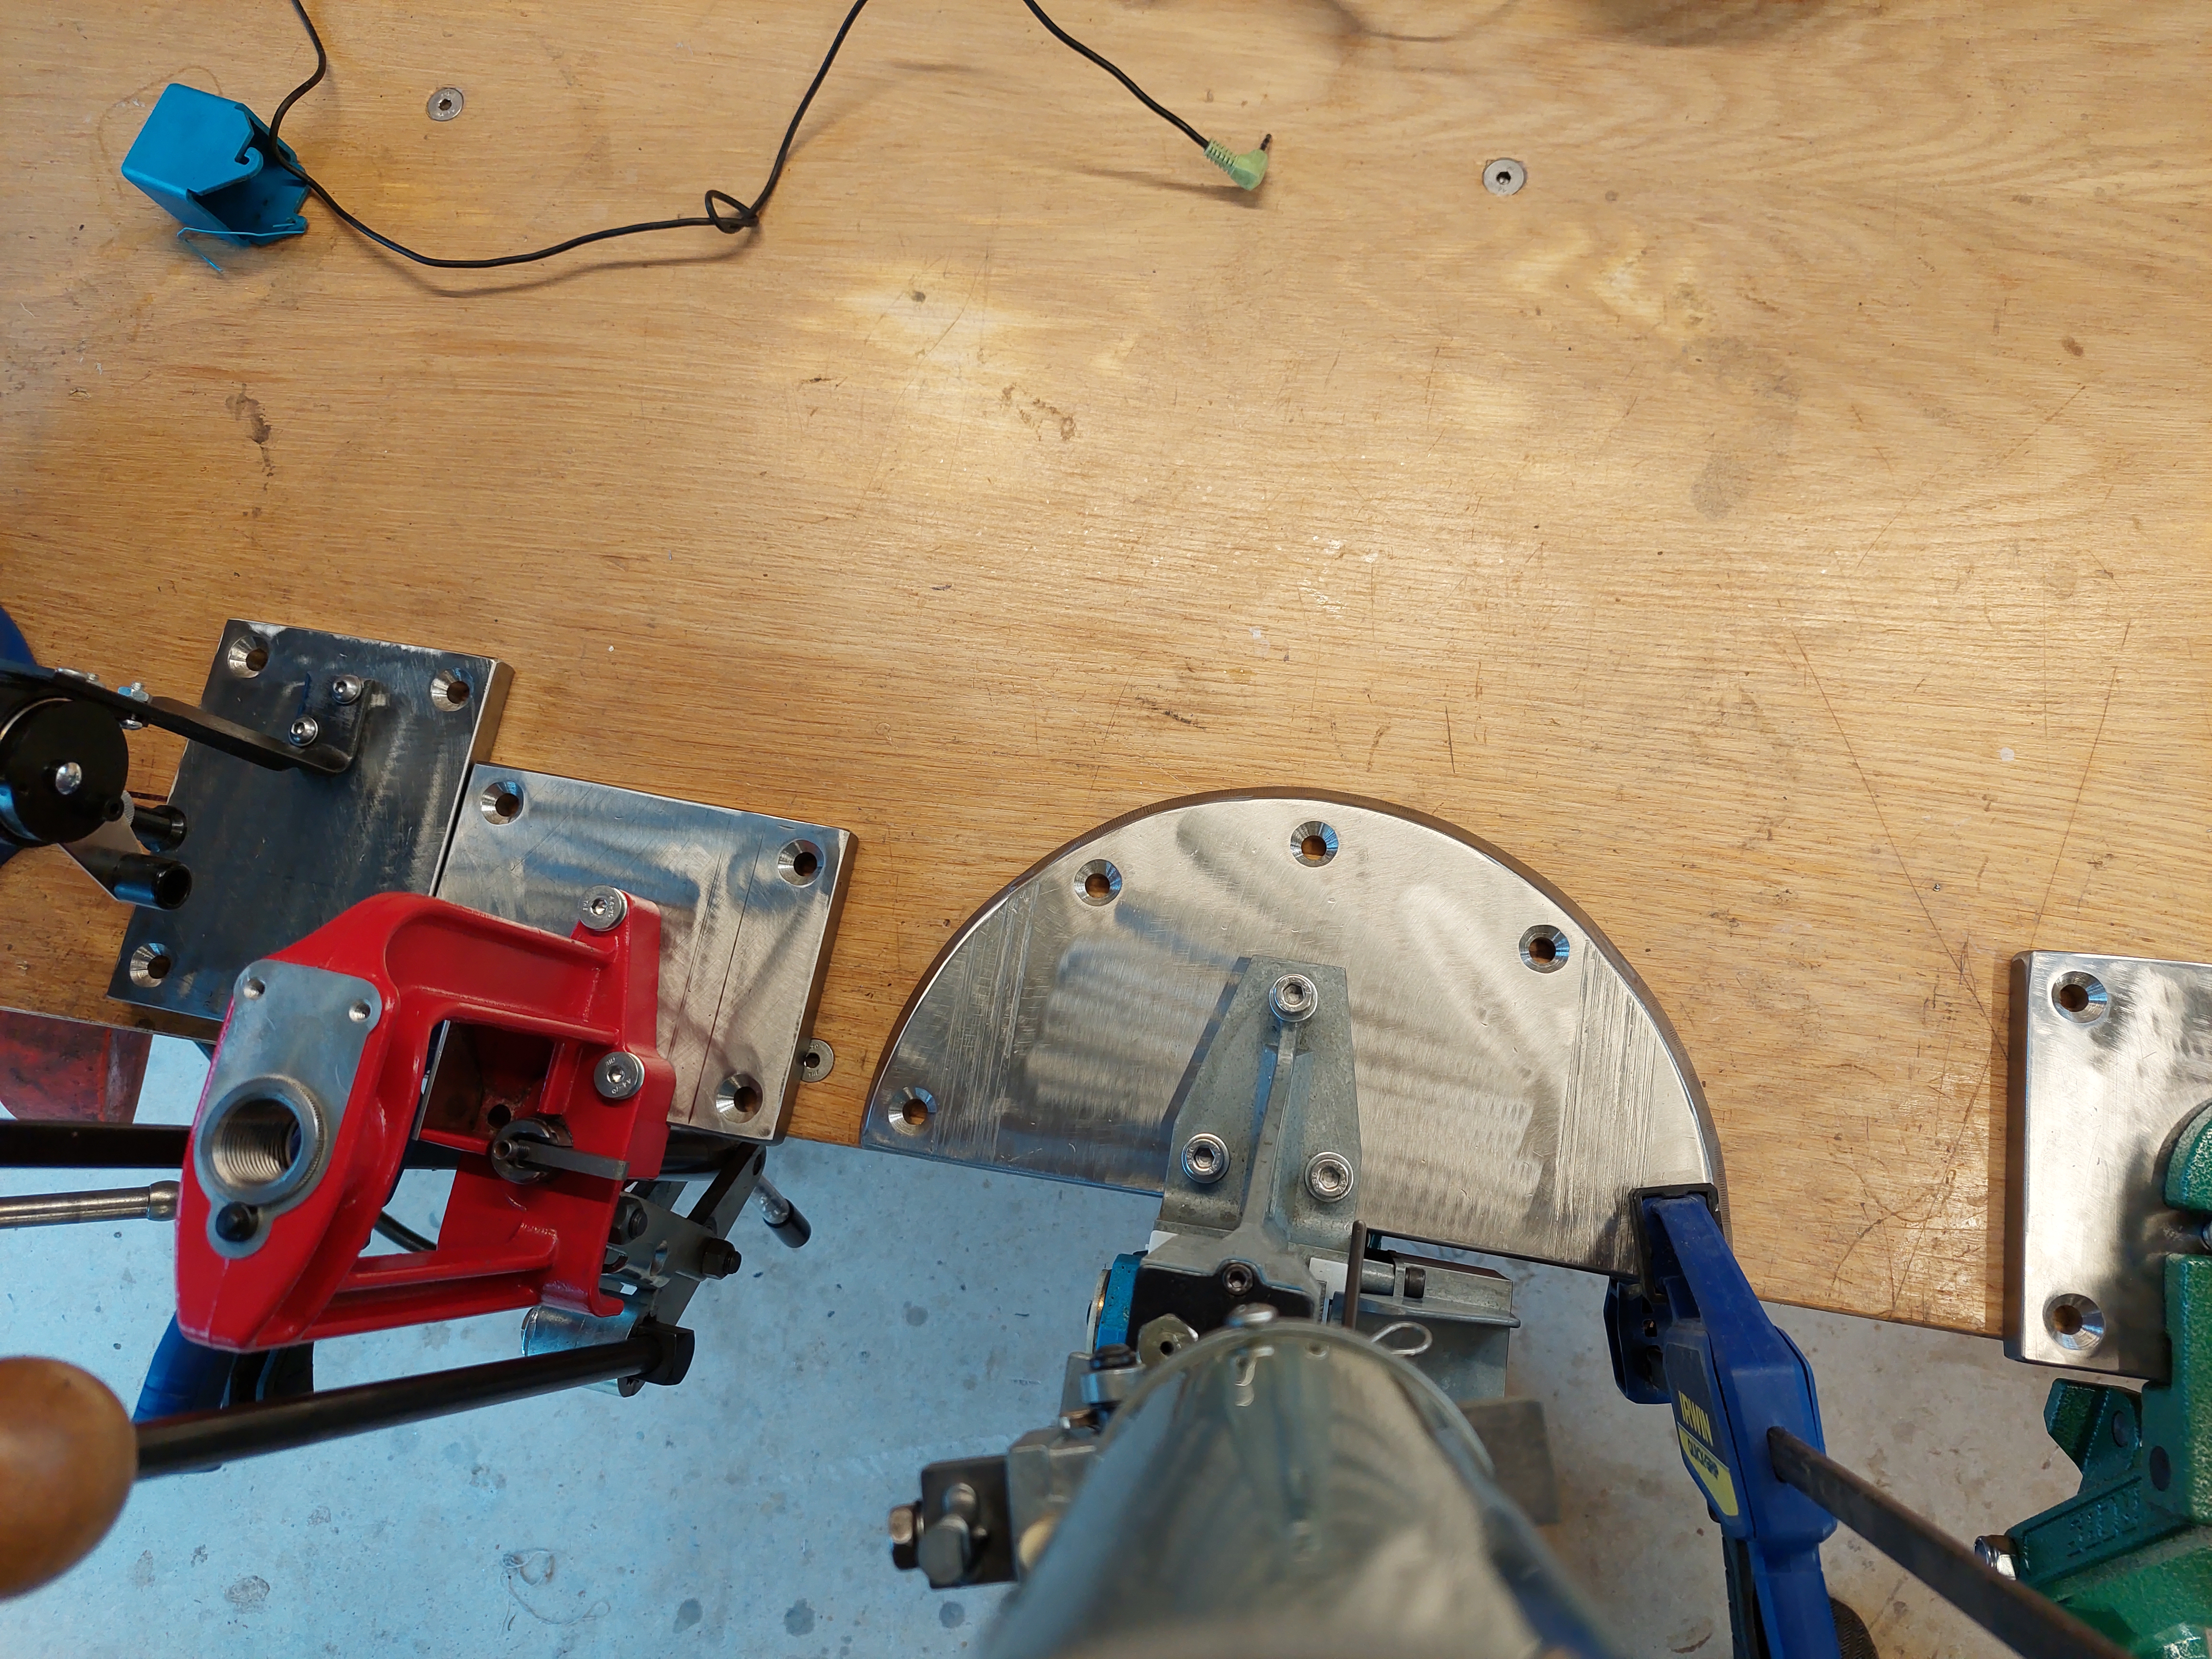
I think a bench like that would lend itself nicely, to rebated parallel rails for your mounts. Like what the guy on ultimate reloaded does.
Sorry I think I just created another 6 months work your welcome.
I think a bench like that would lend itself nicely, to rebated parallel rails for your mounts. Like what the guy on ultimate reloaded does.
Sorry I think I just created another 6 months work your welcome.
Number punch then draw in using fine tipped permanent marker. Works very well. Wood is some scrap redwood from landscaping sleepers milled down. Didn'twant to waste my nice wood. It's really soft so lends itself well to applications like this were a bit of give helps things not bounce around when opening drawers.
The blue rail things on top of this bench are exactly this. Not for reloading equipment but work hold down options on bench top to be set in the top. The good thing about this bench is the top entirely replaceable.
The reloading bench will be different style with each piece of equipment at a bespoke station. Possibly with the option to move the powder measure between presses. Although the lee press will mostly be decapping and black powder cartridges, the messy stuff and won't need it.
I've been building my office/reloading room lately also. We recently been building pur new 12mx7m garage, and my office / reloading room is at the end and is sectioned off 3x7m
Side project one - and also a way to show the numbering technique I use. @6x47
Hex key and wrench storage/organisation for the Dillon Square Deal B press, pictures tell the story:
Way tidier than whacking on metal number/letter stamps
I too use rare earth magnets to hold stuff or hold stuff open.
The turning tools on this rack are all held in place by magnets.
Last edited by 6x47; 10-07-2022 at 06:28 PM.
my brother has his press mounted on plank that has anther piece at right angles underneath...and it goes into vice on bench when needed.... a couple of the woodworking ones that are level with bench would work perfectly,and you could do it easily with the metal plates you have now made up...make up some wooden t shaped bits for underneath and screw them in place with the nifty contersunk holes you have made.... would double for secure storage if you made a shelf the t shaped bit slotted into....food for thought maybe.
75/15/10 black powder matters
Should start another thread called bench porn!!
Would be keen to look at building a sexy beast like this when time/funds allow.
Always good to see what ideas are out there and how people use theirs.
I've just finished a simple mobile work bench with 6x2 legs 4x2 frame and rails with 2x 17mm construction ply tops and 4 x lockable 250kg castors, useful for projects around the section, woodwork & the homebrew setup.
If you can get it, the best stuff I've found for bench tops is either 10 or 12mm steel plate or, the 36mm hardwood plywood used for shipping container floors. That stuff is awesome, but not cheap! I've got three benches with the container ply, and one with a full size sheet of 10mm plate. One of the benches is more a bar leaner, oiled and edged with pine on a steel frame so it looks really smart.
Started building a couple of the benches going into the reloading room aver the last couple weeks. Last weekend was dimensioning all the timber and starting to laminate the pieces all together.
This weekend started the serious business.
Plan is 4 benches/desks at about 1100mm long. Would be just two desks but the hallway and door to the room is too tight for longer desks.
Decided to use floating tenons which for the main framing.
My floating tenon jig in action.
Always keep track of the side which the jig referenced off of. Always matching this face with the joining piece means it's not critical that your pocket is dead centred.
Then the legs. Note: The reference face on both ends on the parts done in above photos are all on the same side of the wood. Therefore half of the legs need to have the reference face on the opposite side so it can go together properly with matching reference facings.
Elected to do dowel joint for lower brace of legs.
Most of the joinery done.
Then I didn't have any floating tenons cut so cut a few and shaped them on the router table I knocked together 8 or 9 years ago which I keep meaning to make a better one but it just works!
I do need to buy an extra router though so I don't have to change over all the time. The Ryobi routers are bloody excellent. This one has done a lot of work over many years and shows no signs of letting up. I will buy another!
The width of the floating tenon is left a bit short for an ability to adjust them. Little to no strength is lost in doing this. Made a whole stack for stock for other projects while everything was set up. Also I didn't use the knotty bit in the photo for actual joining that was a test piece that then got turfed into the firewood pile.
A bit of a sand on the internal faces while they're easy to get to and into the clamps.
One F-clamp there to true up a face which a twist in the wood was fighting against.
The other was having a tendency to rack/bow up out of the sash clamp so was pulled back down with some clamps. Also tagged teams to F-clamps to even out the clamping pressing on one side which was proving troublesome.
Ideally you'd have sash clamps top and bottom but I only have four and glue set is a couple of days in winter so I wanted to have two bench ends in the clamps at a time. Winter does take the stress out of glue ups though, plenty of working time.
Good thing about the two joining methods is as long as your cuts and edges are square pulling them up tight forces everything into alignment. Checked square on both sets and was happy with the result. All the dowels lined up too which is nice!
I've cut and laminated enough wood for two desks and will finish these two before doing the other two just because it's better for how much room I have in the shed to not have so many parts floating around.
Last edited by Makros; 31-07-2022 at 06:37 PM.
The old woodworker's maxim- "you can never have too many clamps". Same applies somewhat to routers- I keep D-handle one as a dedicated part of my dovetail jig, have another 1/2" plunge one for general use then its big variable-speed brother for serious stuff including surface planing.
Your extractor sure has personality
Bookmarks