
 332Likes
 LinkBack URL
 About LinkBacks
Well some of you think i lost my mind.....you're probably right
A few years back i used to own a pretty sweet kzj78 landcruiser prado, it was well equipped with 4" lift, winchbar, winch, 33" coopers, rear lokka, snorkel, roof tray etc etc etc long story short i sold it to get myself set up when i first started hunting (big mistake) regretted it immediately. 12 months later landcruiser prices went through the roof and i thought the chance of me owning another capable cruiser whilst i had hair still were slim to none......
Well a couple weeks ago i stumbled accross a listing for a "60 series custom project"
The price was cheaper than what seemed right, and the pictures weren't great but showed enough to tweak my interest.....the cogs were set in motion.
I contacted a couple of engineering mates and showed them the listing, they too said "that warrants further investigation" So we jacked up a day to go view the truck.
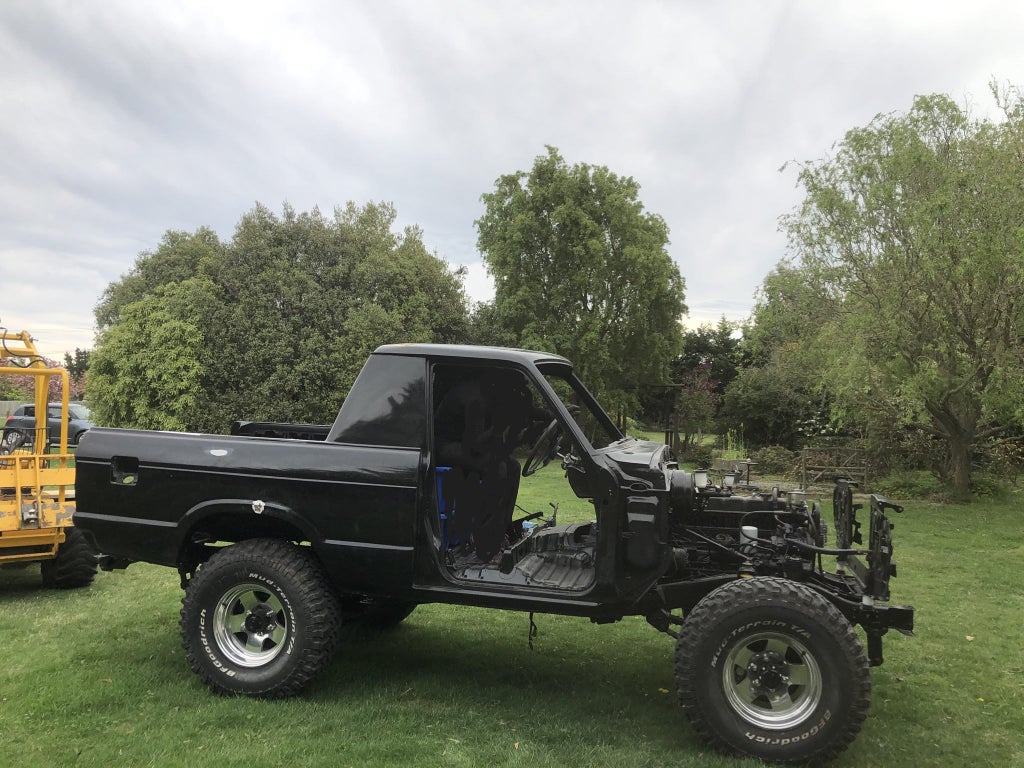
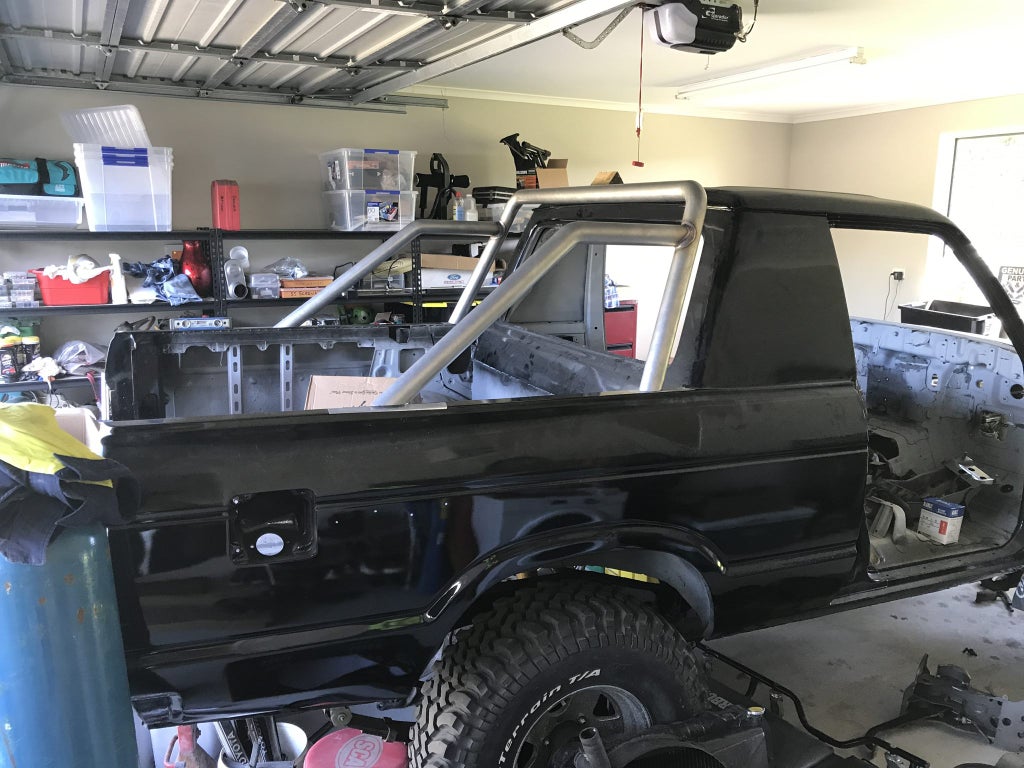
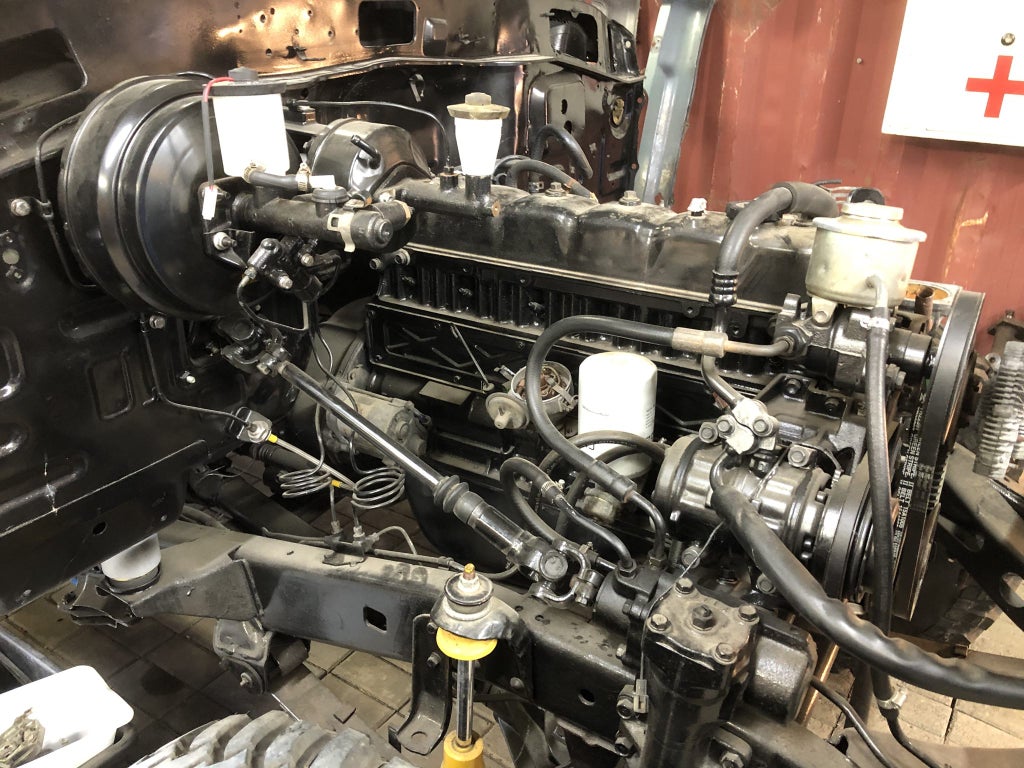
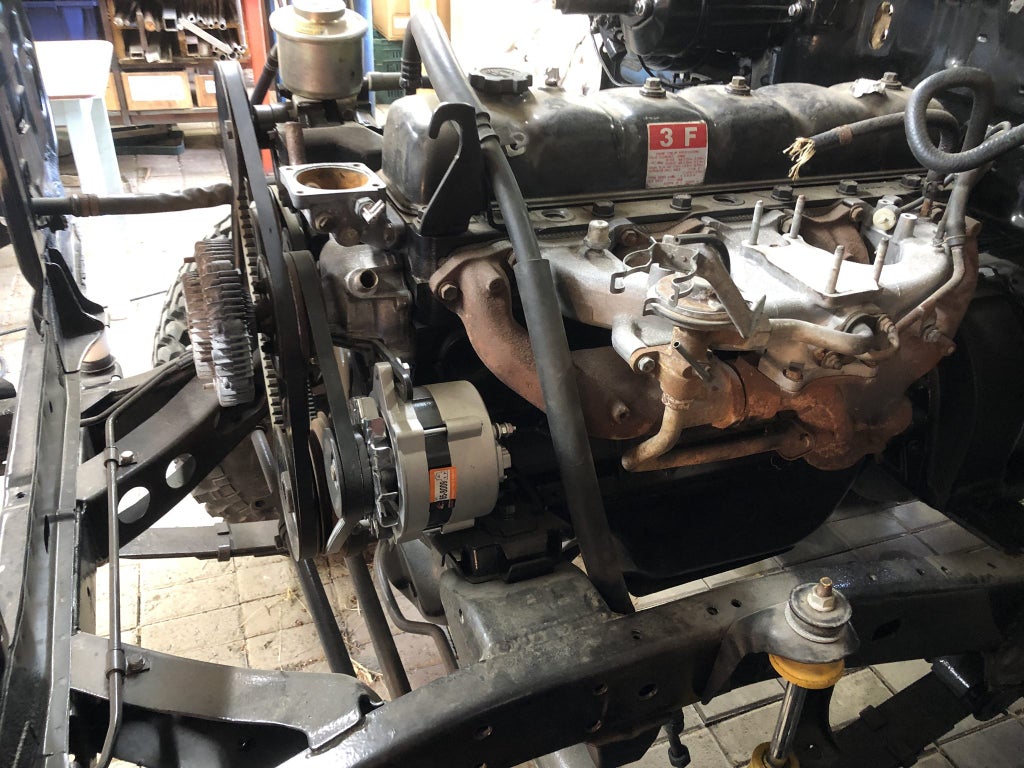
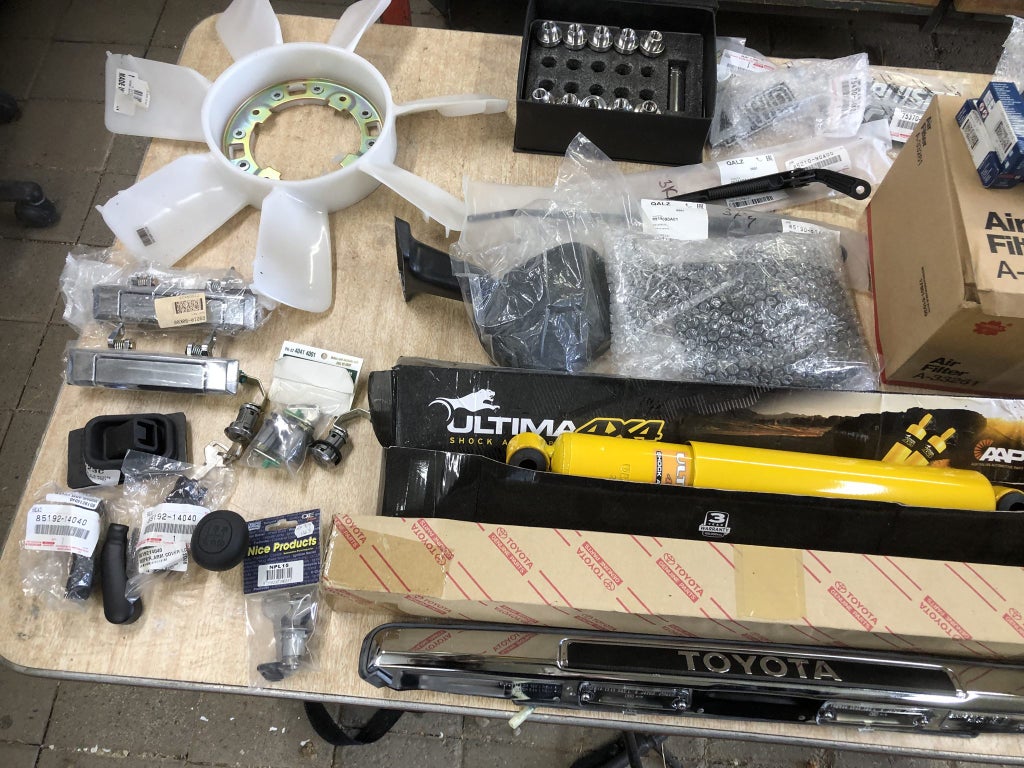
Turns out the landcruiser had been owned by an engineer (in his 70s now) for 16 years or so and over the last 10 years he has slowly been customizing it, full body off bare metal restoration and ute chop, chassis completely stripped and re coated, brand new drilled and slotted rotors and calipers up front, complete overhaul of the rear drums, all new springs, greasable shakles, bushes and 50mm body lift, replacement motor and the list goes on literally every nut and bolt replaced. Also there was an abundance of new and used parts including spare front and rear diffs (turned out to be 3 high sided trailer loads of parts in the end.
Anyway it had been advertised for a few months and after meeting the owner i thought there may even be room for negotiation on the already low price.....after leaving one of my engineer mates said "if you dont buy it I will" that was all the encouragement i needed
So i had to come up with some cash and fast.....well you know what happened next, I listed and sold my mk v custom and made a cheeky cash offer on the cruiser....my offer accepted i know own a 60 series puzzle that i hope to get mostly back together over this winter.....
Will post pics on here as i progress.
Tomorrow is the big day to pick up the truck having spent my last free day moving all the parts to my mates workshop.
Here are some pics from the listing, exciting times ahead
So i hope you all understand now why i sold my precious, rest assured i will build another but sometimes you gotta take a punt and this sure seems like a cracking deal.
Welcome guest, is this your first visit? Create Account now to join.
Welcome to the NZ Hunting and Shooting Forums.
Search Forums


User Tag List
Results 166 to 180 of 189
Threaded View
-
19-04-2023, 08:38 PM #1Unapologetic gun slut


- Join Date
- May 2018
- Location
- Oxford, North Canterbury
- Posts
- 9,501
 30-06ai 60 series custom landcruiser build
Last edited by dannyb; 19-04-2023 at 10:52 PM.
#DANNYCENT


 Reply With Quote
Tags for this Thread
 Posting Permissions
- You may not post new threads
- You may not post replies
- You may not post attachments
- You may not edit your posts
Welcome to NZ Hunting and Shooting Forums! We see you're new here, or arn't logged in. Create an account, and Login for full access including our FREE BUY and SELL section Register NOW!!
All times are GMT +13. The time now is 06:01 AM.

Bookmarks