Haha nothing to report yet because I haven't started it! Been busy recently, but planning to cut the lengths of steel in the next few days.
Welcome guest, is this your first visit? Create Account now to join.
Welcome to the NZ Hunting and Shooting Forums.
Search Forums
User Tag List
+ Reply to Thread
Results 31 to 45 of 50
Thread: homemade ATV Trailer advice
-
10-07-2023, 11:52 AM #31Member

- Join Date
- Nov 2022
- Location
- Dunedin
- Posts
- 718
-
-
10-07-2023, 12:57 PM #32Member

- Join Date
- Jun 2022
- Location
- Papakura
- Posts
- 1,631
Keep any offcuts and use them for welding practice, even if you get your mate to weld the trailer it's a useful/fun skill to have.
-
10-07-2023, 08:53 PM #33Member

- Join Date
- Feb 2022
- Location
- Nz
- Posts
- 1,171
Sure is. I suppose its one of the skills that I have which I don't really think about to be honest.
I've got quite an illness, in that I have seven welders in my workshop. Being able to crank out nice welds in different materials in different positions is cool.
Also, getting things welded up is expensive!! much cheaper to do it yourself!!
Have a go Brads!!!
-
11-07-2023, 11:03 PM #34Member

- Join Date
- Nov 2022
- Location
- Dunedin
- Posts
- 718
What is a good welder/type of welder to start with?
-
12-07-2023, 12:18 AM #35Member

- Join Date
- Jun 2022
- Location
- Papakura
- Posts
- 1,631
I love my little stick welder, never runs out of gas, only 1 adjustment before you start welding. But if you're starting out on thin material like 1-2mm I'd go for a mig.
Sounds like Tac a1 may be the person to point you towards the right model though.
Also it you get your project galvanized it won't stick to the slag from arc welding if there's an inclusion or you miss chipping of a bit, it looks like shit if that happens.
-
20-07-2023, 11:15 AM #36Member

- Join Date
- Dec 2021
- Location
- Tauranga
- Posts
- 6,048
Different welders are very good for different things and they don't really cross over in application that well - by that I mean a good operator can weld with two batteries, some No8 wire and a supply of farts but a crap welder could cock up welds from a robotic welder that requires no human interaction...
Just starting out, my advice is hit Youtube and then go for a multi process machine that does Arc/MMA/stick welding as well as MIG/MAG/wire feed welding. Get one that is the max at what your power supply can operate as that gives you more welding time against machine cooling off time, and also try to get one that has 'stepless' adjustment of the Mig process (i.e. you don't have say 4 or 6 voltage settings but can adjust a knob to suit). These are a little easier to adjust once you have the knack.
-
20-07-2023, 11:56 AM #37
In the last year I have changed from stick to a MIG machine.
A bit of a learning curve but nothing like what I expected.
I'm running it gasless and although the machine came with regulator and hoses etc I won't bother with gas at this stage.
For home use you don't need to pay a bomb for a MIG. Mine will do MIG, TIG, and ARC.
IIRC I'm running 0.9 wire which will do all I need to do.
https://www.prolineindustrial.co.nz/...welder-wt200mp
As always you just need to be mindfull of the duty cycle but haven't found it to be an issue with stops for setting up etc. Even with my grunty stick welder duty cycle is still there.
I think there are YouTube vids claiming if starting out it is better to learn using a MIG machine than a stick welder. Don't know if this is true.Last edited by zimmer; 20-07-2023 at 12:03 PM.
-
20-07-2023, 11:16 PM #38Member

- Join Date
- Nov 2022
- Location
- Dunedin
- Posts
- 718
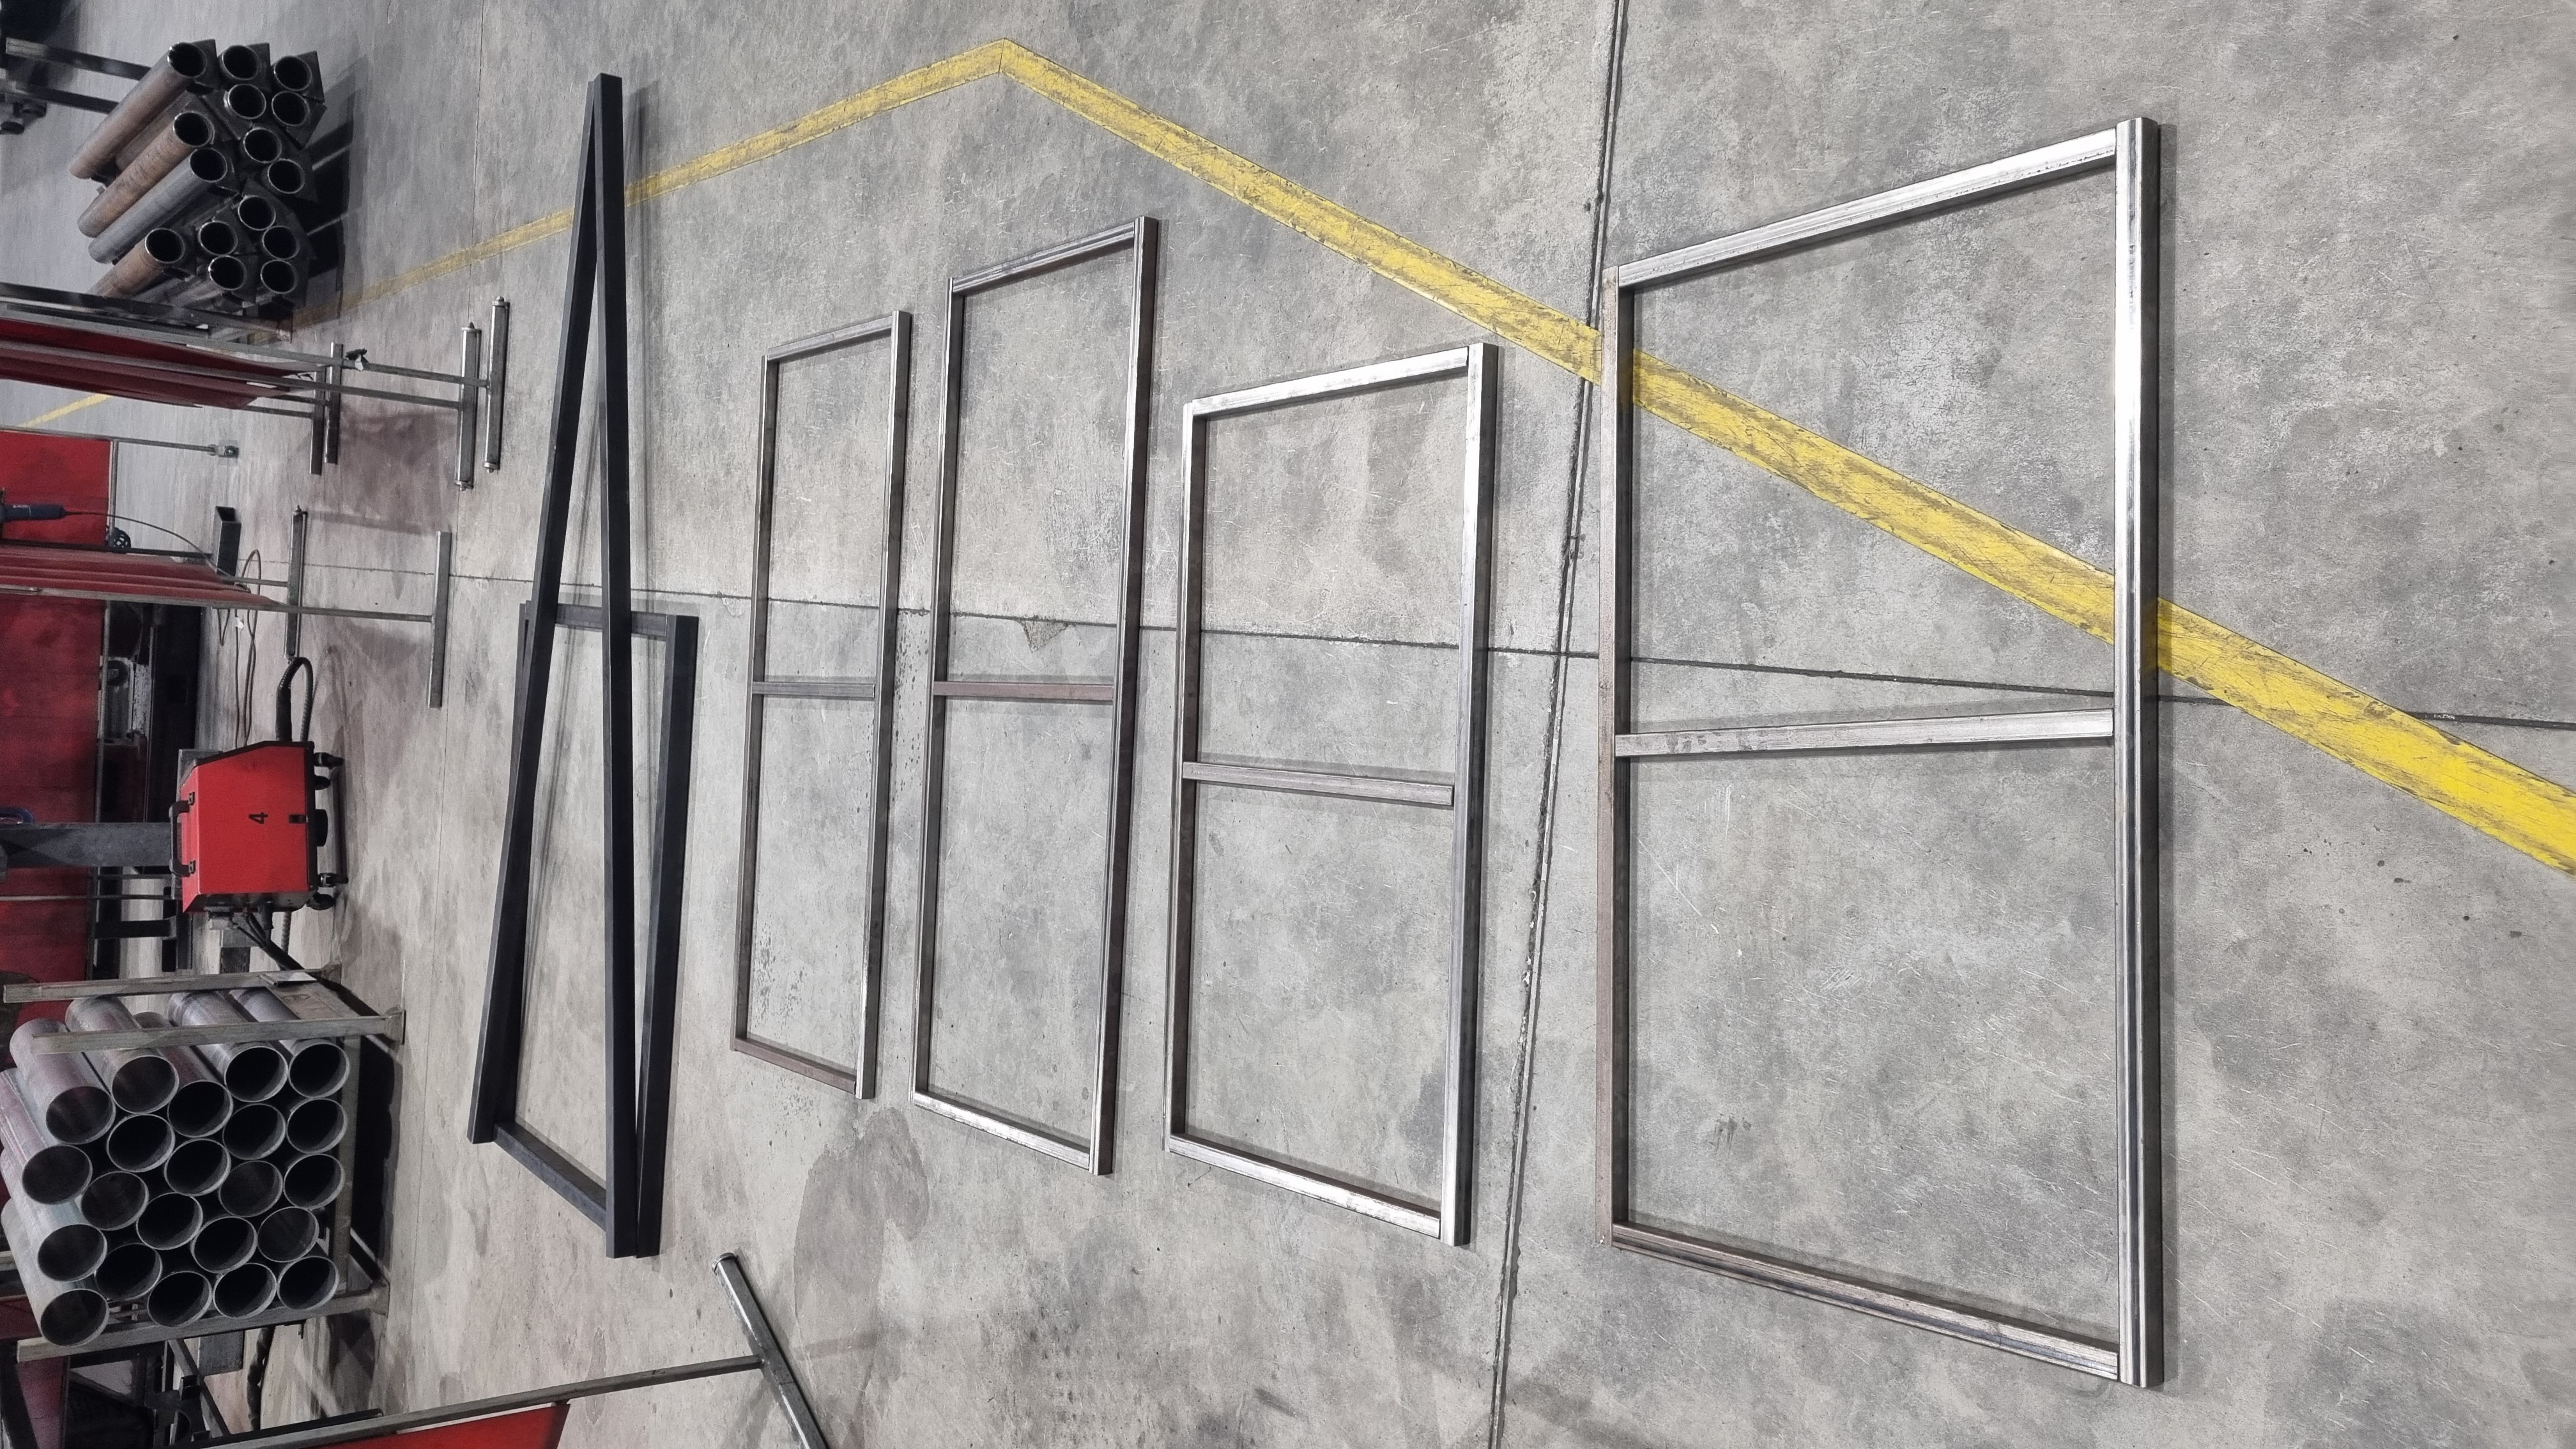
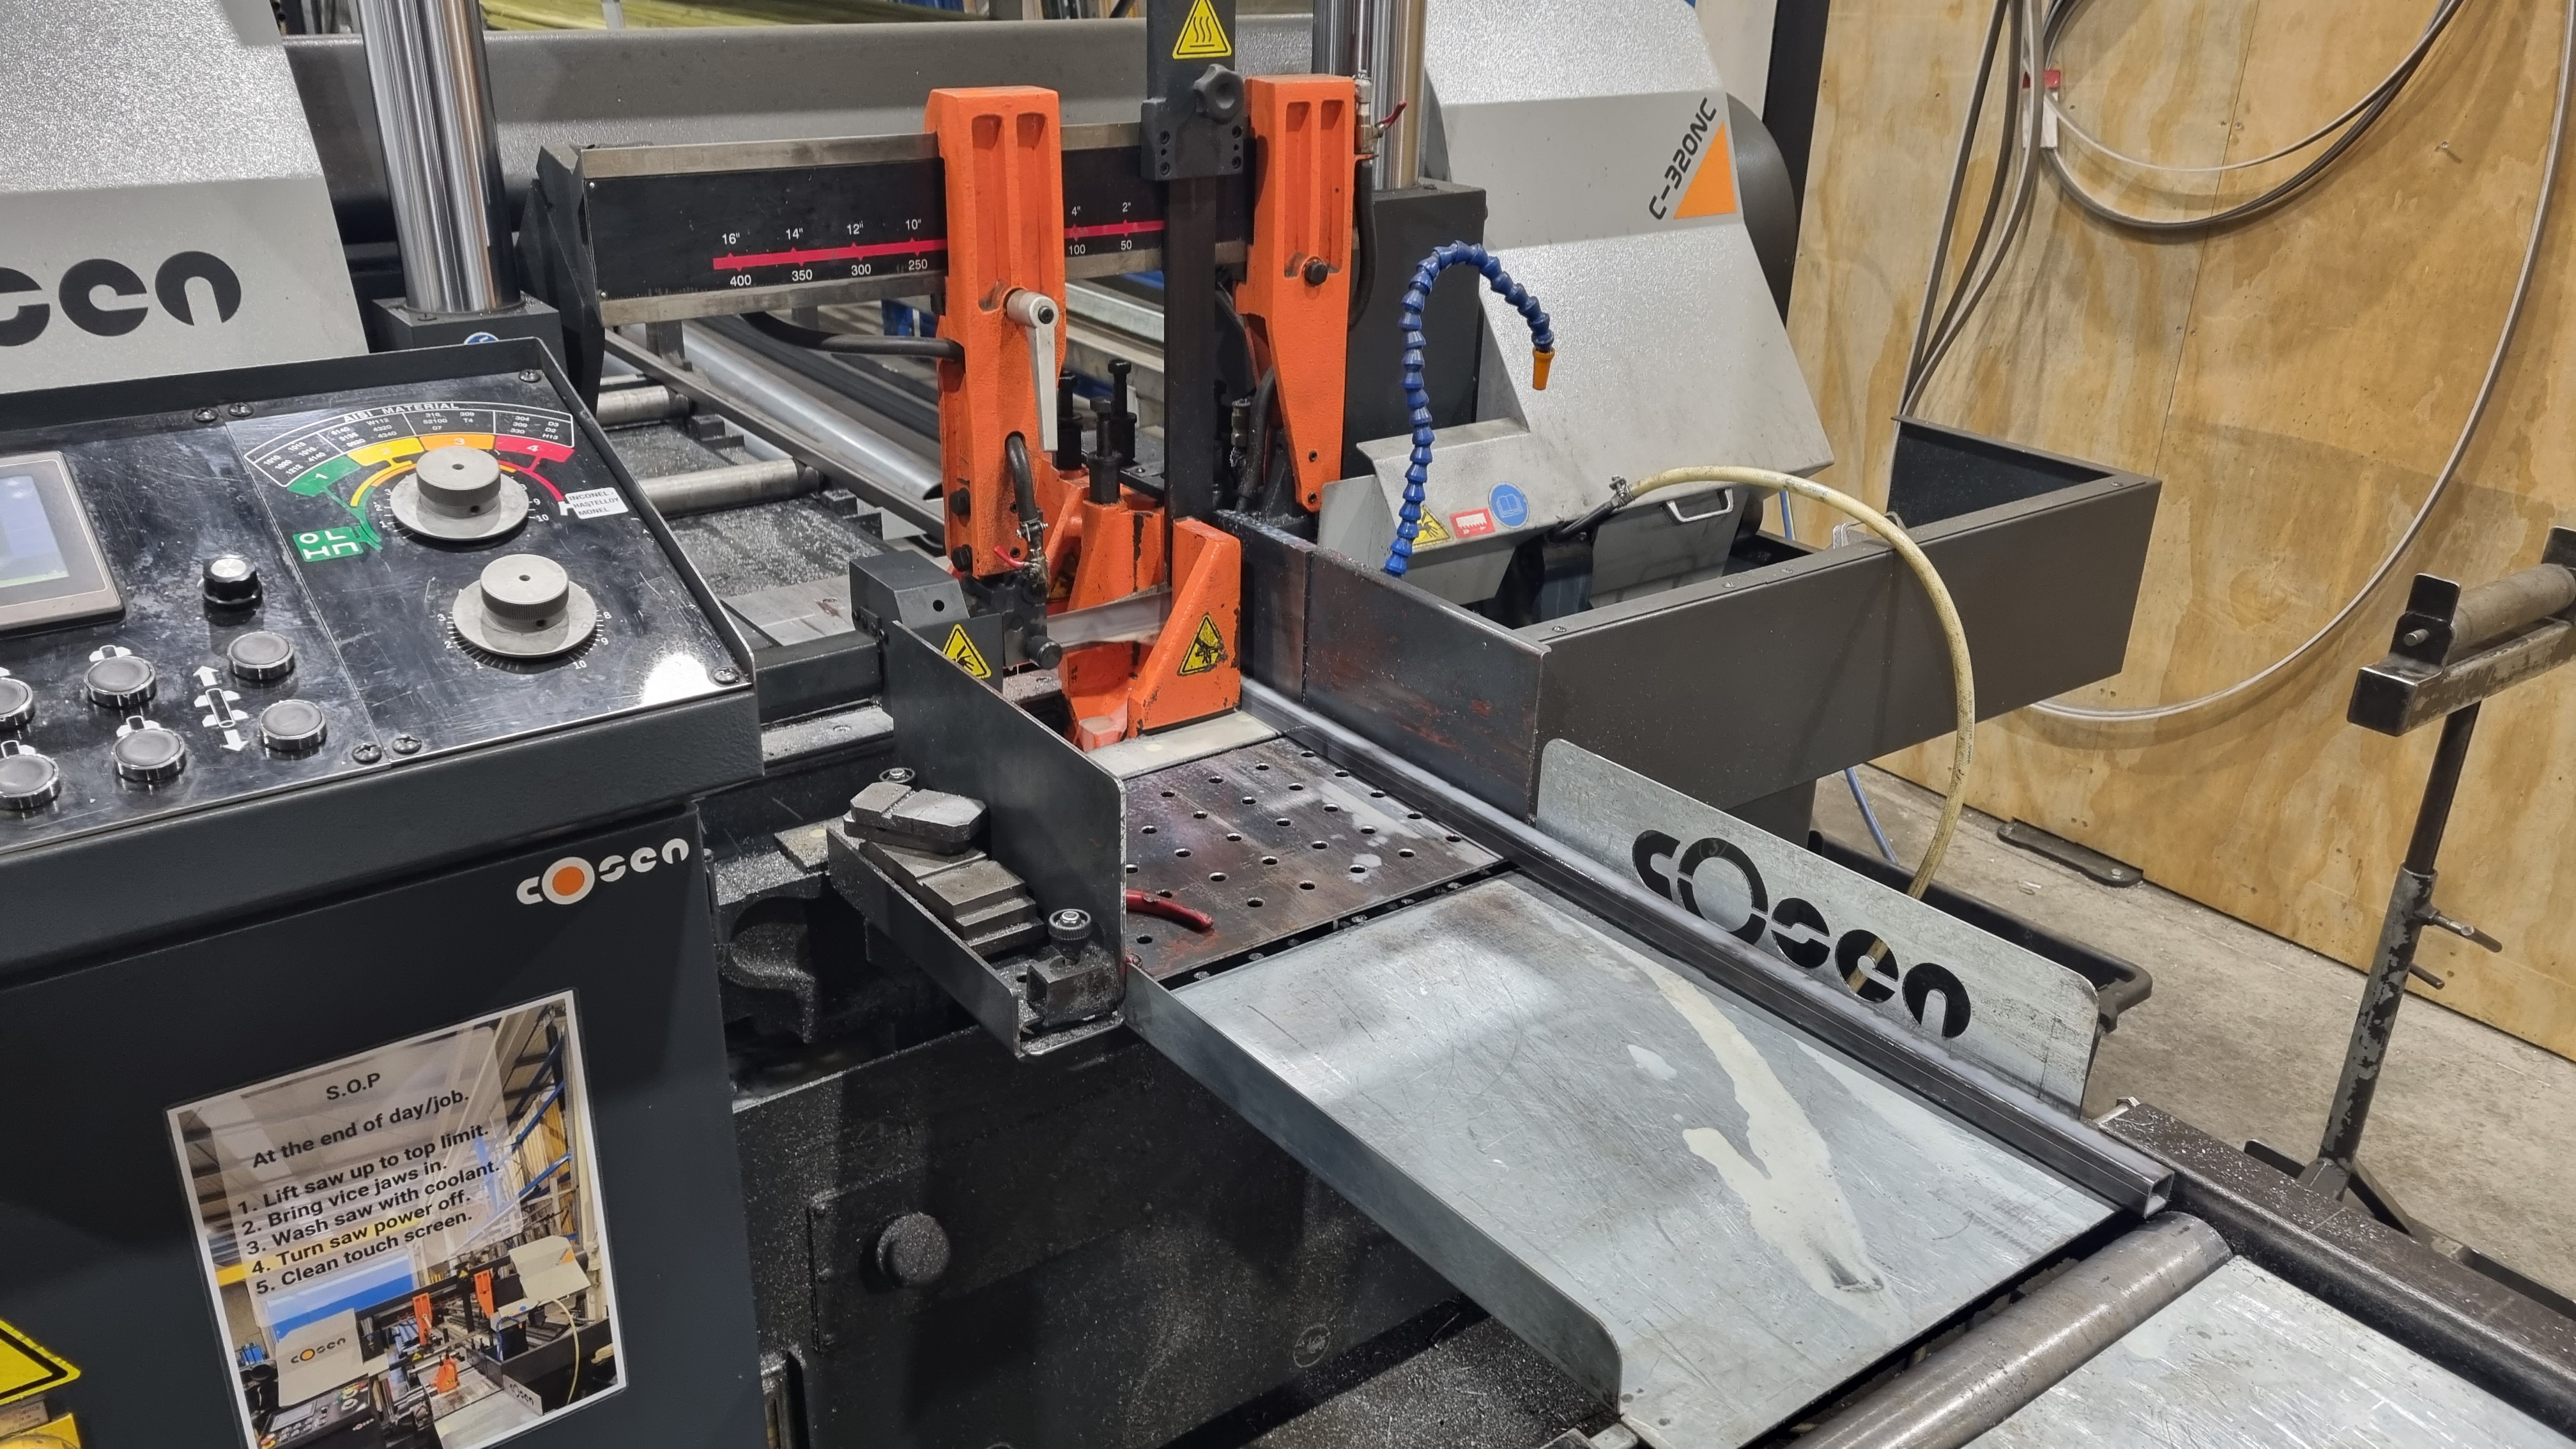
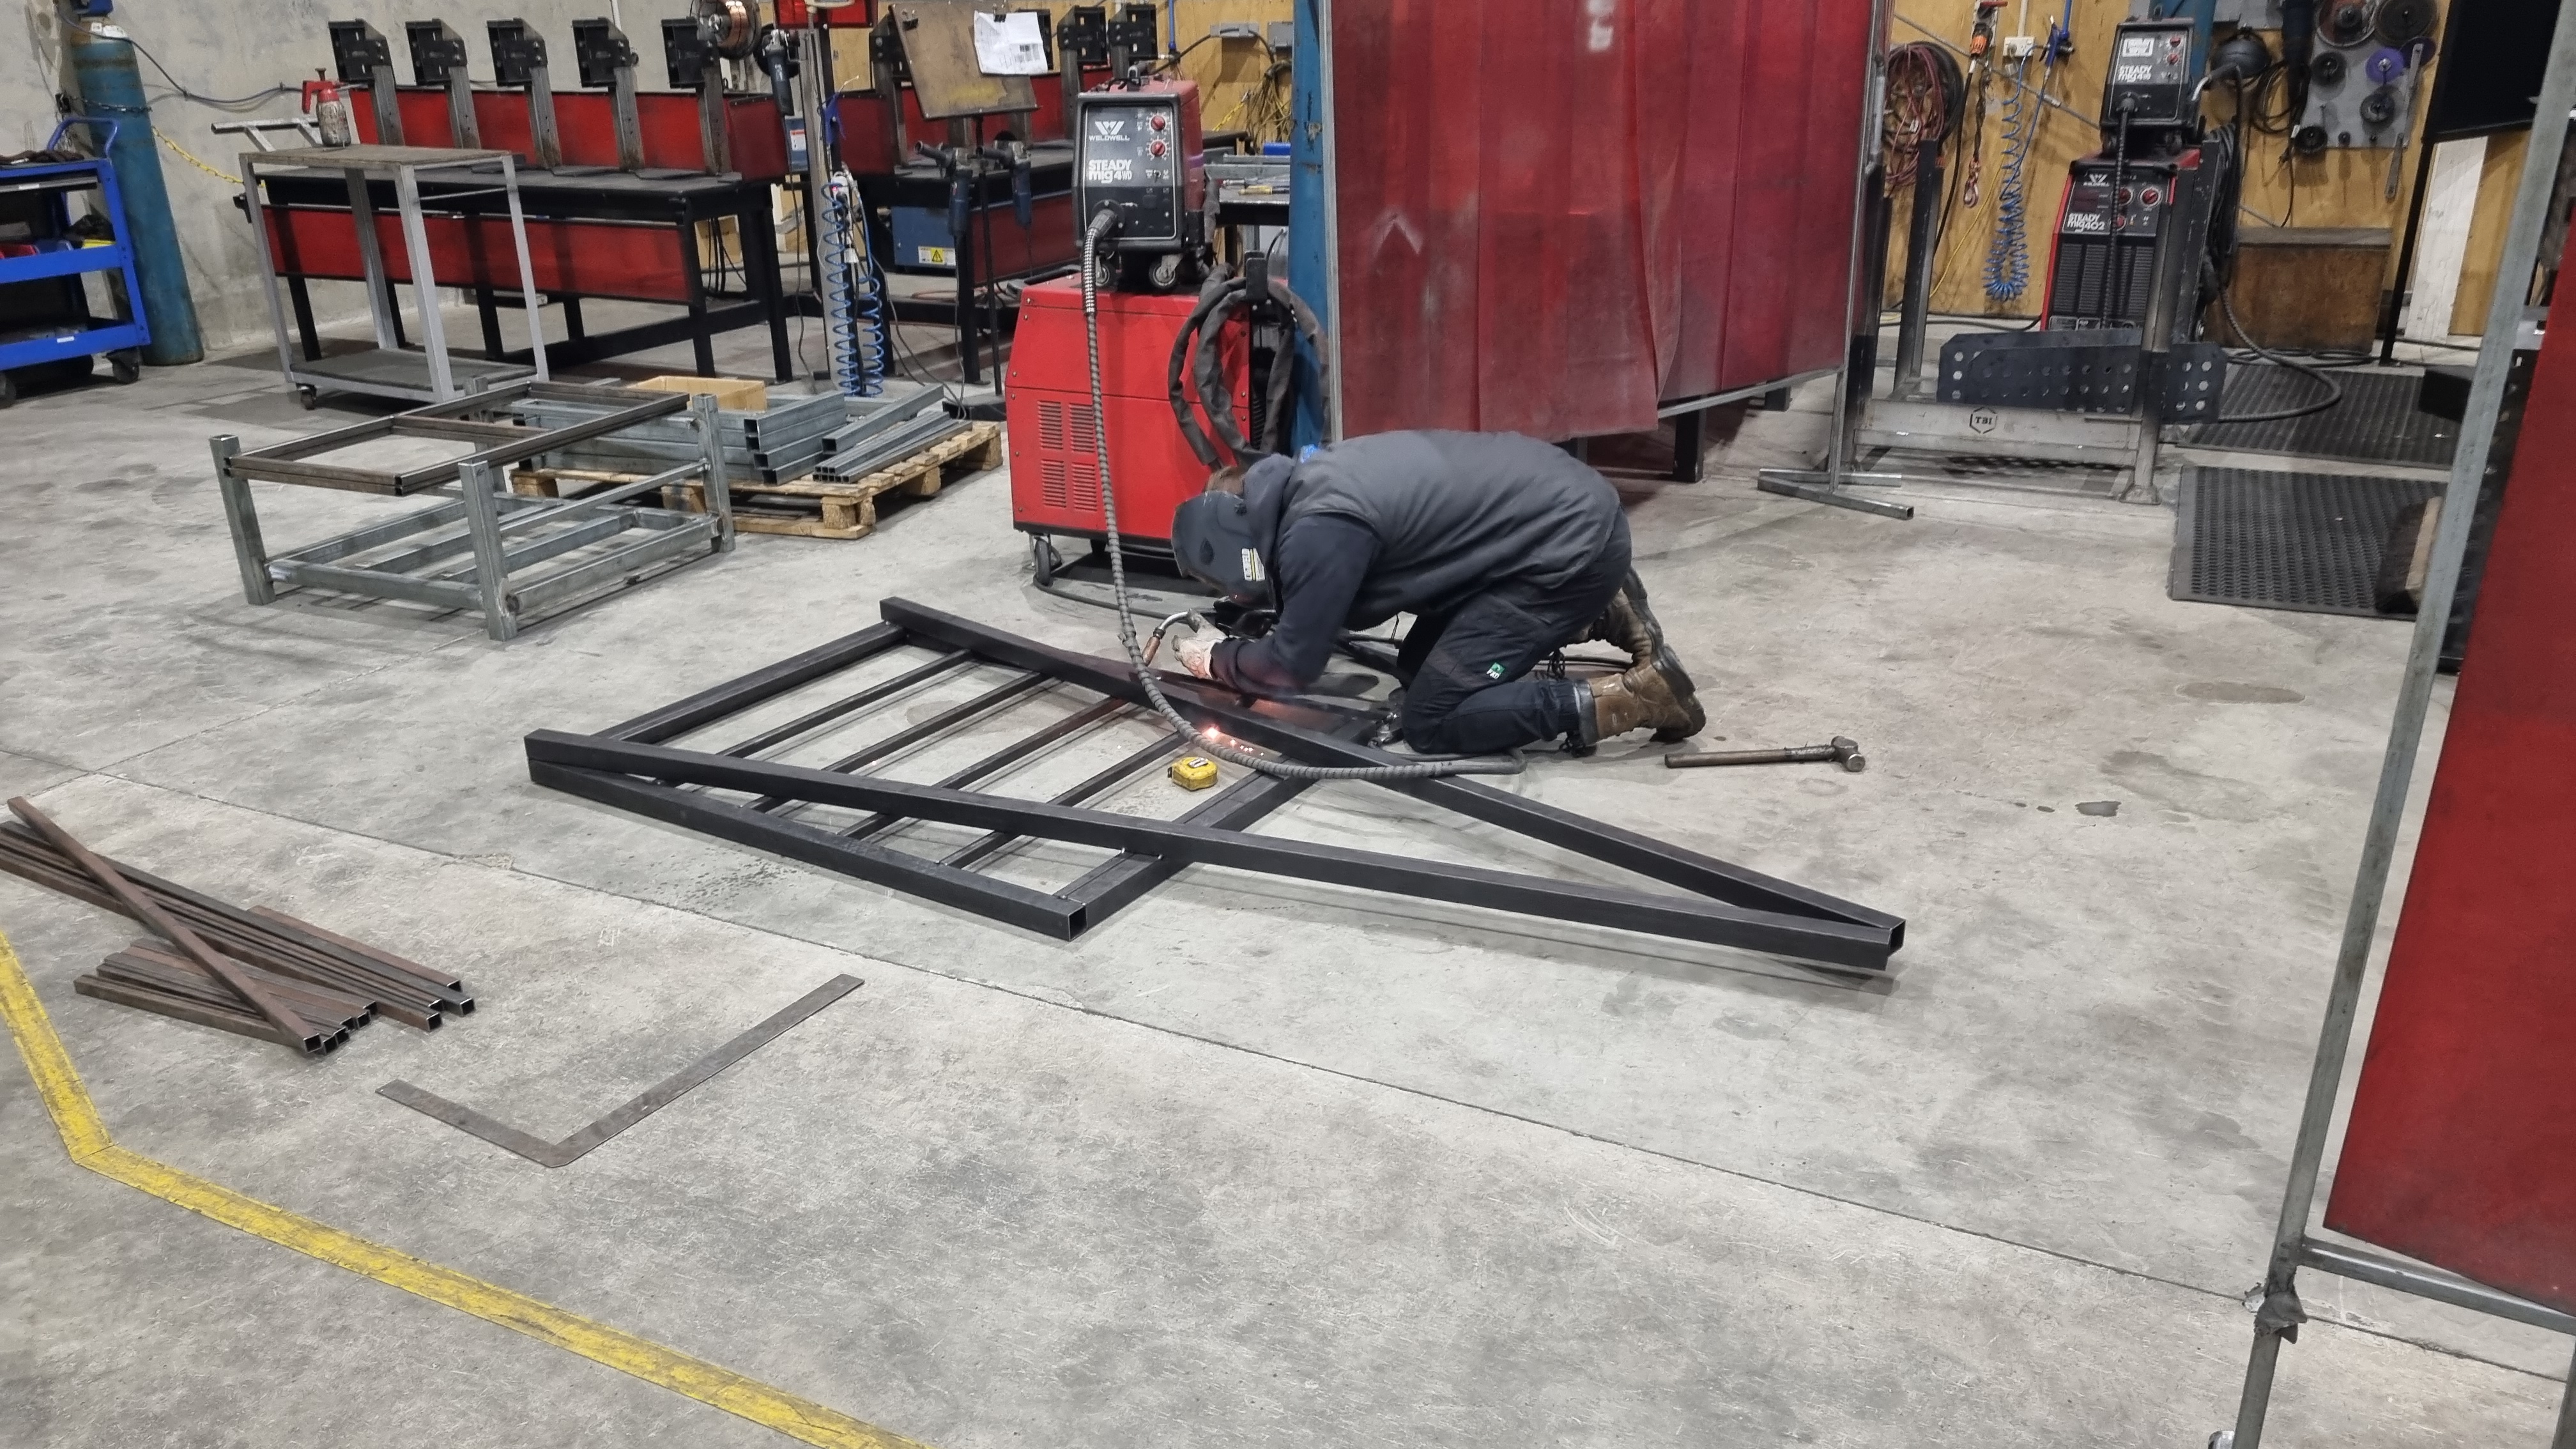
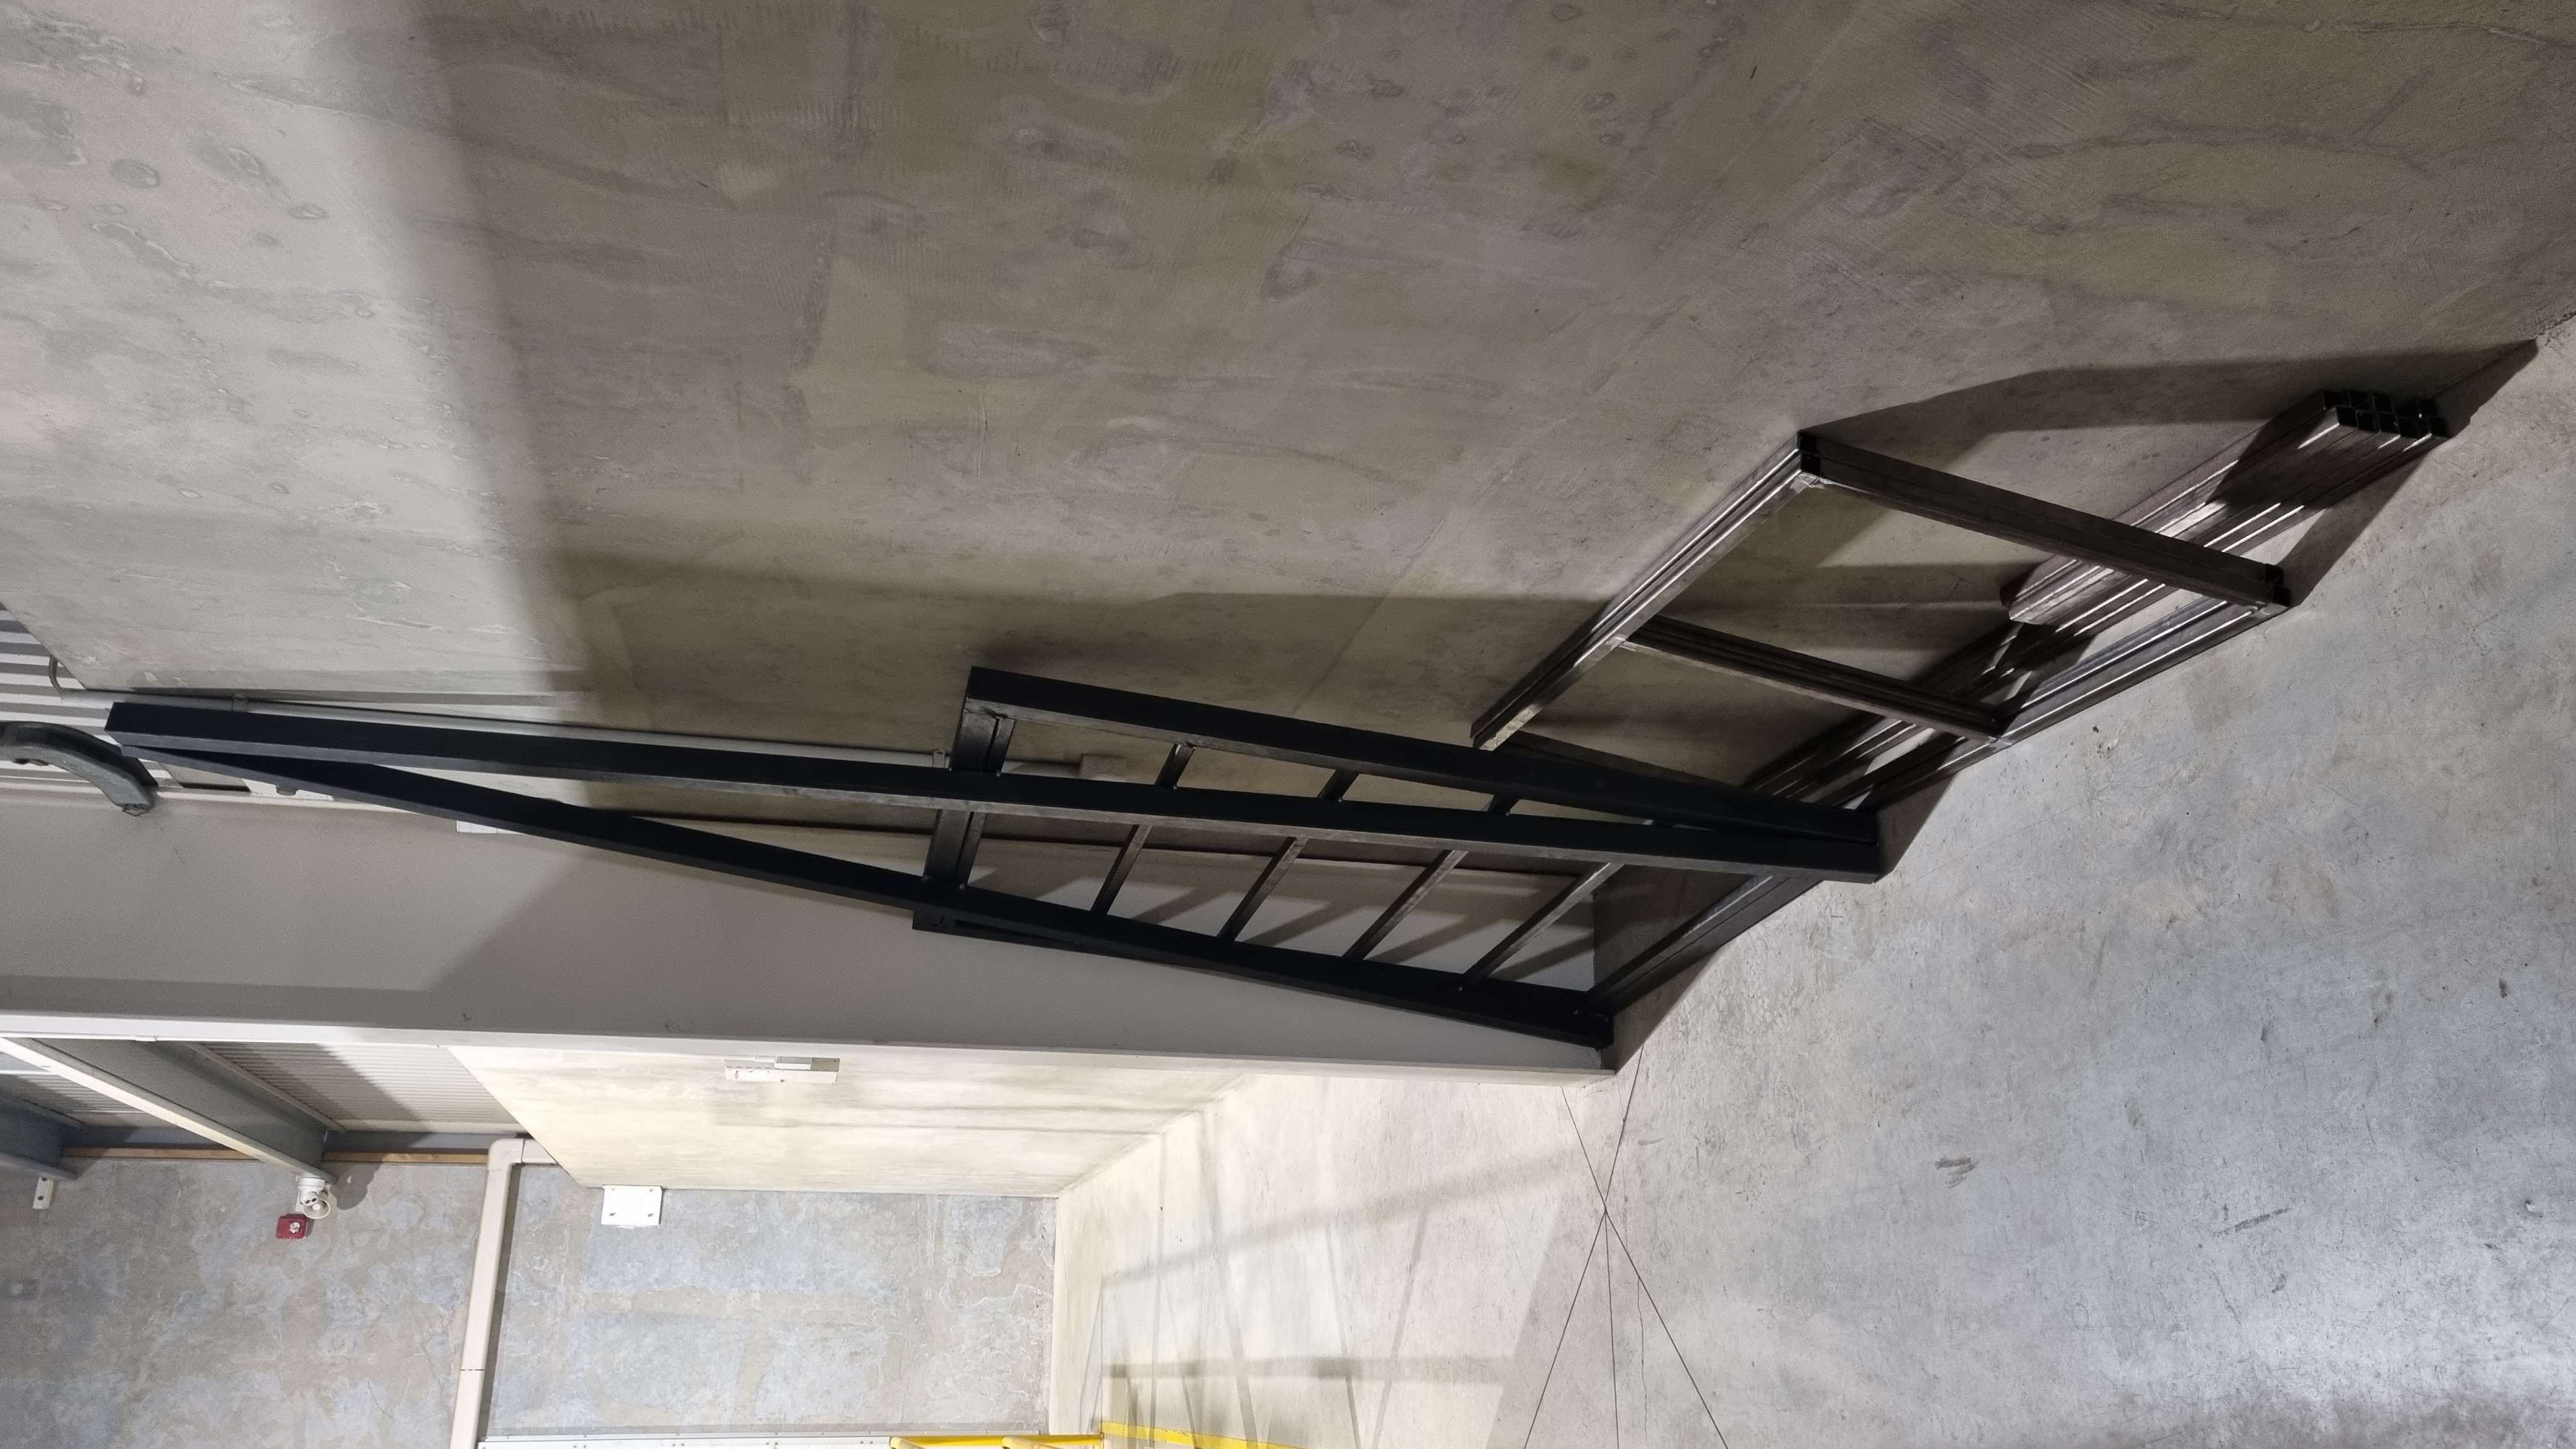
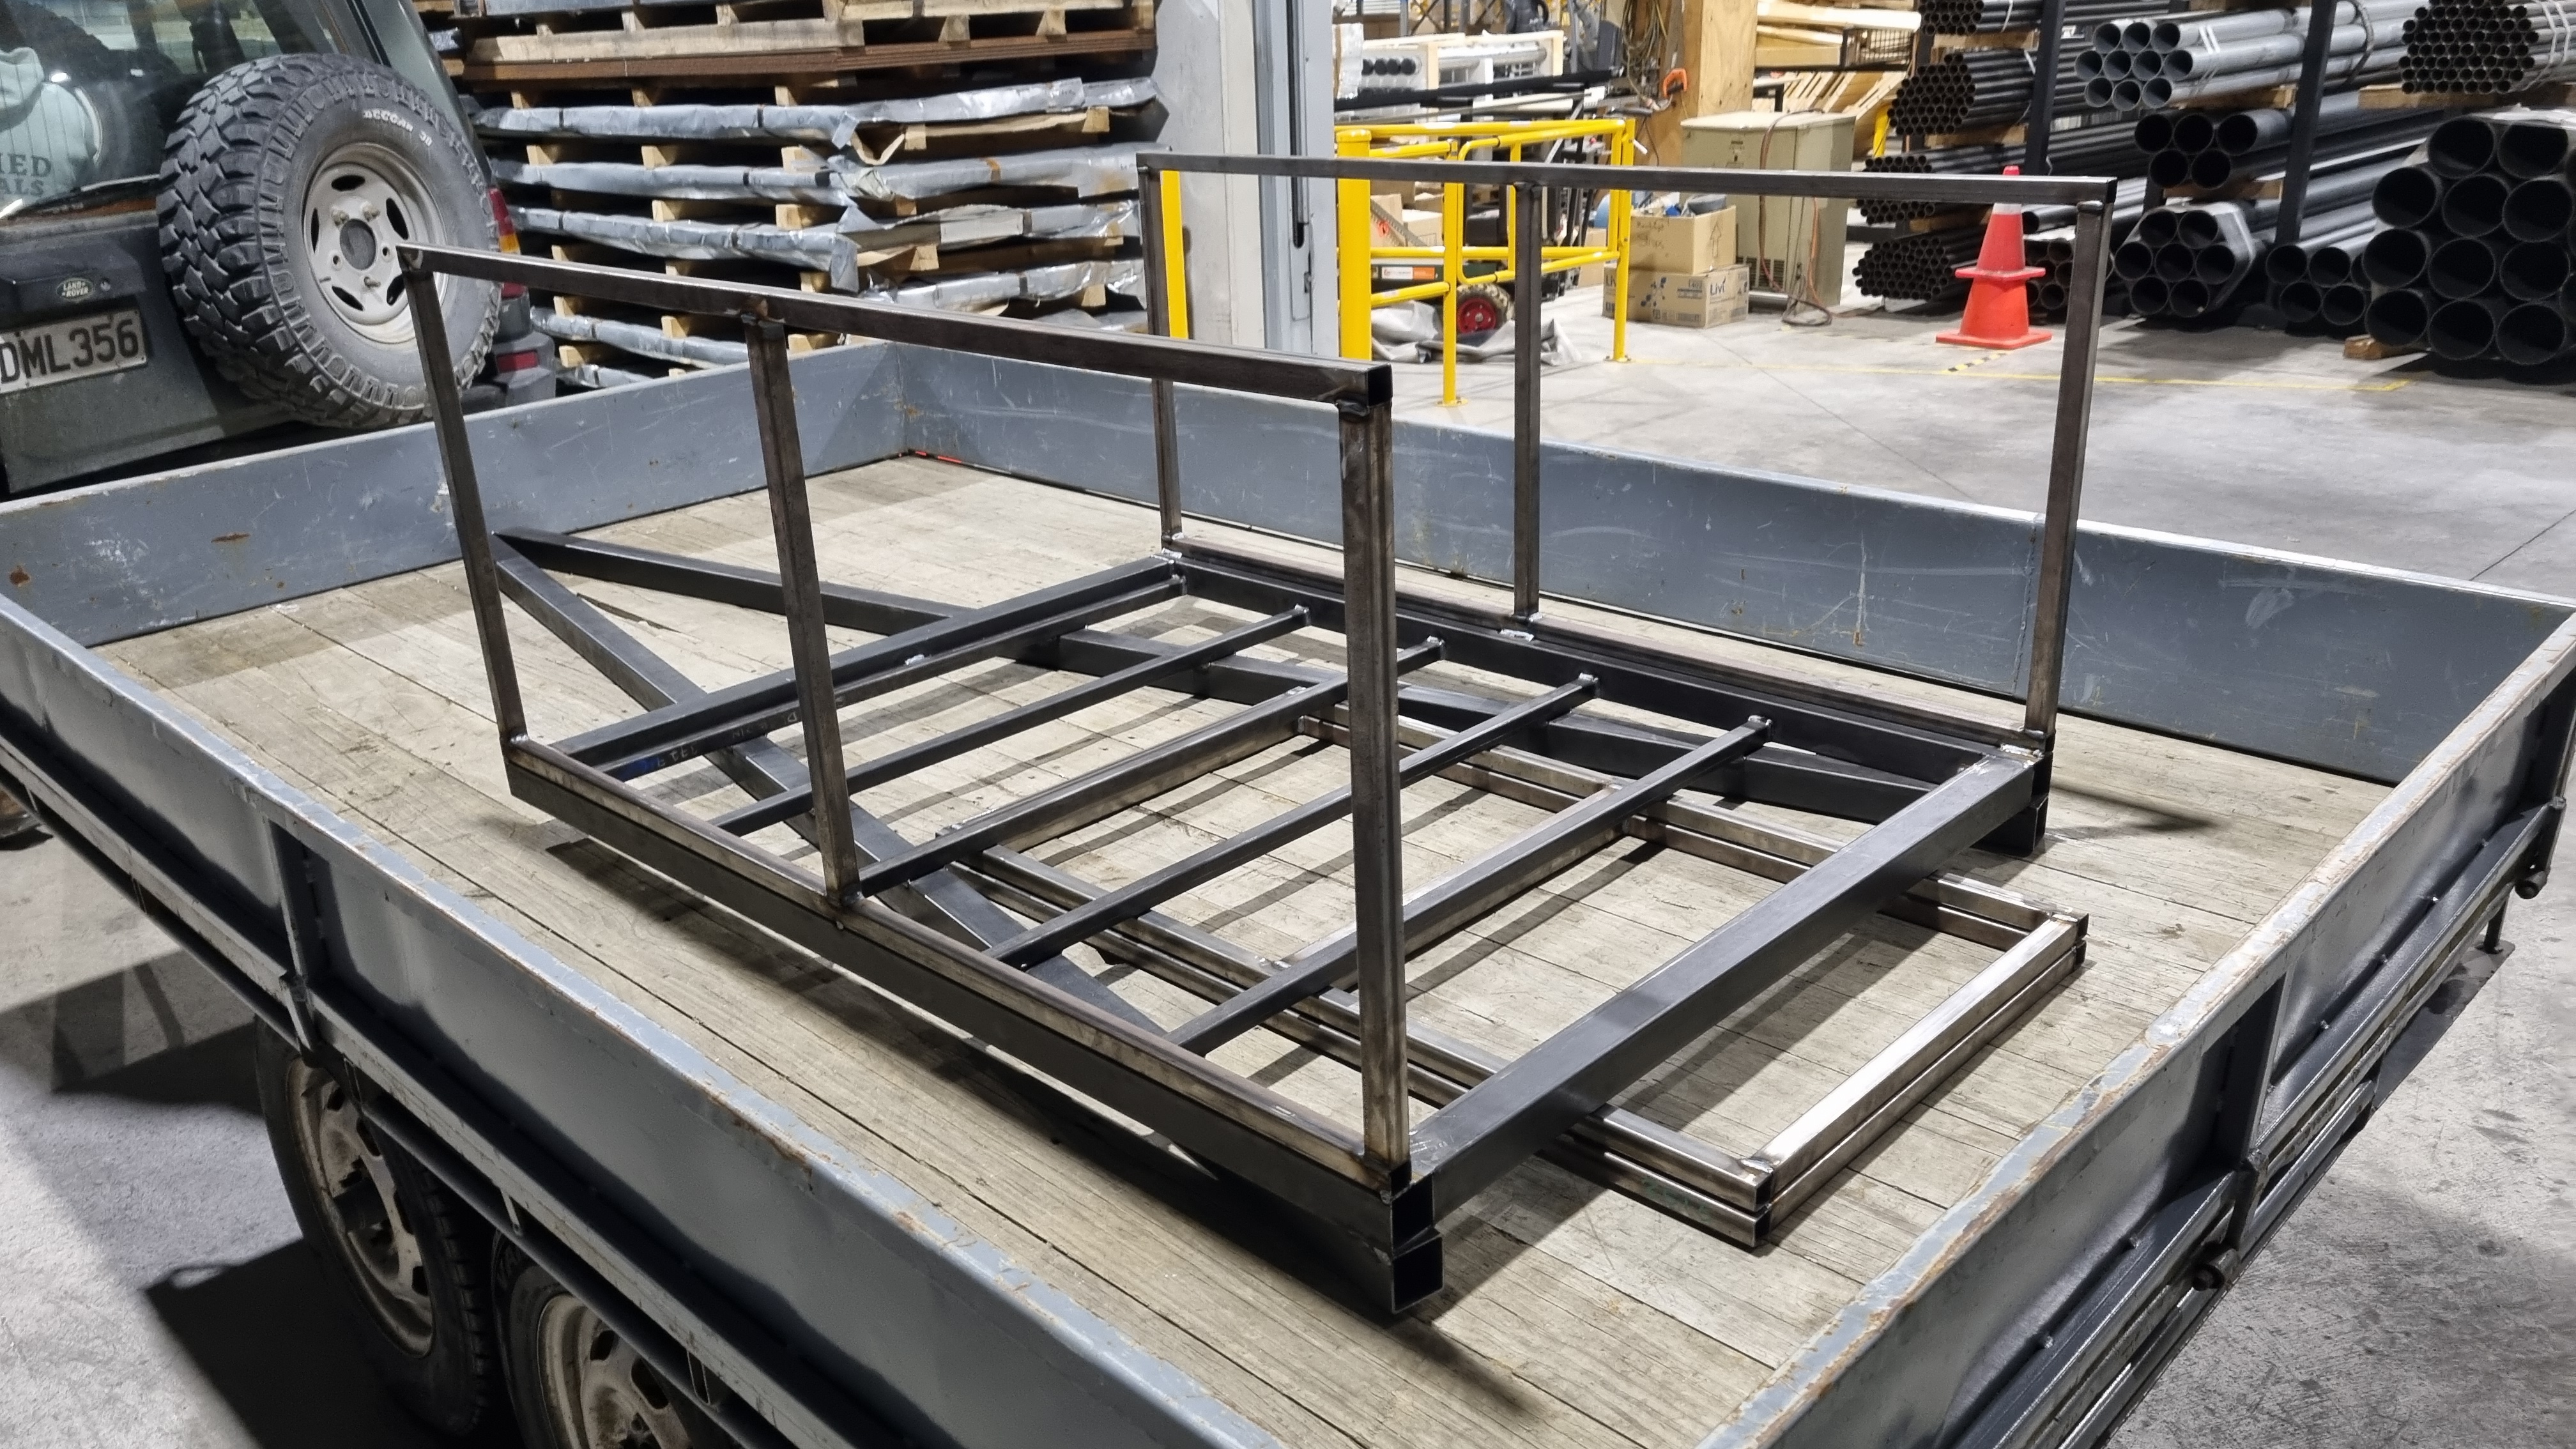
The first two hours of work on this project have been very productive. It's shaping up to be light and very strong.
I may weld more support on the frame where the wheels will attach, but otherwise it's going to be plenty strong enough for anything a normal quad can tow. I'm quite pleased how it looks actually.
I decided 1200x1600 was too large so I changed it to 1000x1400, with 600 high sides. The front and back panels will fold down/be removable, but the sides will probably be welded on.

-
21-07-2023, 03:14 AM #39Member

- Join Date
- Feb 2022
- Location
- Nz
- Posts
- 1,171
Hey Brads. What type of welder to get...........where do we start?????
I suppose the start point is what type of material are you going to be welding, how thick is it, how much use will it get, etc. Single phase?
Most new welders start out with a MIG (metal, inert gas). For thinner steel up to 5mm, you dont need a huge welder. 140 amp is heaps. .9mm wire is good.
I do not like gas less migs. They are far too splattery and pigs of things. You dont want to be cleaning slag off welds. Thats the beauty of a gas mig. quick and clean.
Most of the brands are ok. I use mainly CIGWELD or ESAB, which are more heavy duty professional type welders ( three phase)
I think BOC do a small mig which is supposed to be ok. check out youtube. That will teach you more than I could ever do.
-
29-07-2023, 12:09 PM #40Member

- Join Date
- Nov 2022
- Location
- Dunedin
- Posts
- 718
A little more progress last night. It's fully welded up now, so the next steps are to finish welding the sides on, get some hinges and latches set up for the front and back fold down gates. And then I guess set up the axle and send it all off to the galv plant. Starting to look good!
-
29-07-2023, 12:17 PM #41Member

- Join Date
- Feb 2022
- Location
- Nz
- Posts
- 1,171
That looks really professional Brads. Well done.
Dont muck around with paint. Galv is the way to go.
-
29-07-2023, 12:23 PM #42Member

- Join Date
- Nov 2022
- Location
- Dunedin
- Posts
- 718
I know a guy, so I can get it sent up to chch and galvanized for $2/kg. Seems like a good way to future proof the build.
I reckon the whole thing weighs about 40kg so far.
-
29-07-2023, 12:57 PM #43
Just make sure any closed sections have holes drilled in them to relieve pressure. I forgot to do it with one of my projects and it came back looking like a Swiss cheese.
Holes to relieve pressure due to heat and the same holes to drain the galv that gets in.
-
29-07-2023, 01:31 PM #44
consider putting a "barstard bar" across the top at both ends mine has just one about a 3rd of way from front..its called a barstard bar as its a barstard of a thing to smack your head on or run into when forget its there BUT it helps stop sides from splaying out a simple bit of reo bar with right angle bend dropped through holes in top frame and held with lynch pin works without it the sides can splay making closing gates a right PIA and long term will crack them welds sooner than needed.
75/15/10 black powder matters
-
29-07-2023, 03:18 PM #45Member

- Join Date
- Nov 2022
- Location
- Dunedin
- Posts
- 718
That's an interesting idea. Any chance you could upload a photo of yours?
I've been thinking about how to support the sides. Was wondering about putting a small diagonal across at the bottom corner, to prevent the sides from collapsing in or out over time. That would take up minimal deck space. I suspect it won't be much of a problem because the end panels will almost always be up.
You idea sounds good, as long as the bar was removable.
Similar Threads
-
Homemade Ice cream
By mrs dundee in forum Game Cooking and RecipesReplies: 17Last Post: 16-05-2015, 01:13 AM -
Homemade bread...
By EeeBees in forum Game Cooking and RecipesReplies: 12Last Post: 07-01-2015, 12:00 AM
Tags for this Thread
Welcome to NZ Hunting and Shooting Forums! We see you're new here, or arn't logged in. Create an account, and Login for full access including our FREE BUY and SELL section Register NOW!!


 41Likes
 LinkBack URL
 About LinkBacks


 Reply With Quote


Bookmarks