

 46Likes
 LinkBack URL
 About LinkBacks
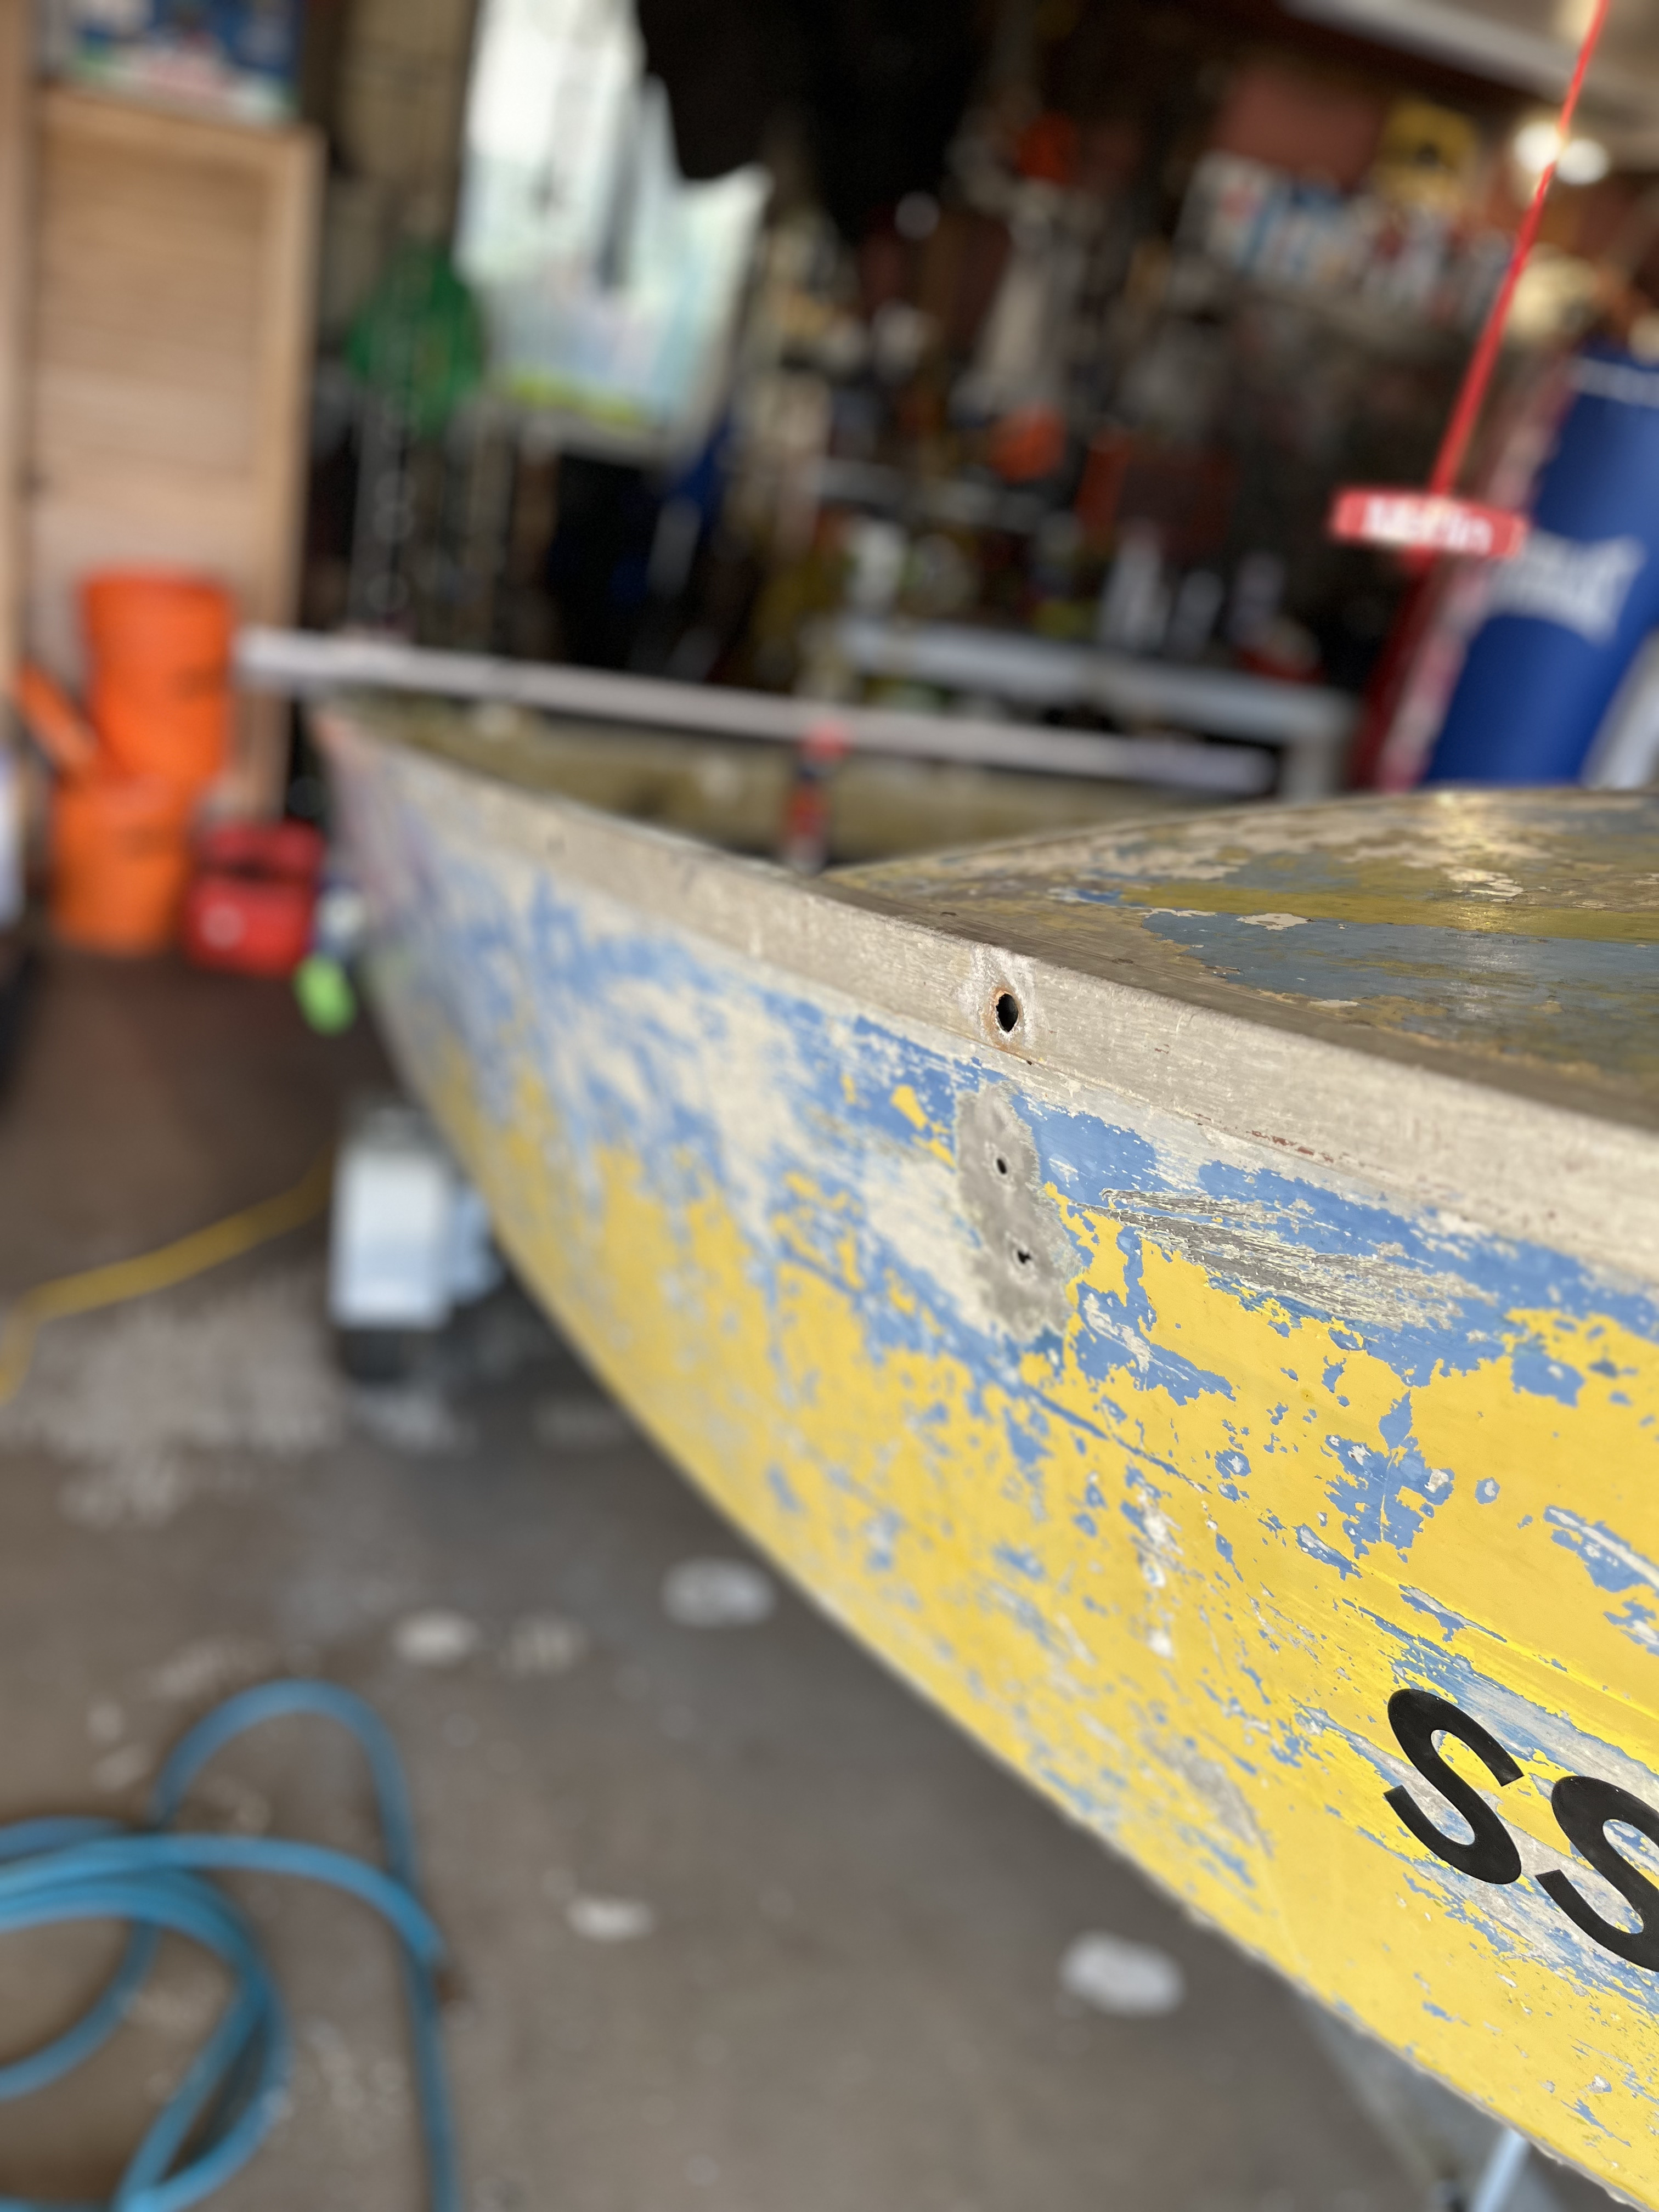
Bought an old 12ft alicraft and two motors for a good price. Leak tested it and found it leaking from 6 spots.
my mate is a machinist so we decided it would be fun to learn how to solid rivet.
the set up
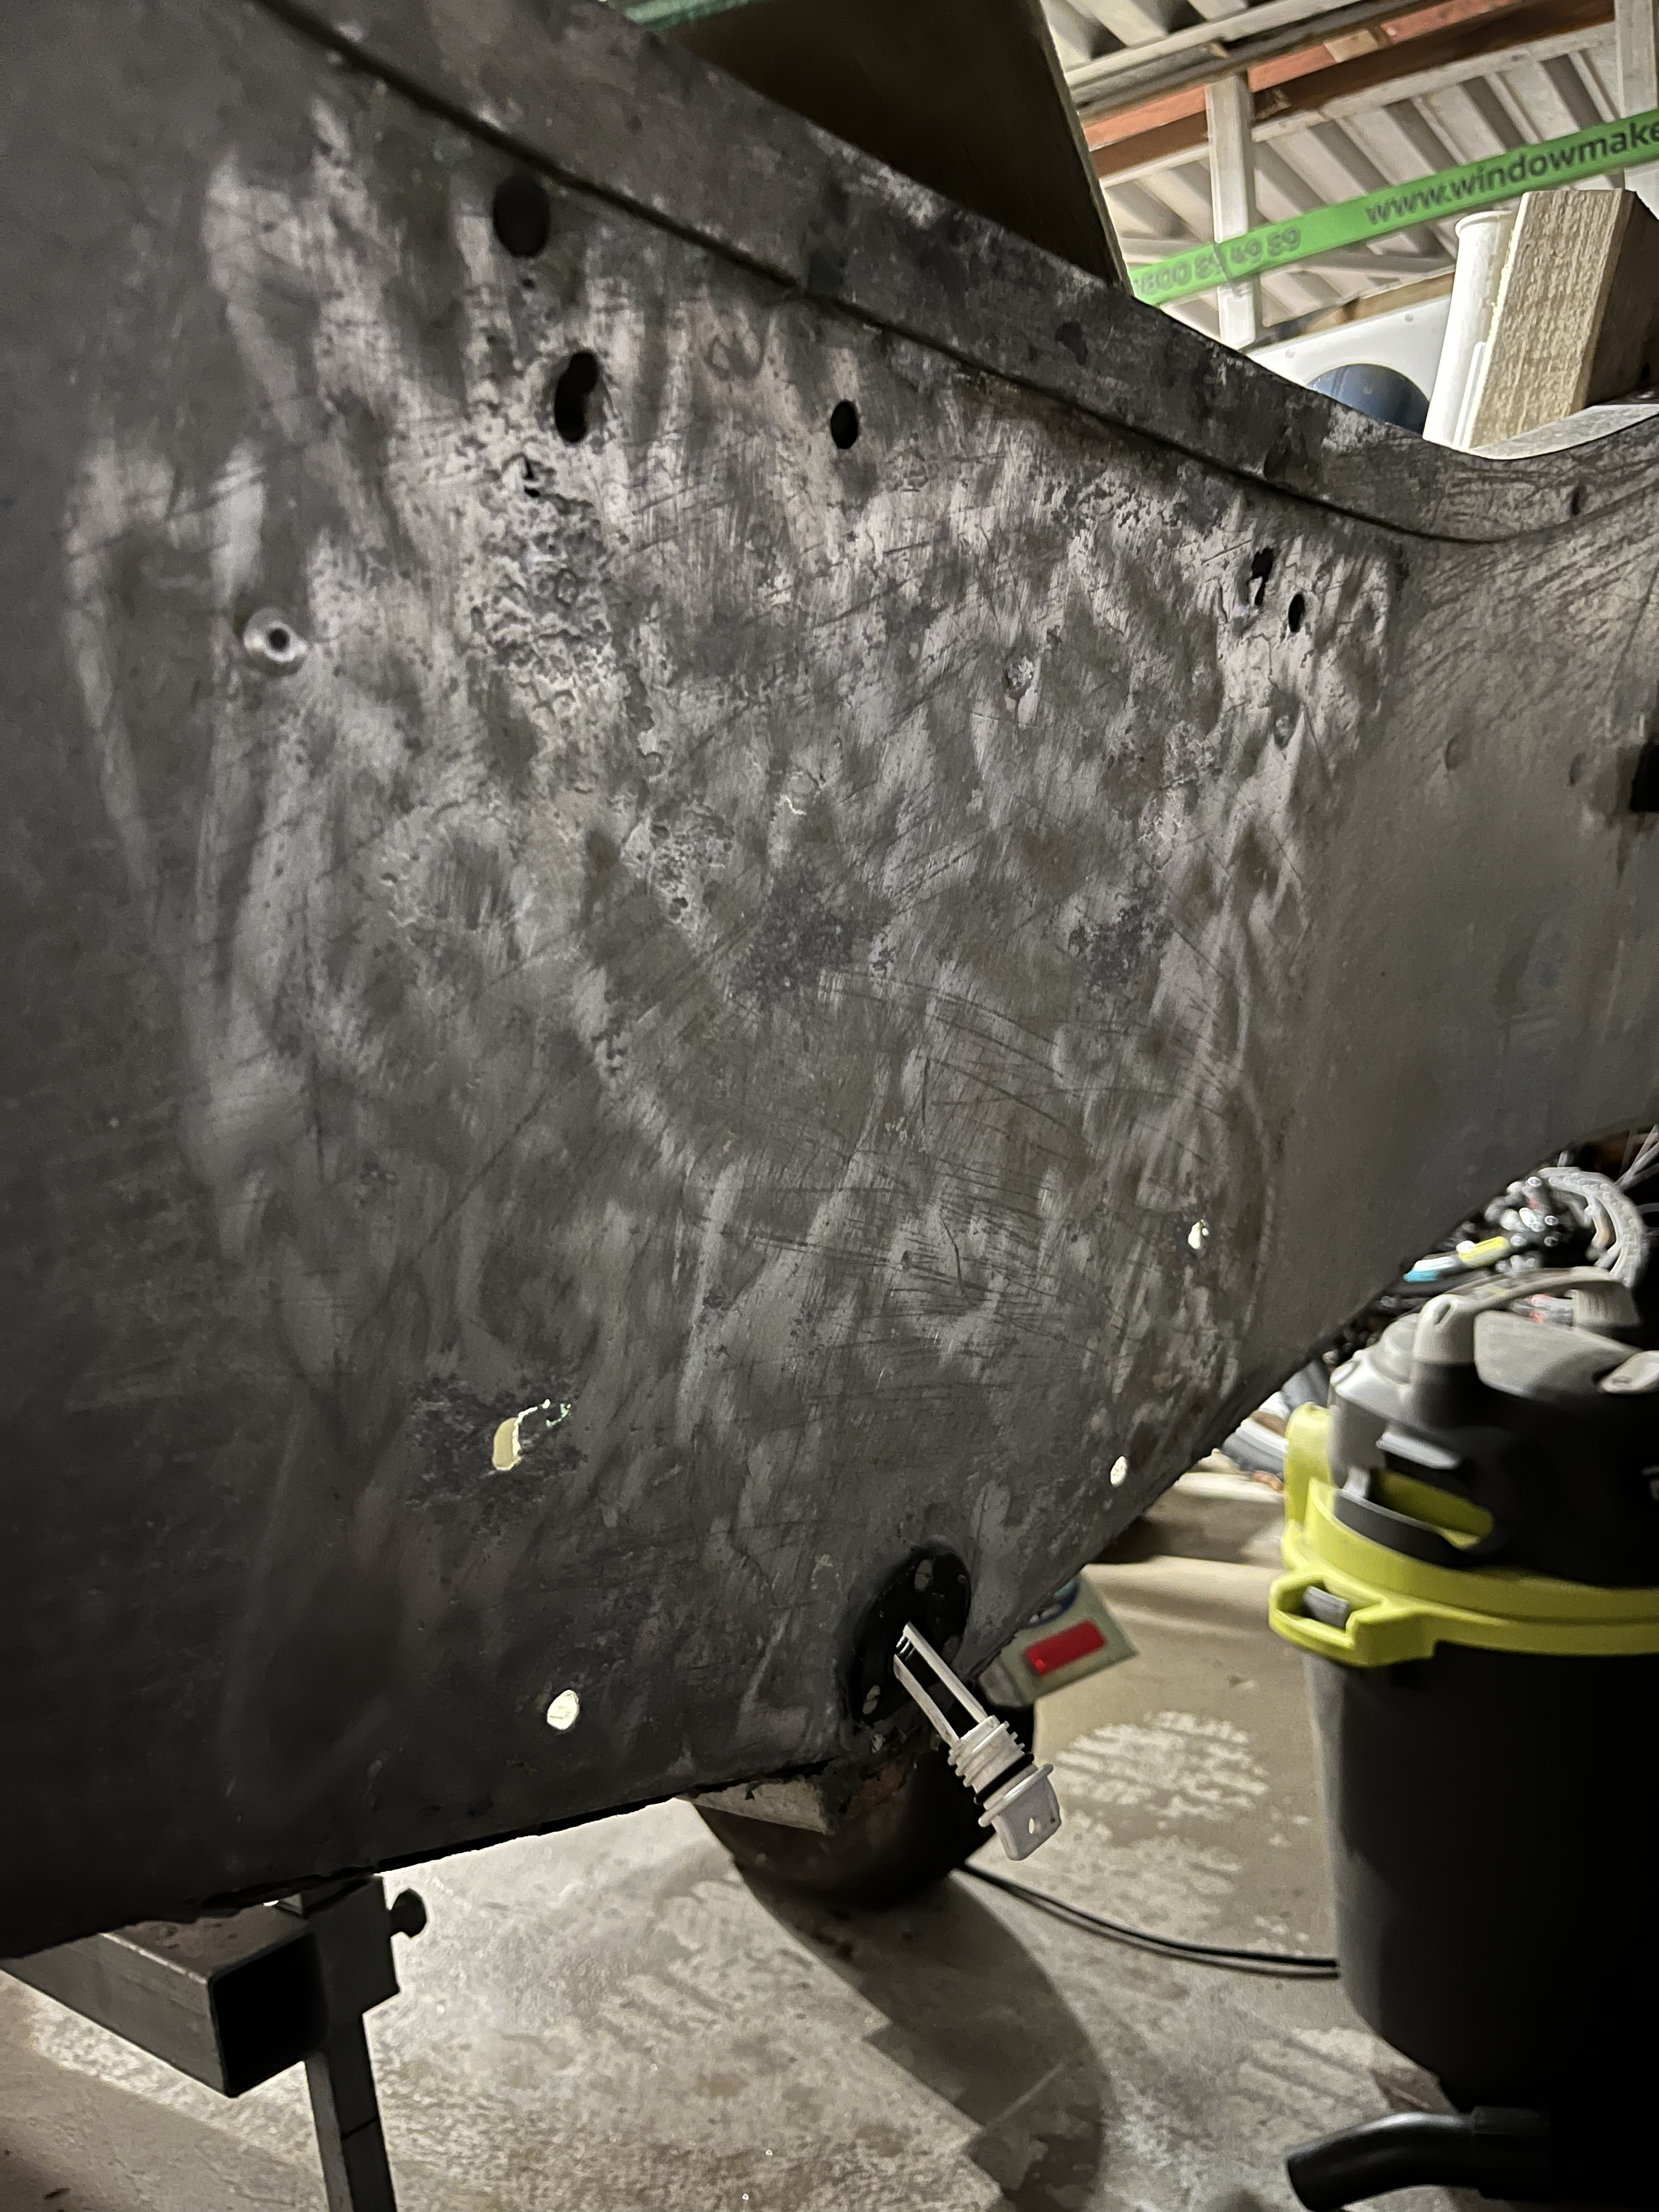
testing on a spot of the hull that had rusty galv bolts but is above the waterline
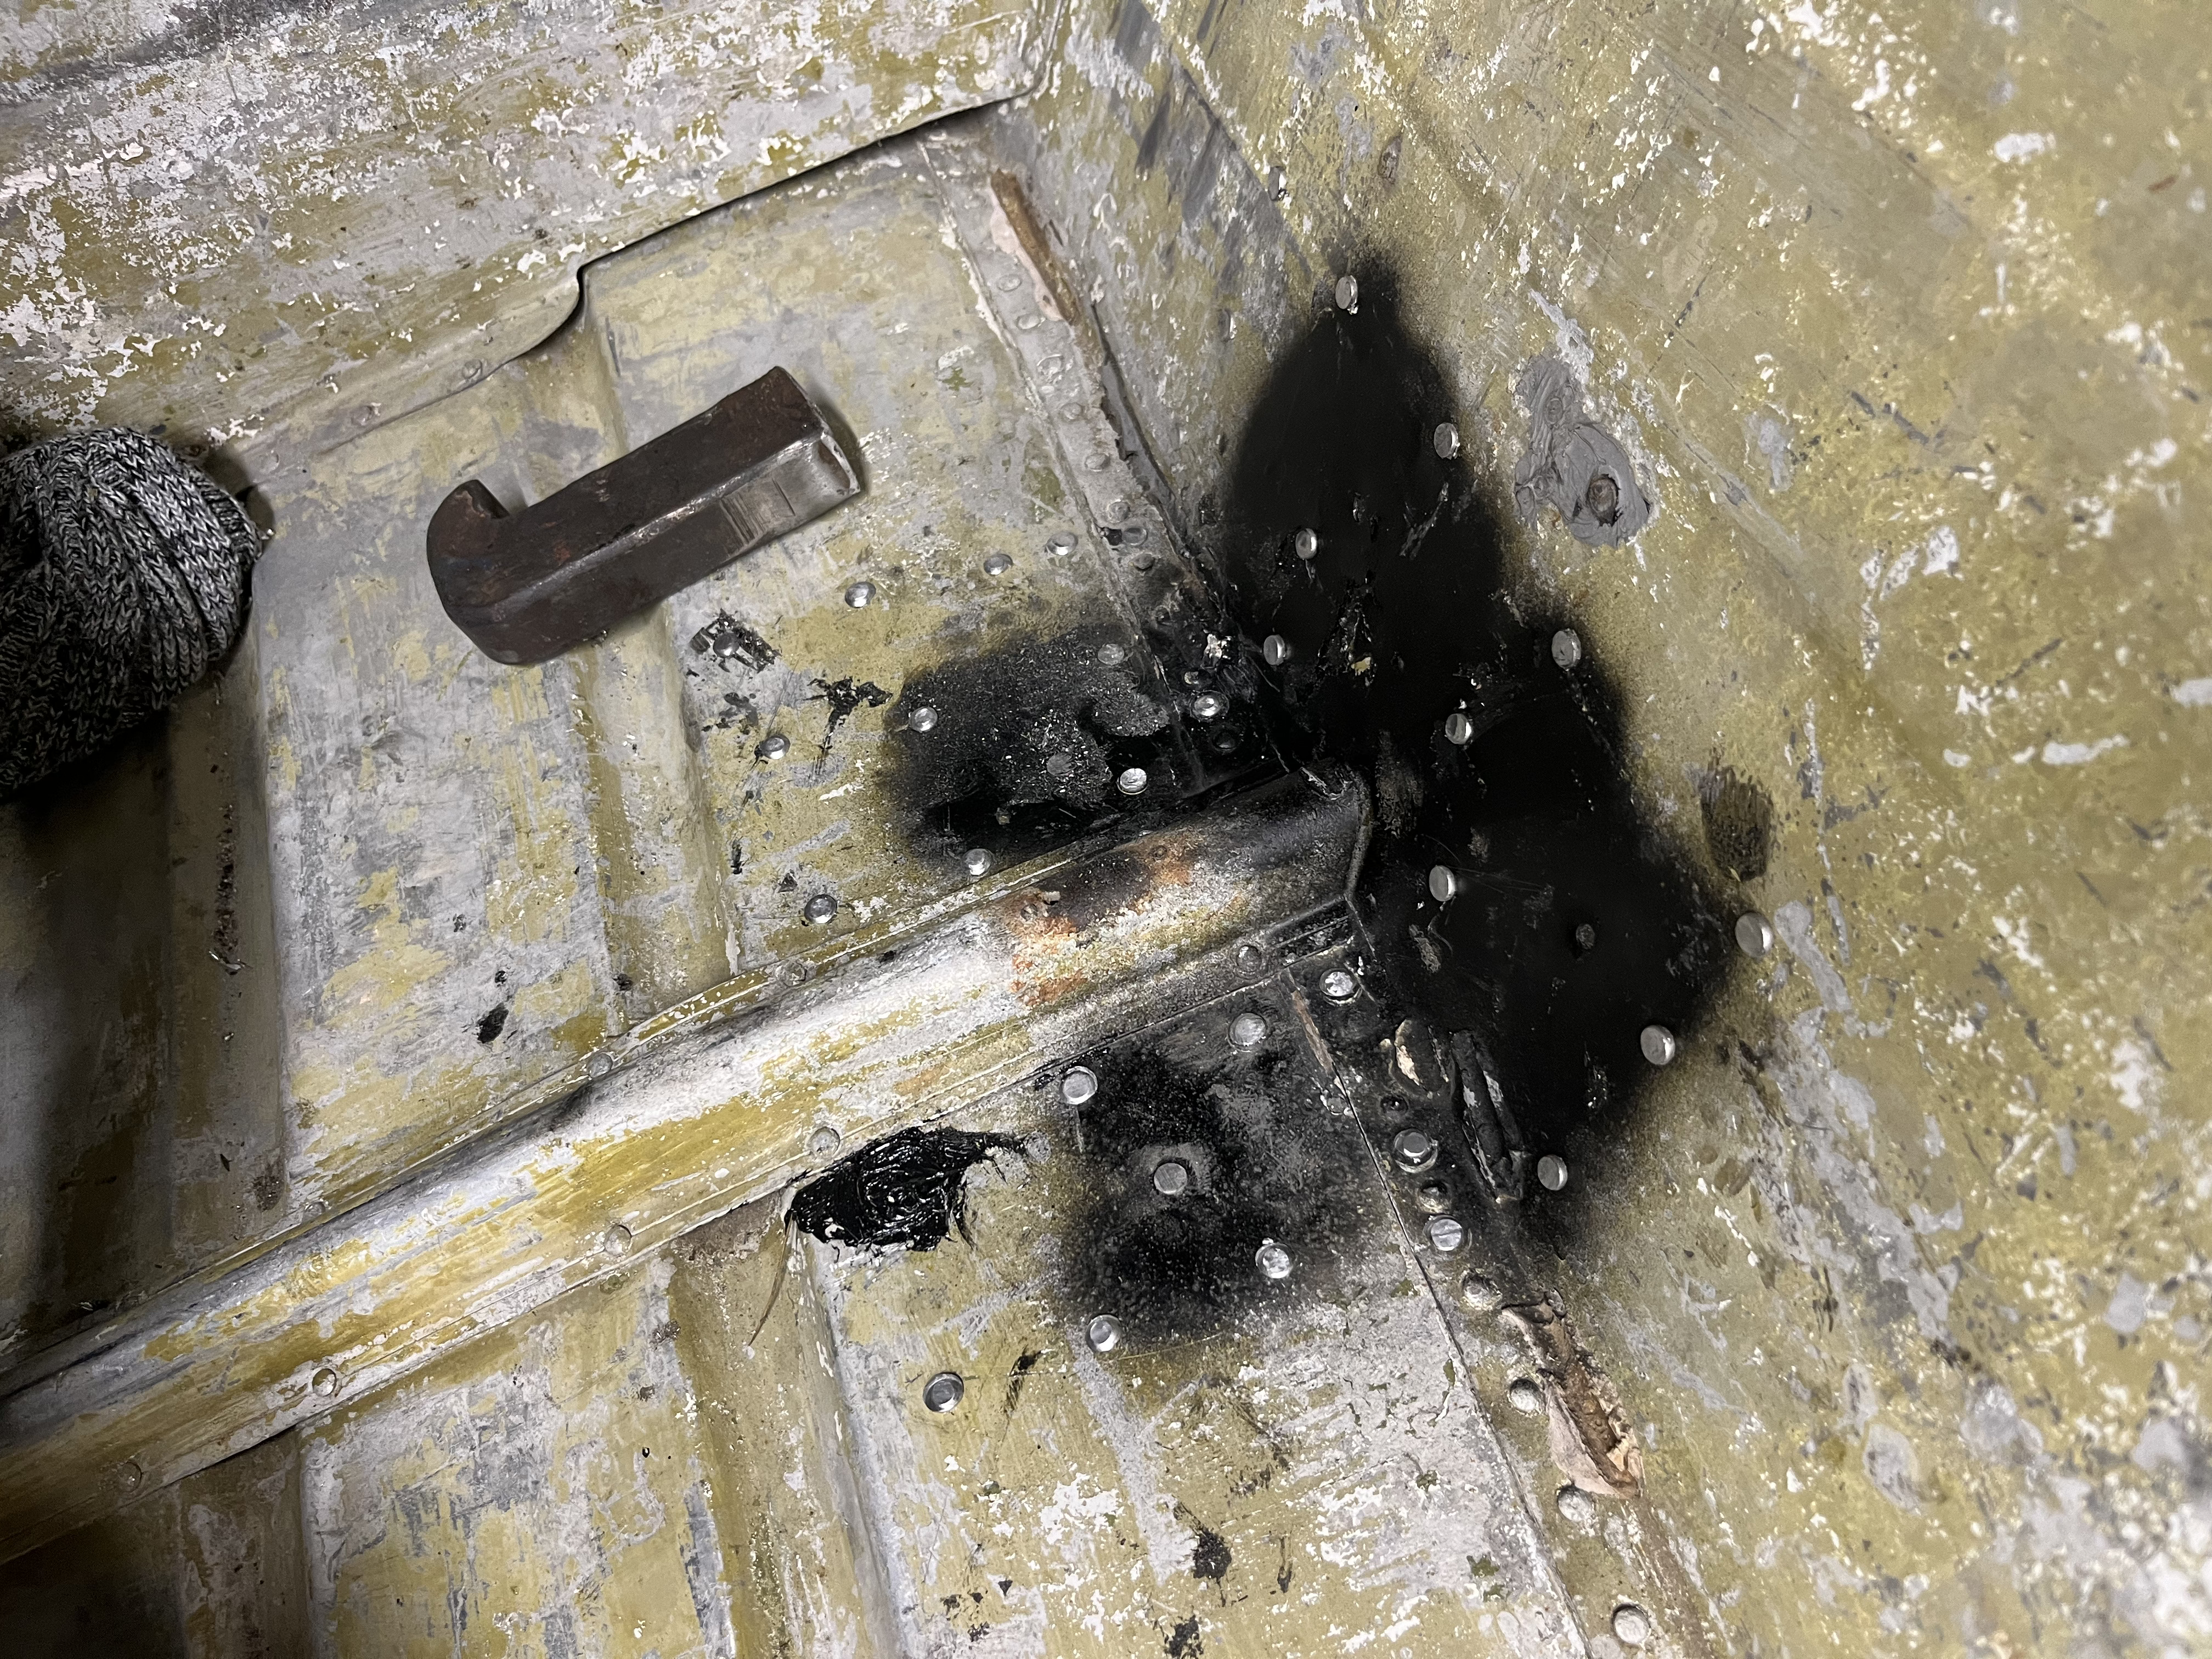
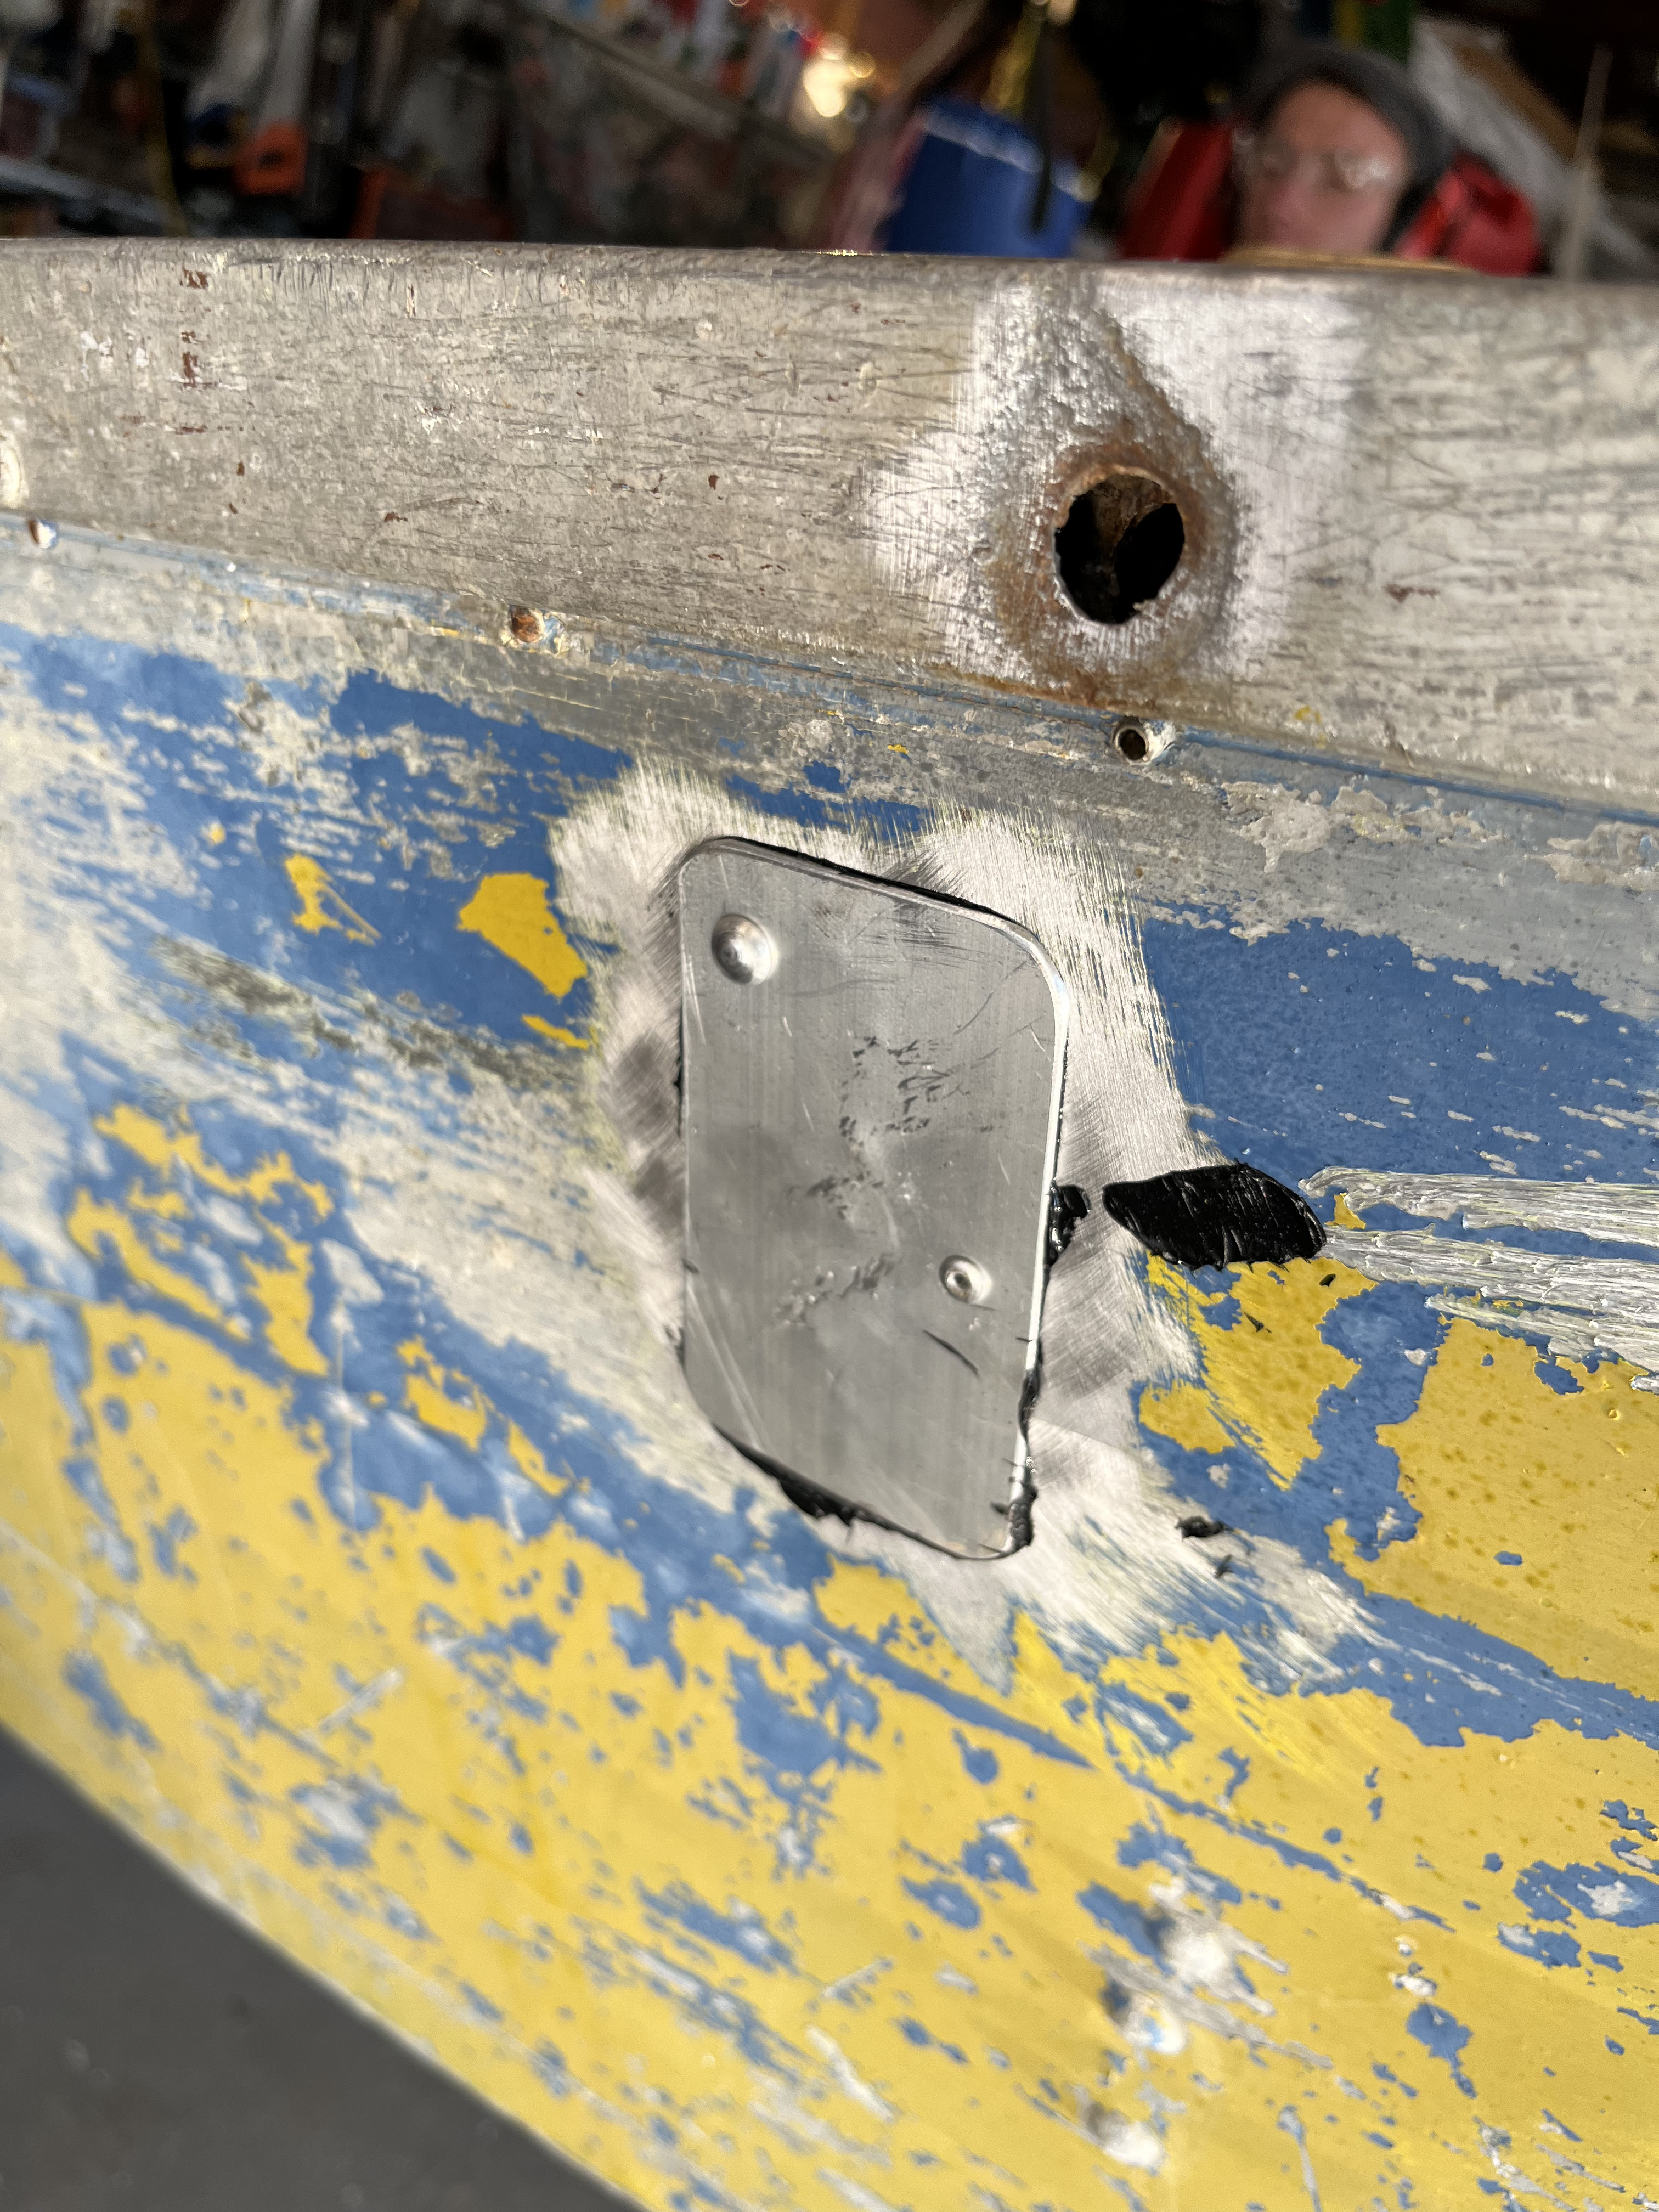
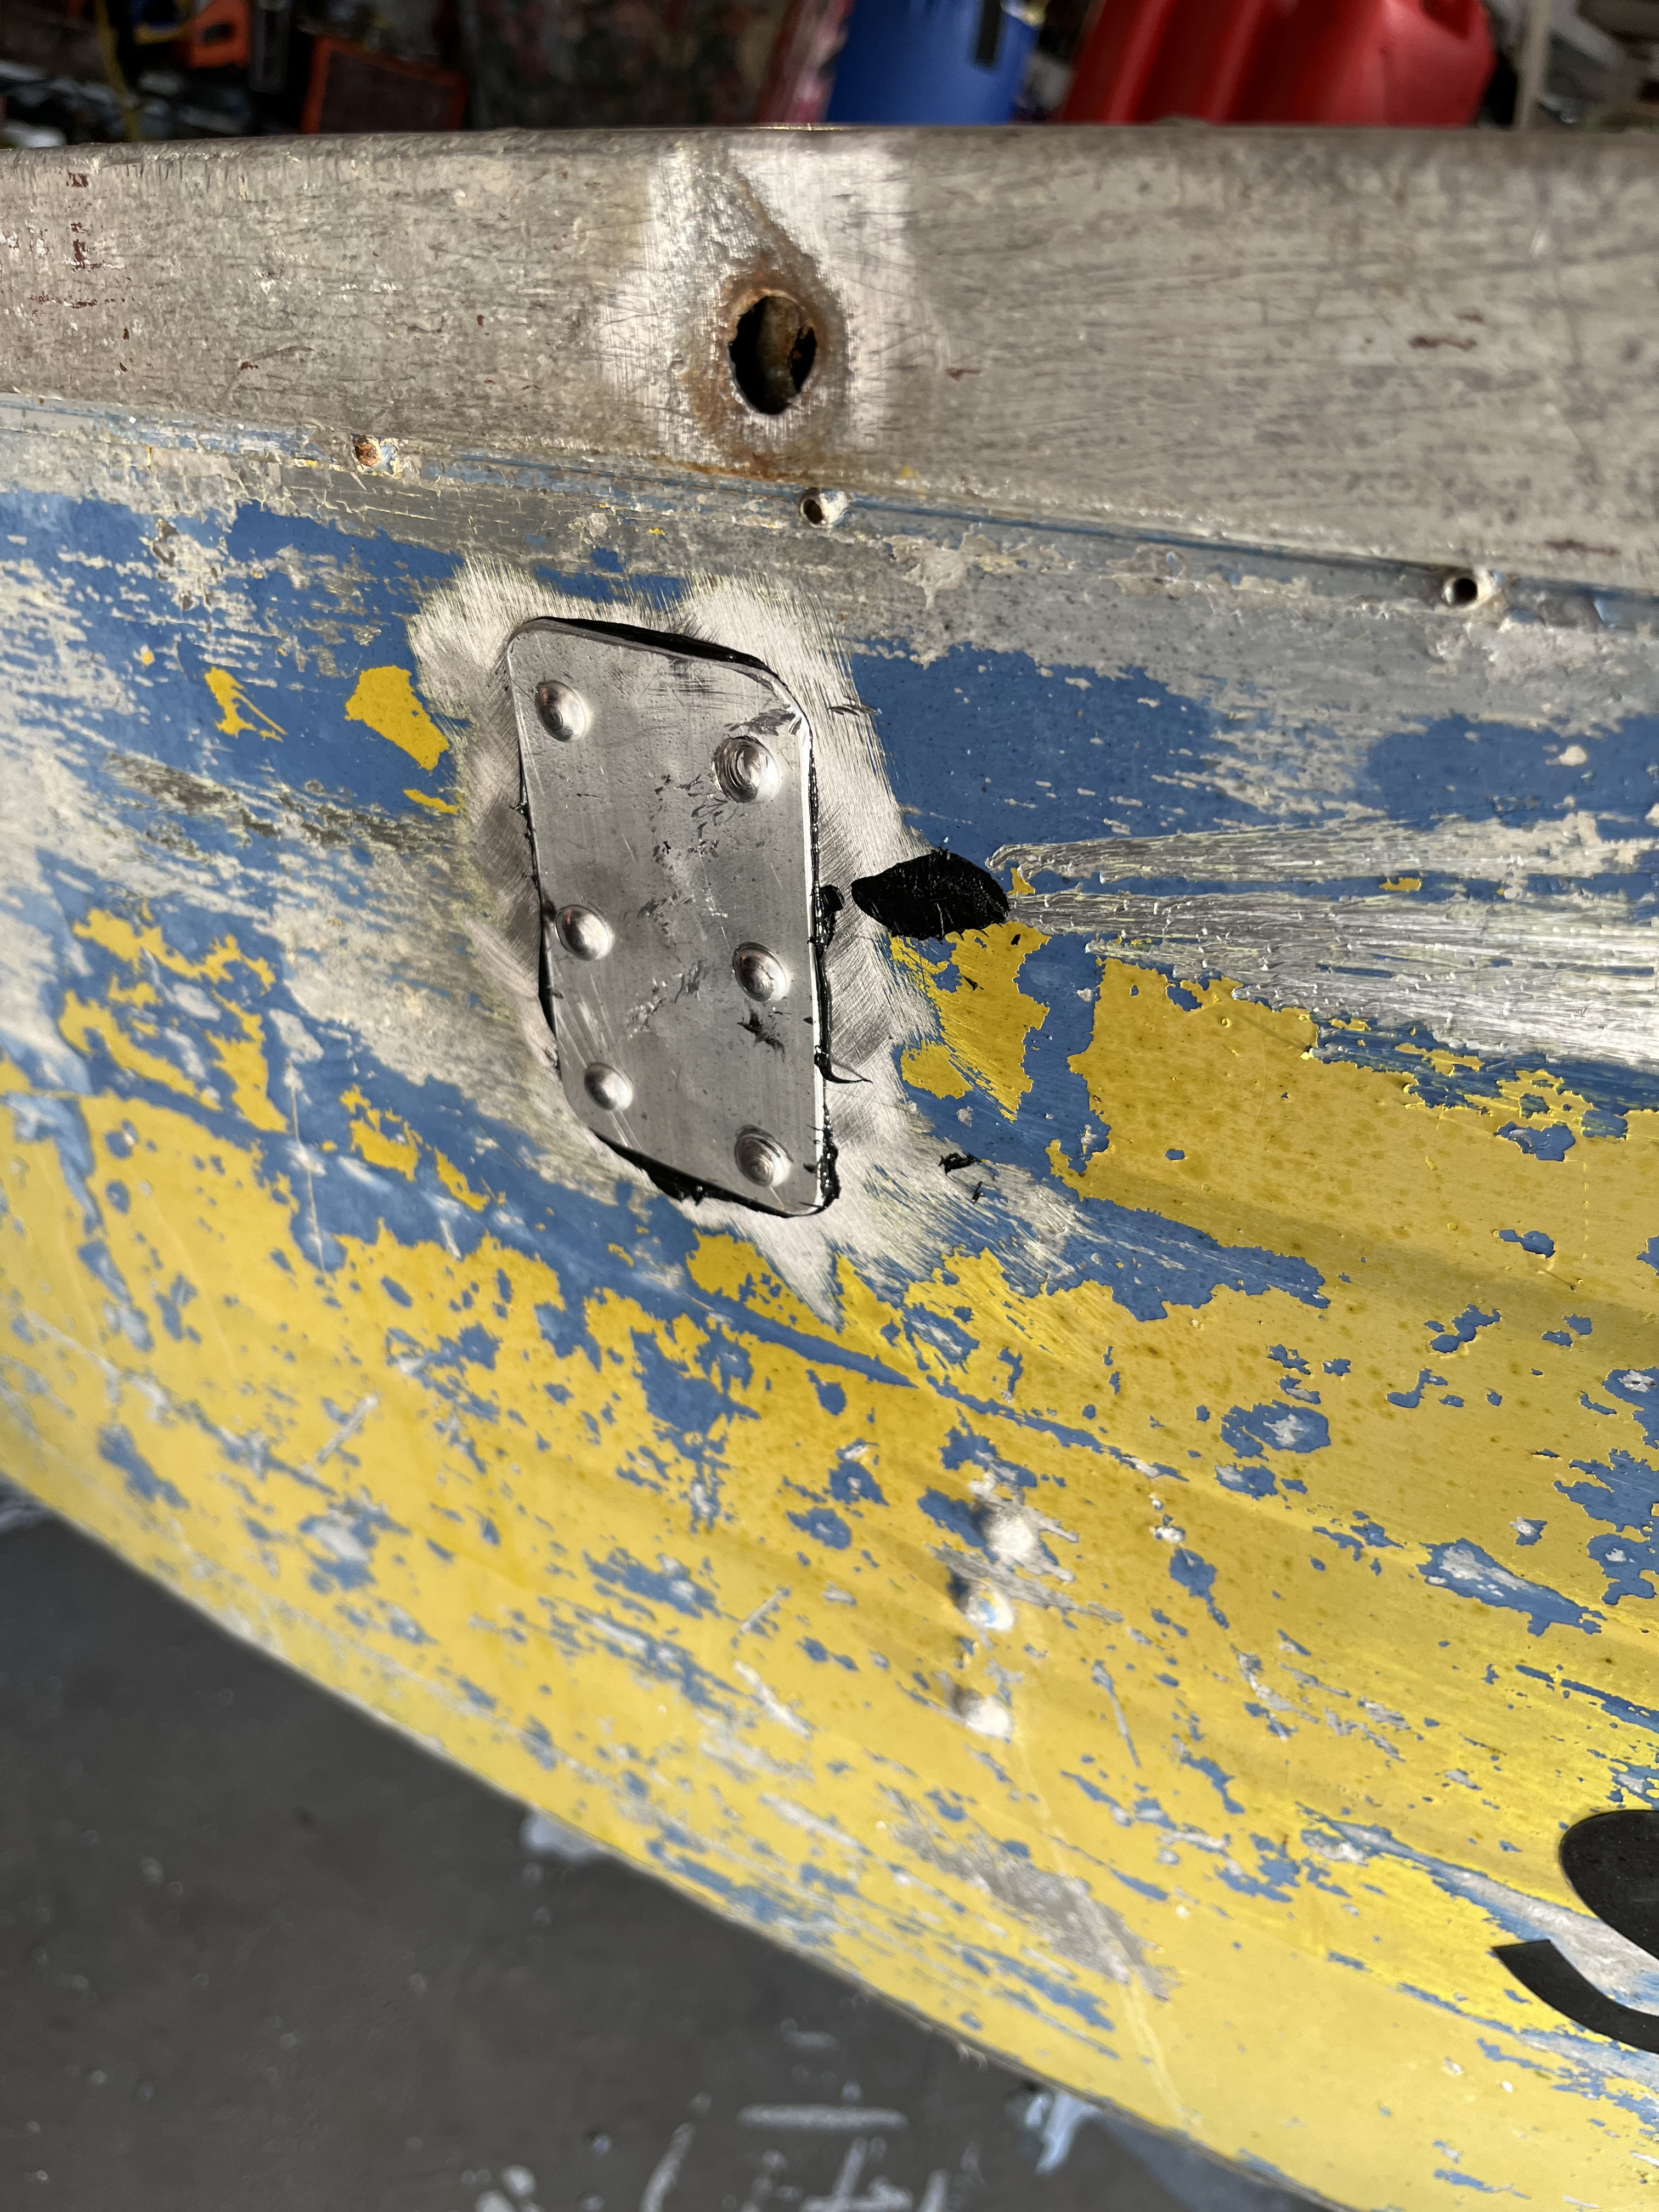
starting to fix the damage.
the end result.
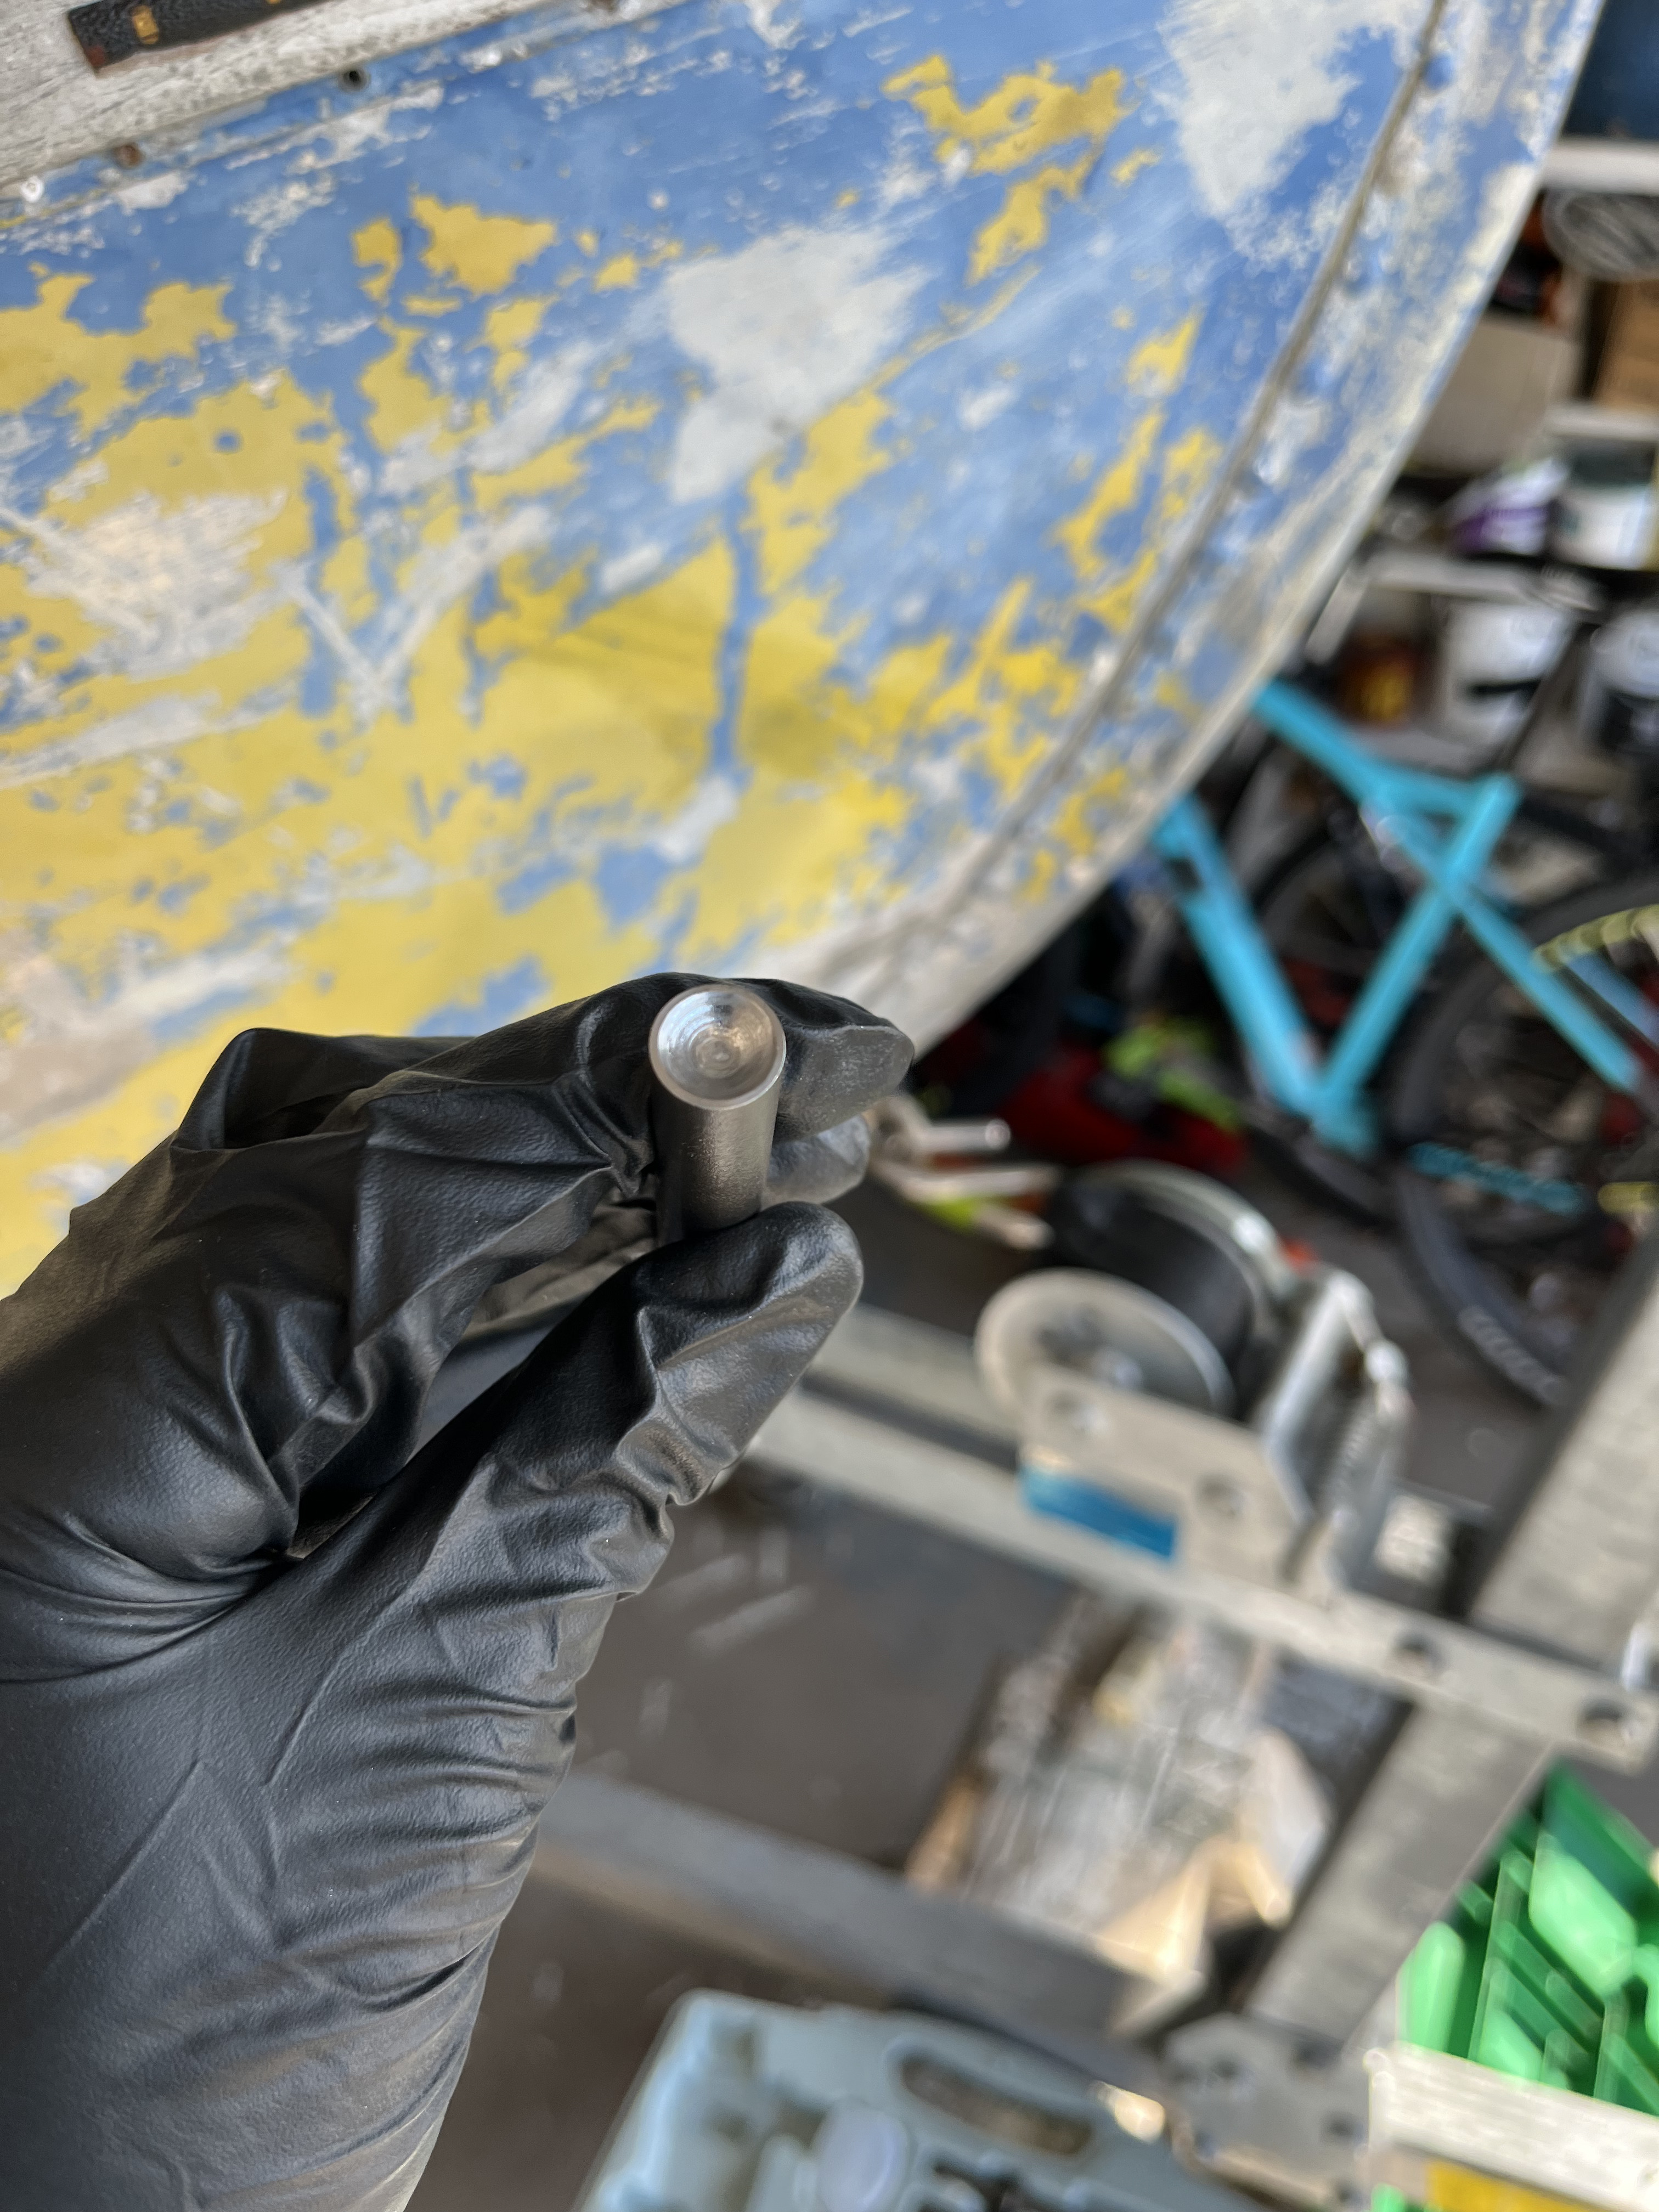
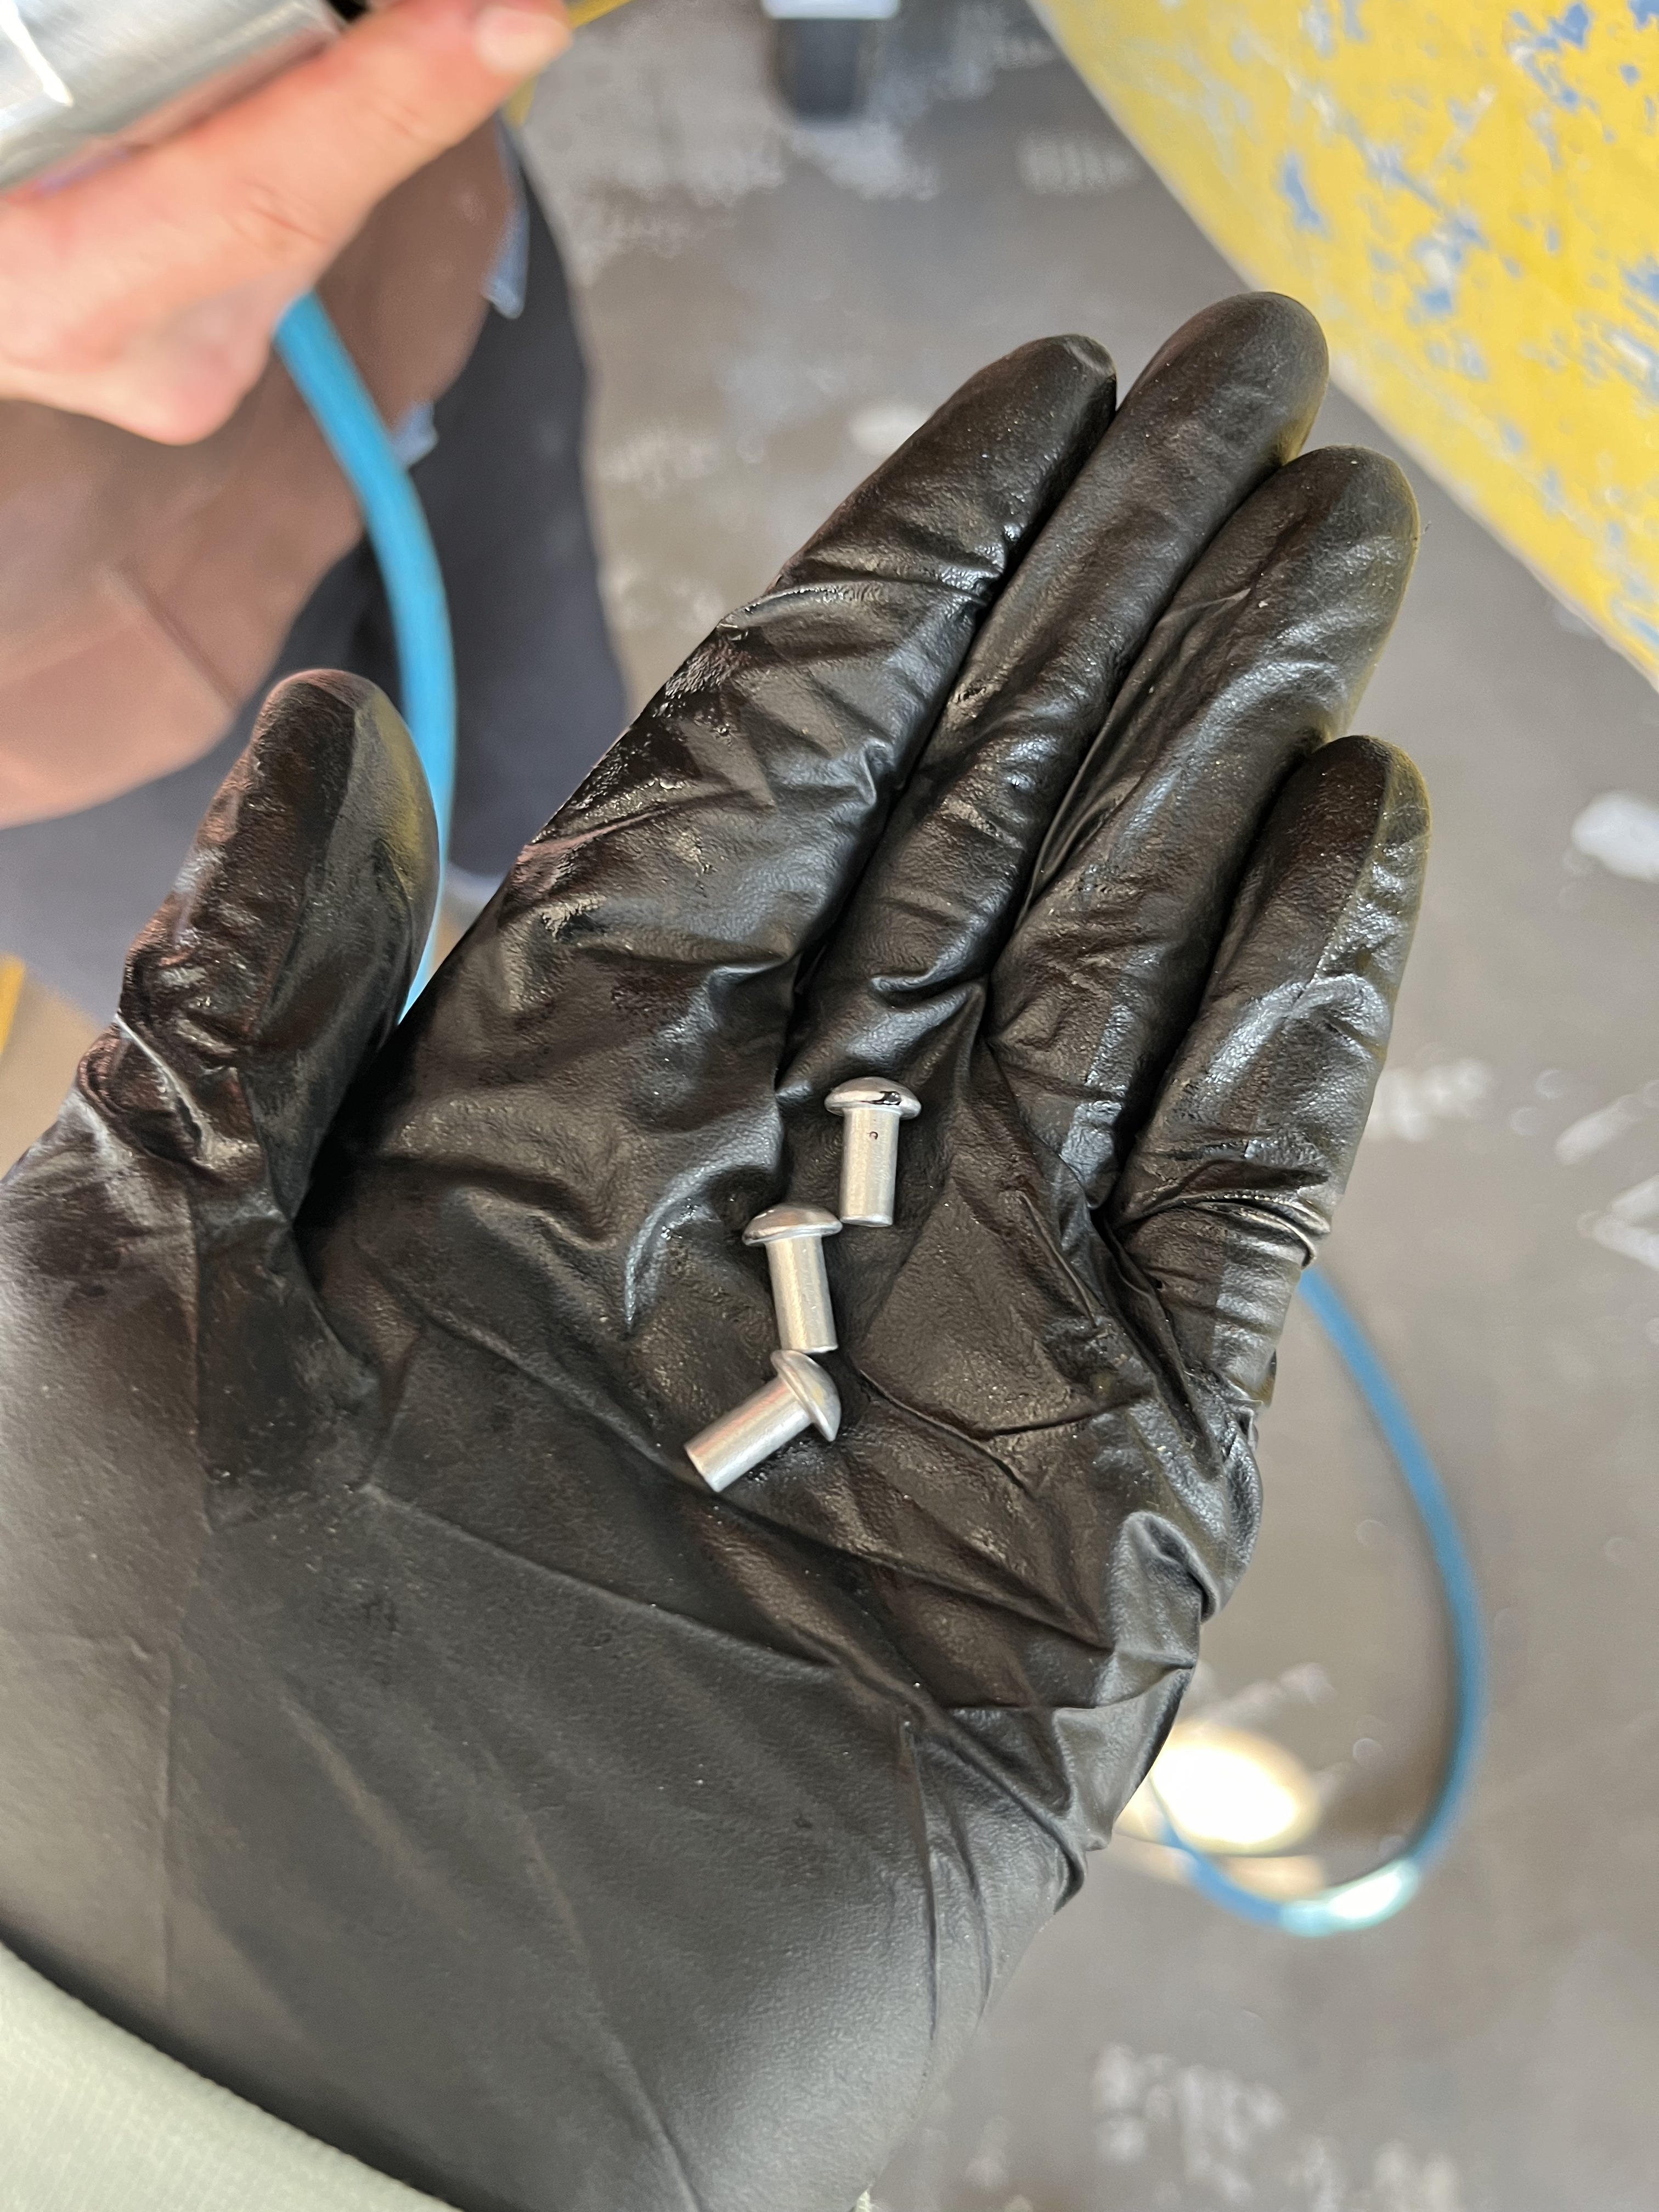
the solid rivets courtesy of Xi Jinping
The aftermath of finding steel cored pop rivets
a photo of the boat on the manukau

Welcome guest, is this your first visit? Create Account now to join.
Welcome to the NZ Hunting and Shooting Forums.
Search Forums


User Tag List
+ Reply to Thread
Results 1 to 15 of 46
Thread: making my alicraft watertight
Hybrid View
-
11-08-2024, 02:35 AM #1Member

- Join Date
- Feb 2017
- Location
- Jafa land
- Posts
- 5,517
making my alicraft watertight
-
11-08-2024, 02:44 AM #2Member
- Join Date
- Feb 2017
- Location
- Jafa land
- Posts
- 5,517
We have reseated some of the flat solid rivets. Time will tell if they worked. So far we have just been drilling our pop rivets and putting solids in their place
The plan ATM is to bother the sheet metal workshops my boss has an account with for an offcut of Ali sheet metal for a good price.
The rot is bad in some spots. but the rivets are quite cheap off Ali Express. I got 100 of them inc shipping for 20 bucks. Same stuff locally was 120 bucks for 100.....
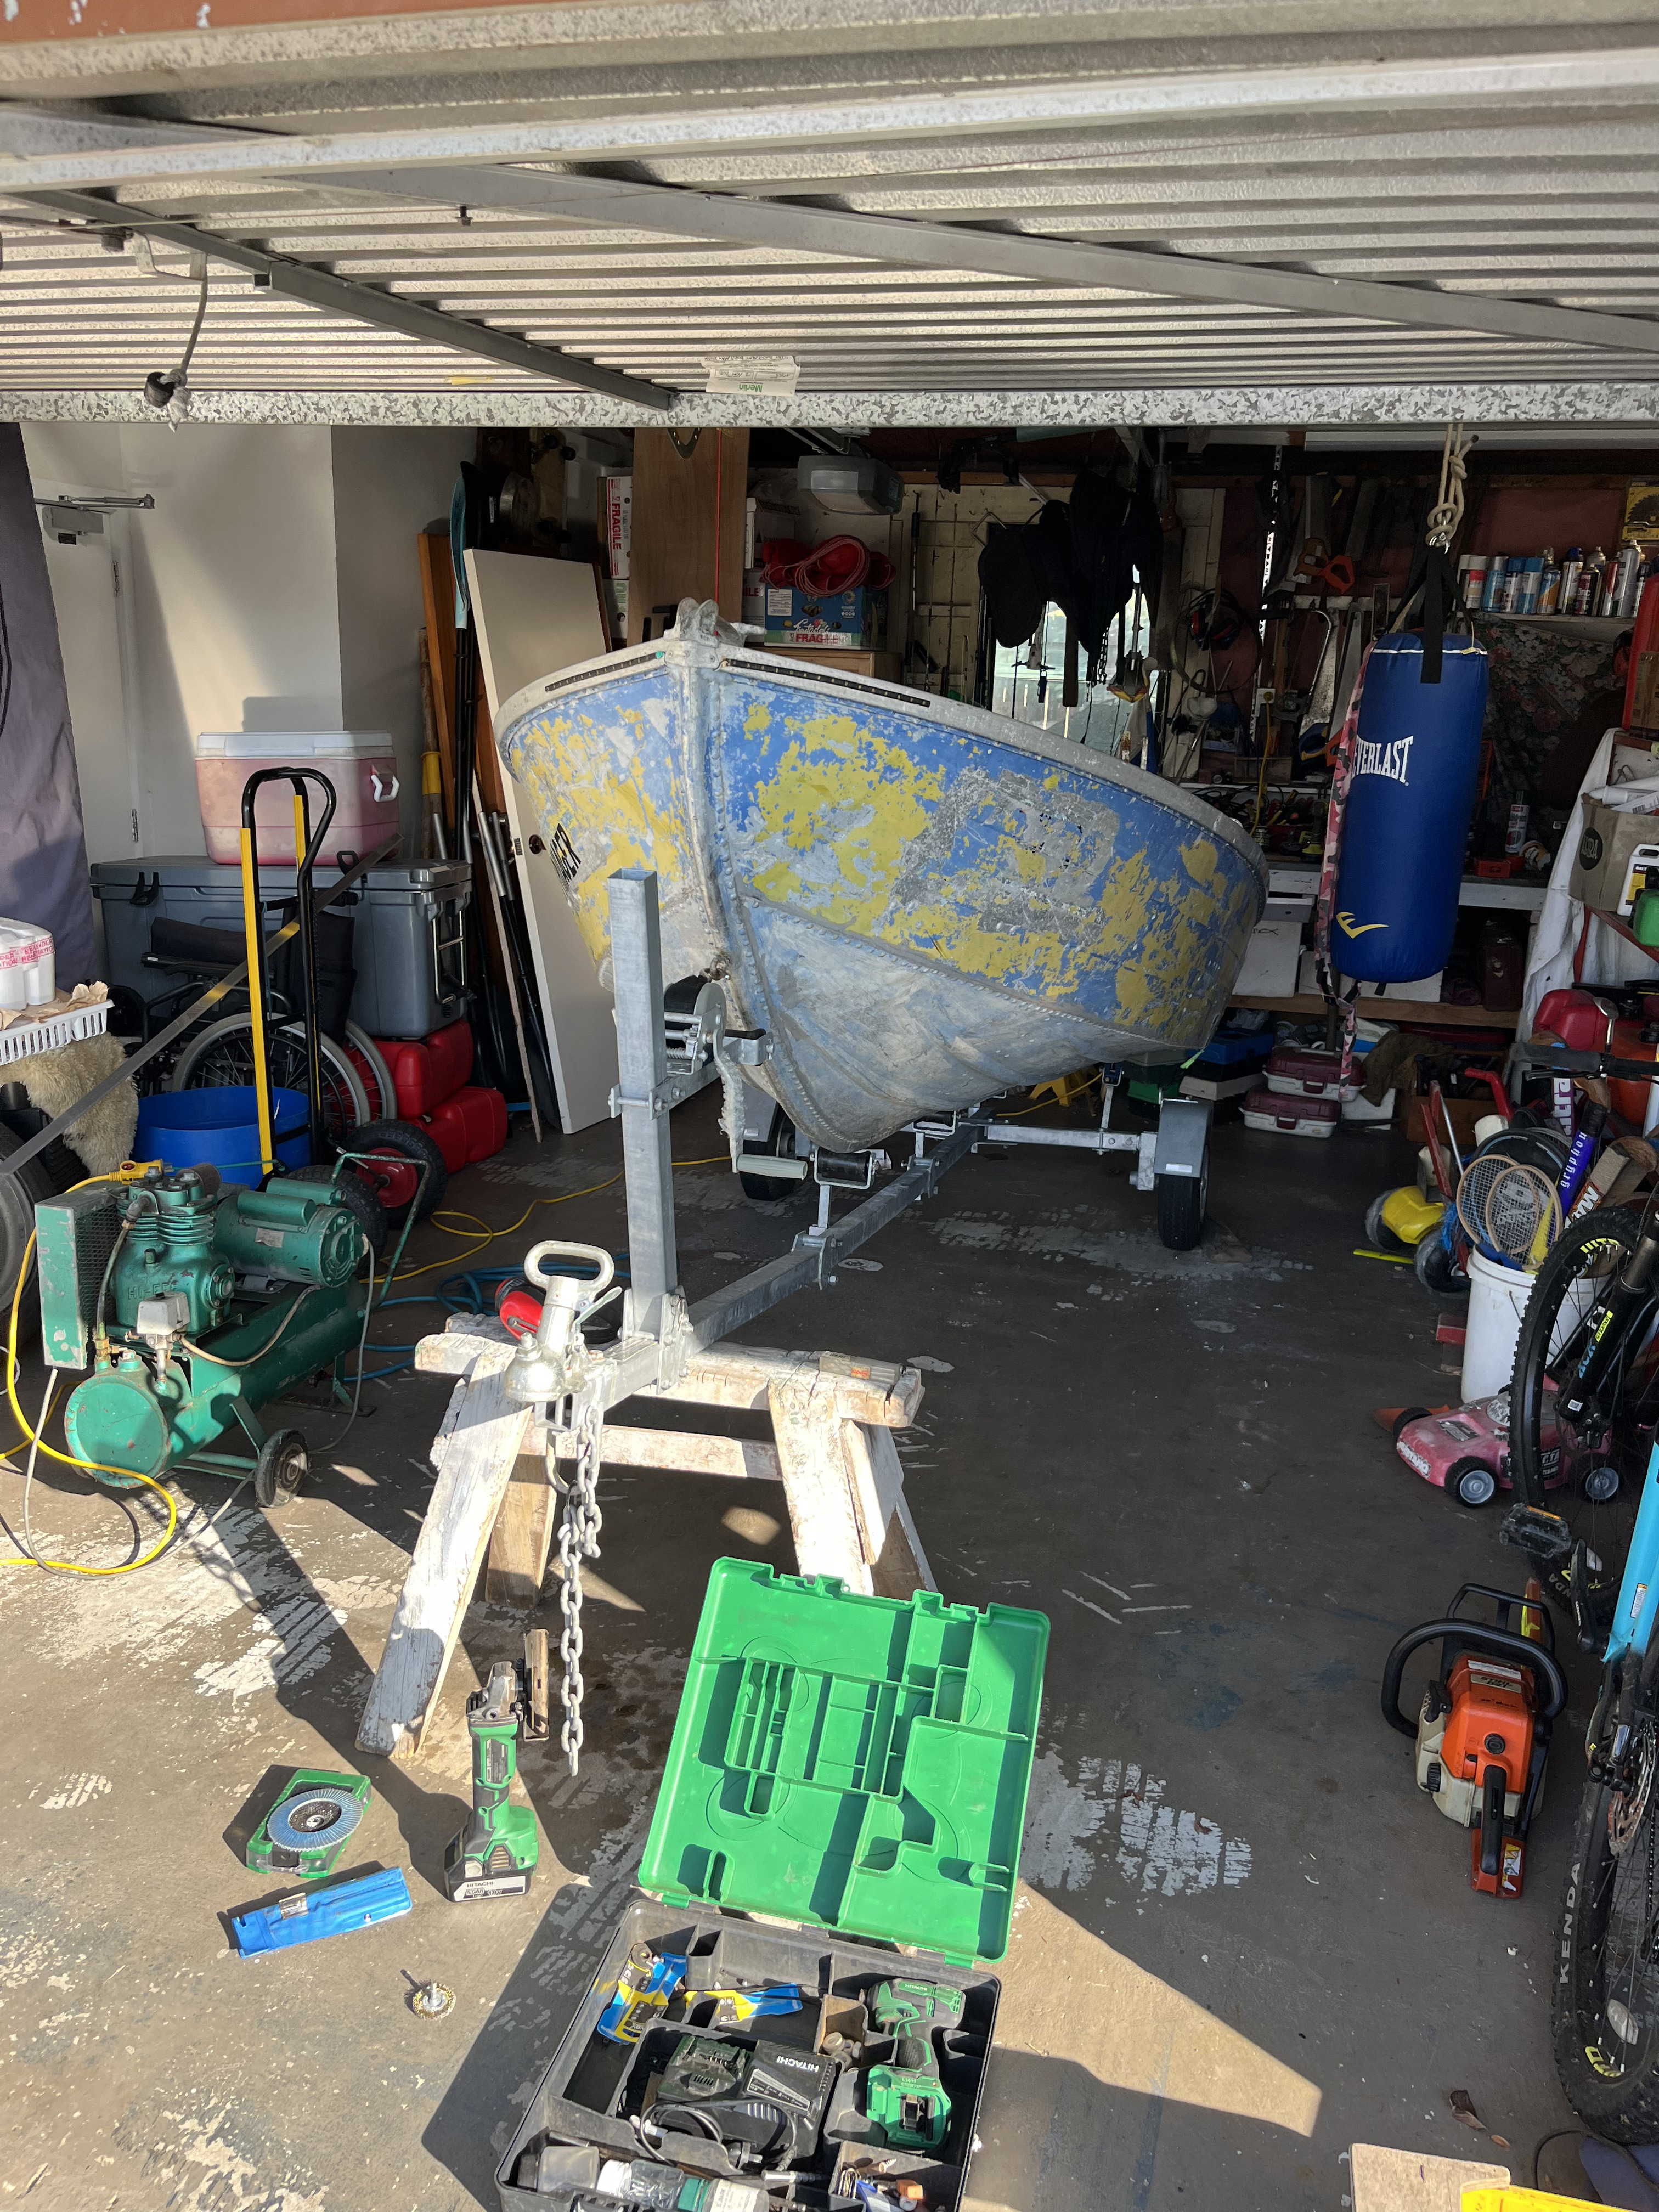
She is still worth saving and still economical to do so. She has a nice deep V and should be a great Tinny.
End goal is to rivet some 3mm Ali angle into various bits of the stern to get her tightened up for a 15hp yamaha.Micky Duck likes this.
-
11-08-2024, 02:45 AM #3Member
- Join Date
- Feb 2017
- Location
- Jafa land
- Posts
- 5,517
The trailer is a folding trailer. it folds down super compactly and is assembled within 30 minutes. Has a wof and reg so she's good for summer
Micky Duck likes this.
-
11-08-2024, 10:05 AM #4Member


- Join Date
- Apr 2015
- Location
- Geraldine
- Posts
- 25,416
There are good gum up hole products now ms1 comes to mind,it sticks like crappy nappy to grandma's best ruc and sets very hard. We had 12ft in similar state for a very short time and gooed up pin holes with it. Good luck with your project,she should ride well being deep V.
75/15/10 black powder matters
-
11-08-2024, 11:17 AM #5Member
- Join Date
- Mar 2014
- Location
- Auckland
- Posts
- 635
I bought the same model Allicraft new from Fife Industries in 1992. Still have it despite a harsh life on the Kaipara netting, fishing and duckshooting.
Couple of things I did to mine. Made up floorboards from untreated ply and gave them 3 coats of Everdure. They are still in good condition. I used to run a 15hp long shaft Evinrude on mine but changed to a 25Hp long shaft Yamaha ( which it was rated for). However I took it to an engineering shop and got Gussets put on all the corners of the transom and outboard well. Also got them to weld 2 pieces of Aluminium angle iron from the transom, forward to the box section at the front of the outboard well to give it extra strength. When the 25hp Yamaha was sold, my hunting buddy who owned his own boat/outboard shop cobbled together a replacement outboard on a 25hp Yamaha shell and stuck a brand new 30hp powerhead under the hood. It tops out at 35knots (measured with a gps) with just me and in light trim ...but it is very 'lively' lol. Will do 25knots with 2 up, 30 decoys and all our duck shooting gear
While it was at the engineers, I got them to cut a hole in the quarterdeck on the starboard side and weld in an anchor well which was big enough to take a small Danforth style anchor with chain and rope. They also welded a small 'spigot' on the lowest point of the well and one over the inside of a hole cut in the bow...a piece of clear plastic tube connects them and allows the anchor well to self drain. It means the anchor is kept out of the footwell where the front passenger sits and is always ready to deploy.
About 12 years ago I found rot in the wood that forms the transom........got a large piece of Kauri and made a new transom piece using the the old one as a pattern.......then split it in 2, glued the pieces back together by reversing one and coated it with everdure. in effect 'laminating it.
Will post up pics if you want them or if you are in Auckland you can come around and have a look.
Another tip....My hunting buddy had a similar sized riveted Fyran which had a riveted hull which leaked from various places. We replaced the rivets that were loose, then sprayed the hull with car underseal both outside a inside to a point 2" above the waterline...it sealed all the leaky rivets and lasted 10 more years.
The Allicraft is a great hull design and with the deep V and gullwing hull punches well above its weight compared with similar sized boats when conditions are not calm......
-
11-08-2024, 11:29 PM #6Member
- Join Date
- Feb 2017
- Location
- Jafa land
- Posts
- 5,517
This is all good info. I will send you a PM. would be great to have a look at yours and see what is possible. Originally Posted by Allgood

off the photo it is hard to gauge but it appears to be 4.6m mark Originally Posted by Marty Henry
Micky Duck likes this.
-
11-08-2024, 10:32 AM #7Member

- Join Date
- Oct 2014
- Location
- Tararua
- Posts
- 7,313
What are the year marks on the tide gauge?
-
11-08-2024, 12:08 PM #8Member
- Join Date
- Dec 2021
- Location
- Tauranga
- Posts
- 5,954
With the cheap solid rivets keep an eye on them as they could be anything in terms of grade of metal and could randomly dissolve on you... But better than steel core as you've found!
A 316 stainless gutter bolt with Sika 291 is another option, Nyloc type nut on the inside and it's removable for checking and resealing if required. The Sika should stop corrosion in the contact place, and be removable with a sharp something or a line or thin braided wire.rupert and Russian 22. like this.
-
11-08-2024, 11:25 PM #9Member
- Join Date
- Feb 2017
- Location
- Jafa land
- Posts
- 5,517
We will keep an eye on them. we decided a gutter bolt would be lethal on a foot so we will use them judiciously. Originally Posted by No.3
atm we are using selly's marine sealant.
I also realised I should have put this under the boating section as the project section is for guns Micky Duck likes this.
-
11-08-2024, 11:34 PM #10Member
- Join Date
- Jul 2012
- Location
- Invervegas
- Posts
- 5,613
All boats leak. How fast and how much it bothers the skipper or crew is key. 40 years of leaking boats tells me you are on the right track with the solids.
Micky Duck likes this.
-
11-08-2024, 11:48 PM #11Member
- Join Date
- Feb 2017
- Location
- Jafa land
- Posts
- 5,517
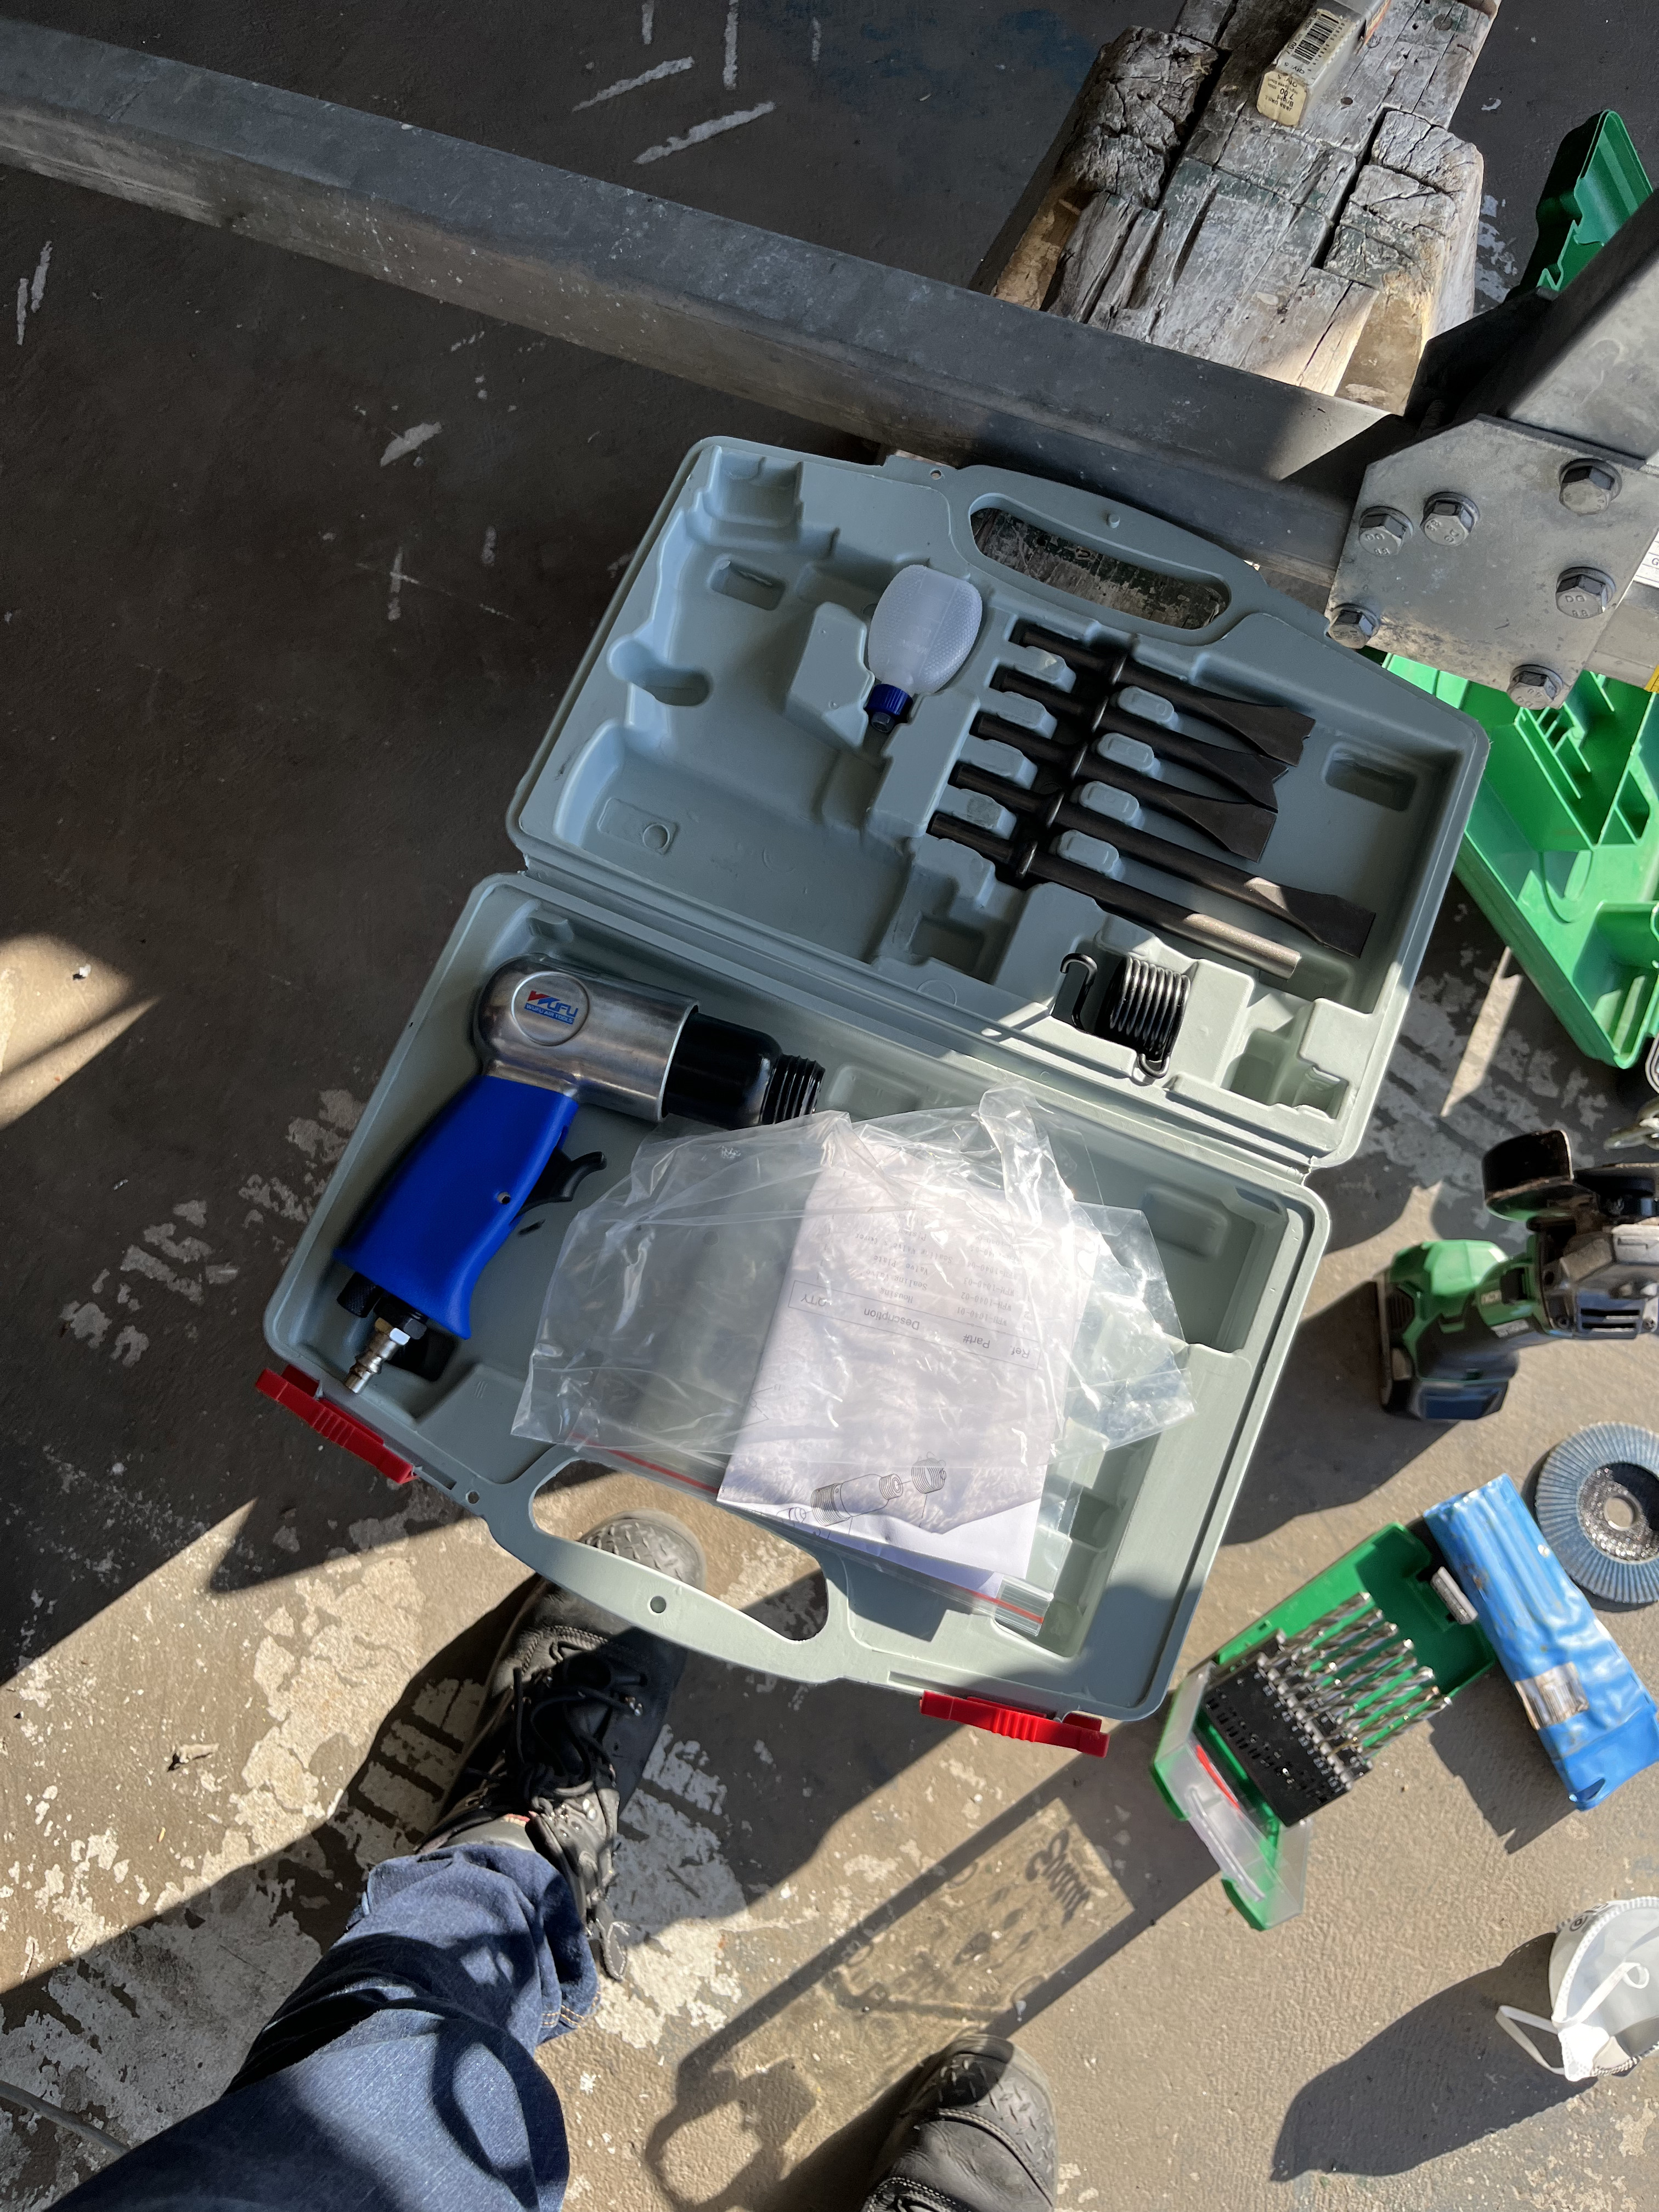
for reference these are the hammer and bit
you put a solid bit of metal onto the other side and brap brrrp and it's seated..... hopefullyMicky Duck likes this.
-
17-08-2024, 09:44 AM #12Member
- Join Date
- Feb 2017
- Location
- Jafa land
- Posts
- 5,517
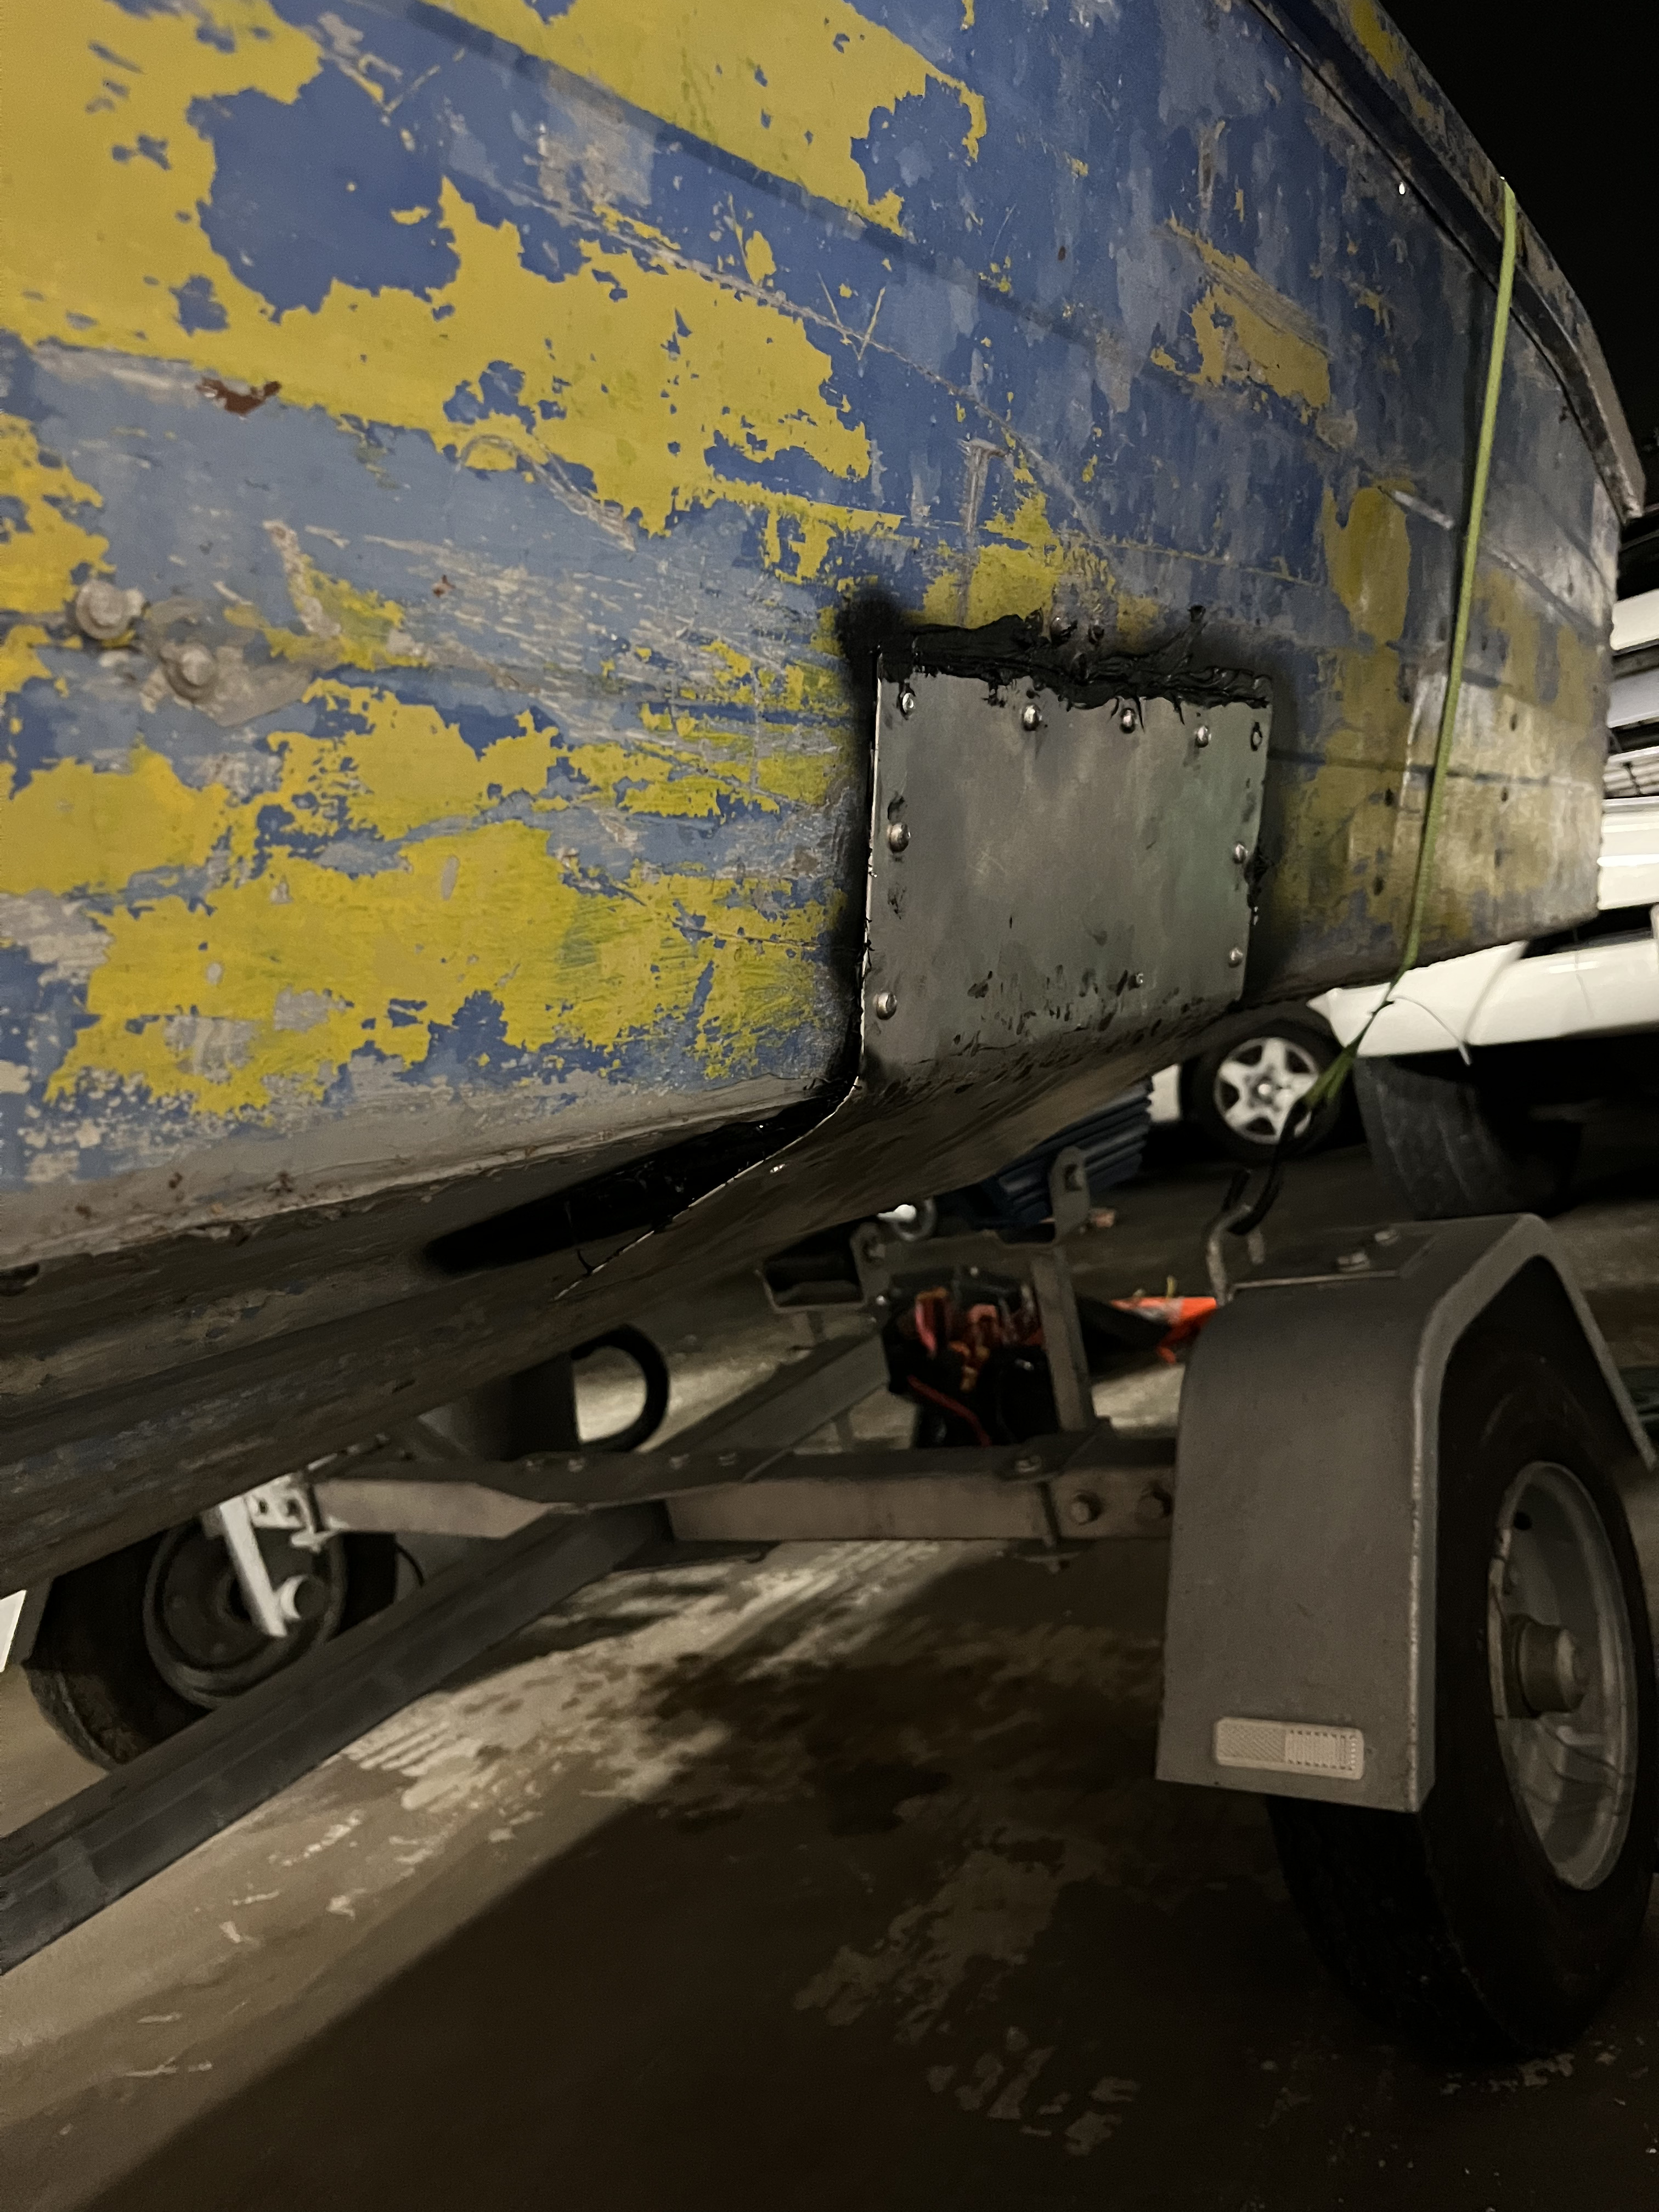
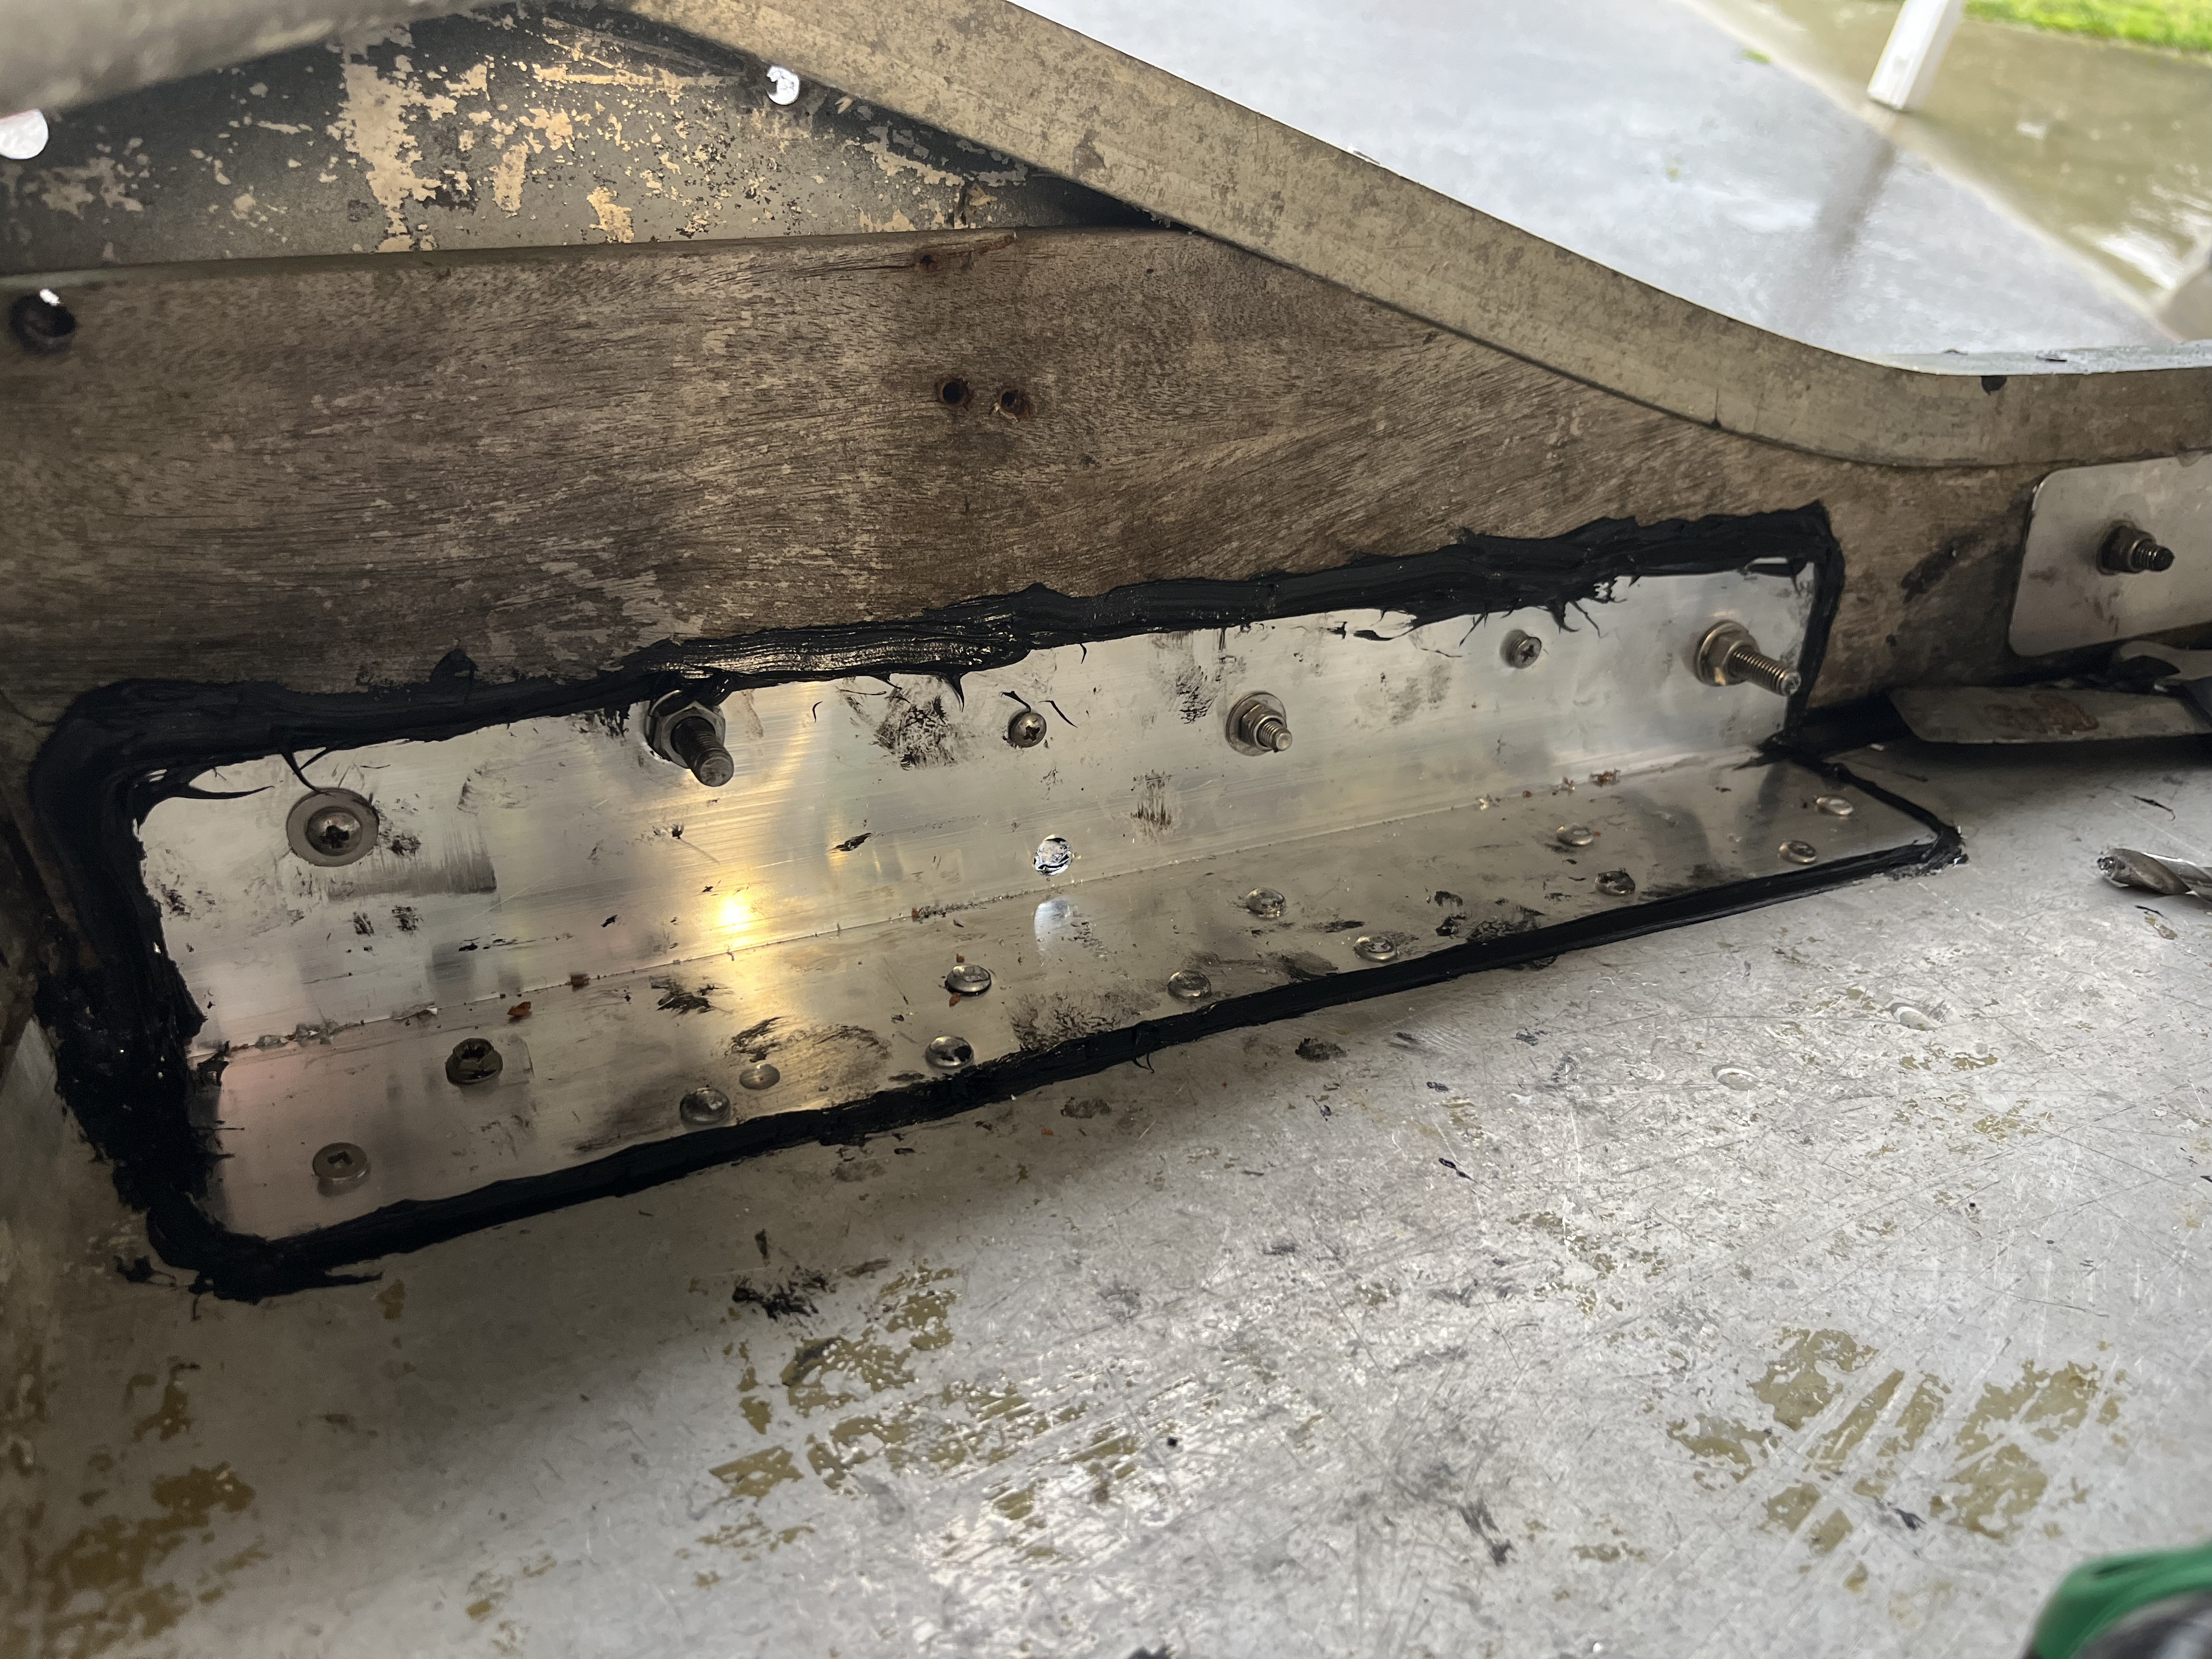
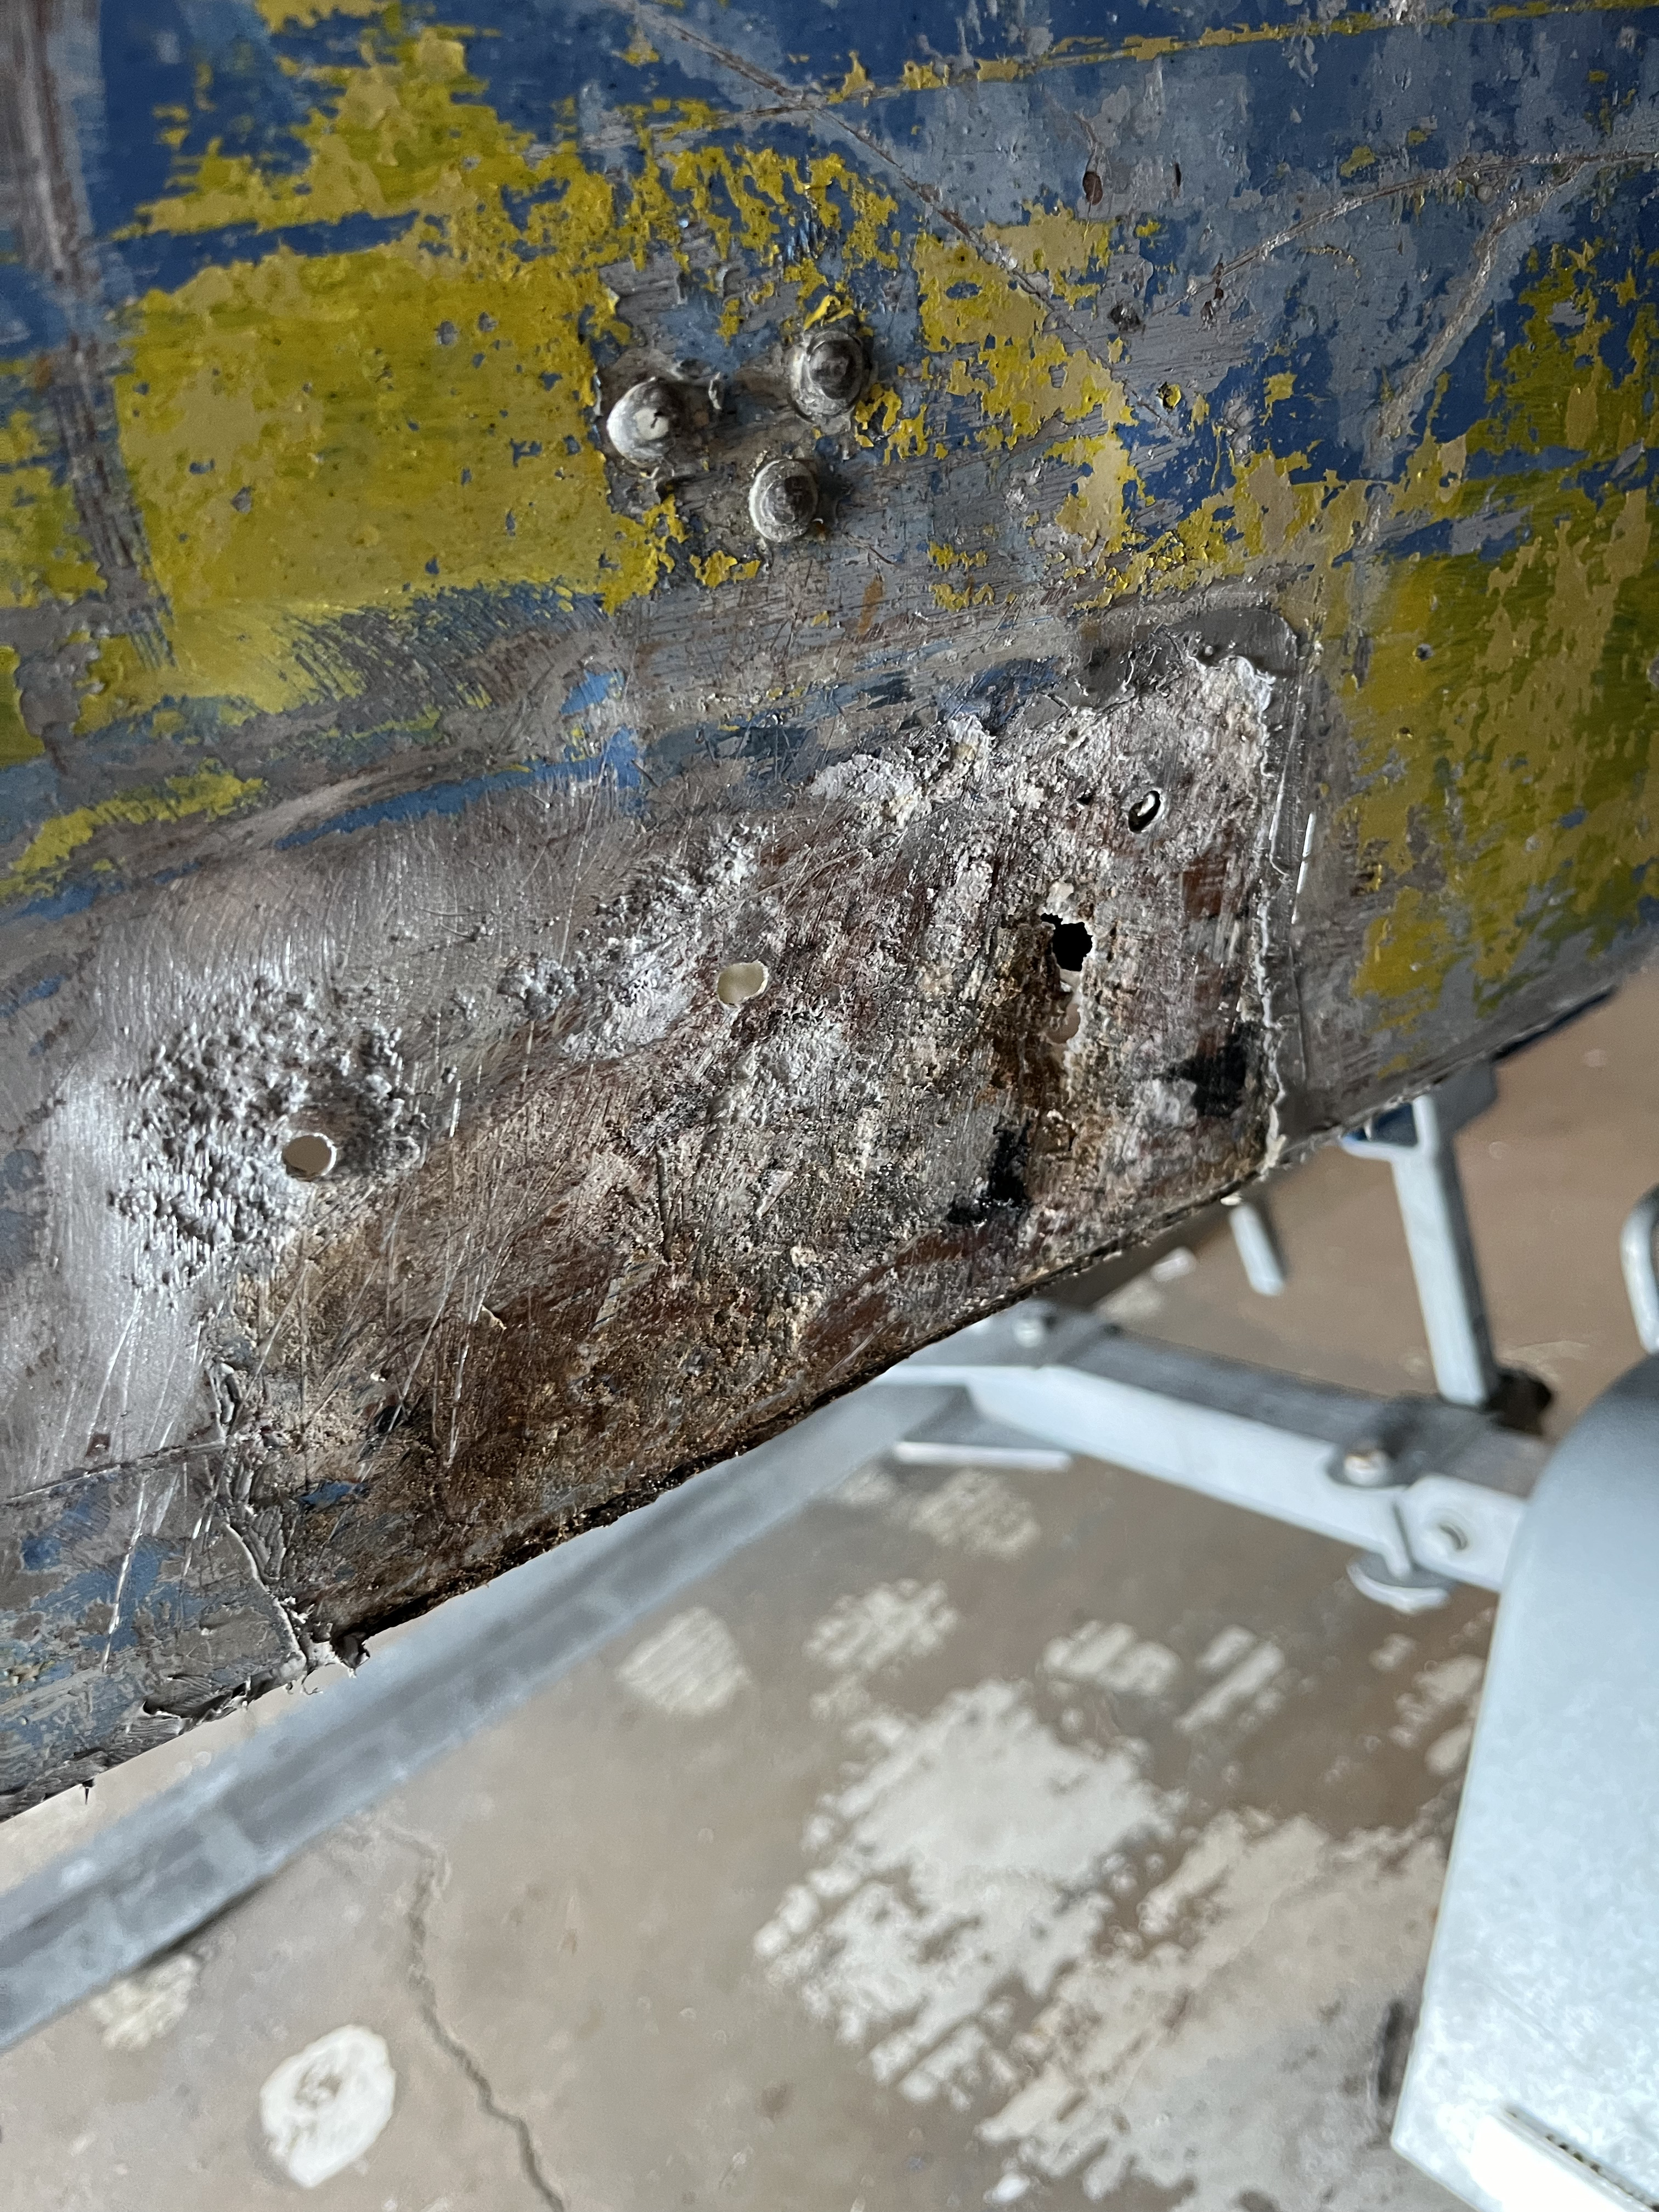
Patching the worst of the corrosion
Got off work late after working in a freezer room all day

But with my mate's mum wanting her garage back there was nothing to it but to crack on.
removed the serviceable plywood and removed any corrosion
siliconed and cut Ali strips to reinforce it
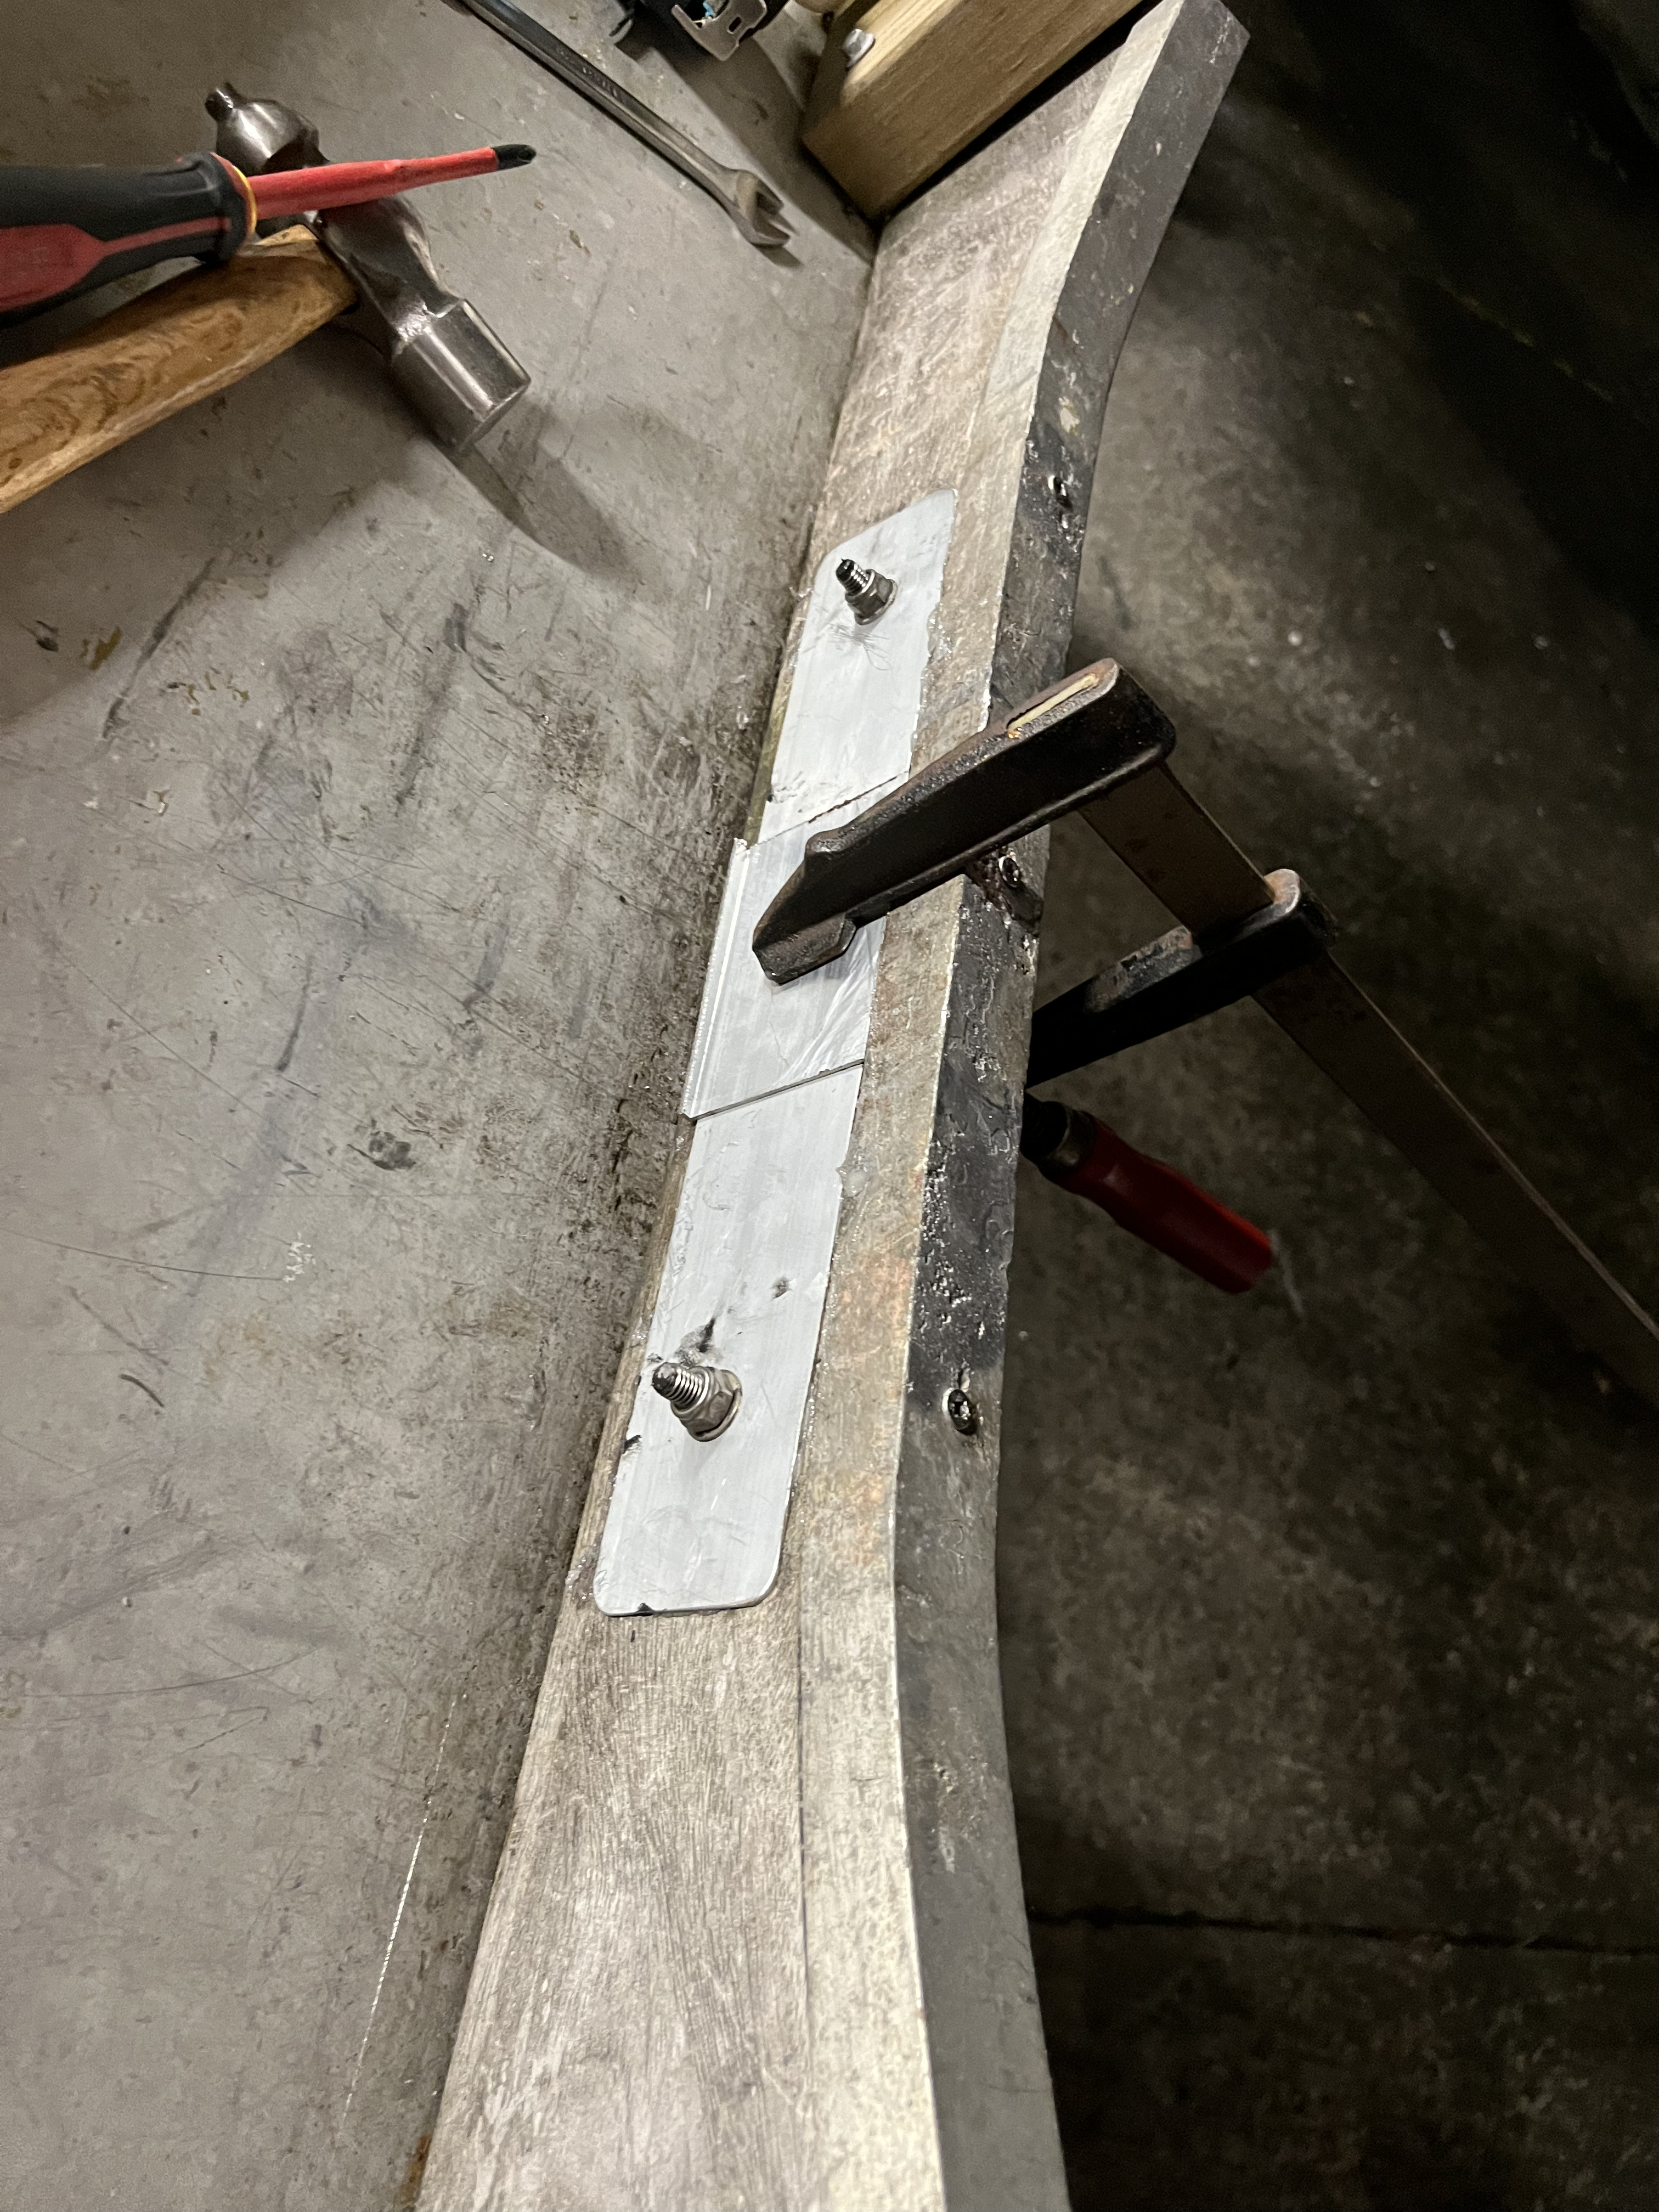

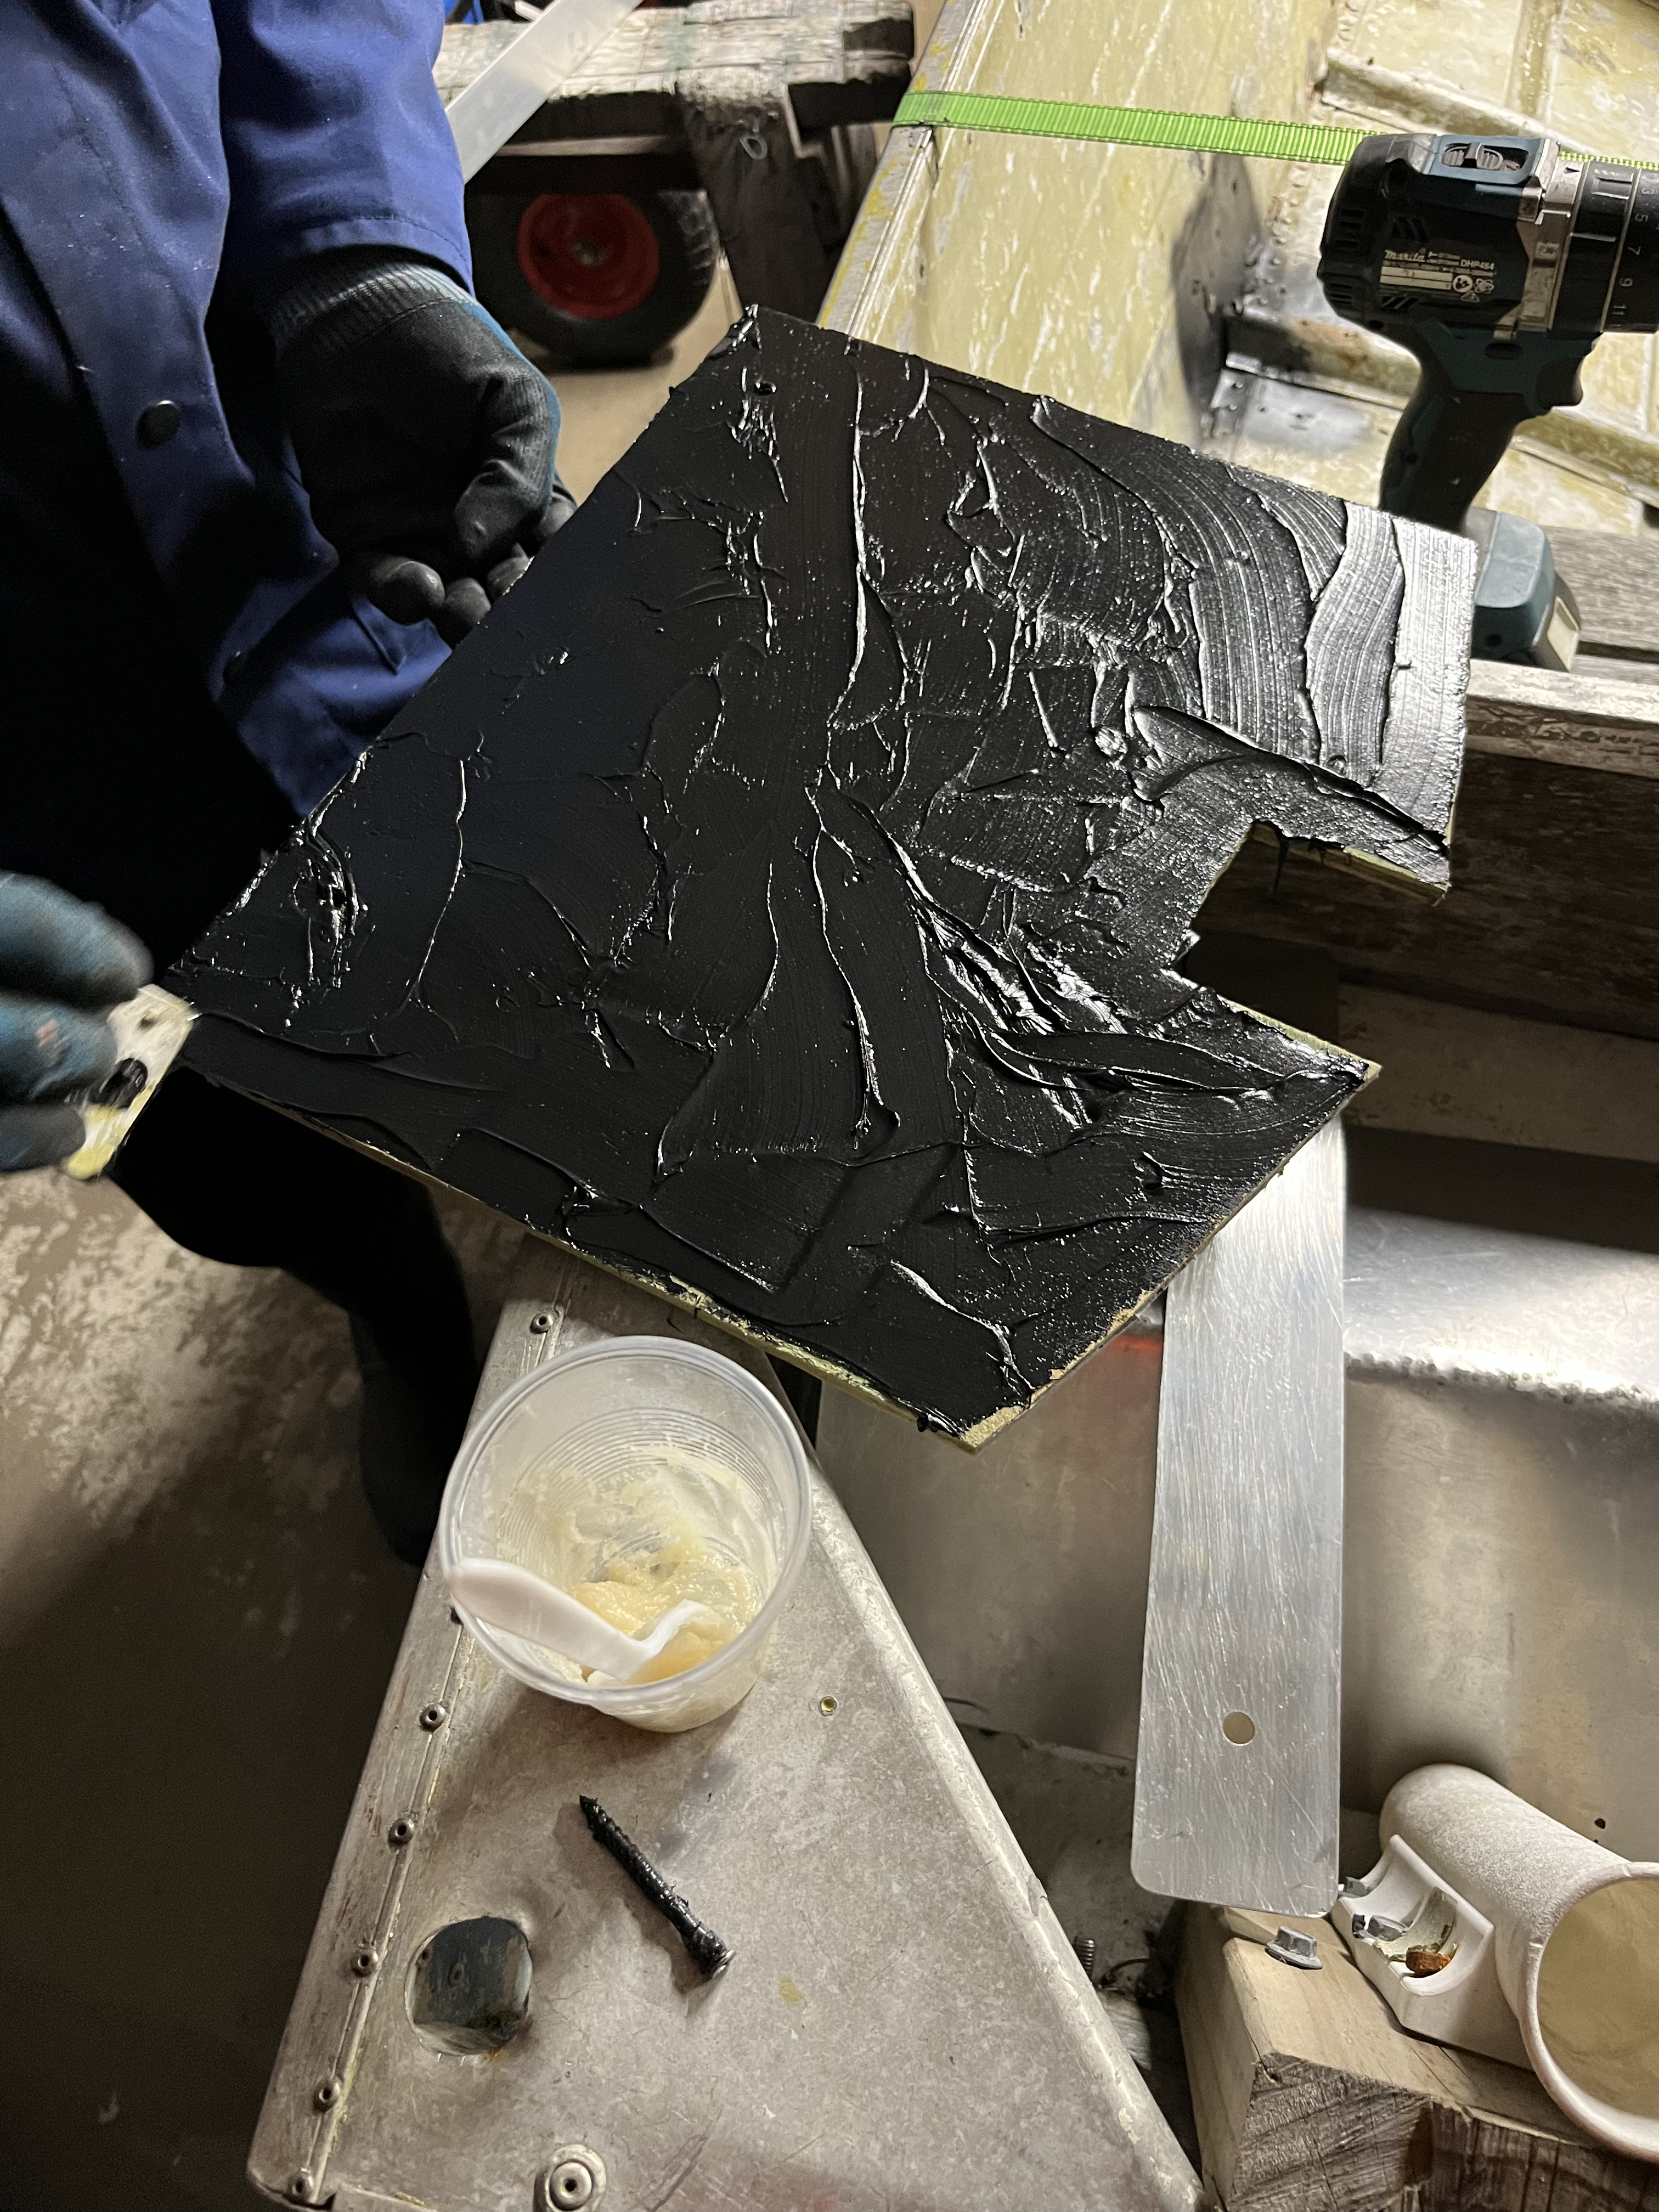
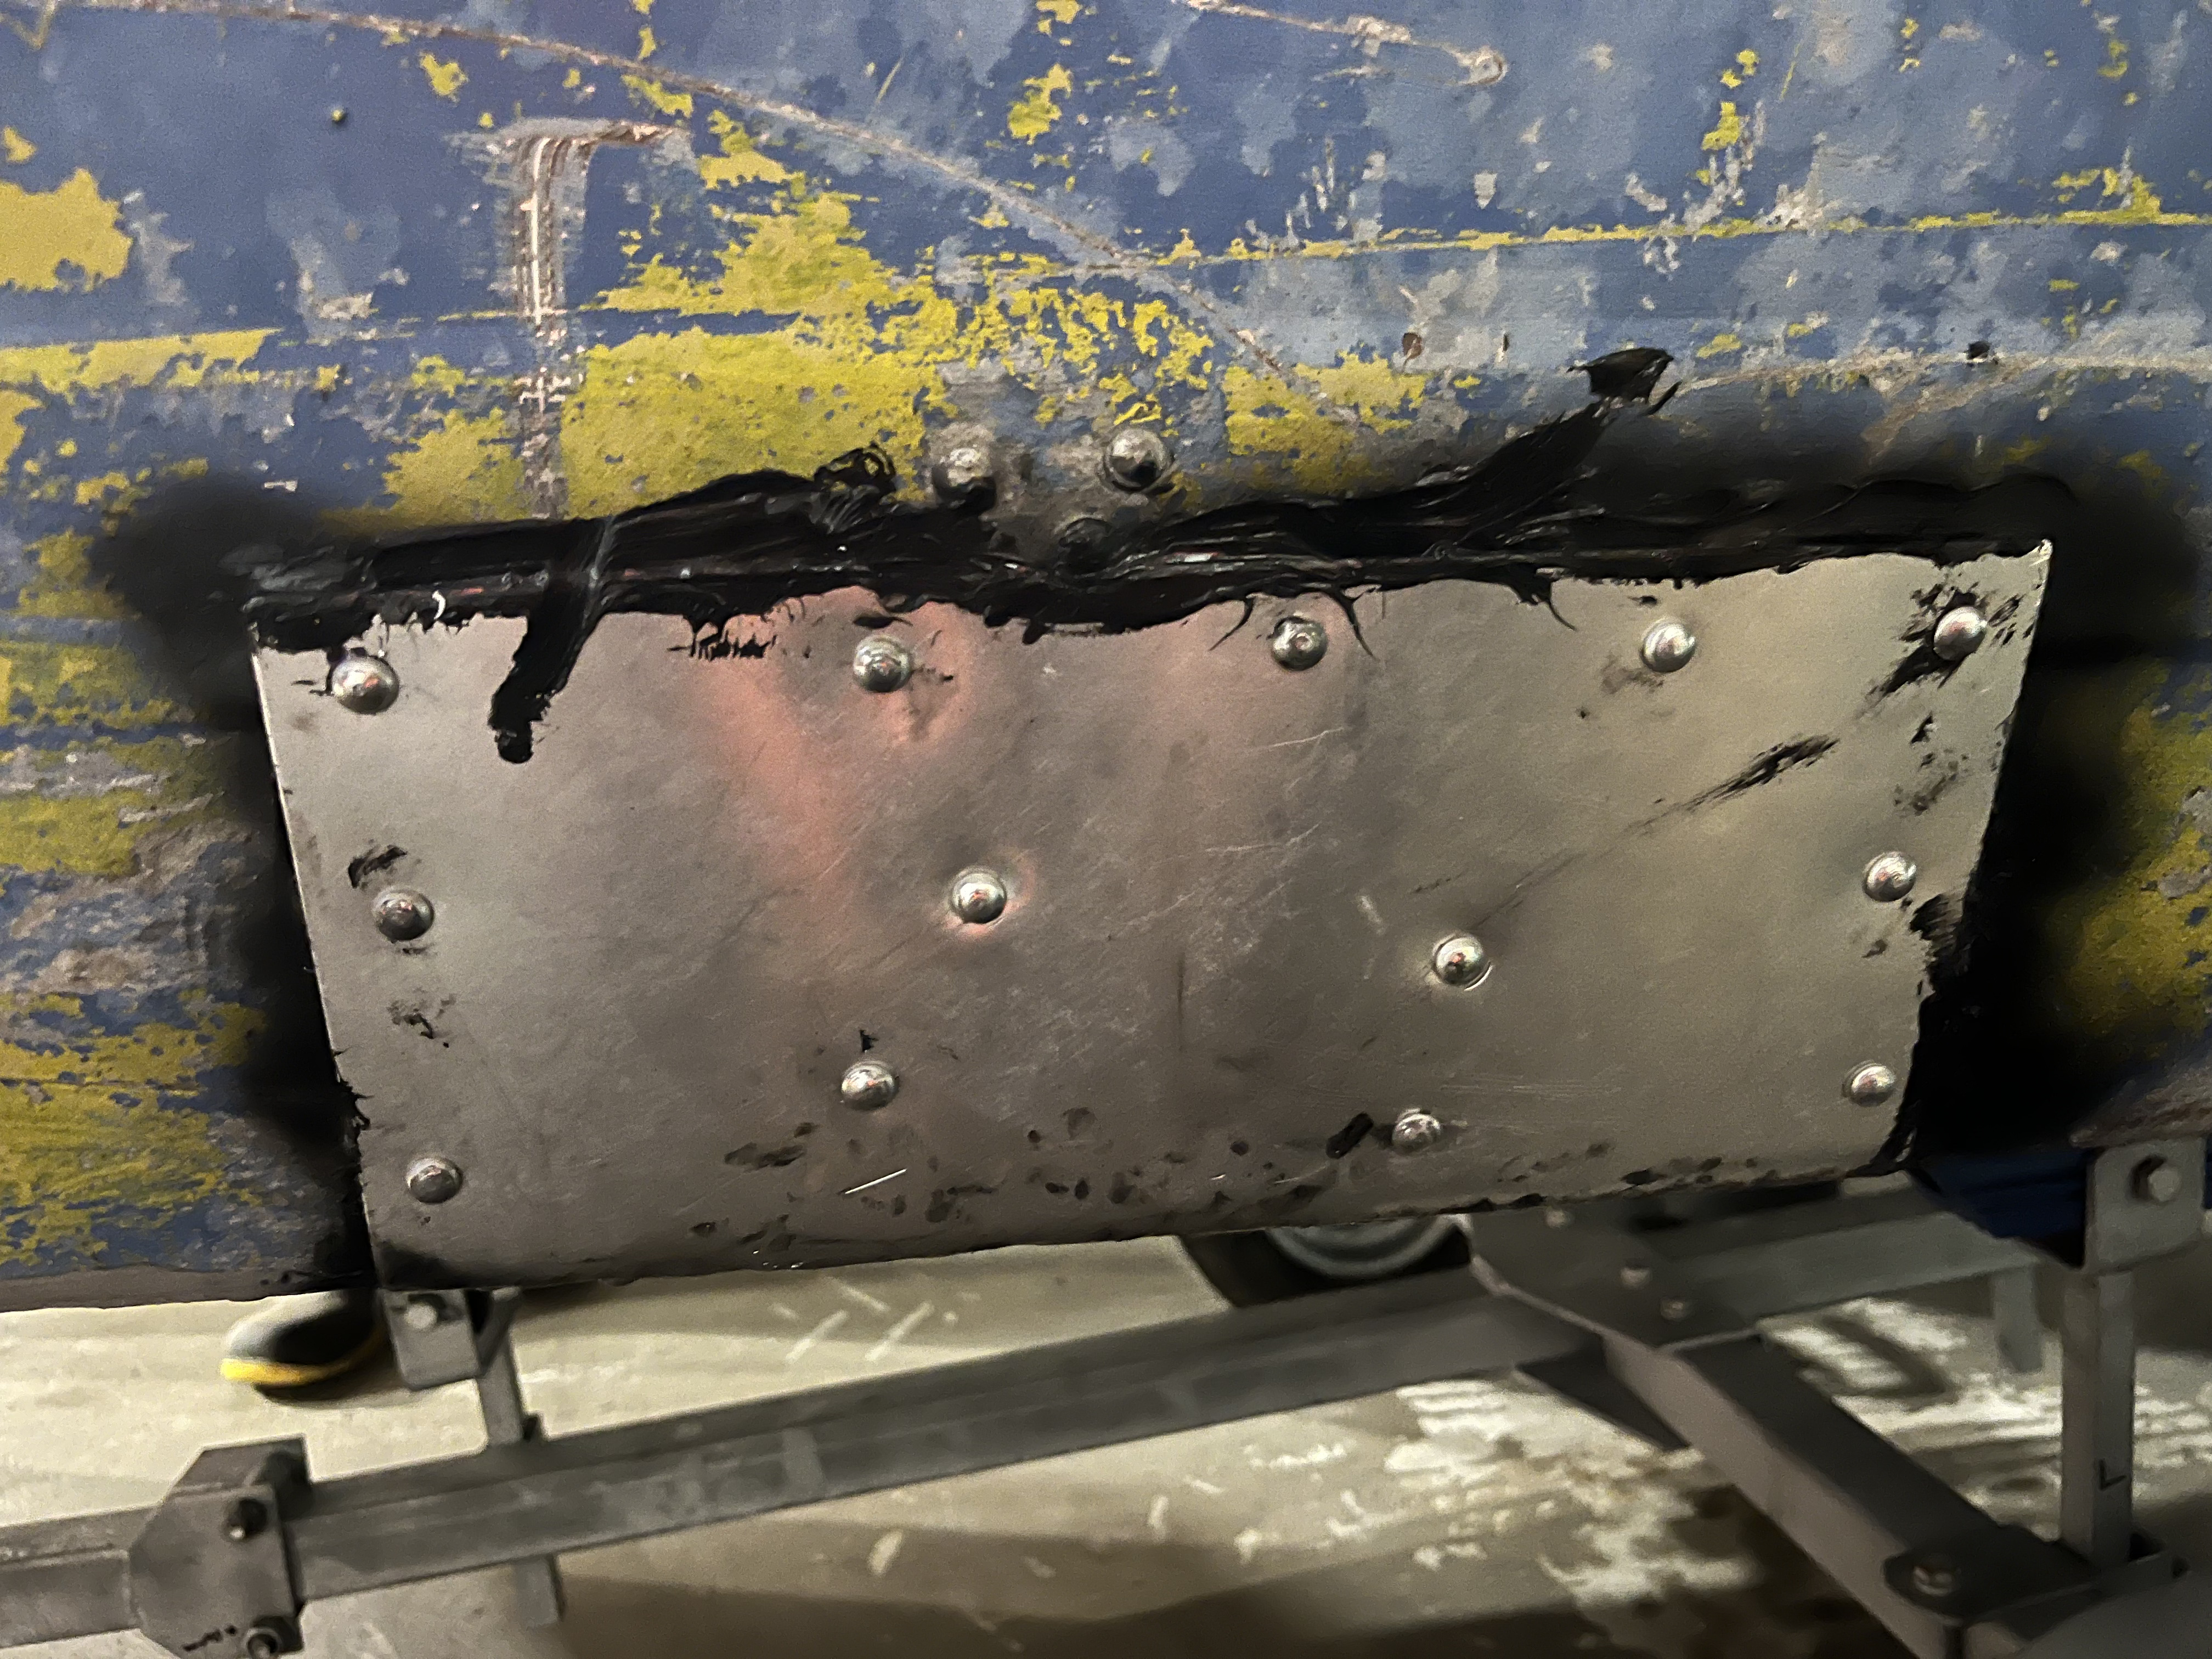
we then proceeded to make the patch repair
Couldn't find a place nearby that sold Ali sheet metal off cuts for a reasonable price so I ended up buying a sheet from jaycar!
we bent and hammered it into shape.
flap disc on the angle grinder to flatten to domes on the original rivets
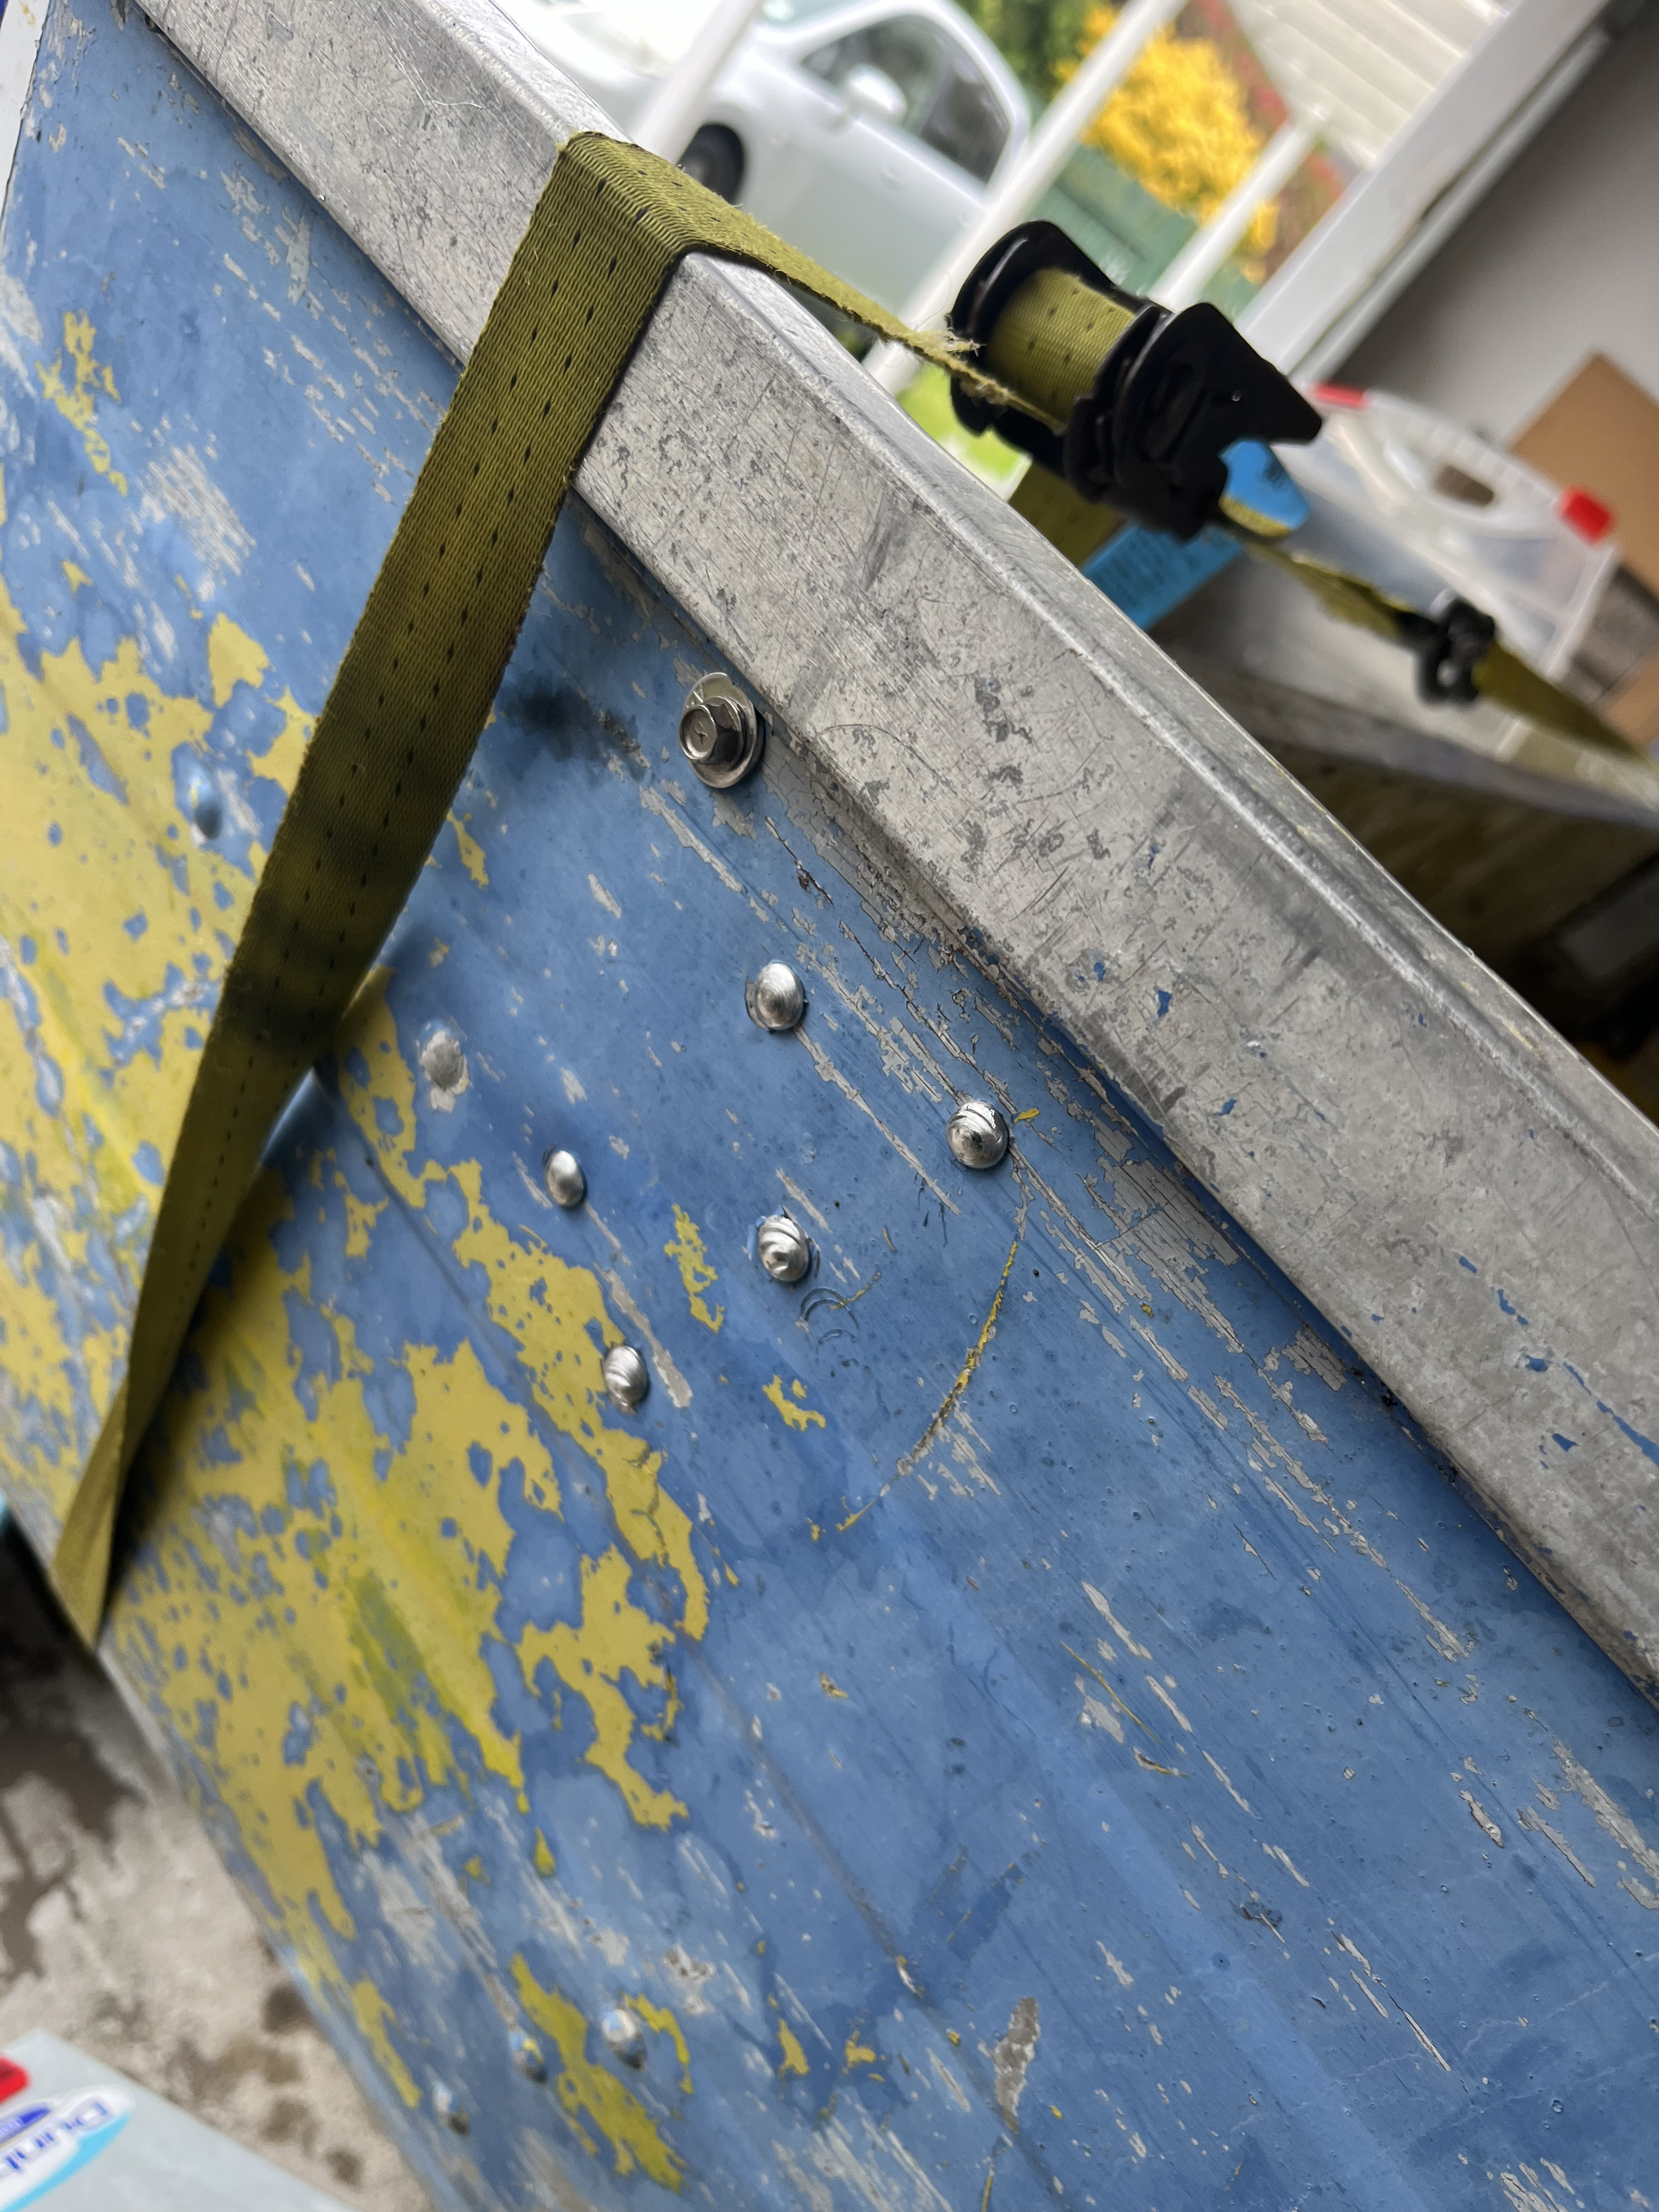
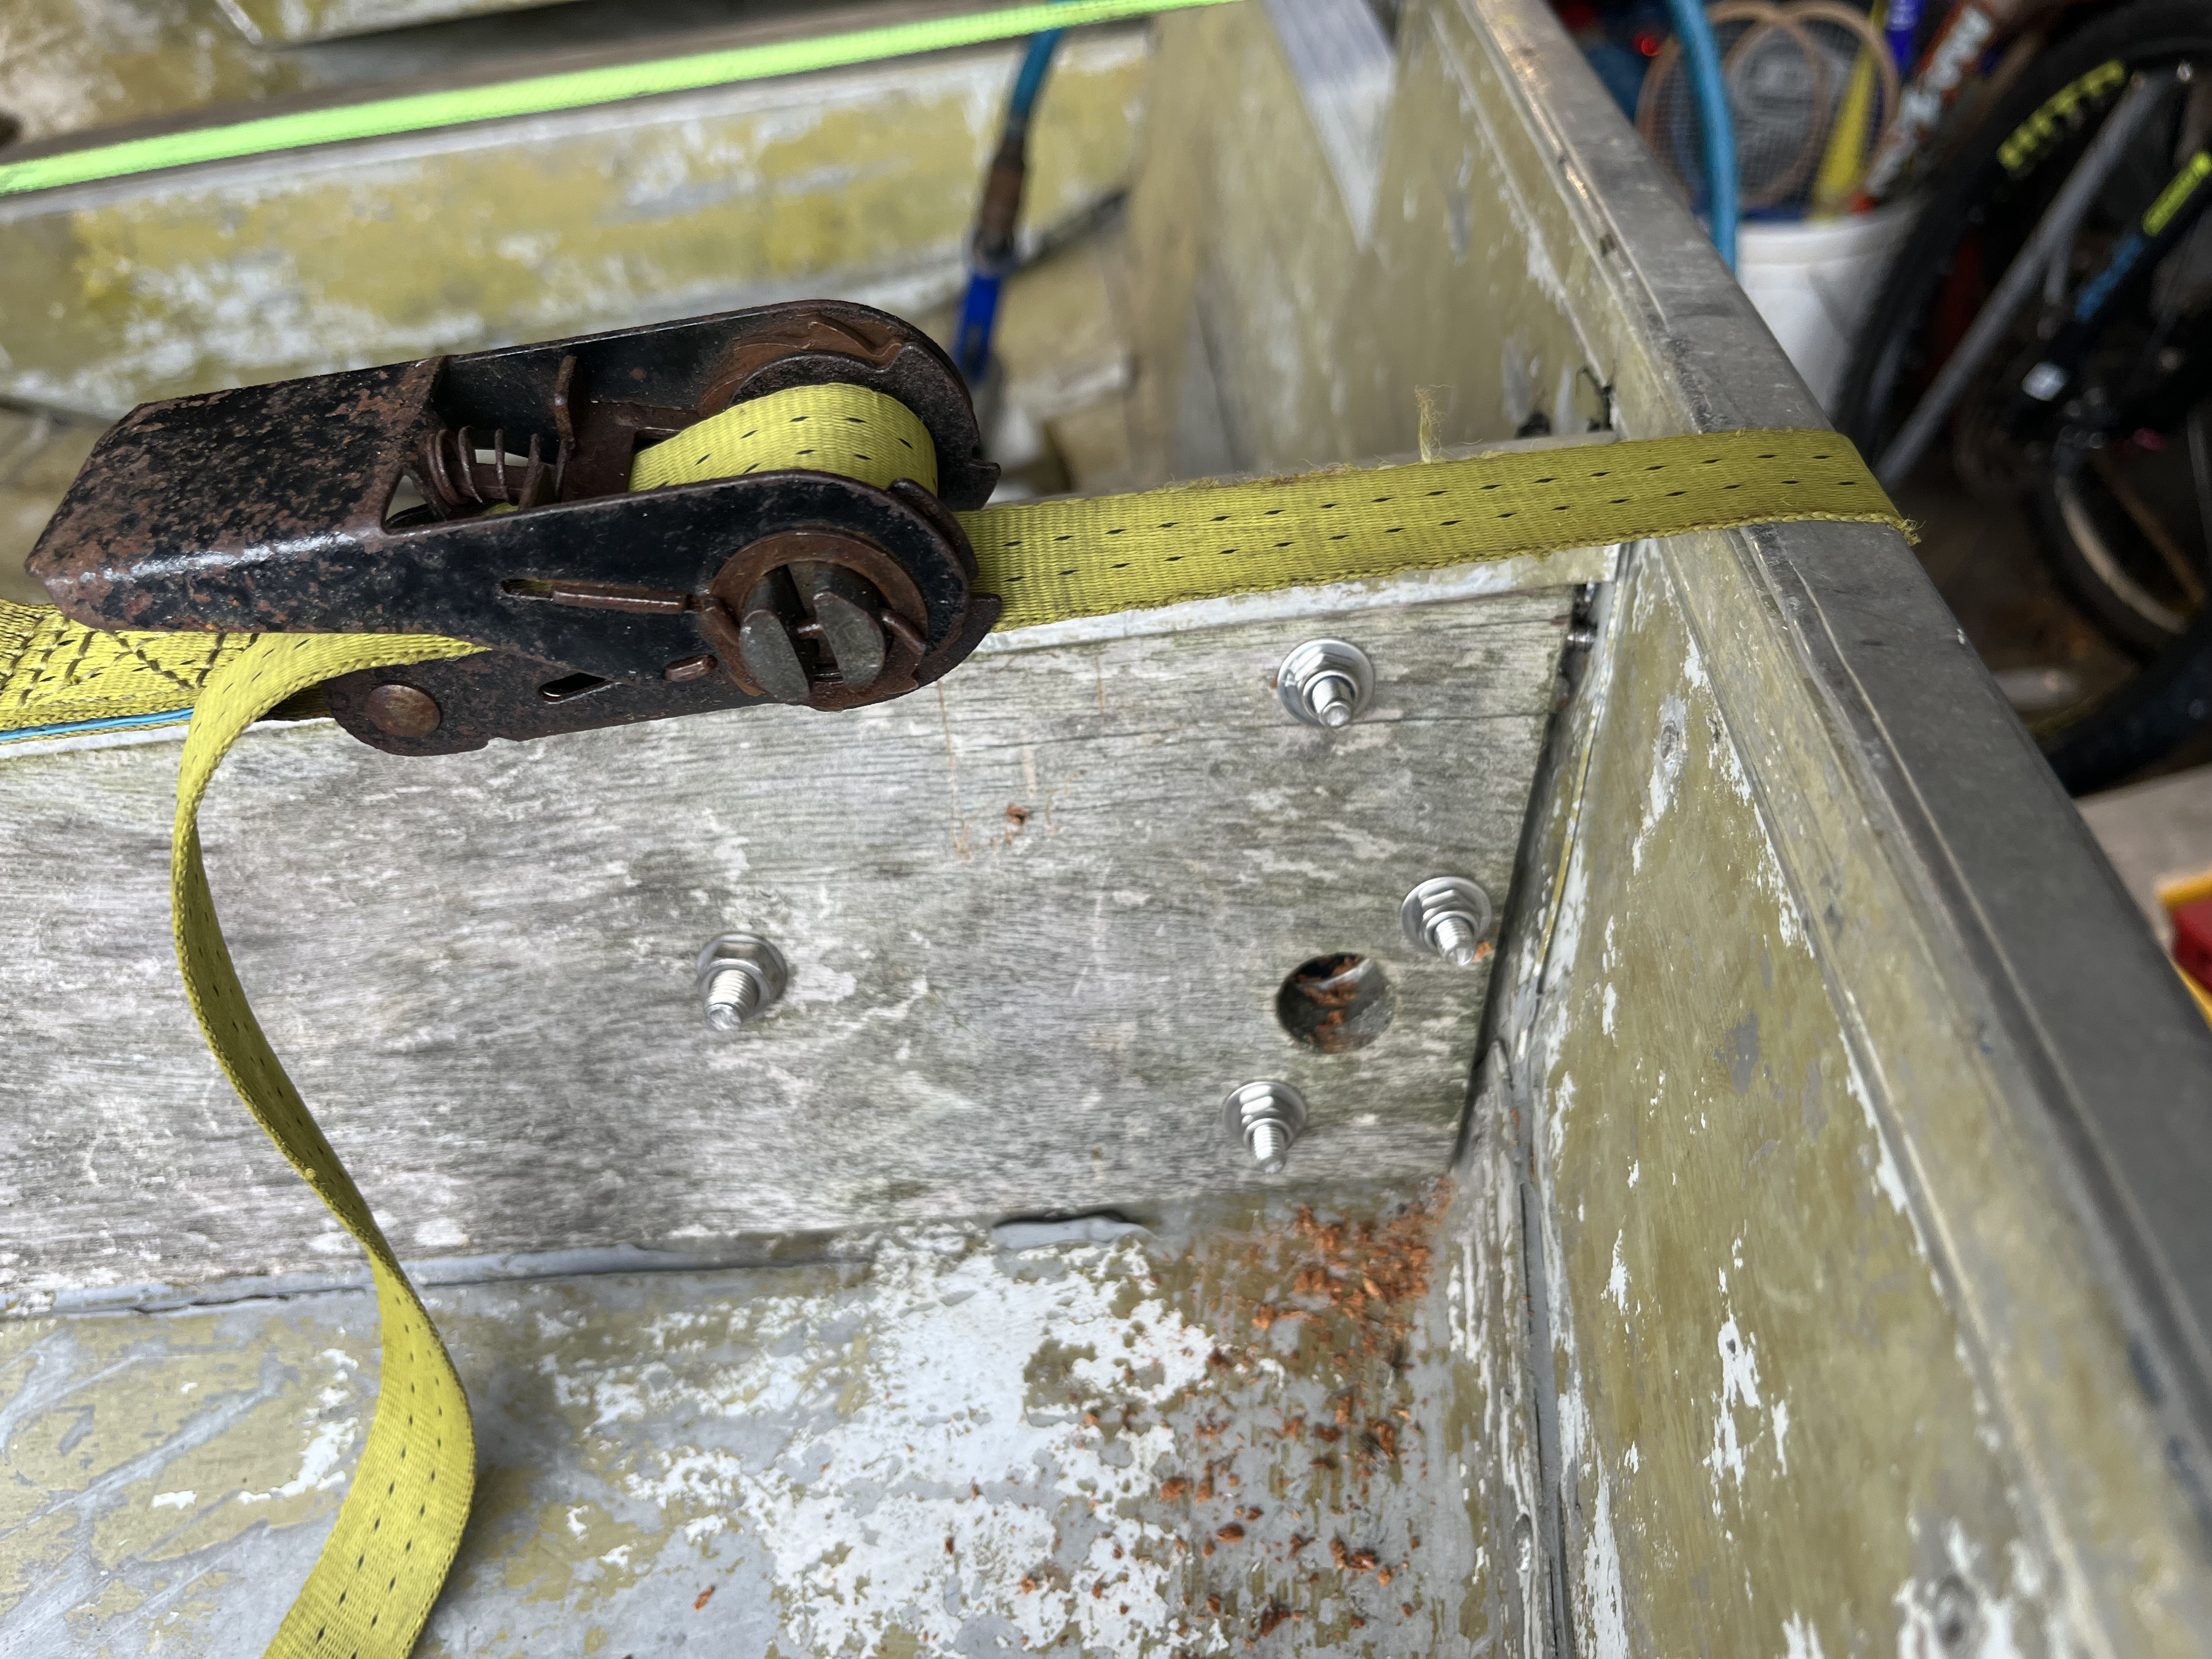
siliconed the patch and pop riveted it into place before drilling holes for the solids and finally removing the pop rivets and replacing them with solids.

weather is not good so no test run today. But I'll have another update soon as we're going to reinforce the transom further for the 15hp.Woody and Micky Duck like this.
-
17-08-2024, 10:15 AM #13Member
- Join Date
- Jul 2013
- Location
- Waikato
- Posts
- 2,574
Be keen to see the reinforcement process,looking to do the same to my old parkercraft.
-
18-08-2024, 11:05 AM #14Member
- Join Date
- Feb 2017
- Location
- Jafa land
- Posts
- 5,517
chuck up a photo or two and I'll give you my unsolicited advice. I did win a certificate in school for that! it depends on the design. my alicraft has had some love in the past so it is easier to reinforce it. Originally Posted by The bomb
i'll put a post up soonMicky Duck likes this.
-
18-08-2024, 11:46 AM #15Member
- Join Date
- Feb 2017
- Location
- Jafa land
- Posts
- 5,517
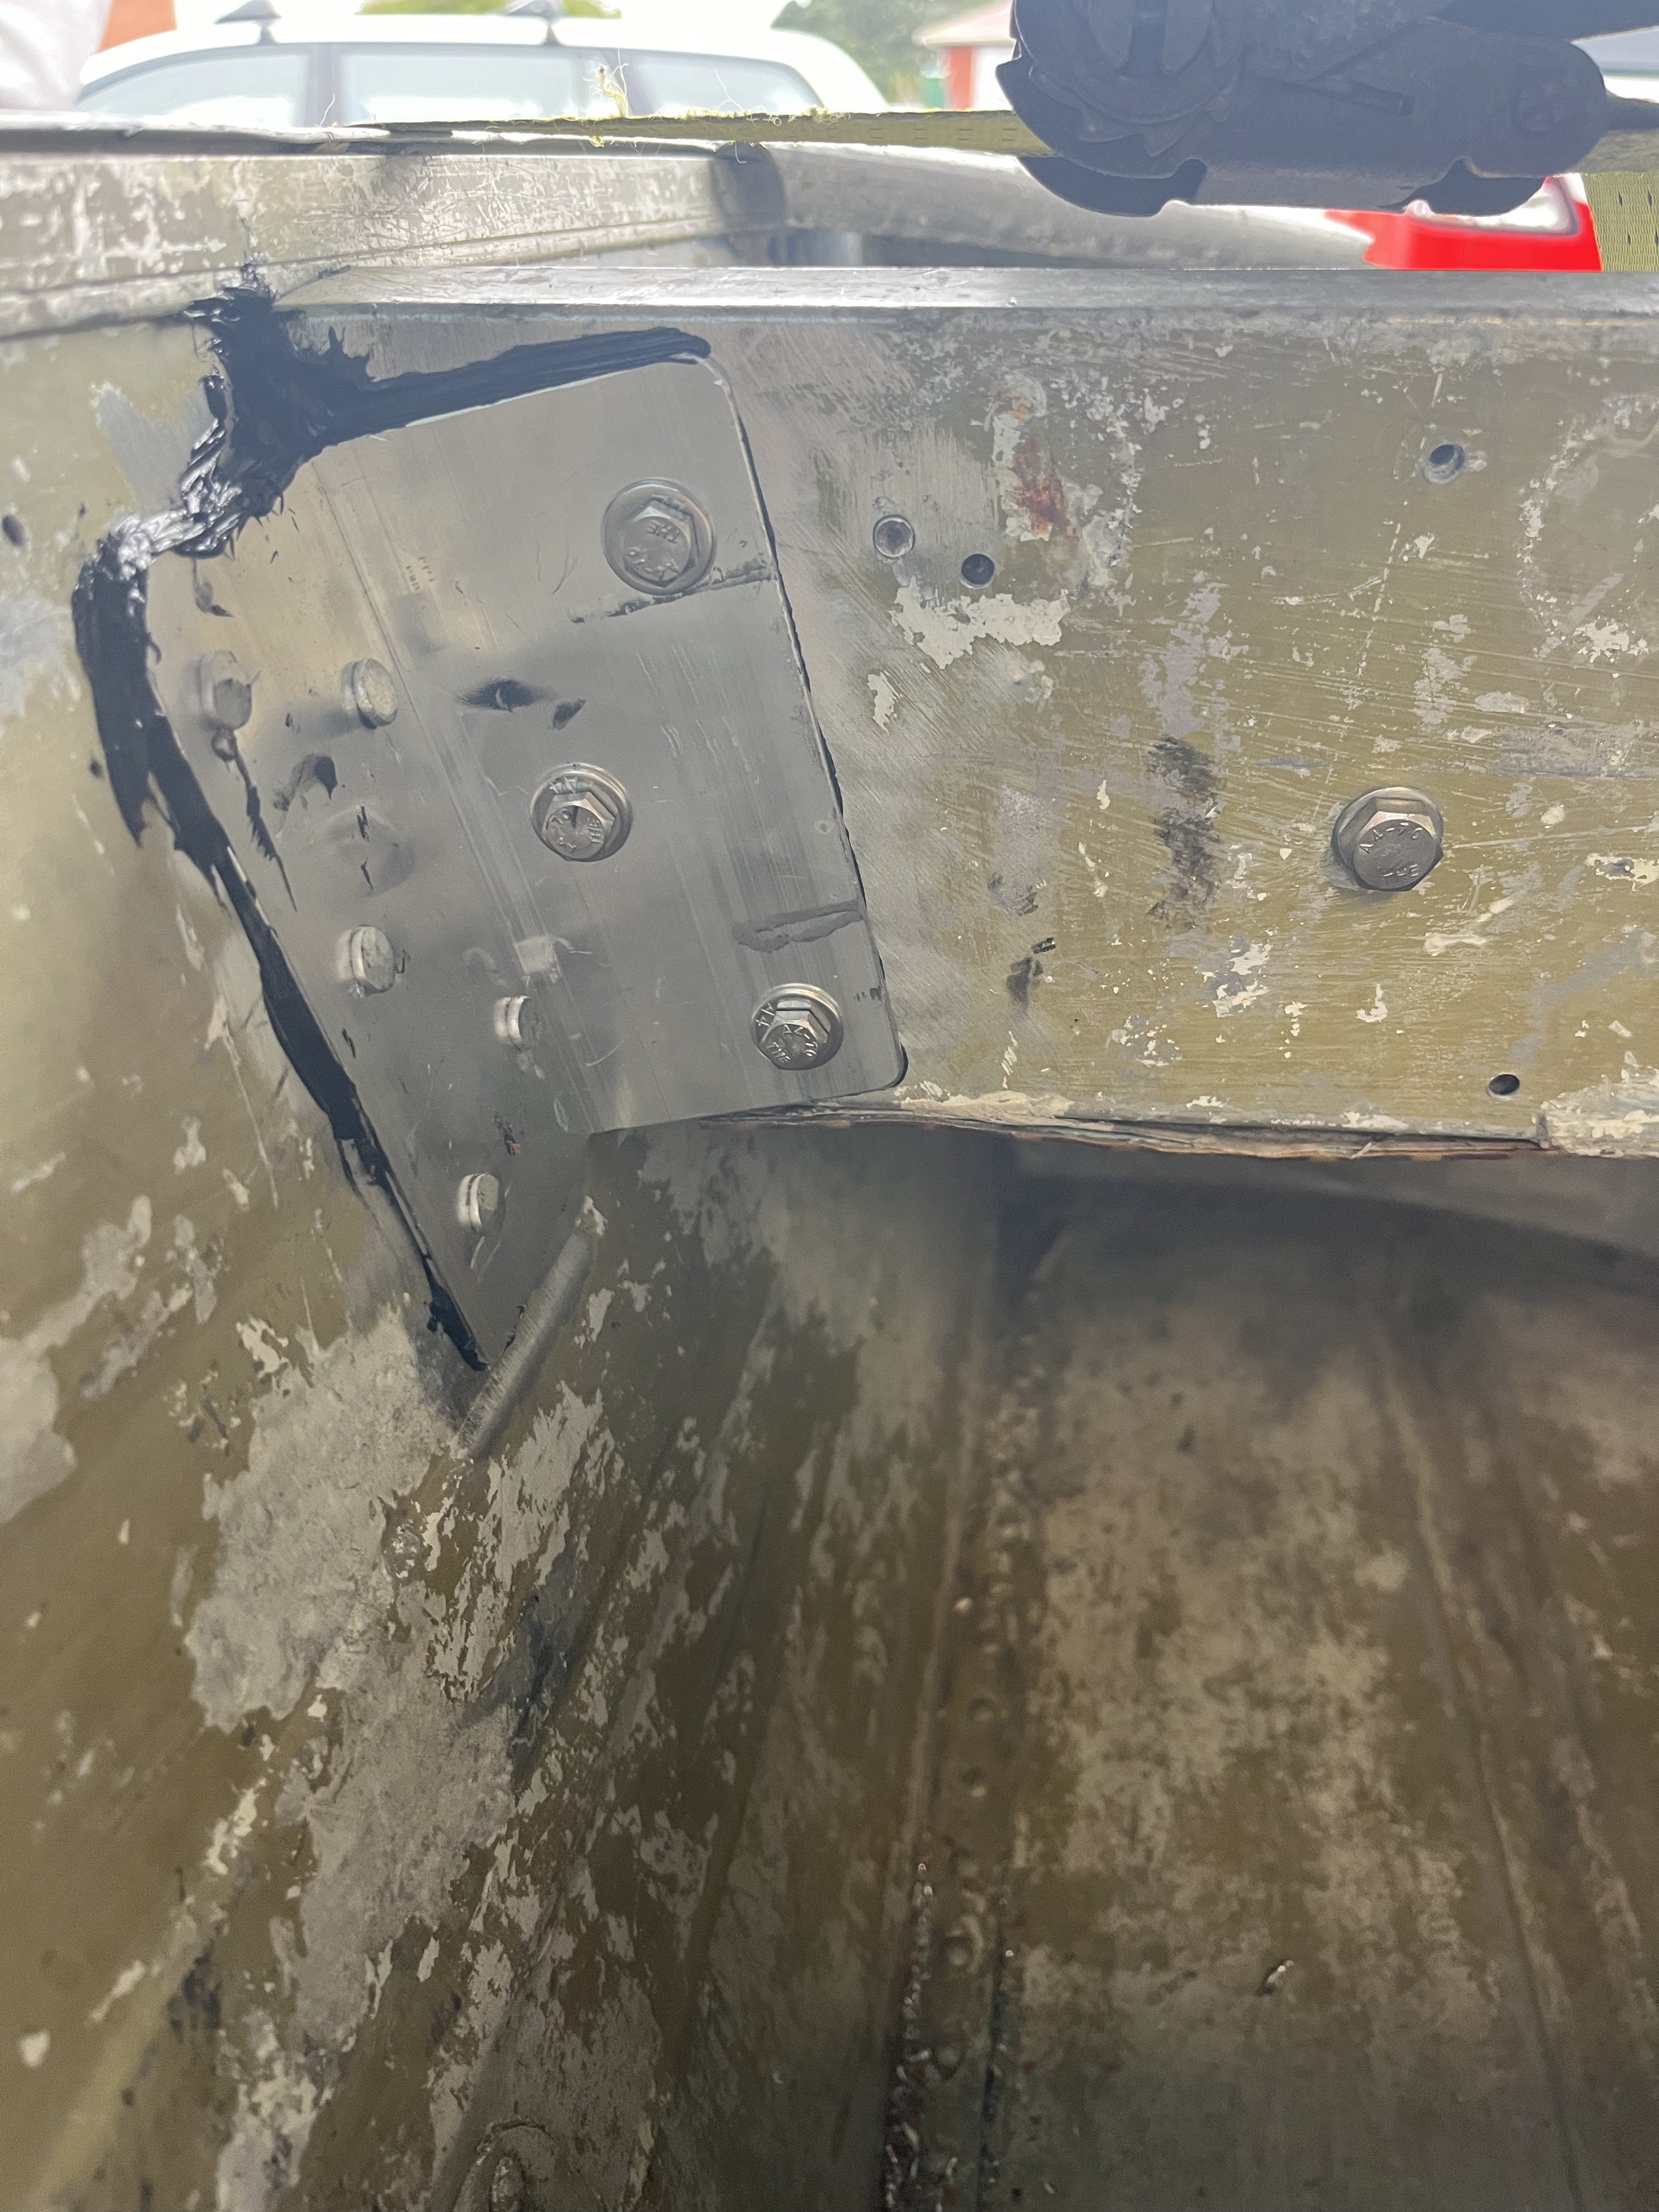
Reinforcing the stern
yesterday we did some more work on the tinny.
siliconed the edges of the patch we did.
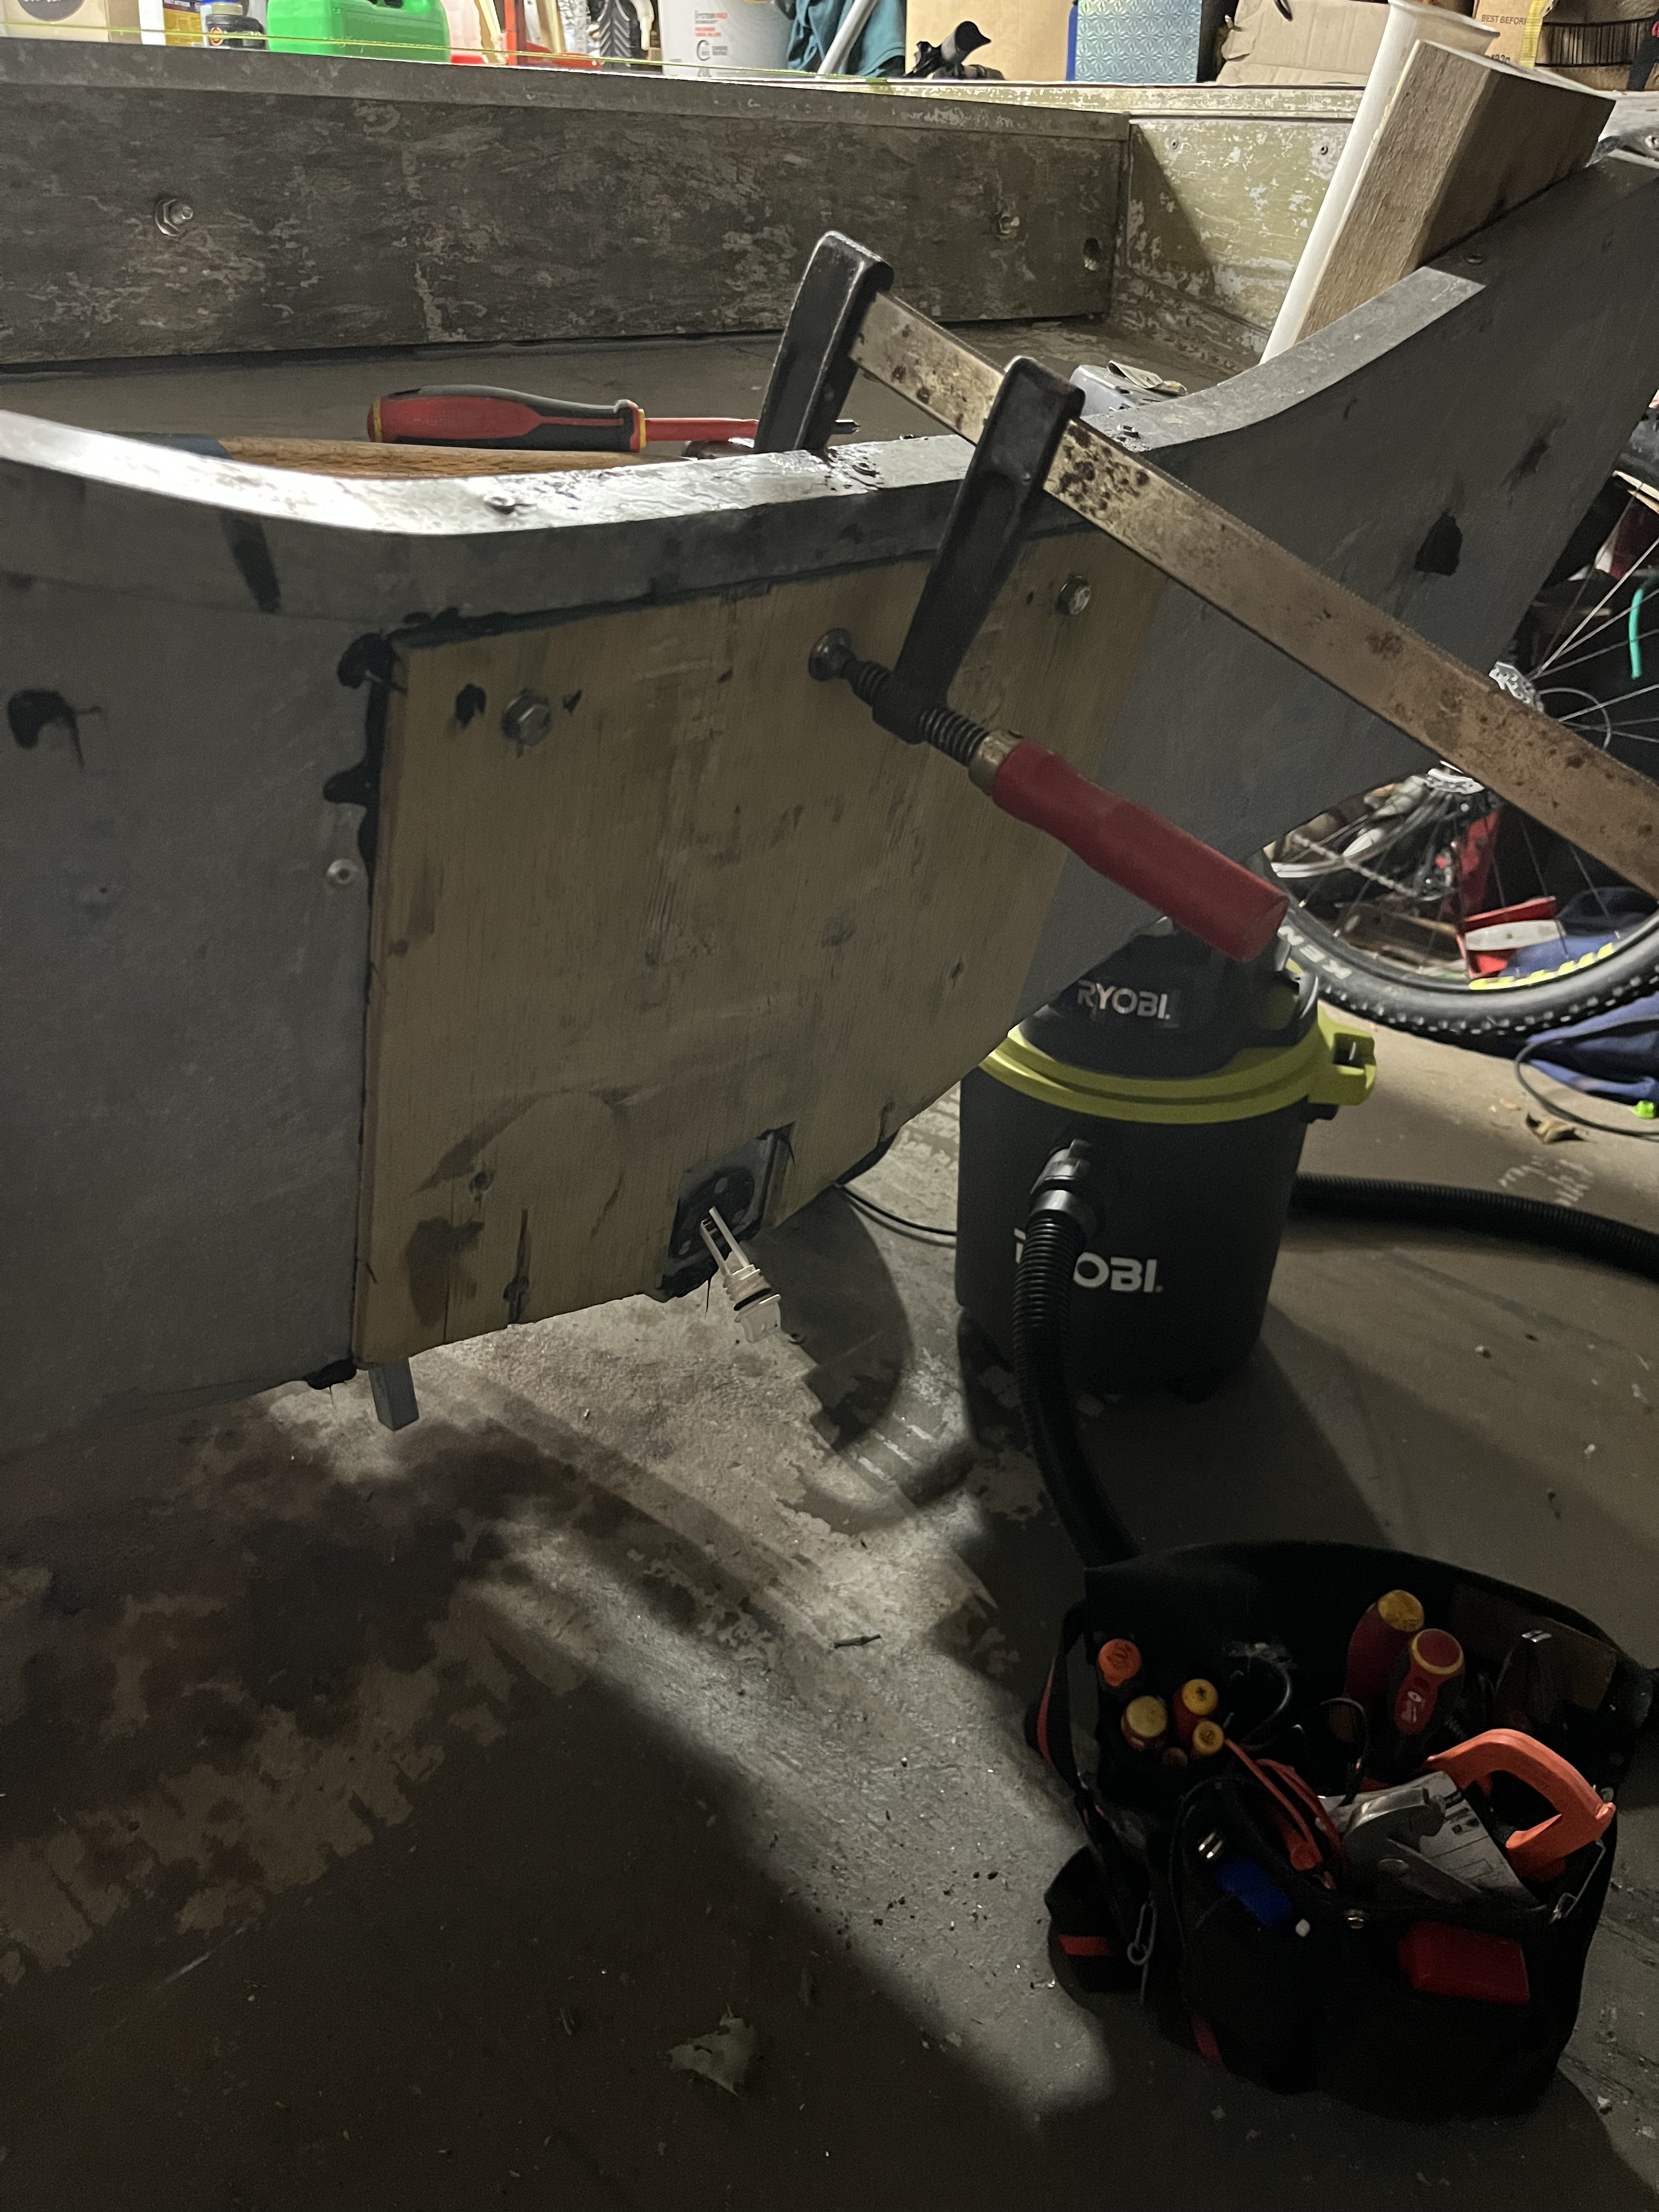
and reinforced the transom. My tinny as mentioned has had some love. there are parcel trays I suppose you could call them front and rear. As well as gussets on each corner of the stern.
This makes our life easier as there is more things to attached the Ali angle to.
First we cut/drilled everything to size, siliconed any places water can get to and not escape.
Micky Duck likes this.


 Reply With Quote
Similar Threads
-
Making of....
By Happy Jack in forum ShootingReplies: 5Last Post: 02-09-2021, 07:43 PM -
Making a pig of myself
By craigc in forum The MagazineReplies: 13Last Post: 08-08-2021, 08:09 PM -
In the making..
By MrsNorthdude in forum Projects and Home BuildsReplies: 6Last Post: 26-03-2018, 10:43 PM
Tags for this Thread
 Posting Permissions
- You may not post new threads
- You may not post replies
- You may not post attachments
- You may not edit your posts
Welcome to NZ Hunting and Shooting Forums! We see you're new here, or arn't logged in. Create an account, and Login for full access including our FREE BUY and SELL section Register NOW!!
All times are GMT +13. The time now is 07:37 PM.

Bookmarks